
CPR Compressions: Complete Guide to Technique, Rate, Depth, and Life Support Mastery
🏆 Master CPR compressions with expert guidance on rate, depth, technique, infant CPR, ACLS algorithm, and life support skills. US-focused 2026 September guide.
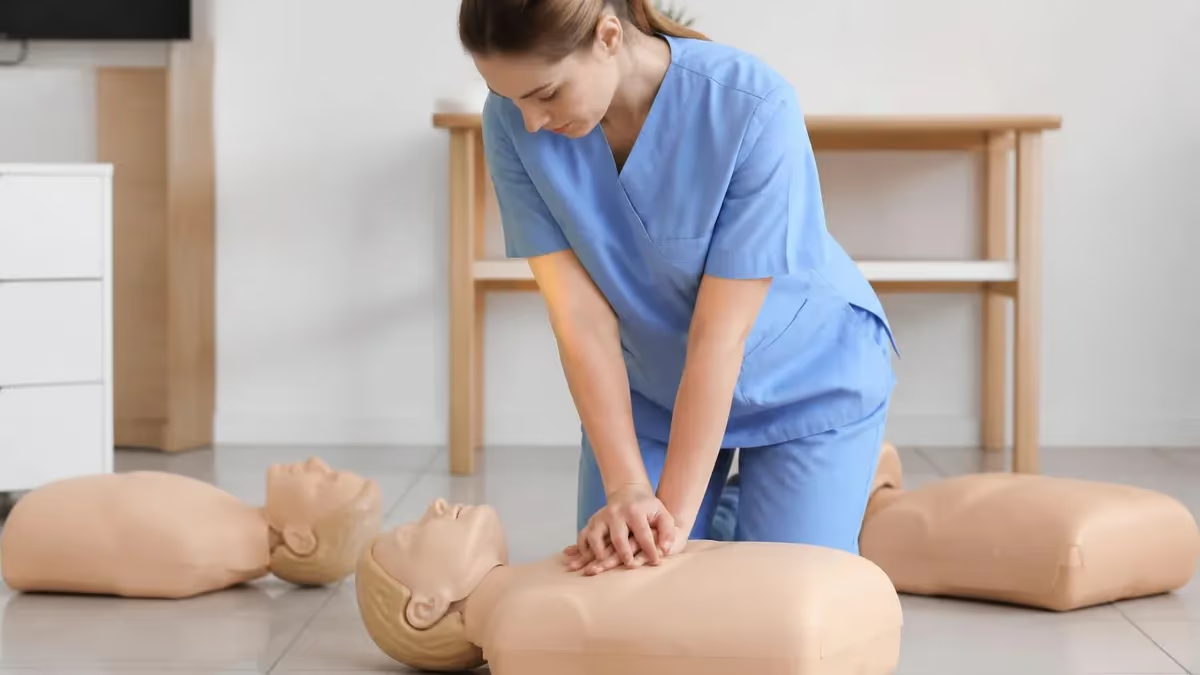
The ACLS algorithm places proper CPR compressions at the absolute center of cardiac arrest survival, and for good reason: every second of high-quality chest compressions keeps oxygenated blood circulating to the brain and vital organs until a defibrillator or advanced life support team can intervene. When someone collapses and stops breathing normally, the chain of survival begins with your hands.
Learning the correct compression rate, depth, hand placement, and recoil technique can genuinely mean the difference between a full neurological recovery and irreversible brain damage. This guide breaks down everything you need to know about cpr compressions so you can act with confidence.
Each year in the United States, approximately 356,000 out-of-hospital cardiac arrests occur, according to the American Heart Association. Bystander CPR is performed in fewer than half of those cases, yet it can double or even triple a victim's chance of survival. That gap between what could happen and what does happen represents lives that proper training and public awareness could save. Whether you are a healthcare professional pursuing PALS certification or an ordinary citizen who simply wants to be prepared, understanding the mechanics of chest compressions is the single most impactful emergency skill you can acquire.
The National CPR Foundation and other leading training organizations emphasize that compression quality matters just as much as the presence of CPR. Shallow compressions, interrupted sequences, or incorrect hand positioning all reduce the effectiveness of the procedure dramatically. Studies published in emergency medicine journals consistently show that compression depth below 2 inches and rates outside the 100–120 per minute window are associated with significantly worse neurological outcomes. Getting the details right is not a technicality — it is a clinical imperative supported by decades of resuscitation research.
Beyond adult cardiac arrests, the same foundational principles apply to infant CPR, pediatric emergencies, and scenarios involving respiratory arrest before circulation fails. Knowing how and when to adapt your technique — adjusting depth for a child's smaller chest, switching to two-finger compressions for a newborn, or integrating rescue breaths when the respiratory rate suggests hypoxic arrest — requires a working knowledge of the full compression framework. This guide covers all of those scenarios with clear, actionable detail drawn from current AHA and American Red Cross guidelines.
Understanding what does AED stand for (Automated External Defibrillator) and how it integrates with compressions is equally essential. Compression pauses for defibrillation should be minimized to under ten seconds, and high-quality compressions should resume immediately after each shock. The coordination between chest compressions and defibrillation is a core element of the ACLS algorithm and a tested topic in both basic and advanced certifications. Knowing the rhythm — compress, shock when indicated, compress again — is what separates a trained rescuer from an overwhelmed bystander.
This article is organized to serve both beginners seeking a foundational overview and experienced clinicians refreshing their knowledge before a recertification exam. You will find evidence-based compression rates and depths, step-by-step technique walkthroughs, pediatric and infant adaptations, AED integration, common mistakes and how to correct them, and practical preparation advice for CPR certification exams administered by the National CPR Foundation, AHA, and Red Cross. Read each section carefully, practice with a mannequin whenever possible, and use the free practice quizzes linked throughout this guide to test your retention.
Life support begins not with a hospital crash cart but with a bystander's willingness to act. Position recovery, airway management, and compression delivery form an interlocking system. When any one element falters, the entire chain weakens. The goal of this guide is to make sure that when you find yourself kneeling beside someone whose life depends on you, your hands know exactly what to do — and why.
CPR Compressions by the Numbers
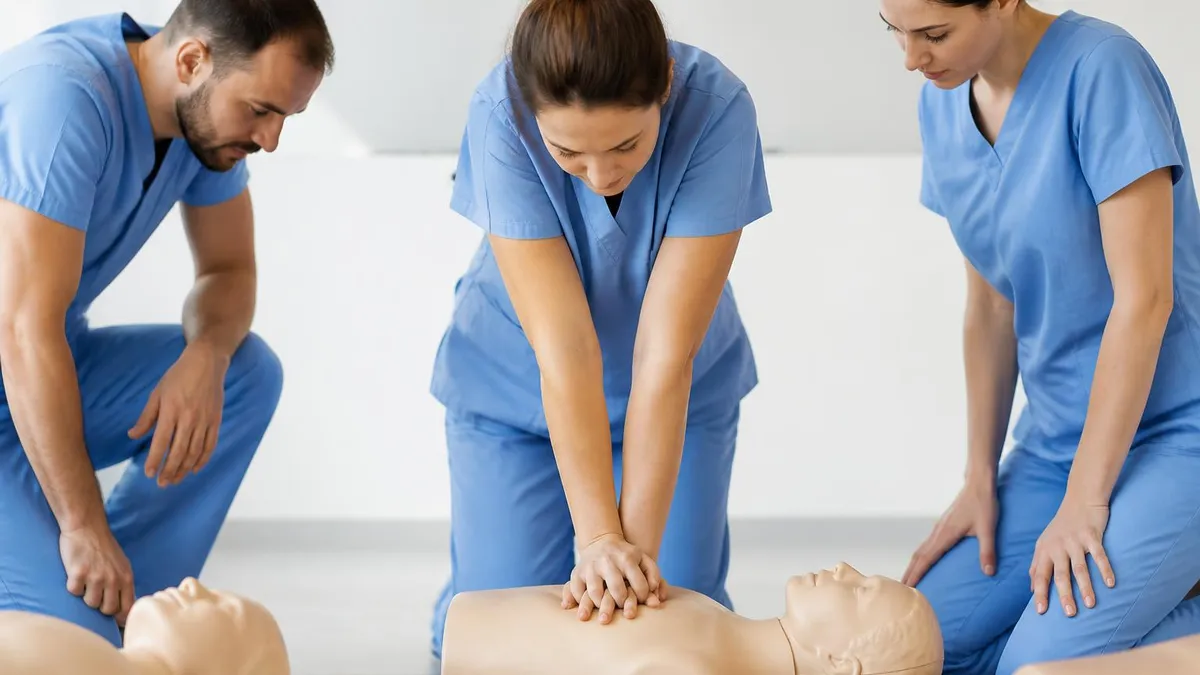
Step-by-Step CPR Compression Technique
Scene Safety & Responsiveness Check
Position Your Hands Correctly
Compress at the Right Rate and Depth
Allow Full Chest Recoil
Minimize Interruptions
Integrate Ventilations When Trained
The ACLS algorithm — Advanced Cardiovascular Life Support — represents the most comprehensive framework for managing cardiac arrest in both hospital and pre-hospital settings. At its core, the algorithm organizes provider actions into a structured sequence: recognize arrest, activate the emergency response system, initiate high-quality CPR, deliver defibrillation when appropriate, establish vascular access and administer medications, and search for reversible causes using the Hs and Ts mnemonic.
Understanding where compressions fit within this algorithm helps rescuers maintain priorities even under the pressure of a real emergency. Compressions always come first — they are never subordinated to airway or medication management in the initial response.
Within the ACLS algorithm, shockable rhythms (ventricular fibrillation and pulseless ventricular tachycardia) and non-shockable rhythms (asystole and pulseless electrical activity) call for slightly different sequencing, but high-quality compressions remain constant throughout. For shockable rhythms, the sequence is CPR, shock, CPR — with minimal interruption for rhythm analysis. For non-shockable rhythms, compressions continue while providers investigate and treat potential reversible causes: hypovolemia, hypoxia, hydrogen ion excess, hypo/hyperkalemia, hypothermia, tension pneumothorax, tamponade, toxins, thrombosis (pulmonary), and thrombosis (coronary). Memorizing the Hs and Ts is a key requirement for ACLS certification exams administered by the National CPR Foundation, AHA, and similar organizations.
Life support protocols exist on a spectrum of complexity. Basic Life Support (BLS) covers the foundational skills: scene assessment, compression technique, rescue breathing, and AED use. PALS certification extends these skills into pediatric emergencies, covering weight-based drug dosing, fluid resuscitation, and the unique anatomical and physiological considerations that affect compression technique and respiratory rate management in children. ACLS builds further with cardiac rhythm interpretation, advanced airway management, and pharmacological intervention. Each level depends on the same compression foundation — get the basics right, and advanced skills stack more naturally.
What does AED stand for? An Automated External Defibrillator is a portable electronic device that analyzes heart rhythm and delivers a shock if it detects a shockable rhythm. AEDs are designed for use by minimally trained bystanders and guide users through voice and visual prompts. The critical interface between AED use and compressions is the pre-shock and post-shock period: compressions should continue until the AED signals that analysis is beginning, and should resume immediately — within five seconds — after shock delivery. Studies show that each ten-second delay in resuming compressions after a shock reduces survival probability by measurable margins.
The respiratory rate consideration in CPR is often underappreciated. When ventilations are delivered as part of a 30:2 protocol, each breath should take approximately one second and be delivered at a rate that does not hyperventilate the patient. Excessive ventilation — breathing rates above 10 per minute with an advanced airway in place — is associated with worse outcomes because it increases mean intrathoracic pressure, reduces preload, and decreases cardiac output.
For providers managing a patient with an advanced airway (supraglottic airway or endotracheal tube), the recommended ventilation rate is one breath every six seconds, or about 10 per minute, without pausing compressions for each breath.
Position recovery, sometimes called the recovery position, is relevant when a patient regains a pulse and spontaneous breathing but remains unconscious. Rather than leaving the patient supine, trained rescuers place them on their side to keep the airway open and allow drainage of secretions or vomitus. This position is not used during active cardiac arrest — compressions require the supine position — but it becomes important immediately after return of spontaneous circulation (ROSC). Knowing when to transition from active resuscitation to recovery positioning is a clinical judgment skill tested in both BLS and ACLS evaluations.
Integrating all of these elements — compressions, ventilation, defibrillation, medication, and rhythm interpretation — is what separates a prepared rescuer from someone who merely knows the steps on paper. The National CPR Foundation, along with the AHA and Red Cross, designs its certification courses to build this integration through scenario-based practice. Candidates who score well on skills assessments are those who have practiced the full sequence repeatedly, not just memorized the individual components. This is why practicing with a mannequin, using a metronome or feedback device, and completing scenario walkthroughs before your certification date are all strongly recommended preparation strategies.
CPR Practice Test Questions
Prepare for the CPR Cardiopulmonary Resuscitation Practice exam with our free practice test modules. Each quiz covers key topics to help you pass on your first try.
CPR Basic CPR
CPR Exam Questions covering Basic CPR. Master CPR Test concepts for certification prep.
CPR and First Aid
Free CPR Practice Test featuring and First Aid. Improve your CPR Exam score with mock test prep.
CPR (Cardiopulmonary Resuscitation) Adult ...
CPR Mock Exam on (Cardiopulmonary Resuscitation) Adult CPR and AED Usage. CPR Study Guide questions to pass on your first try.
CPR (Cardiopulmonary Resuscitation) Airway...
CPR Test Prep for (Cardiopulmonary Resuscitation) Airway Obstruction and Choking. Practice CPR Quiz questions and boost your score.
CPR (Cardiopulmonary Resuscitation) Cardio...
CPR Questions and Answers on (Cardiopulmonary Resuscitation) Cardiopulmonary Emergency Recognition. Free CPR practice for exam readiness.
CPR (Cardiopulmonary Resuscitation) Child ...
CPR Mock Test covering (Cardiopulmonary Resuscitation) Child and Infant CPR. Online CPR Test practice with instant feedback.
CPR (Cardiopulmonary Resuscitation) High-P...
Free CPR Quiz on (Cardiopulmonary Resuscitation) High-Performance Team Dynamics. CPR Exam prep questions with detailed explanations.
CPR (Cardiopulmonary Resuscitation) Legal ...
CPR Practice Questions for (Cardiopulmonary Resuscitation) Legal and Ethical Considerations. Build confidence for your CPR certification exam.
CPR for Specific Populations
CPR Test Online for for Specific Populations. Free practice with instant results and feedback.
CPR Airway & Breathing Management
CPR Exam Questions covering Airway & Breathing Management. Master CPR Test concepts for certification prep.
CPR Assessment & Recognition of Cardiac Ar...
Free CPR Practice Test featuring Assessment & Recognition of Cardiac Arrest. Improve your CPR Exam score with mock test prep.
CPR Chest Compressions & Defibrillation
CPR Mock Exam on Chest Compressions & Defibrillation. CPR Study Guide questions to pass on your first try.
CPR Post-Resuscitation Care & Recovery
CPR Test Prep for Post-Resuscitation Care & Recovery. Practice CPR Quiz questions and boost your score.
Infant CPR, Child CPR, and Adult CPR: Key Differences
Adult CPR uses two hands placed on the lower half of the sternum, with compression depth of at least 2 inches (5 cm) and a target rate of 100 to 120 per minute. The 30:2 compression-to-ventilation ratio applies for lone rescuers or when using basic airway techniques. With an advanced airway in place, continuous compressions at 100–120 per minute are delivered while ventilations occur every six seconds without pausing. Full chest recoil between each compression is mandatory, and pauses should never exceed ten seconds for any reason including AED analysis or pulse checks.
Hands-only CPR — continuous compressions without rescue breaths — is recommended for untrained bystanders responding to adult cardiac arrest and is equally effective in the first few minutes when arrest is caused by a primary cardiac event rather than a respiratory cause. The AHA updated its guidelines to broadly endorse hands-only CPR for adult bystander response because it removes barriers to action. Emergency dispatchers are trained to guide callers through hands-only CPR over the phone, including pacing the caller using the Stayin' Alive tempo to maintain the correct 100–120 BPM compression rate.
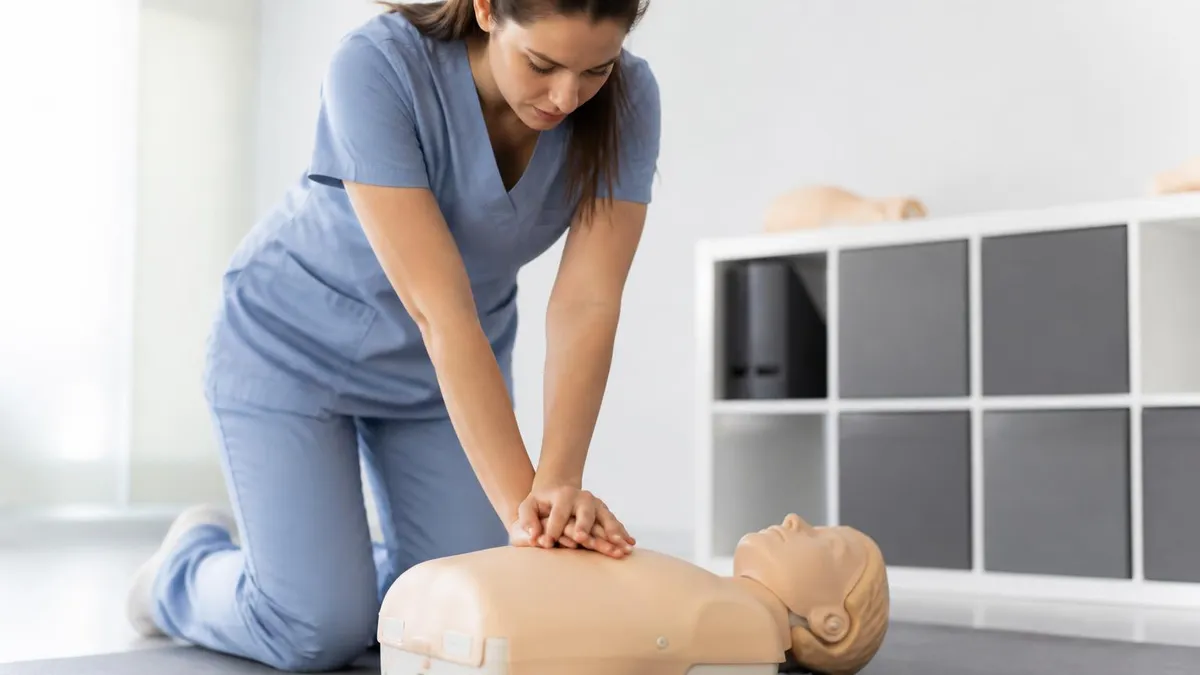
Hands-Only CPR vs. CPR with Rescue Breaths: Pros and Cons
- +Hands-only CPR removes the hesitation barrier for untrained bystanders, increasing the likelihood that CPR begins at all
- +Eliminates risk of disease transmission concerns that sometimes prevent bystanders from attempting mouth-to-mouth ventilation
- +Simpler to instruct over the phone by emergency dispatchers without formal training requirements
- +Equally effective as standard CPR in adult cardiac arrest caused by primary ventricular fibrillation within the first 4 to 5 minutes
- +Continuous compressions without ventilation pauses maintain higher coronary perfusion pressure throughout the resuscitation attempt
- +Reduces cognitive load during a high-stress situation, allowing the rescuer to focus entirely on compression quality and rate
- −Less effective for arrests caused by respiratory failure — drowning, overdose, asphyxiation — where oxygenation is the primary priority
- −Not appropriate for pediatric or infant cardiac arrest, where respiratory causes dominate and rescue breaths are critical to outcomes
- −Becomes ineffective after approximately 4 to 5 minutes when residual oxygen in the bloodstream is depleted without ventilation
- −Not recommended for trained healthcare providers, who are expected to deliver full CPR including appropriate ventilations
- −May create a false sense of completeness in scenarios where rescue breaths would significantly improve prognosis
- −Bystanders may not know how to distinguish a respiratory arrest (where breaths are needed) from a primary cardiac arrest
CPR Compression Certification Readiness Checklist
- ✓Demonstrate compression rate of 100–120 per minute consistently over a two-minute cycle without a metronome prompt.
- ✓Achieve compression depth of at least 2 inches on an adult mannequin as confirmed by a feedback device or instructor.
- ✓Allow full chest recoil after every compression without leaning on the chest between cycles.
- ✓Keep all compression pauses under 10 seconds, including for pulse checks and AED analysis.
- ✓Correctly position hands on the lower half of the sternum with interlaced fingers lifted off the rib cage.
- ✓Deliver rescue breaths at the correct 30:2 ratio for single-rescuer adult CPR without over-inflating the lungs.
- ✓Identify when to switch to hands-only CPR versus standard CPR based on patient age and arrest cause.
- ✓Demonstrate proper two-finger technique for infant compressions with depth of approximately 1.5 inches.
- ✓State the correct compression-to-ventilation ratio for two-rescuer pediatric CPR (15:2).
- ✓Explain when to apply the recovery position and how to transition from active resuscitation to post-ROSC care.
Compression Fraction Above 80% Doubles Survival Odds
Research published in Circulation found that patients receiving CPR with a chest compression fraction above 80% — meaning compressions were actively occurring during at least 80% of the arrest — had nearly twice the survival rate of those receiving CPR with a fraction below 60%. Every unnecessary pause kills momentum and costs perfusion pressure. Train to minimize interruptions relentlessly, and switch compressors every two minutes to maintain depth without sacrificing fraction.
Common CPR compression errors fall into several predictable categories, and understanding them in detail is essential both for improving real-world performance and for passing certification skills assessments. The most frequently cited error in mannequin-based evaluations is inadequate depth: studies of lay rescuers show that a majority compress to less than 2 inches, often because they fear injuring the patient.
This fear, while understandable, is misplaced — rib fractures, though possible, are a recoverable injury, while hypoxic brain damage from inadequate circulation is not. Instructors at AHA-affiliated training centers are taught to explicitly address this reluctance and encourage learners to compress harder than feels intuitive.
The second most common error is leaning — maintaining residual pressure on the chest between compressions rather than allowing the sternum to fully recoil. Even subtle leaning (as little as 2.5 kg of residual force) measurably reduces right atrial filling pressure and cardiac output.
The remedy is simple in theory but requires deliberate practice: fully release each compression and allow the chest to spring back completely before beginning the next downstroke. Using a feedback device that monitors recoil — available in many AHA HeartCode BLS courses — is the most effective way to detect and correct this habit before it becomes ingrained.
Excessive interruptions represent the third major failure mode. Providers often pause compressions to check for a pulse, to prepare medication, to move a patient, or simply to rest. Each of these pauses carries a cost: coronary perfusion pressure, which takes approximately 15 to 30 seconds to build to therapeutic levels after compressions begin, drops to near zero within three to four seconds of stopping. A ten-second pause can require another 30 seconds of compressions to restore the perfusion pressure lost — an equation that argues strongly for treating any compression pause as a clinical emergency in itself.
Incorrect hand placement is less common than depth or recoil errors but carries significant consequences. Compressing on the xiphoid process — the small cartilaginous tip at the bottom of the sternum — risks liver laceration. Compressing too high on the sternum reduces the mechanical efficiency of the pump action. The correct landmark is the lower half of the sternum, which can be found by placing the heel of the hand two finger-widths above the xiphoid, or by simply centering the hand on the chest between the nipple line — a faster and equally reliable method endorsed by current AHA guidelines.
Ventilation errors, while not technically compression errors, interrupt compression sequences and therefore degrade overall CPR quality. The two primary ventilation mistakes are blowing too hard (causing gastric insufflation, which can lead to regurgitation and aspiration) and blowing too long (extending the ventilation pause unnecessarily). Each rescue breath should take about one second and deliver just enough volume to see the chest rise visibly. Providers who blow a full adult tidal volume (500 mL) rather than the minimum effective volume create unnecessary risk and extend the pause between compression cycles.
Fatigue is an underappreciated but physiologically significant factor. Research on compression quality over time shows that compression depth begins to decline within 60 to 90 seconds for most rescuers, with the decline accelerating sharply after two minutes. This is why the AHA recommends switching compressors every two minutes — a schedule that conveniently aligns with the rhythm-check intervals in the standard ACLS algorithm. In a real resuscitation, it is the team leader's responsibility to monitor fatigue and call for a compressor switch before quality degrades rather than after.
Finally, inadequate training and infrequent refresher practice remain the systemic root cause of most compression errors. Studies show that CPR skill retention declines rapidly after initial training, with meaningful degradation detectable within three to six months. The AHA recommends skill refreshers every year, and some hospital systems now use brief quarterly skills stations to keep resuscitation competency current. Online modules and mannequin practice sessions offered through the National CPR Foundation and AHA HeartCode platform make this ongoing practice more accessible than ever before.
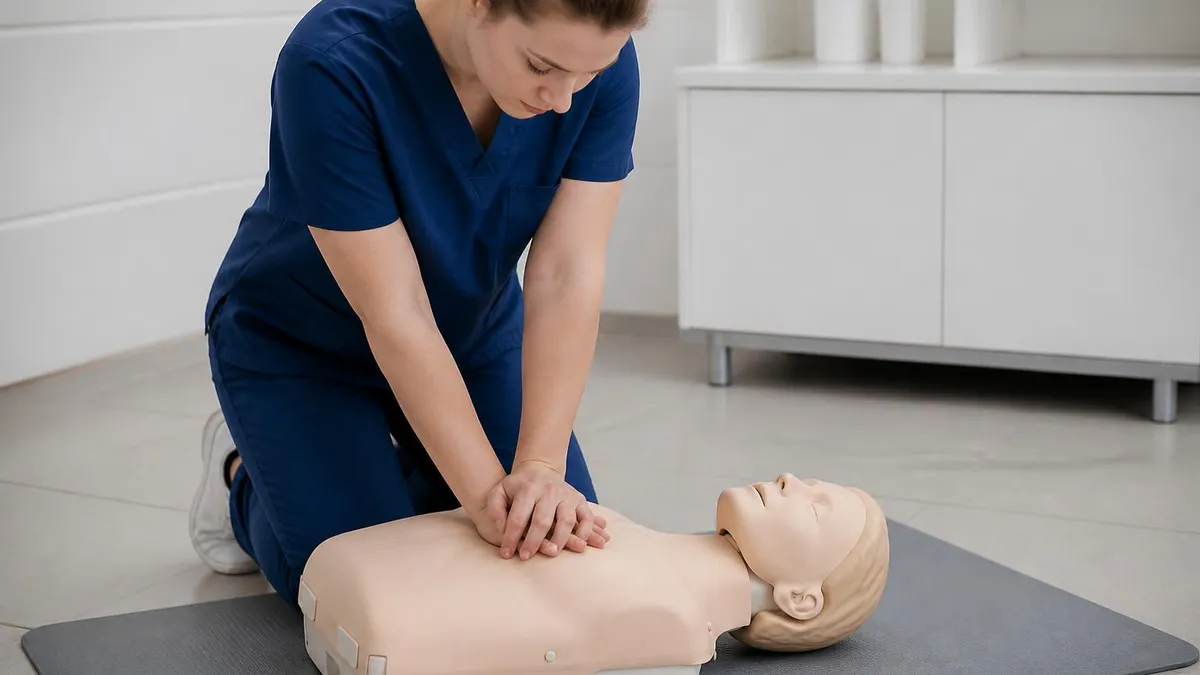
Compressions shallower than 2 inches fail to generate adequate coronary perfusion pressure and will not circulate oxygenated blood effectively. Multiple large studies confirm that every millimeter below 50 mm (approximately 2 inches) is associated with measurable reductions in ROSC and survival. During skills assessments for BLS, ACLS, and PALS certification, failure to achieve adequate compression depth is among the top reasons candidates do not pass. If your evaluator prompts you to 'push harder,' act immediately — shallow compressions in a real arrest cost lives.
Preparing for a CPR certification exam — whether through the National CPR Foundation, American Heart Association, American Red Cross, or another accredited provider — requires both cognitive and psychomotor readiness. The cognitive component covers knowledge: knowing the correct compression rate, depth, ratios, AED protocol, and when to adapt technique for infants, children, or special populations. The psychomotor component covers execution: physically performing all of those skills on a mannequin with the speed, force, and precision that current guidelines require. Both components must be addressed in your preparation strategy.
For the cognitive side, structured practice quizzes are among the most efficient preparation tools available. They expose gaps in your knowledge that reading alone may not reveal — for example, you might know that 30:2 is the adult compression ratio, but struggle when a question asks you to identify the correct ratio for two-rescuer pediatric CPR, or asks you to select the maximum allowable pause duration during an AED rhythm check. Free practice questions available on PracticeTestGeeks and similar platforms let you work through these distinctions repeatedly until the correct answers become reflexive rather than effortful.
For the psychomotor side, nothing replaces hands-on practice with a mannequin and, ideally, a compression feedback device. Feedback devices — either standalone units or built into higher-quality mannequins — provide real-time data on rate, depth, and recoil, allowing you to self-correct without waiting for an instructor's observation.
Many AHA HeartCode BLS courses now include a home mannequin component, and physical training centers affiliated with the National CPR Foundation offer open skills labs where candidates can practice outside of formal course hours. If you cannot access a mannequin, practicing compression technique on a firm pillow to feel proper arm position and pressure is a reasonable supplement, though not a substitute.
Understanding the exam format of your specific certification course matters more than many candidates realize. National CPR Foundation exams are typically multiple-choice online assessments followed by a skills component. AHA BLS and ACLS exams include written knowledge checks and standardized skills stations evaluated by certified instructors. PALS certification adds case-based scenario stations that test integrated team performance, not just individual skill execution. Knowing what you will be evaluated on — and practicing in that format — is a basic but powerful preparation principle that separates candidates who barely pass from those who complete skills stations confidently and without hesitation.
Scenario-based practice is particularly valuable for ACLS and PALS candidates because both certifications test team dynamics in addition to individual skills. Acting as team leader during a mock resuscitation requires you to direct compressors, call rhythm checks, order medications, and communicate clearly — all while monitoring the quality of compressions being delivered by your teammates.
Candidates who have practiced only individual skills and not team scenarios often find these leadership demands unexpectedly difficult during their actual certification sessions. Most AHA-affiliated training centers offer practice scenario sessions, and many candidates find that attending a HeartCode preparatory course the week before their certification significantly improves both confidence and performance.
Time management during skills assessments also deserves specific attention. Evaluators are timing you. Compression pauses that feel brief in practice may exceed the ten-second limit under the pressure of being observed and assessed. Practicing with a stopwatch — deliberately timing your pulse checks, AED pauses, and compressor switches — builds the intuitive sense of ten seconds that you need to stay within guidelines without thinking about it consciously. A ten-second window is shorter than it feels, especially when you are simultaneously analyzing a rhythm strip, deciding whether to shock, or preparing an epinephrine dose.
After your certification, plan for ongoing skill maintenance. The AHA and National CPR Foundation both recommend annual recertification for most BLS providers, and two-year cycles for ACLS and PALS. But maintaining competency between formal recertifications matters too. Brief skills practice sessions — as short as ten minutes with a mannequin — conducted quarterly have been shown to preserve skill levels far better than relying solely on formal recertification. Some healthcare systems now incorporate brief CPR compression quality checks into annual competency days, giving staff a low-stakes opportunity to refresh their technique without the pressure of a formal evaluation.
Practical tips for mastering CPR compressions in real-world conditions go beyond what most certification courses cover explicitly. The first is positional awareness: kneeling with your knees shoulder-width apart beside the victim's chest gives you a stable base. Leaning forward to position your shoulders directly above your hands — not angled to the side — maximizes the mechanical advantage of your body weight and reduces the muscular effort required to achieve adequate depth. Many rescuers find that compressing with locked elbows and using a straight-arm, piston-like motion is far less fatiguing than bending and extending the elbows with each compression cycle.
Surface matters more than most laypeople realize. Compressions delivered on a soft mattress or foam surface lose a significant portion of their force to surface compression rather than chest wall depression. The AHA recommends placing a backboard or firm surface under the patient whenever possible in healthcare settings.
In out-of-hospital settings, hard floors are ideal — if the victim has collapsed on carpet or a sofa, moving them to a hard floor before beginning compressions (assuming the arrest was witnessed and immediate CPR is not critical) is a reasonable step. In practical terms, however, always prioritize starting compressions over finding the perfect surface — the cost of delay exceeds the cost of a softer surface.
Managing rescuer fatigue during prolonged resuscitation is a team skill. In a two-rescuer scenario, the switch should occur every two minutes — timed to the AHA's recommended rhythm check interval — with a verbal handoff so that the incoming compressor knows exactly when to begin. The switch itself should take no longer than five seconds.
In larger team settings, having a dedicated compressor rotation schedule that doesn't depend on the team leader noticing fatigue in real time prevents the compression depth degradation that accumulates silently during extended resuscitations. Designating someone specifically to watch compression quality and prompt switches is a small process change with outsized impact on outcomes.
For healthcare providers, documentation during resuscitation includes noting compression quality. Many modern defibrillators record accelerometer data that captures compression rate, depth, and recoil in real time, providing a post-resuscitation analysis that teams can use for quality improvement. Reviewing this data after every resuscitation — identifying which phases had adequate compression fraction and where interruptions occurred — is a best practice in high-performing emergency departments and ICUs. Hospitals that conduct systematic post-arrest debriefs using defibrillator data consistently report improvements in CPR quality metrics over time.
Special populations present unique compression considerations. Patients with implanted devices — pacemakers, left ventricular assist devices (LVADs), or coronary stents — can still receive standard compressions; pacemakers and stents are not contraindications to CPR. Patients with known or suspected opioid overdose benefit from rescue breathing as the primary intervention because hypoxic respiratory arrest is the mechanism, but compressions should begin if pulse is absent.
Pregnant patients should receive compressions in the standard supine position, with a team member manually displacing the uterus to the left to relieve aortal caval compression — a simple technique that can meaningfully improve cardiac output during resuscitation.
For community members considering CPR training, the range of options is now broader and more accessible than ever. In-person courses through the AHA, Red Cross, and National CPR Foundation range from four-hour BLS courses to two-day ACLS programs. Online blended learning courses allow candidates to complete the cognitive portion at home and attend a brief two-hour skills session in person.
Some employers, community centers, and fire departments offer free community CPR classes to increase bystander rates. If cost is a barrier, many libraries, community colleges, and online platforms now offer no-cost CPR awareness content that, while not a certification substitute, meaningfully improves the likelihood that an untrained bystander will attempt CPR during an emergency.
Ultimately, the most important predictor of bystander CPR success is not technical knowledge — it is willingness to act. Every CPR compression delivered by a bystander, even an imperfect one, is better than no compression at all. The AHA's Good Samaritan laws, which exist in all 50 US states, protect bystanders who attempt CPR in good faith from civil liability, removing one of the most commonly cited barriers to action.
Share this knowledge with friends and family. Encourage everyone in your household to take a CPR class. The next cardiac arrest in your community may be someone you know — and your hands may be what stand between them and a permanent outcome.
CPR Questions and Answers

CPR Courses: Complete Guide to ACLS Algorithm, PALS Certification, and Life Support Training in 2026
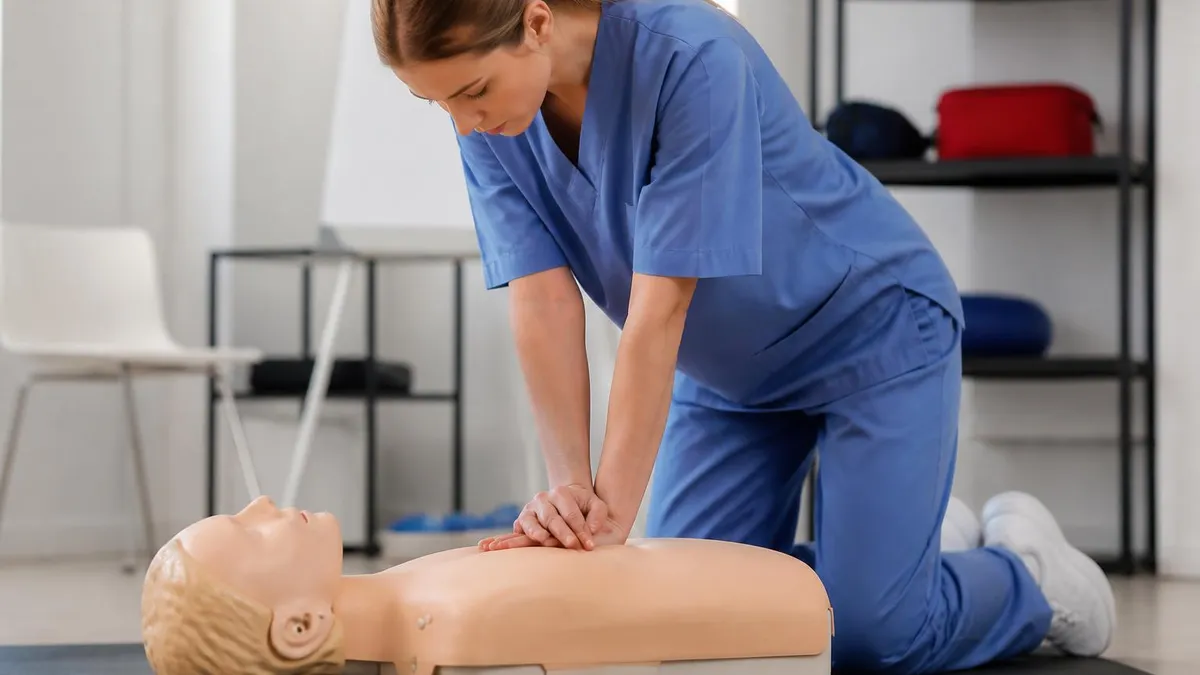
Types of CPR Training: From Basic Life Support to ACLS Algorithm Mastery in 2026
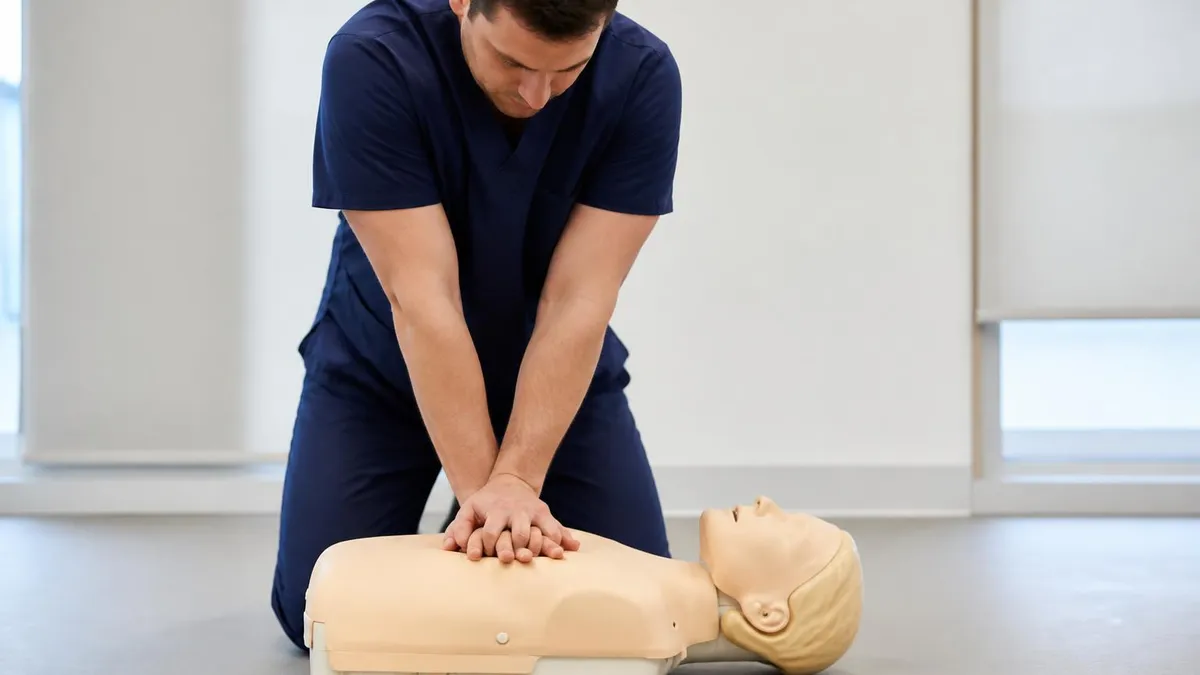
BLS vs CPR: Is BLS the Same as CPR? Complete 2026 Guide
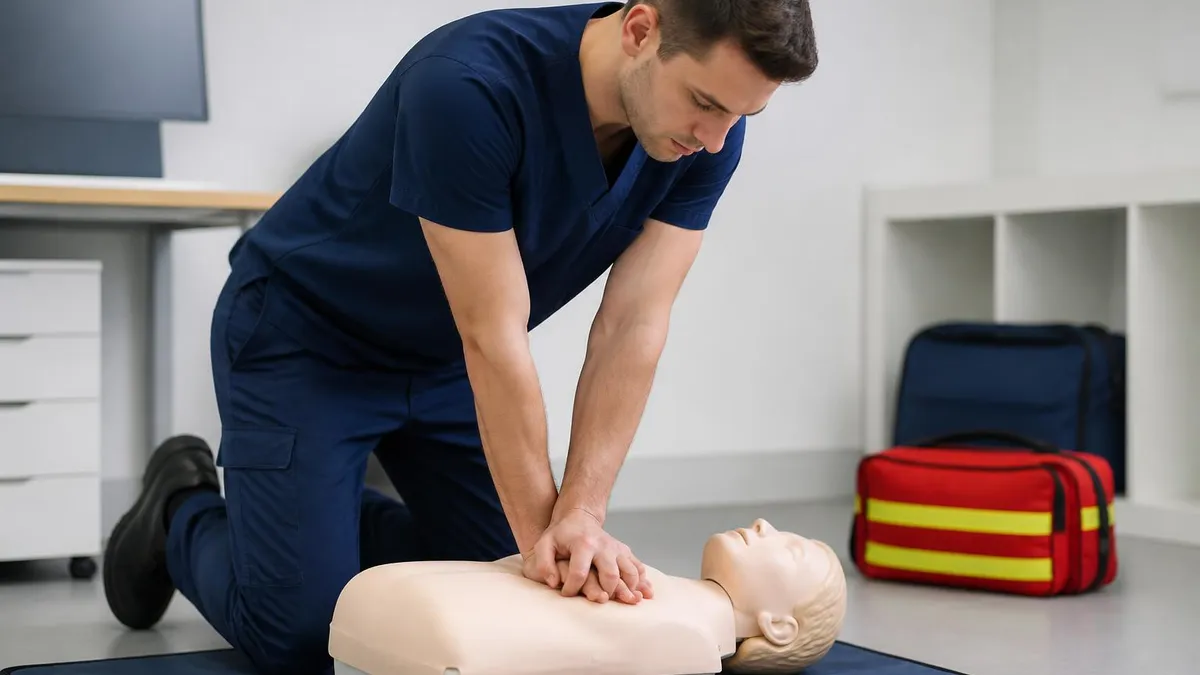
Adult CPR: Complete Step-by-Step Guide to Hands-Only and Standard CPR in 2026
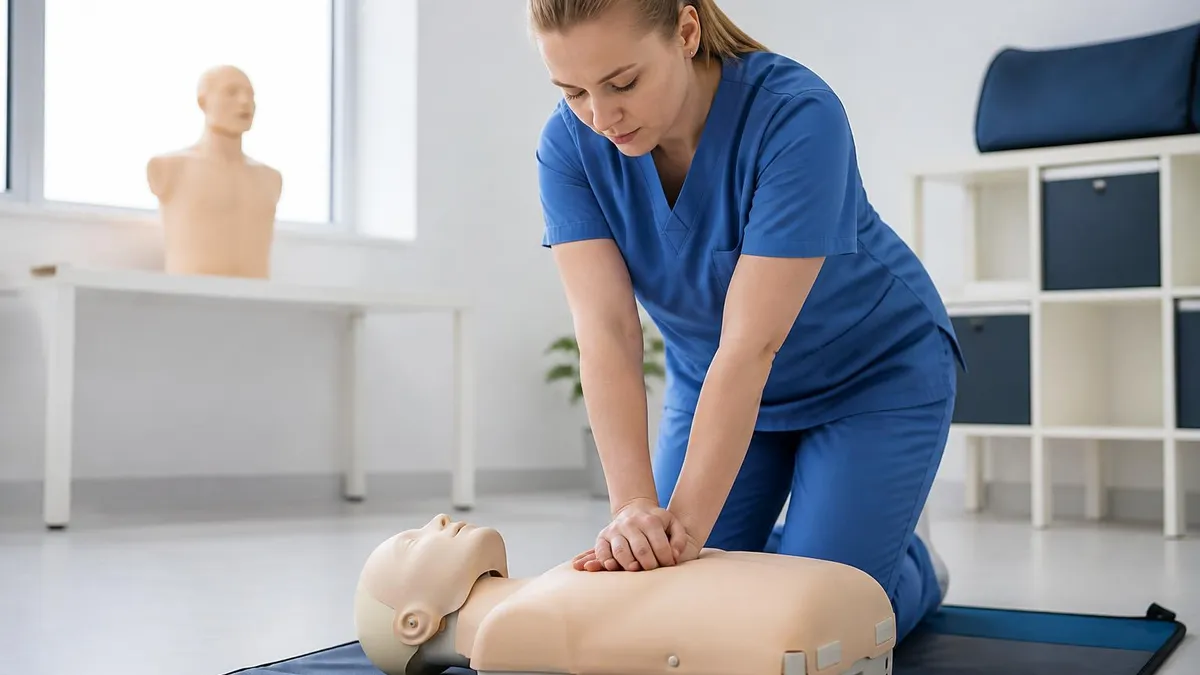
Free CPR Training: Complete Guide to ACLS Algorithm, PALS Certification, and Life Support Skills in 2026
About the Author

Registered Nurse & Healthcare Educator
Johns Hopkins University School of NursingDr. Sarah Mitchell is a board-certified registered nurse with over 15 years of clinical and academic experience. She completed her PhD in Nursing Science at Johns Hopkins University and has taught NCLEX preparation and clinical skills courses for nursing students across the United States. Her research focuses on evidence-based exam preparation strategies for healthcare certification candidates.
Join the Discussion
Connect with other students preparing for this exam. Share tips, ask questions, and get advice from people who have been there.
View discussion (5 replies)