MRI Procedure: What to Expect Before, During and After Your Scan 2026 July
Complete MRI procedure guide covering preparation, scan duration, contrast use, safety screening, and what to expect before, during and after your exam. 📝

An MRI procedure uses powerful magnets and radio waves to create detailed cross-sectional images of organs, soft tissues, bones, and nearly every internal structure in the human body. Unlike X-rays or CT scans, magnetic resonance imaging does not use ionizing radiation, which makes it a preferred choice for repeated imaging, pediatric cases, and pregnant patients in their second and third trimesters. Understanding the full mri procedure helps reduce anxiety, improves image quality, and ensures the radiologist has the information needed for a confident diagnosis.
The process typically begins days before you arrive at the imaging center. Your referring physician submits an order specifying the body part to be scanned, the suspected pathology, and whether contrast material will be required. Scheduling staff then send pre-exam paperwork, fasting instructions when applicable, and a detailed safety questionnaire. This questionnaire screens for implanted devices, prior surgeries, metallic foreign bodies, kidney function concerns, and claustrophobia. Honest, complete answers protect you from preventable injury inside the magnet room.
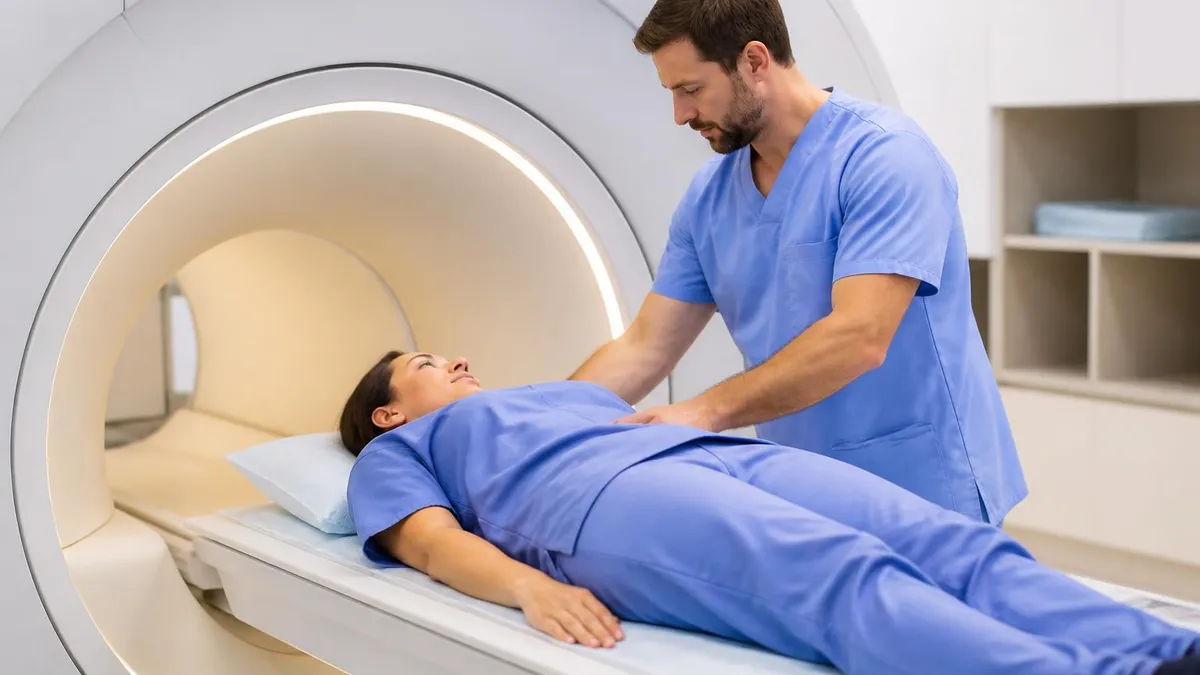
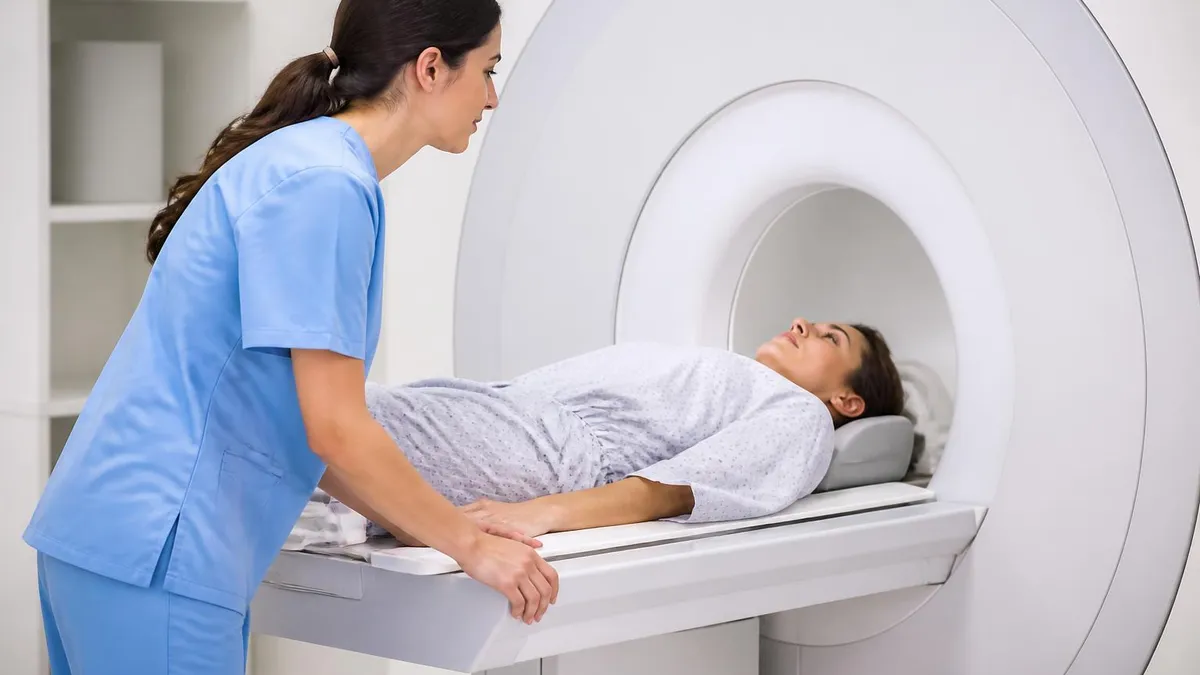
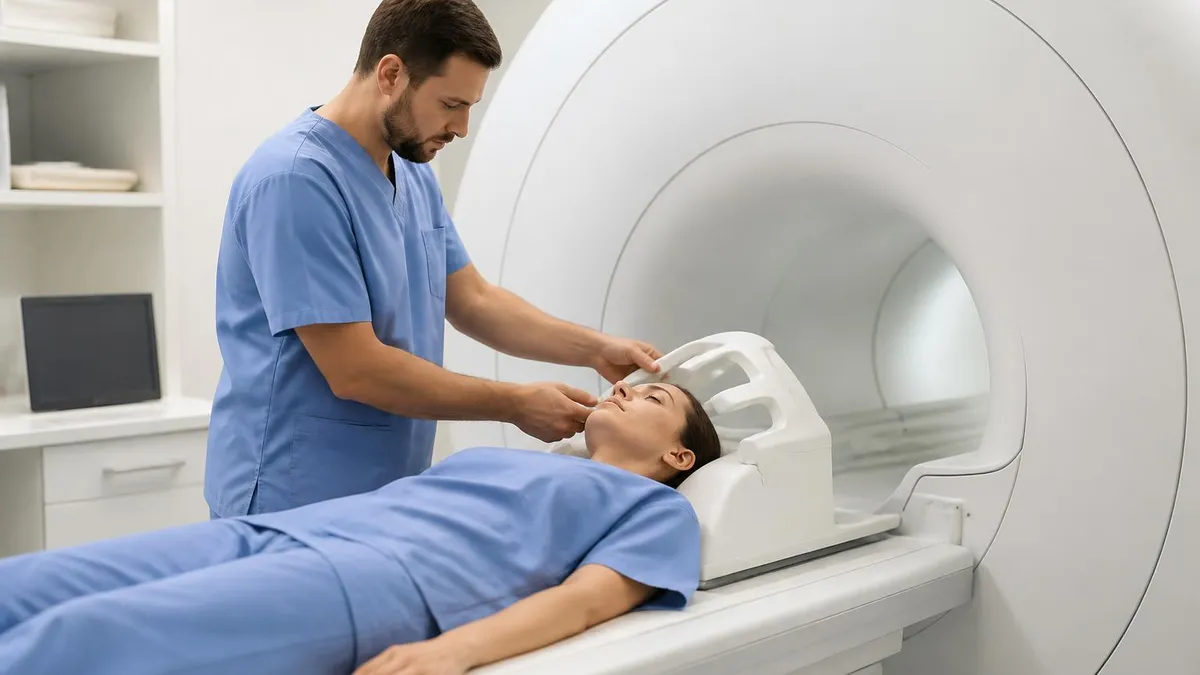
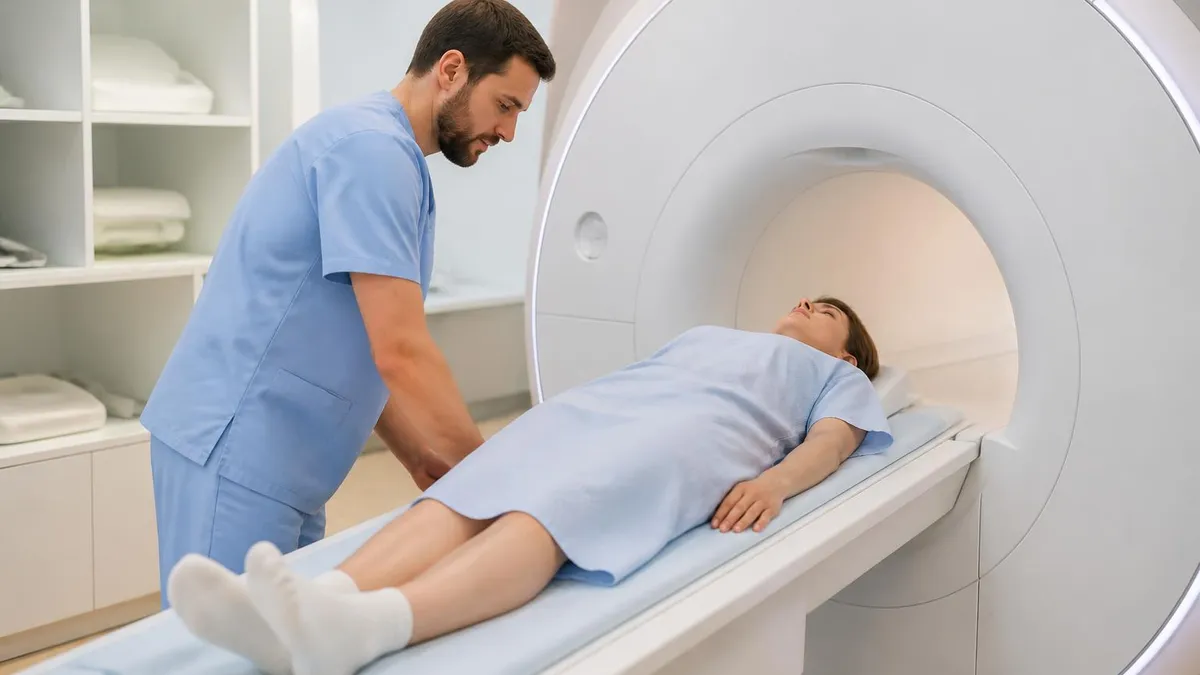
On the day of your scan, you will arrive 30 to 45 minutes early to check in, change into a gown, and complete final screening. A technologist will verify your identity, review the safety form a second time, and explain the sequence of events. You may receive an IV line if contrast is ordered, ear protection because the scanner is loud, and a call button to alert staff during the exam. Most exams last between 20 and 60 minutes depending on the protocol.
Inside the magnet, you will lie on a padded table that slides into the bore. A coil, which is a specialized antenna, is placed over or around the body part being imaged. The scanner produces loud knocking and buzzing sounds as gradient coils switch on and off to encode spatial information. You must hold still during each sequence because motion blurs the images and may force a repeat scan. The technologist watches you continuously through a window and intercom.
For many patients, the most useful preparation involves reviewing common Common MRI Findings: Brain, Spine and Joints Guide so you understand what your radiologist may report. Knowing how the procedure works also helps you communicate with the technologist about pain points, breathing instructions, and any rising anxiety. A calm, informed patient produces sharper images, which often eliminates the need for follow-up imaging or sedation on a return visit.
This guide walks through every stage of the MRI procedure: pre-exam preparation, safety screening, contrast administration, the scan itself, post-scan recovery, and how to read your results. It also covers cost considerations, common side effects, troubleshooting claustrophobia, and the differences between closed-bore, open, and wide-bore systems. Whether you are scheduled for a brain MRI, lumbar spine study, or musculoskeletal exam, the principles remain remarkably consistent across body parts.
By the end of this article, you will know exactly what to wear, what to eat, what questions to ask, and how to advocate for yourself if something feels wrong during the scan. A successful MRI is a partnership between you, the technologist, and the radiologist, and your understanding of the process is the foundation of that partnership.
MRI Procedure by the Numbers
Step-by-Step MRI Procedure
Pre-Exam Scheduling
Arrival and Screening
IV and Contrast Setup
Positioning on Scanner
Image Acquisition
Discharge and Results
Magnetic resonance imaging works by aligning the hydrogen protons inside your body with a powerful static magnetic field. When you lie inside the scanner bore, the magnet pulls these protons into alignment along its axis. A radiofrequency pulse then knocks the protons out of alignment, and as they relax back to their original orientation, they emit faint radio signals. The scanner detects those signals, and a computer reconstructs them into the grayscale images your radiologist reviews.
The magnetic field strength is measured in tesla, with most clinical scanners operating at 1.5T or 3.0T. Higher field strength improves signal-to-noise ratio, which translates to sharper images and shorter scan times for many protocols. However, 3.0T systems also produce more artifacts near metal implants and require more careful attention to specific absorption rate, which is the amount of radiofrequency energy deposited in tissue. Both strengths are safe for the vast majority of patients.
Gradient coils generate the loud knocking and buzzing that patients hear during the exam. These coils rapidly switch on and off to encode spatial information in three dimensions, allowing the scanner to localize each signal to a specific voxel in your body. The sound can exceed 100 decibels, which is why hearing protection is mandatory. Some newer scanners use quieter pulse sequences that reduce noise by 50 percent or more, improving the patient experience without sacrificing image quality.
Different tissue types relax at different rates after the radiofrequency pulse, and this is what creates contrast on MRI images. T1-weighted images make fat appear bright and water dark, which is excellent for anatomy. T2-weighted images do the opposite and highlight inflammation, edema, and most pathology. Specialized sequences such as FLAIR, diffusion-weighted imaging, and gradient echo each emphasize different tissue properties. Understanding the broader What MRI Can Detect: Conditions & Diagnostic Capabilities helps you appreciate why protocols vary.
Contrast agents, typically gadolinium chelates, shorten T1 relaxation time and make blood vessels and vascular lesions appear brighter. Contrast is not used for every exam. Routine spine and joint studies often skip it, while brain tumor workups, infection imaging, and vascular studies frequently require it. Kidney function is checked before administration because impaired clearance increases the risk of a rare condition called nephrogenic systemic fibrosis, especially with older linear gadolinium agents.
The scanner itself is essentially a giant cylindrical magnet wrapped in cooling coils filled with liquid helium. The static field is always on, even when no patient is in the room, which is why metal objects must never enter the scan area. Loose ferromagnetic items can become dangerous projectiles, and pacemakers or other implants can malfunction. Every clinical site enforces a four-zone safety protocol designed to prevent these incidents.
Image reconstruction happens on dedicated workstations using complex mathematics, including Fourier transforms that convert the raw signal data into recognizable anatomy. The technologist reviews each sequence in real time and repeats any series that shows motion or other artifacts. Once acquisition is complete, the radiologist receives the dataset for interpretation, often comparing the new images to prior studies to identify changes over time.
MRI Practice Test Questions
Prepare for the MRI - Magnetic Resonance Imaging exam with our free practice test modules. Each quiz covers key topics to help you pass on your first try.
MRI Knowledge
MRI Exam Questions covering Knowledge. Master MRI Test concepts for certification prep.
MRI Physics
Free MRI Practice Test featuring Physics. Improve your MRI Exam score with mock test prep.
MRI Anatomy and Pathology
MRI Test Prep for MRI Anatomy and Pathology. Practice MRI Quiz questions and boost your score.
MRI Anatomy and Positioning
MRI Questions and Answers on MRI Anatomy and Positioning. Free MRI practice for exam readiness.
MRI Contrast Agents
Free MRI Quiz on MRI Contrast Agents. MRI Exam prep questions with detailed explanations.
MRI Patient Care and Positioning
MRI Practice Questions for MRI Patient Care and Positioning. Build confidence for your MRI certification exam.
Types of MRI Procedures
A brain MRI procedure typically takes 30 to 45 minutes and uses a head coil that fits closely around your skull. The technologist acquires axial, sagittal, and coronal images using T1, T2, FLAIR, and diffusion-weighted sequences. This combination detects strokes within minutes of onset, identifies multiple sclerosis plaques, and characterizes tumors with high accuracy.
Contrast is added when infection, neoplasm, or breakdown of the blood-brain barrier is suspected. Patients lie supine with the head gently secured to prevent motion. Many centers offer prism glasses so claustrophobic patients can see outside the bore. Movement of even a millimeter can blur cortical detail, so breath-holding is rarely required but stillness is essential throughout.
Advantages and Limitations of the MRI Procedure
- +No ionizing radiation exposure, making it safe for repeated scans and most patients
- +Exceptional soft tissue contrast superior to CT for brain, spine, and joint imaging
- +Multiplanar imaging in axial, sagittal, coronal, and oblique views without repositioning
- +Detects pathology invisible on other modalities such as early stroke and bone marrow edema
- +Functional and physiologic information including diffusion, perfusion, and spectroscopy
- +Safe in pregnancy after the first trimester without contrast administration
- −Loud scanner noise reaching 100+ decibels requires mandatory hearing protection
- −Longer scan times than CT, with some protocols exceeding one hour
- −Contraindicated in patients with certain pacemakers, cochlear implants, and metallic foreign bodies
- −Significant cost ranging from $400 to over $3,500 per exam in the United States
- −Claustrophobia affects 5 to 10 percent of patients and may require sedation
- −Metallic artifacts from implants and dental work can obscure adjacent anatomy
MRI Procedure Preparation Checklist
- ✓Confirm your appointment time and arrival window with the imaging center
- ✓Complete the metal screening questionnaire honestly and thoroughly
- ✓List every surgery, implant, and metallic foreign body in detail
- ✓Bring prior imaging on CD or arrange electronic transfer to the new facility
- ✓Follow fasting instructions if contrast is ordered, typically four hours nothing by mouth
- ✓Wear comfortable clothing without metal zippers, snaps, or underwire
- ✓Leave jewelry, watches, hairpins, and body piercings at home when possible
- ✓Inform staff if you are pregnant or possibly pregnant before scanning
- ✓Take prescribed anti-anxiety medication only as directed by your physician
- ✓Arrange a driver if you receive sedation or anti-anxiety medication
Always disclose every implant, even decades-old ones
Patients frequently forget to mention surgical clips, stents, joint replacements, and shrapnel placed years or decades ago. Even small ferromagnetic objects can heat, migrate, or distort images. Bring implant cards when available, and if you are uncertain about an old surgery, request a screening X-ray before scanning rather than guessing.
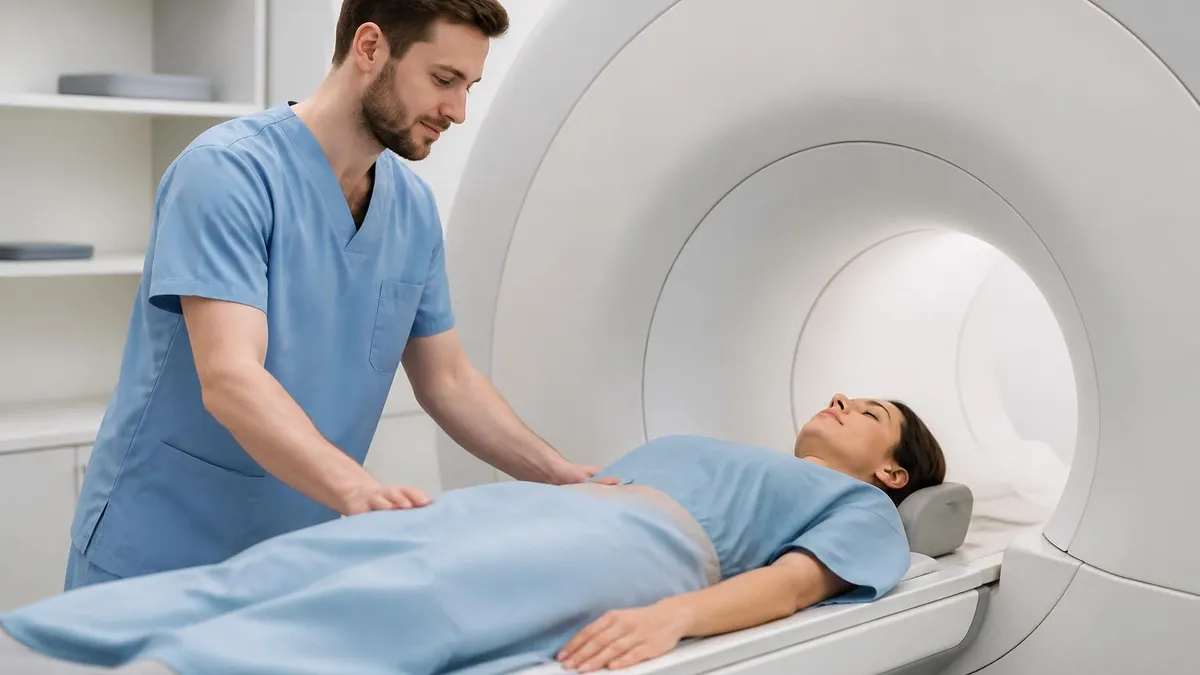
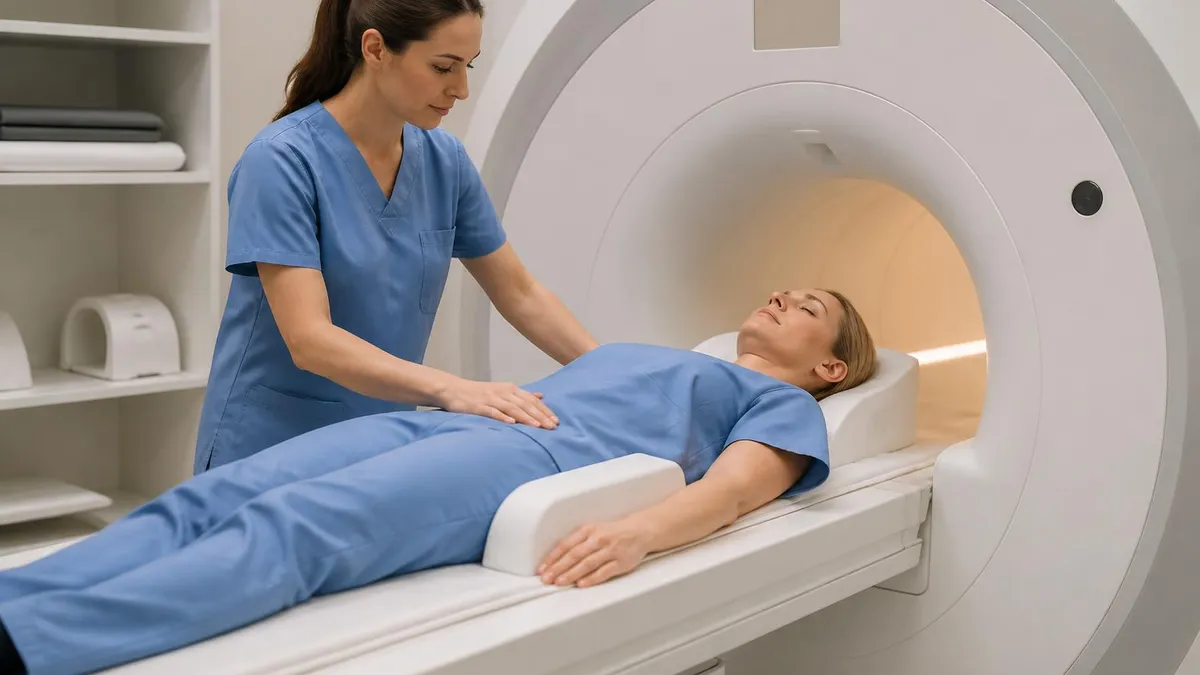
The experience of lying inside an MRI scanner is unfamiliar to most patients, so understanding what to expect during the scan reduces anxiety and improves cooperation. After the technologist positions you on the table and places the appropriate coil, the table will slowly slide into the bore. Modern scanners have a bore diameter of 60 to 70 centimeters, and the length you travel into the magnet depends on which body part is being imaged. Brain scans require your head to be near the isocenter, while knee scans may keep your head outside.
Once positioned, the technologist leaves the room and operates the scanner from an adjacent control area separated by leaded glass. They can see and hear you continuously through a window, camera, and two-way intercom. The squeeze ball or call button in your hand connects directly to an audible alarm at the console. Pressing it pauses the scan and brings staff into the room within seconds. You should not hesitate to use it if you feel sick, anxious, or experience any pain.
Each imaging sequence begins with a series of clicks as the gradient amplifiers ramp up, followed by louder knocking, buzzing, or beeping that lasts 2 to 7 minutes. Between sequences there are brief pauses of 10 to 30 seconds during which the technologist may speak to you, confirm comfort, and adjust parameters. Some sequences require breath-holds of 15 to 25 seconds, particularly for abdominal and cardiac exams. Most musculoskeletal and neurological scans require only that you breathe normally and stay motionless.
Temperature inside the bore is regulated, but many patients feel slightly warm because of the close-fitting coil and the absorbed radiofrequency energy. Asking for a light blanket before the scan begins prevents shivering, which can ruin images. A small percentage of patients notice a metallic taste, mild tingling, or muscle twitches, all of which are normal responses to gradient switching. None of these sensations indicate harm.
If contrast is part of your protocol, the technologist will inject gadolinium through the IV midway through the exam, usually after baseline images are acquired. You may feel a brief cool sensation traveling up your arm. Allergic reactions to gadolinium are rare, occurring in roughly 0.04 percent of administrations, but the staff has medications and monitoring in place to manage any reaction immediately. Severe anaphylaxis is exceptionally uncommon.
For patients undergoing a comprehensive screening study such as a Full Body MRI: What It Scans, How Long It Takes, Cost, and What to Expect, the scan can last over an hour and involves multiple repositioning stops. Most diagnostic exams, however, fall in the 25 to 45 minute range. Keeping your eyes closed, focusing on slow breathing, and listening to music through the headphones helps the time pass more quickly. Many facilities allow patients to choose their playlist before the exam.
Communication between sequences matters. If something feels wrong, your bladder is full, or you simply need a moment to reposition, tell the technologist immediately. Stopping early is far better than completing a scan riddled with motion artifacts that the radiologist cannot interpret. Most facilities prefer one paused, high-quality exam over a rushed, blurry one that demands a costly repeat appointment.
Never enter the MRI scanner room with metal objects, including credit cards, keys, phones, watches, or jewelry. The static magnetic field is always on, even when no scan is in progress. Pacemakers, certain aneurysm clips, cochlear implants, and metallic foreign bodies in the eye can cause life-threatening injury. Disclose every implant during screening, even items from decades-old surgeries.
After your MRI procedure ends, the technologist slides the table out of the bore and helps you sit up slowly to prevent lightheadedness. If you received contrast, the IV is removed and a small bandage is applied. You return to the dressing room, change back into your clothes, and collect your belongings from the locker. Most patients can drive themselves home, return to work, and resume normal activities including exercise without restriction. There is no recovery period required after a routine non-sedated exam.
If you received oral or IV sedation for anxiety or claustrophobia, you cannot drive for the rest of the day and must have a responsible adult escort you home. Drink extra water for the next 24 hours to help flush gadolinium contrast through your kidneys, even though the agent is generally safe in patients with normal renal function. Mild headache, nausea, or fatigue can occur after contrast and typically resolves within hours without treatment.
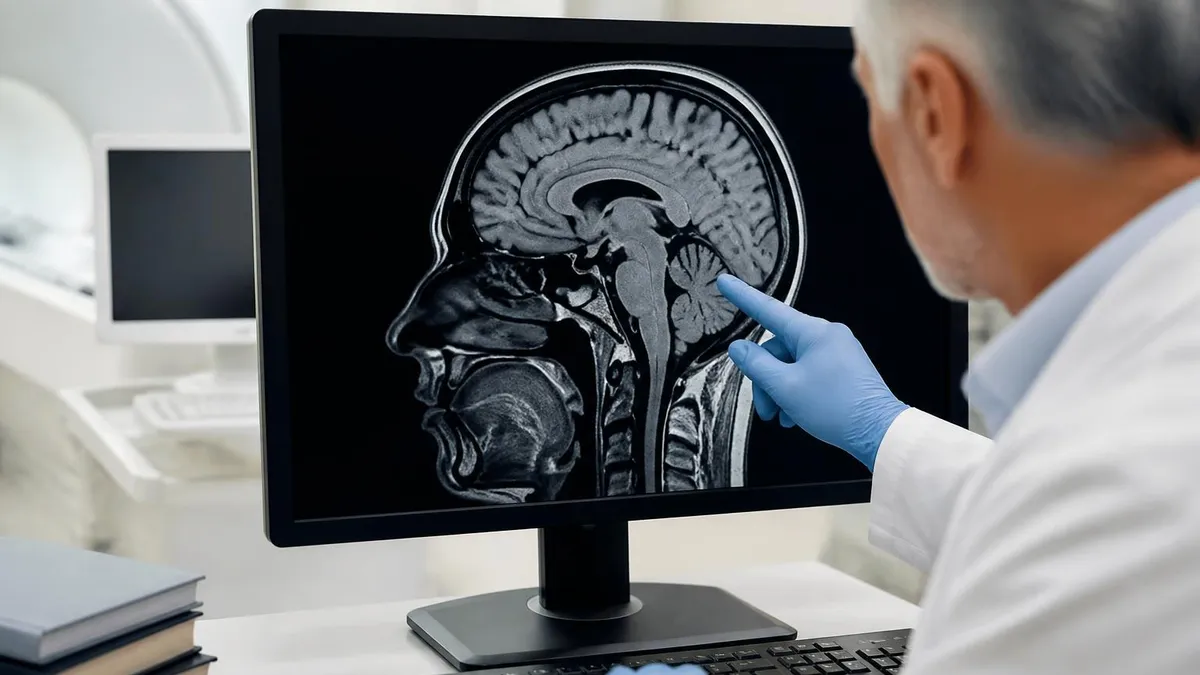
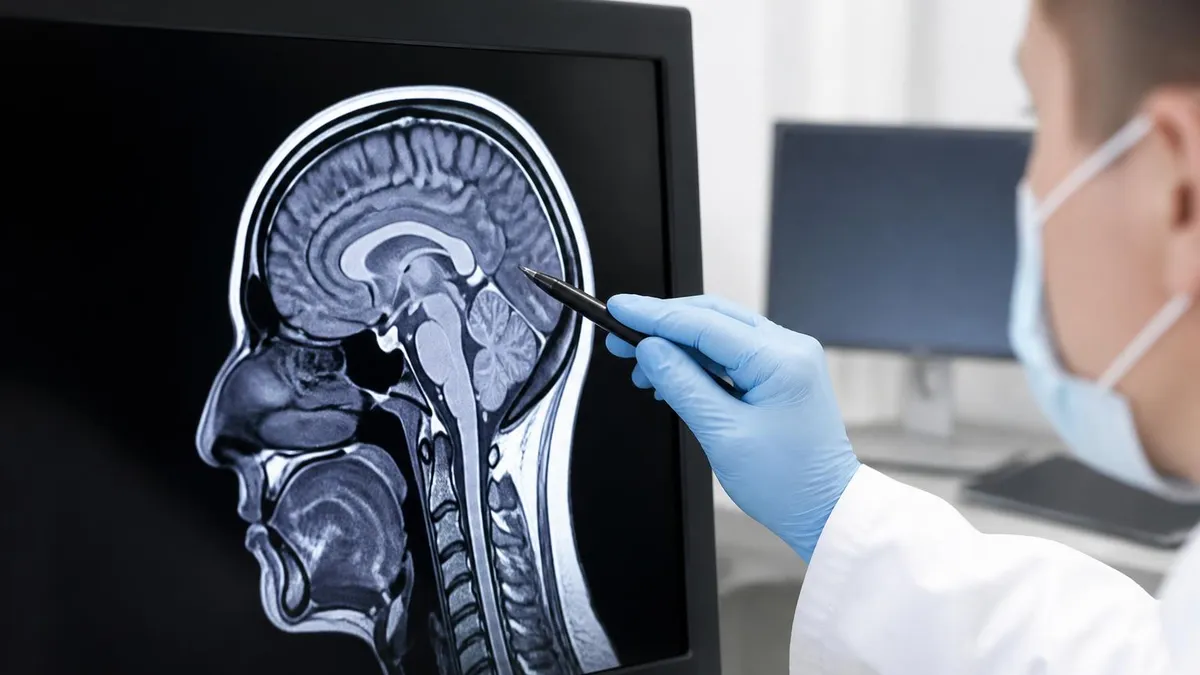
Image interpretation is performed by a board-certified radiologist, often subspecialty-trained in neuroradiology, musculoskeletal imaging, or body imaging depending on the exam. The radiologist reviews every sequence on a high-resolution workstation, compares findings to any prior imaging, and dictates a structured report. Turnaround time ranges from 30 minutes for stat inpatient exams to 24 to 72 hours for outpatient studies. Critical findings are called directly to the ordering physician.
You will not receive your results from the technologist, who is trained in image acquisition rather than interpretation. Your ordering physician contacts you to discuss the report, sometimes during a scheduled follow-up appointment, sometimes by phone or patient portal message. Reading the radiology report yourself can be helpful, but the language is technical, and many findings described as abnormalities are clinically insignificant incidental discoveries that require no treatment.
If the radiologist recommends additional imaging or a follow-up MRI in three or six months, this is a routine part of monitoring stable findings such as small cysts, benign lesions, or post-surgical changes. It does not mean cancer or anything alarming. Conversely, urgent findings such as new strokes, large tumors, or infections trigger immediate communication and treatment planning. Most outpatient MRI procedures, however, yield reassuring or mildly abnormal results that explain the patient's symptoms.
Costs and billing arrive separately from the imaging facility, the radiologist's professional fee, and any sedation or contrast charges. Total out-of-pocket expense depends heavily on insurance, facility type, and location. Hospital-based MRI typically costs two to three times more than freestanding outpatient centers for the same study. Always verify coverage and request a good-faith estimate before scheduling if you carry a high-deductible plan. Patients considering Wide Bore MRI options should ask whether their facility offers them and whether the cost differs.
Finally, retain a copy of your images on CD or through electronic transfer for future reference. If you change physicians, switch insurance, or move cities, having your prior MRI available eliminates duplicate scanning and provides essential comparison material. Most facilities will burn a disc free of charge at your request, and many now offer secure cloud-based portals that allow you to download your study directly to a phone or laptop.
A handful of practical strategies separate a smooth MRI procedure from a stressful one. First, schedule your exam at a time of day when you feel most relaxed. Morning slots often have shorter waits because the schedule has not yet drifted behind. Avoid scheduling immediately after a large meal or several cups of coffee, since both can increase the urge to move or use the restroom during the exam. Eat lightly unless fasting is required, and use the bathroom immediately before the technologist calls you in.
Second, plan your wardrobe carefully. Choose loose-fitting clothing without metallic zippers, hooks, embroidery, or rhinestones. Sweatpants and a cotton T-shirt are ideal. Even sports bras with metal underwire or hooks must be removed. Many centers provide gowns to ensure compliance, but wearing MRI-appropriate clothes from home saves time. Leave expensive jewelry, smartwatches, and electronics in the car or at home, since lockers, while secure, are not insured against loss.
Third, address claustrophobia honestly with your physician before the appointment, not during it. Ask whether a wide-bore or open scanner is available, request a low-dose anxiolytic prescription if needed, and tour the scan room in advance if the facility offers it. Practicing breath control, listening to calming audio, and using prism glasses that let you see the room from inside the bore all reduce panic. Some patients benefit from cognitive behavioral therapy techniques learned in a single session.
Fourth, communicate with the technologist proactively. Mention old injuries, painful positions, hearing sensitivity, or any concern before the scan starts rather than waiting. Technologists routinely adjust padding, coil placement, and table height to accommodate body habitus, recent surgery, or limited range of motion. They cannot read your mind, but they will respond to clear feedback. A two-minute conversation up front prevents a thirty-minute reposition mid-scan.
Fifth, prepare for the wait. Bring a book, podcast, or downloaded video for the lobby. Bring a charger. Bring a snack for after the exam in case you fasted. If a child or elderly relative is being scanned, bring entertainment and comfort items, since waiting rooms can be sterile and boring. Caregivers can usually accompany patients to the gowning area but must remain in the lobby during the scan unless they are screened to enter the magnet room.
Sixth, take ownership of your results. Sign up for your facility's patient portal before leaving so you can read the report when it posts. Schedule a follow-up appointment with your ordering physician within one to two weeks. Bring a written list of questions to that appointment, because many patients freeze when faced with medical terminology. Asking your doctor to draw the finding on a diagram, explain treatment options, and outline next steps converts a confusing report into an actionable plan.
Finally, share your experience with friends or family who may need imaging in the future. Many people delay diagnostic workup because they fear the unknown, and a candid description of what the MRI procedure actually feels like demystifies the process. The scan itself is painless, the staff are highly trained, and the diagnostic value is enormous. With preparation and clear communication, your exam will deliver the information your medical team needs to care for you confidently.
MRI Questions and Answers
About the Author

Medical Laboratory Scientist & Clinical Certification Expert
Johns Hopkins UniversityDr. Sandra Kim holds a PhD in Clinical Laboratory Science from Johns Hopkins University and is certified as a Medical Technologist (MT) and Medical Laboratory Scientist (MLS) through ASCP. With 16 years of clinical laboratory experience spanning hematology, microbiology, and molecular diagnostics, she prepares candidates for ASCP board exams, MLT, MLS, and specialist certification tests.
Join the Discussion
Connect with other students preparing for this exam. Share tips, ask questions, and get advice from people who have been there.
View discussion (6 replies)