MRI Experience: What It Really Feels Like Inside an MRI Scanner From Start to Finish
The complete MRI experience explained — what you feel, hear, and see during an MRI scan, plus prep tips, comfort tricks, and what happens after. 📗
The mri experience is one of the most misunderstood moments in modern medicine, and for many patients it ranks somewhere between mildly boring and genuinely nerve-wracking depending on what they were told beforehand. Magnetic resonance imaging uses a powerful magnet, radio waves, and a computer to build detailed pictures of soft tissue, and the process is completely painless. Still, the long tube, the loud knocking, and the stillness required can make a routine scan feel surprisingly intense for first-time patients walking into an imaging center.
When you arrive for your appointment, the front desk verifies your identity, your referral, and your insurance, then hands you a safety screening form that asks about metal implants, surgical clips, pacemakers, tattoos, and pregnancy. The screening is the most important paperwork of the day because the MRI magnet is always on, even when no scan is running. Anything ferromagnetic in your body or pockets can become a projectile, so technologists take this checklist very seriously and will ask the same questions twice.
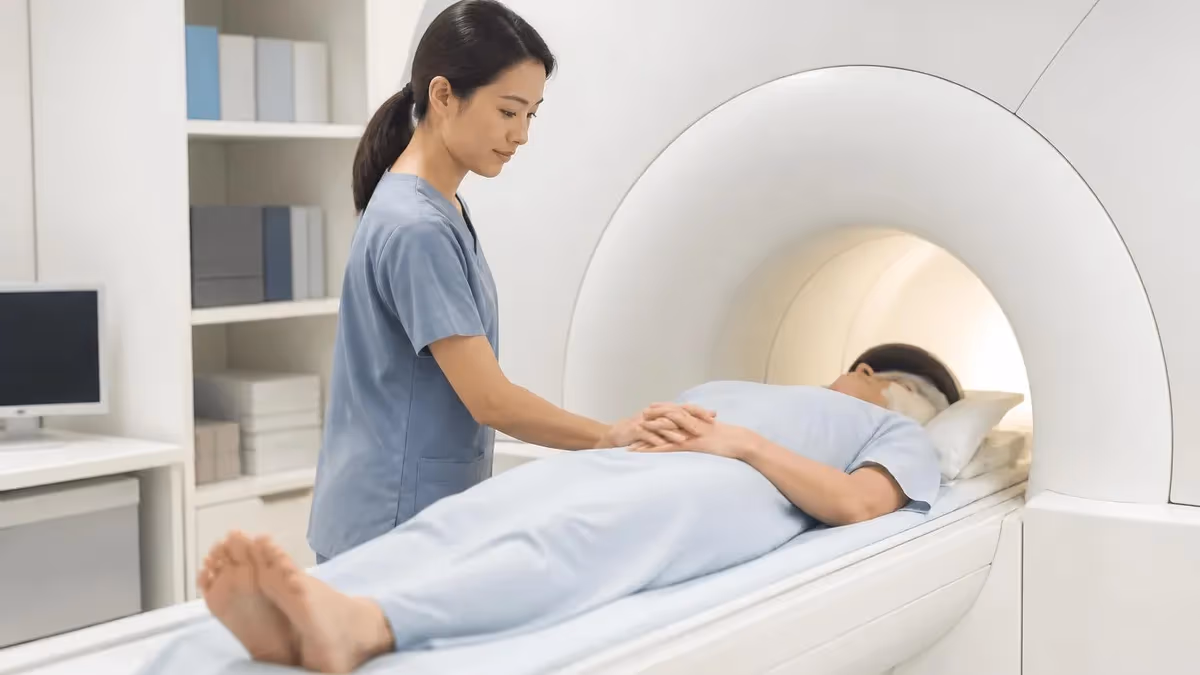
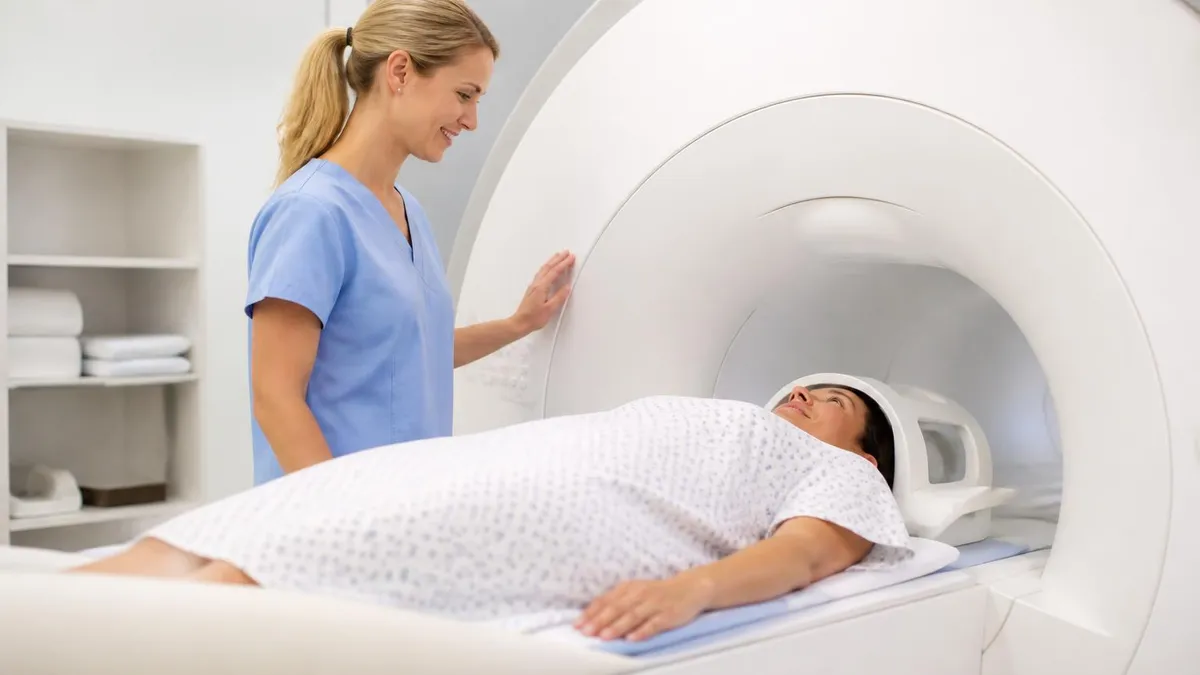
Once cleared, you change into a gown, lock your belongings in a secure cubby, and walk into the scan room with the technologist. The room is usually cool, brightly lit, and dominated by a large white doughnut-shaped machine with a sliding table in the middle. You lie down on the padded table, the tech positions a coil over the body part being imaged, hands you a squeeze-bulb panic button, and offers earplugs or headphones with music to soften the noise that is about to start.
The table glides into the bore, the magnet hums, and the sequence begins with a series of rhythmic clicks, taps, and loud knocking sounds that rise and fall as different pulse sequences run. Each sequence takes between thirty seconds and seven minutes, and a typical exam stacks four to eight of them back-to-back. You feel no pain, no electrical sensation, and usually no warmth, but you do feel the vibration of the gradient coils and the slight breeze from the bore fan blowing across your face.
Most patients describe the experience as a long enforced rest punctuated by loud noises and the technologist's calm voice over the intercom telling them how long the next series will run. You are awake, aware, and free to communicate, but you must hold still — even small movements blur the images and force a repeat. For a brain or spine MRI you may lie there for thirty to forty-five minutes; a multi-region oncology scan with contrast can stretch past ninety minutes.
The biggest surprise for newcomers is how mental the experience is rather than physical. Without a phone, without conversation, and without the ability to scratch an itch, your mind has nowhere to go but inward. Some patients fall asleep, others meditate, and a small percentage discover claustrophobia they never knew they had. Knowing what to expect ahead of time — the noise, the stillness, the duration, and the tight space — is the single biggest predictor of a smooth, anxiety-free scan from check-in to discharge.
This guide walks you through every minute of an MRI from the moment you park your car to the moment you leave with your images on a disc, covering preparation, sensations, contrast injections, comfort hacks, what radiologists actually see, and how to handle the rare complications. Whether you are scheduled for your first scan next week or you are a tech curious about the patient side of the table, you will walk away with a complete and realistic picture of what an MRI actually feels like.
The MRI Experience by the Numbers
Before You Arrive: Preparation Timeline
24 Hours Before
Morning Of
At Check-In
Changing Room
Final Screening
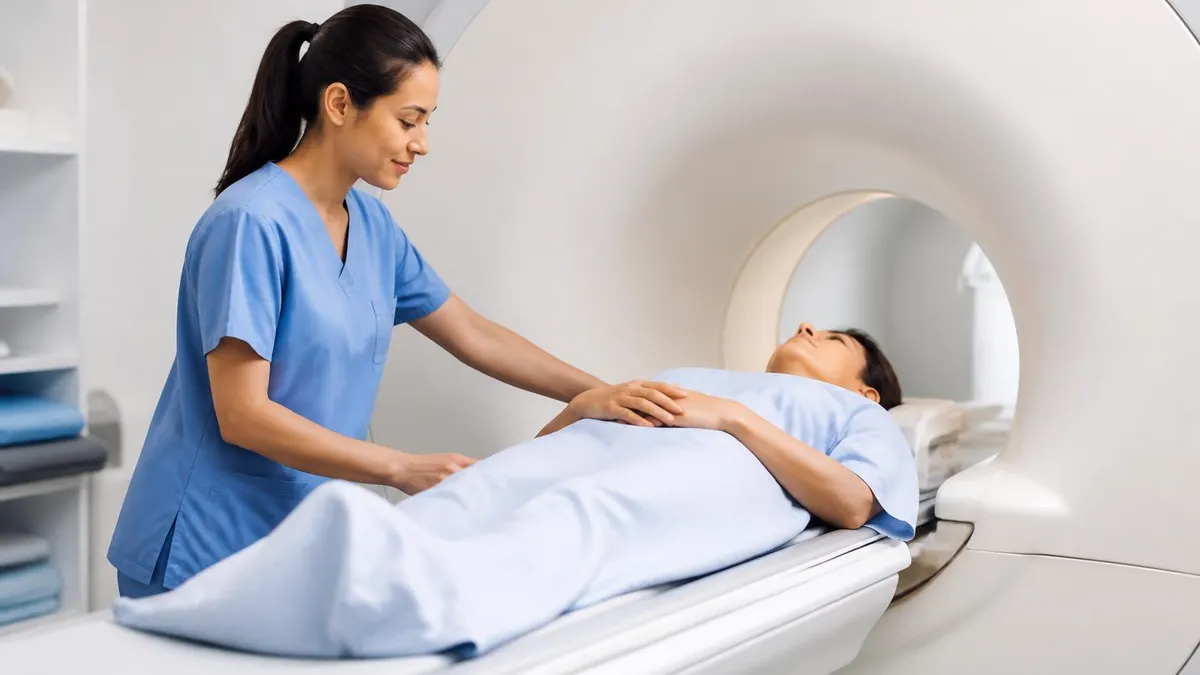
Once you step into the scan room, the first thing most patients notice is the temperature — MRI suites are kept cool, usually around 65°F, because the superconducting magnet inside the bore must stay at near-absolute-zero temperatures and the room HVAC works hard to compensate. The technologist offers warm blankets, which most people accept, and positions you on the padded table with cushions under your knees to reduce lower-back strain during the long, still minutes ahead.
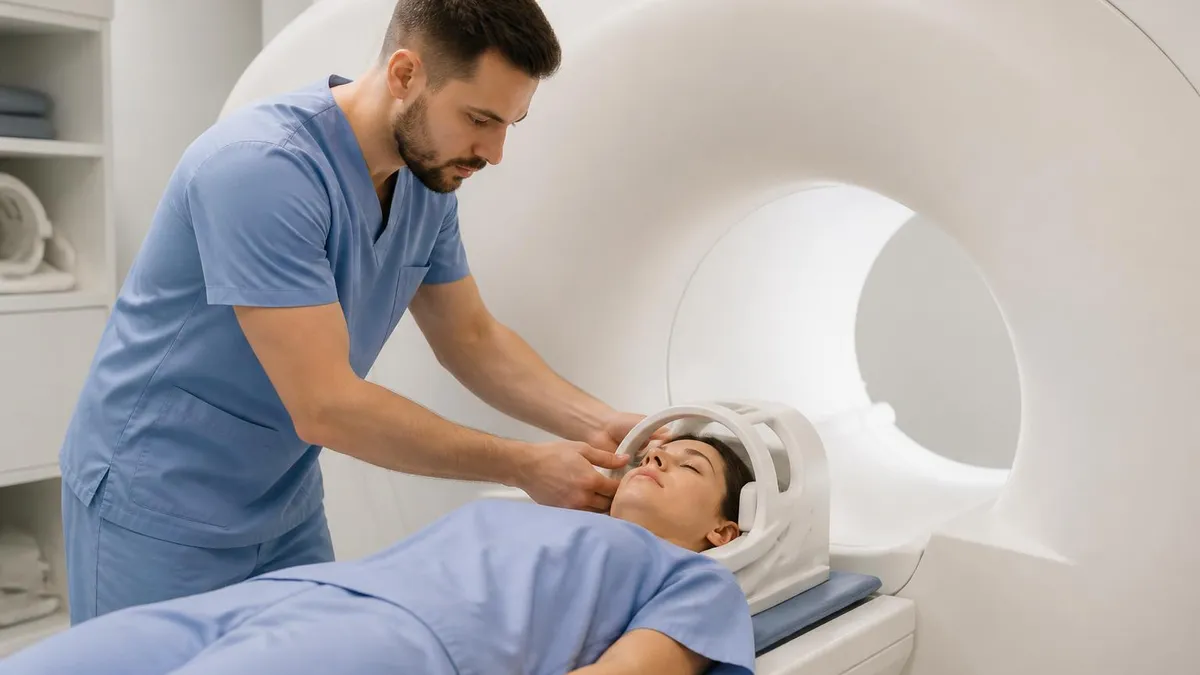
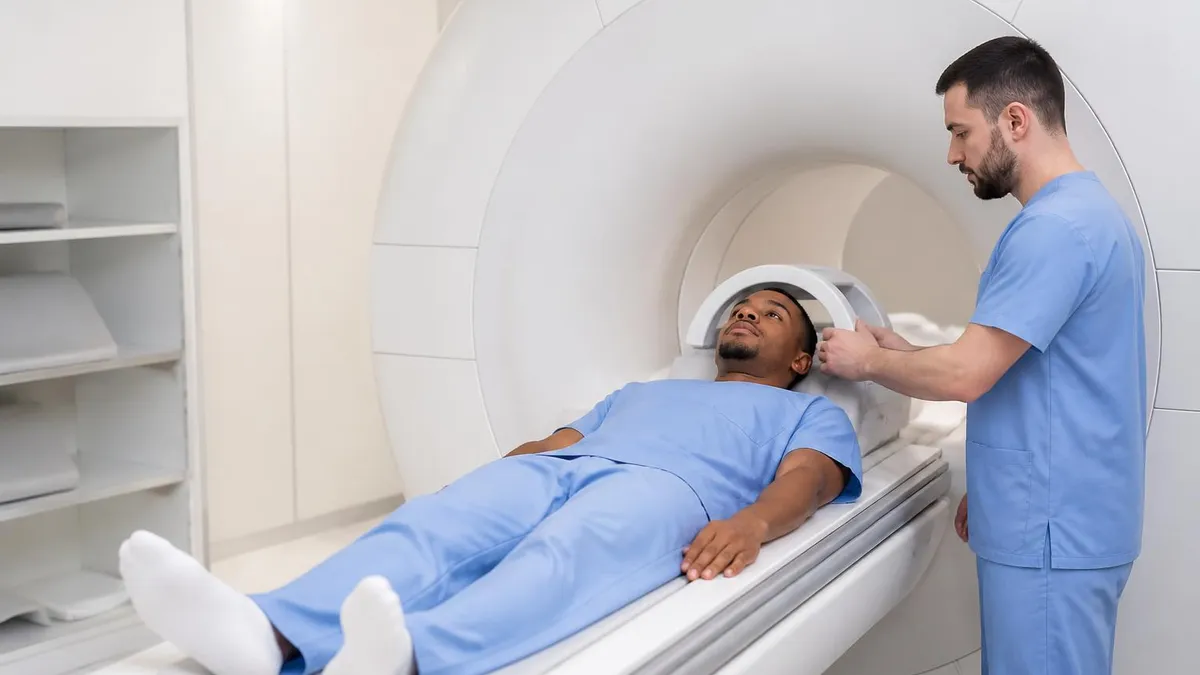
Next, the technologist places the appropriate radiofrequency coil over the body part being imaged. For a brain MRI, a helmet-like head coil snaps into place around your skull, often with a small mirror angled so you can see out of the bore toward the control window. For a knee, a cylindrical coil wraps around your leg. For a cardiac or abdominal scan, a flexible array coil rests on your torso like a heavy beanbag, and breath-hold instructions become part of the routine.
You receive earplugs first, then padded headphones over them, because the gradient coil noise during scanning is genuinely loud — peak levels of 100 to 120 decibels are common, which is why hearing protection is non-negotiable. Most modern centers offer music streaming through the headphones, and some advanced systems play movies on goggles or a projection screen visible through the head coil mirror, making longer exams considerably more tolerable for nervous patients.
Before the table moves, the technologist places a squeeze-bulb call button in your hand and explains exactly how to use it. Squeeze it once and an audible alarm sounds at the console, the scan pauses, and the table comes out within seconds. This is your lifeline if you feel panicked, need to cough, or develop sudden pain, and knowing it exists — and that it works — is enormously reassuring during the first minutes inside the magnet.
The table then slides smoothly into the bore. How far in you go depends on what is being scanned: a foot MRI keeps your head outside the magnet entirely, while a brain MRI puts your head at the dead center of the bore with your feet trailing out the back. The bore itself is lit, ventilated with a constant fan-driven breeze, and equipped with an intercom so the technologist can speak to you between sequences in a calm, conversational voice.
Holding still is the single most important job you have during the exam. Even sub-millimeter motion smears the image, especially on high-resolution sequences like 3D T1 brain or diffusion-weighted imaging. Technologists coach patients through this — breathe normally, swallow only when necessary, avoid wiggling toes or fingers, and never cross or uncross your legs mid-sequence. If you must move, wait until the noise stops and tell the tech over the intercom before repositioning.
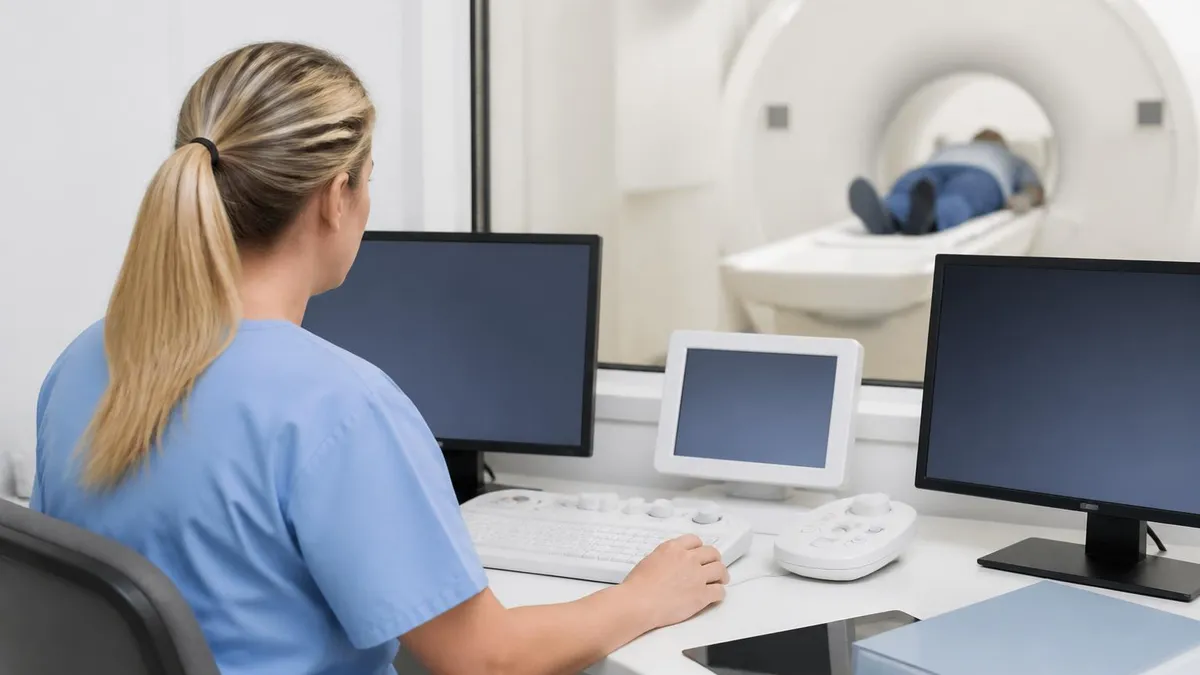
Between sequences there are brief silent pauses of fifteen to thirty seconds while the scanner prepares the next pulse program. The tech may use these breaks to check in: 'How are you doing? The next one is about four minutes, lots of knocking.' These check-ins matter because they break the monotony, give you a sense of progress, and remind you that a human being is sitting just a few feet away watching every image appear on the console screen in real time.
MRI Practice Test Questions
Prepare for the MRI - Magnetic Resonance Imaging exam with our free practice test modules. Each quiz covers key topics to help you pass on your first try.
MRI Knowledge
MRI Exam Questions covering Knowledge. Master MRI Test concepts for certification prep.
MRI Physics
Free MRI Practice Test featuring Physics. Improve your MRI Exam score with mock test prep.
MRI Anatomy and Pathology
MRI Test Prep for MRI Anatomy and Pathology. Practice MRI Quiz questions and boost your score.
MRI Anatomy and Positioning
MRI Questions and Answers on MRI Anatomy and Positioning. Free MRI practice for exam readiness.
MRI Contrast Agents
Free MRI Quiz on MRI Contrast Agents. MRI Exam prep questions with detailed explanations.
MRI Patient Care and Positioning
MRI Practice Questions for MRI Patient Care and Positioning. Build confidence for your MRI certification exam.
What You Hear, Feel, and See During an MRI
The signature MRI soundtrack is created by gradient coils rapidly switching magnetic fields, which causes them to vibrate against their mountings hundreds of times per second. The result is a sequence of mechanical knocks, taps, whirs, and high-pitched buzzes — never a single steady tone. Each pulse sequence has its own rhythm: T2 sequences sound like a jackhammer, diffusion-weighted imaging resembles a buzzing alarm clock, and echo-planar sequences produce rapid machine-gun bursts.
Newer scanners with 'silent' or 'quiet' technology can reduce peak noise by 30 decibels or more, but most US imaging centers still use systems that hit 100 to 110 dB during routine sequences. Headphones with music help, earplugs help more, and the combination is standard. Patients consistently report that the noise is the single most surprising aspect of the experience, far more startling than the enclosed space itself.
Open Bore vs. Closed Bore MRI: Which Experience Is Better?
- +Closed-bore 1.5T and 3T systems produce the highest image quality available in clinical practice
- +Closed-bore scanners are faster, shortening total time inside the machine
- +Standard closed-bore systems are available at virtually every imaging center
- +High-field magnets enable advanced sequences like functional MRI and spectroscopy
- +Modern wide-bore designs (70 cm) accommodate larger patients comfortably
- +Closed-bore scans are typically less expensive and more readily covered by insurance
- −The enclosed tube triggers claustrophobia in roughly one in ten patients
- −Standard 60 cm bores can feel tight for patients with broad shoulders or larger BMI
- −Open MRI systems with lower field strength (0.3–1.2T) produce lower-resolution images
- −Open systems take longer to acquire equivalent diagnostic information
- −Not every body part can be imaged optimally on an open MRI configuration
- −Open scanners are less widely available and may require longer travel and wait times
Patient Comfort Checklist for a Smoother MRI Experience
- ✓Schedule your scan for a time of day when you are naturally most relaxed and not rushed
- ✓Eat a light meal beforehand unless you have been instructed to fast for the exam
- ✓Wear soft, loose, metal-free clothing or plan to change into the provided gown
- ✓Empty your bladder right before the scan begins, even if you do not feel the urge
- ✓Ask the technologist for a warm blanket and extra cushions under your knees
- ✓Request earplugs plus headphones with music — never settle for one or the other
- ✓Practice slow box breathing (4 seconds in, 4 hold, 4 out, 4 hold) before the table moves
- ✓Keep your eyes closed during the noisiest sequences to reduce sensory overload
- ✓Squeeze the call button immediately if anxiety builds — pausing is always allowed
- ✓Bring a trusted friend or family member who can sit in the room with you when permitted
Tell the technologist before you lie down, not after
If you have any history of claustrophobia, panic attacks, or prior bad MRI experiences, say so during check-in. Technologists have a deep toolkit — prone positioning, blindfolds, aromatherapy, music selection, prone-feet-first entry, and oral anti-anxiety medication ordered by your physician — but most of these options must be set up before you are on the table. Speaking up early turns a potentially aborted scan into a successful, comfortable one.
About 40% of MRI scans in the United States involve an injection of a gadolinium-based contrast agent (GBCA), which improves the visibility of blood vessels, inflammation, tumors, and breakdowns in the blood-brain barrier. The contrast is administered through a small intravenous catheter, usually placed in a vein on the back of your hand or in the antecubital fossa at the elbow. The IV placement itself is a brief pinch — the most physically uncomfortable moment of most MRI experiences.
The injection typically happens partway through the exam rather than at the start. After the technologist acquires the non-contrast 'pre' sequences, the table slides partially out, the contrast is pushed through the IV either by hand or by a power injector, and a saline flush follows. You will feel a cool sensation traveling up your arm that lasts about ten to fifteen seconds, and many patients report a brief metallic or chemical taste at the back of the throat that fades within a minute.
The cold rush surprises first-time patients but is harmless — it is simply room-temperature fluid moving through a vein. Some patients also notice a momentary urge to urinate or a warm flush across the pelvis; both are normal and pass quickly. The table then slides back in, and the technologist runs the 'post-contrast' sequences while gadolinium is actively circulating and concentrating in areas of pathology, creating the bright enhancement that radiologists rely on for diagnosis.
True allergic reactions to gadolinium are rare, occurring in roughly 0.04% of injections, and most are mild — hives, itching, or a brief headache. Severe reactions are exceptional but possible, which is why imaging centers stock emergency medications and require IV access throughout the scan. Patients with significantly impaired kidney function (eGFR below 30) are screened carefully because gadolinium retention can rarely contribute to a serious skin and organ disorder called nephrogenic systemic fibrosis.
For patients who cannot receive gadolinium, several alternatives exist depending on the clinical question. Non-contrast MR angiography uses time-of-flight or phase-contrast techniques to visualize blood vessels. Diffusion-weighted imaging highlights stroke and many tumors without any injection at all. For some indications, your physician may pivot to an entirely different modality — and our guide on MRI Alternatives explains exactly when CT, ultrasound, or PET makes more clinical sense than pushing forward with contrast.
Hydration both before and after a contrast MRI helps your kidneys clear gadolinium efficiently — most of it leaves your body within 24 hours through urine. You can resume normal activity immediately, including driving, working, and exercising. Breastfeeding mothers were historically told to pump and dump for 24 hours, but current ACR guidance allows continued breastfeeding because the amount of gadolinium reaching breast milk is negligible and not biologically active in the infant gut.
The contrast portion of the experience is brief, well-tolerated, and adds enormous diagnostic value. Knowing the cold rush is coming, that the metallic taste is normal, and that the saline flush will follow turns a potentially startling moment into a predictable, easy step. If your scan is ordered with contrast, embrace it — the radiologist gets dramatically more information and you avoid the possibility of a follow-up exam later when the question could have been answered today.
Older pacemakers, cochlear implants, certain aneurysm clips, programmable shunts, and metallic foreign bodies in the eye are absolute or relative contraindications. Even MRI-conditional devices require specific scan parameters and programming. Always bring the implant card for any device you have received, and never assume a piece of metal in your body is safe — verification by the technologist and radiologist is mandatory before the table moves.
When the final sequence ends, the table slides out, the technologist removes the surface coil and IV line, and you sit up slowly because lying flat for 45 minutes can briefly drop your blood pressure. You walk back to the changing room, retrieve your belongings, and unless you received sedation, you are free to drive yourself home, eat a normal meal, and return to work. The whole appointment, door to door, usually runs 60 to 120 minutes including check-in and changing time.
Most imaging centers offer a CD or digital download of your images before you leave, which is worth requesting even if your physician will receive a copy electronically. Having your own copy means you can share it with a second-opinion specialist, an out-of-network provider, or a future doctor without re-ordering the scan. Patient portals increasingly include both images and the radiology report, though the report may not appear for 24 to 72 hours depending on the practice.
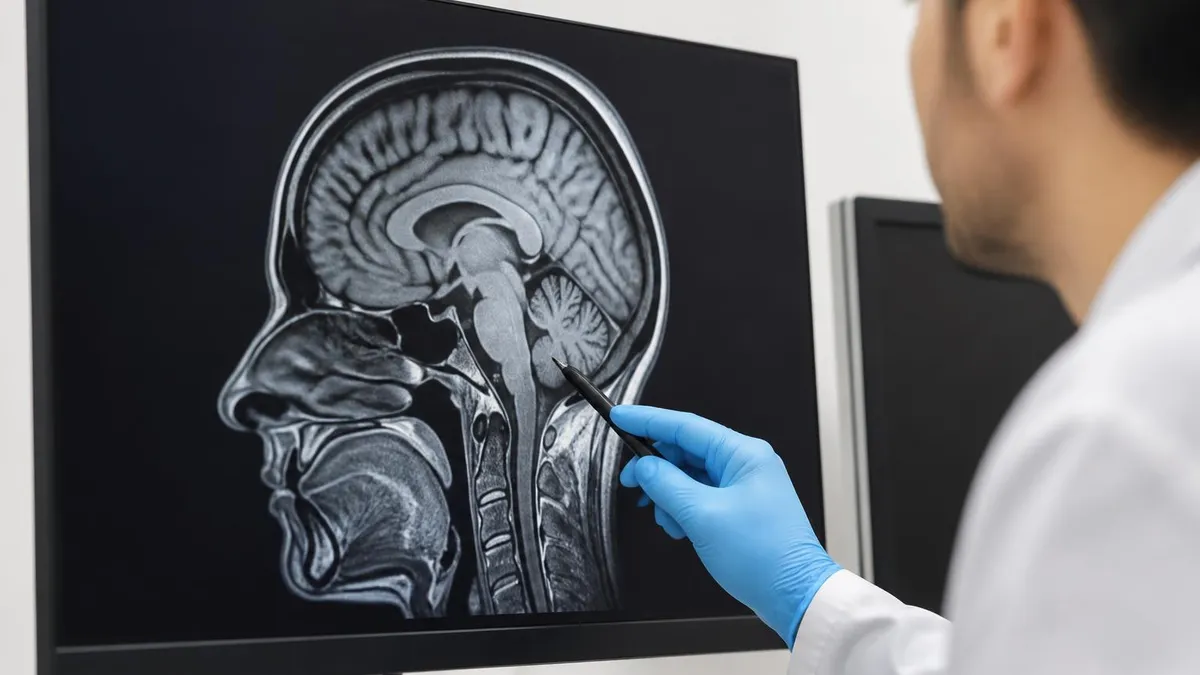
The radiologist — a physician trained specifically in image interpretation — typically reads your scan within one business day, sometimes within hours for inpatient or emergency studies. They compare your images to prior studies if available, dictate a structured report describing findings, and send it to the ordering physician. Critical or unexpected findings trigger a phone call to the ordering provider; routine findings simply appear in the next clinic visit.
Do not expect the technologist to tell you what the images show. Technologists are skilled at acquiring diagnostic-quality images and recognizing when a sequence needs to be repeated, but interpretation is outside their scope of practice and a legal boundary they cannot cross. The wait for results can feel agonizing, especially when you suspect something is wrong, but the proper channel is your referring physician — and a follow-up appointment is the right place to hear the news.
Some patients experience lingering effects the rest of the day: mild fatigue from holding still, a faint headache from the noise and concentration, or stiffness from the table position. These resolve quickly with hydration and rest. If you had contrast, drink extra water for the next 24 hours. If you had sedation, avoid driving and signing legal documents until the next morning. Our deeper guide to mri machine noise explains why some patients report ear fatigue even after using hearing protection.
Side effects severe enough to require medical attention are rare. Worsening headache hours after a contrast injection, sudden hives or wheezing, persistent dizziness, or new neurological symptoms warrant a call to your physician or a visit to an urgent care center. Imaging centers track delayed reactions carefully and your feedback helps refine safety protocols, so do not hesitate to report anything unusual no matter how minor it seems.
The vast majority of patients walk out feeling fine and slightly relieved that the much-feared MRI was less of an ordeal than anticipated. Many even describe it as boring — which is exactly the outcome the imaging team is working toward. A boring MRI means diagnostic-quality images were captured without incident, and that is a clinical win for everyone involved in your care from the technologist to the radiologist to your treating physician.
If you take only one practical lesson from this guide, let it be this: rehearse the experience mentally before you walk through the door. Visualize the changing room, the cold scan suite, the click of the table locking into position, the first burst of knocking, and the steady voice of the technologist between sequences. Patients who arrive with a clear mental picture of what is about to happen consistently report lower anxiety scores and complete their exams without the abort-and-reschedule cycle that costs everyone time.
Breathing technique is your most powerful in-bore tool. Box breathing — four seconds inhale, four seconds hold, four seconds exhale, four seconds hold — slows your heart rate, dampens the sympathetic nervous system response, and gives your mind a structured task to focus on rather than the surrounding tube. Practice it at home for a few days abdominal mri prep so it becomes automatic the moment the noise starts and your instinct is to tense up.
Music selection matters more than most patients realize. Choose something familiar, mid-tempo, and emotionally neutral — not your wedding song and not heavy metal. Familiar music creates a sense of continuity with normal life, masks the scanner noise effectively, and gives your brain something pleasant to predict. Many centers let you bring your own playlist on a phone, which the tech connects to the scanner audio system before you enter the room.
For severe claustrophobia, talk to your ordering physician about a short-acting anti-anxiety medication such as lorazepam or alprazolam taken 30 to 60 minutes before the scan. These prescriptions require a designated driver because you cannot legally drive afterward, but they convert an impossible scan into a routine one. In rare cases, monitored anesthesia care or even general anesthesia is offered for pediatric patients and adults with severe needle phobia or PTSD-related triggers.
Position changes within the scanner can dramatically improve comfort. Feet-first entry keeps your head out of the bore for most exams below the chest, which eliminates the claustrophobic feeling entirely for many patients. Prone positioning is sometimes possible for spine imaging. A washcloth over the eyes simulates a blindfold and removes visual cues of the surrounding tube, which paradoxically makes many patients feel less enclosed rather than more.
Bring a support person if your imaging center permits it — many do, after MRI safety screening. A spouse, parent, or friend sitting next to the bore with a hand on your foot provides an enormous psychological anchor. The sensation of human contact, even through a sheet, signals the nervous system that you are safe and not abandoned in the tube, which can make the difference between completing the scan and tapping the panic button at minute six.
Finally, give yourself credit. Lying perfectly still inside a loud, cold, enclosed tube for 30 to 90 minutes while your body is studied at sub-millimeter resolution is genuinely demanding, and millions of patients do it every year without complication. The mri experience is brief, painless, and profoundly informative for your medical care. Walk in prepared, communicate openly with your tech, and trust the process — you will be out the door, images in hand, before you know it.
MRI Questions and Answers
MRI Medical Abbreviation: What MRI Stands For and Why It Matters
The History of MRI: From Discovery to Modern Medicine
Knee MRI Images: A Complete Guide to Reading, Understanding, and Interpreting Knee Scans

Noise of MRI Machine: Why MRI Scanners Are So Loud and What to Expect

MRI Alternatives: When CT, Ultrasound, X-Ray, and PET Make More Sense Than an MRI
About the Author
Medical Laboratory Scientist & Clinical Certification Expert
Johns Hopkins UniversityDr. Sandra Kim holds a PhD in Clinical Laboratory Science from Johns Hopkins University and is certified as a Medical Technologist (MT) and Medical Laboratory Scientist (MLS) through ASCP. With 16 years of clinical laboratory experience spanning hematology, microbiology, and molecular diagnostics, she prepares candidates for ASCP board exams, MLT, MLS, and specialist certification tests.
Join the Discussion
Connect with other students preparing for this exam. Share tips, ask questions, and get advice from people who have been there.
View discussion (6 replies)