Knee MRI Images: A Complete Guide to Reading, Understanding, and Interpreting Knee Scans
Knee MRI images explained: sequences, anatomy, normal vs torn structures, and how radiologists read meniscus, ACL, and cartilage findings. 🆕
Knee MRI images are the gold standard for visualizing soft tissue injuries inside one of the most complex joints in the human body. Unlike X-rays, which primarily capture bone, magnetic resonance imaging produces detailed cross-sectional pictures of the menisci, cruciate ligaments, collateral ligaments, articular cartilage, tendons, bursae, and synovial fluid. Whether you are a patient who just received a disc of scans, a student learning musculoskeletal anatomy, or a technologist refining your protocol skills, understanding what each sequence reveals will dramatically improve how you interpret the report.
A typical knee MRI study contains between four and eight pulse sequences, each highlighting tissues differently based on T1, T2, and proton density weighting. Fat saturation techniques suppress the bright signal of marrow and subcutaneous fat so that subtle edema, marrow contusions, or fluid collections become obvious. Most outpatient knee protocols run between 20 and 30 minutes and produce roughly 200 to 400 individual slice images across the sagittal, coronal, and axial planes.
The clinical questions driving a knee MRI almost always involve pain, swelling, locking, instability, or trauma. Orthopedic surgeons rely on these images before recommending arthroscopy, meniscal repair, or ACL reconstruction. Sports medicine physicians use them to grade ligament sprains and predict return-to-play timelines. Even when plain radiographs look normal, an MRI can uncover stress fractures, bone bruises, chondral defects, or occult cysts that explain otherwise mysterious symptoms.
To make sense of your knee MRI, you first need to know which plane you are looking at. Sagittal images slice the knee from front to back and best display the cruciate ligaments, patellar tendon, quadriceps tendon, and the body and horns of the menisci. Coronal images cut side to side and showcase the collateral ligaments, meniscal roots, and medial-to-lateral cartilage symmetry. Axial images view the knee from above and excel at evaluating the patellofemoral joint, retinacula, and popliteal fossa contents.
Signal intensity is the language of MRI. Healthy ligaments and tendons appear uniformly black because their tightly packed collagen contains little mobile water. Cortical bone is also black. Fluid, including joint effusion and acute edema, lights up bright white on T2-weighted and fat-suppressed sequences. Cartilage shows intermediate gray signal, while fat marrow inside the femur and tibia glows bright on T1 unless deliberately suppressed. Pathology disrupts these expected patterns, and that disruption is mri for migraines hunt for slice by slice.
This guide walks through everything visible on a knee MRI: normal anatomy, common injuries, the difference between routine and contrast studies, what each sequence offers, and how clinicians translate pixels into diagnoses. If you want a broader refresher on how the modality itself works, the history of MRI offers helpful context about why this technology revolutionized orthopedic imaging in the 1980s and continues to evolve today.
By the end of the article you should be able to look at a knee MRI report, pull up the corresponding images, and identify the menisci, cruciate ligaments, patellar cartilage, and any obvious abnormalities. We will also cover red flags that warrant urgent follow-up, what to expect during the scan itself, and how high-field 3T systems differ from 1.5T in resolution and detection rates.
Knee MRI by the Numbers
Standard Knee MRI Protocol Components
Proton density with fat saturation in the sagittal plane is the workhorse for meniscal tears and cruciate ligament evaluation. Tears appear as bright linear signal extending to the articular surface.
Coronal T1-weighted images provide excellent anatomic detail of the menisci, collateral ligaments, and bone marrow. Fat appears bright, making subtle marrow replacement lesions easy to detect against normal yellow marrow.
Axial T2 with fat suppression evaluates patellofemoral cartilage, medial and lateral retinacula, and popliteal cysts. Joint effusion and synovitis stand out as bright signal against the suppressed background.
Sagittal T1 highlights anatomic landmarks and is sensitive for bone marrow changes, fatty infiltration of muscle, and chronic ligamentous scarring. It complements fluid-sensitive sequences for complete assessment.
Short tau inversion recovery or PD with fat saturation in the coronal plane reveals bone bruises, stress fractures, and meniscal root tears. Edema and fluid appear strikingly bright on these sequences.
Normal knee anatomy on MRI follows predictable patterns that, once memorized, make abnormalities jump off the screen. The medial and lateral menisci appear as uniformly black triangles when viewed on sagittal images, with sharp pointed inner edges and broader peripheral attachments. Each meniscus has an anterior horn, a body, and a posterior horn. The posterior horn of the medial meniscus is the single most common site of degenerative and traumatic tears, so radiologists pay it special attention on every study.
The anterior cruciate ligament runs obliquely from the lateral femoral condyle down to the anterior tibial plateau and is best seen on sagittal images. A healthy ACL shows continuous low signal fibers running parallel to Blumensaat's line, the bony roof of the intercondylar notch. The posterior cruciate ligament forms a thicker, darker curved band behind the ACL and is rarely injured in isolation. Both ligaments should be taut, well-defined, and free of internal signal abnormality.
The collateral ligaments are best appreciated on coronal images. The medial collateral ligament has three layers and stretches from the medial femoral epicondyle down to the proximal tibia. The lateral collateral ligament is a discrete cord-like structure running from the lateral femoral epicondyle to the fibular head. Both should appear black, smooth, and intimately related to surrounding tendons and the iliotibial band on the lateral side.
Articular cartilage covers the distal femur, proximal tibia, and posterior patella. On fluid-sensitive sequences, cartilage shows intermediate gray signal that contrasts beautifully with the bright joint fluid above and dark subchondral bone below. The thickest cartilage in the body sits on the posterior patella and can reach 5 to 7 millimeters. Focal thinning, fissures, or full-thickness defects suggest chondromalacia or osteoarthritis, both common findings in patients over 40.
The extensor mechanism includes the quadriceps tendon proximally, the patella, and the patellar tendon distally. All three structures should be uniformly dark with sharp margins. The quadriceps tendon has a characteristic striated appearance from its four contributing muscles, while the patellar tendon appears as a single solid black band. Thickening, internal bright signal, or peritendinous edema points to tendinopathy or partial tearing.
Bone marrow inside the femur, tibia, patella, and fibula normally shows bright fatty signal on T1-weighted images. On fat-suppressed sequences, normal marrow becomes dark gray. Any focal area of bright signal on STIR or PD fat-sat sequences within otherwise dark marrow represents edema, which can mean bone bruise, stress reaction, fracture, or early osteoarthritis. Always cross-reference findings against multiple sequences before calling pathology. For broader context on signal physics, see our guide to MRI medical abbreviation terms used in reports.
The popliteal fossa behind the knee houses neurovascular structures and is a frequent location for Baker's cysts, which appear as well-defined fluid collections between the medial gastrocnemius and semimembranosus tendons. Radiologists check the popliteal artery and vein for patency, and a Baker's cyst is reported with its dimensions and whether it shows signs of rupture or hemorrhage. Normal popliteal anatomy includes the plantaris muscle origin, the gastrocnemius heads, and several lymph nodes that should not exceed 1 cm in short axis.
MRI Practice Test Questions
Prepare for the MRI - Magnetic Resonance Imaging exam with our free practice test modules. Each quiz covers key topics to help you pass on your first try.
MRI Knowledge
MRI Exam Questions covering Knowledge. Master MRI Test concepts for certification prep.
MRI Physics
Free MRI Practice Test featuring Physics. Improve your MRI Exam score with mock test prep.
MRI Anatomy and Pathology
MRI Test Prep for MRI Anatomy and Pathology. Practice MRI Quiz questions and boost your score.
MRI Anatomy and Positioning
MRI Questions and Answers on MRI Anatomy and Positioning. Free MRI practice for exam readiness.
MRI Contrast Agents
Free MRI Quiz on MRI Contrast Agents. MRI Exam prep questions with detailed explanations.
MRI Patient Care and Positioning
MRI Practice Questions for MRI Patient Care and Positioning. Build confidence for your MRI certification exam.
Knee MRI Sequences and Image Interpretation
T1-weighted images are the anatomy sequence. Fat appears bright white, water and joint fluid look dark gray, and cortical bone is uniformly black. Radiologists use T1 to establish baseline anatomy, evaluate bone marrow composition, and assess chronic fatty infiltration of quadriceps or hamstring muscles after long-standing tendon ruptures. T1 is also excellent for identifying subacute hemorrhage, which appears bright due to methemoglobin.
On a knee study, sagittal T1 sequences clearly show meniscal morphology, ligamentous outlines, and the contour of the patellar tendon. Coronal T1 highlights subchondral marrow changes around the tibial plateau and femoral condyles. Tears within the meniscus can appear as linear intermediate signal on T1, but most tear evaluation is performed on proton density and T2 fat-saturated images, which are far more sensitive to fluid extension through meniscal substance.
MRI vs Other Knee Imaging Modalities
- +Unmatched soft tissue contrast for menisci, ligaments, and cartilage
- +No ionizing radiation, safe for repeat studies and younger patients
- +Multiplanar imaging captures sagittal, coronal, and axial views in one session
- +Detects occult fractures, bone bruises, and stress reactions invisible on X-ray
- +Differentiates acute from chronic injury based on edema patterns
- +Guides surgical planning before arthroscopy or ligament reconstruction
- −Higher cost than X-ray or ultrasound, often $400–$2,500 per study
- −Long scan times of 20–30 minutes require patients to remain still
- −Claustrophobic environment inside a closed-bore magnet
- −Contraindicated for some pacemakers, cochlear implants, and metallic foreign bodies
- −Metallic hardware can cause susceptibility artifact that obscures anatomy
- −Limited availability in some rural areas leads to scheduling delays
Pre-Scan Checklist for Your Knee MRI
- ✓Remove all metal jewelry, watches, hair clips, and body piercings before entering the scan room
- ✓Disclose any pacemaker, defibrillator, cochlear implant, or aneurysm clip history
- ✓Report previous metal fragment exposure from grinding, welding, or shrapnel
- ✓List all surgical implants including knee replacements, ACL screws, or fixation hardware
- ✓Wear loose-fitting clothing without metal zippers, snaps, or underwire
- ✓Inform the technologist if you are pregnant or breastfeeding
- ✓Empty your bladder before the scan begins to maximize comfort
- ✓Ask about earplugs or headphones to reduce gradient noise during sequences
- ✓Mention any claustrophobia so the team can offer open MRI or sedation options
- ✓Bring prior knee X-rays or imaging on disc for comparison by the radiologist
Bright signal where it should be dark is the universal red flag
Ligaments, tendons, menisci, and cortical bone should all appear uniformly black on knee MRI. Any focal bright signal disrupting these dark structures on a T2 fat-saturated or proton density image is the radiologist's first clue that pathology exists. Train your eye to spot brightness where darkness belongs, and you will identify most clinically significant injuries.
Meniscal tears are the most frequently diagnosed abnormality on knee MRI. Tears are classified by morphology into horizontal, vertical longitudinal, radial, oblique, and complex categories. A bucket-handle tear represents a displaced longitudinal tear where the inner fragment flips into the intercondylar notch, creating the classic double PCL sign or absent bowtie sign on sagittal images. Posterior horn medial meniscus tears dominate in patients over 40 due to degenerative changes, while younger athletes more often suffer acute peripheral tears amenable to repair.
Anterior cruciate ligament tears appear as discontinuity of the normally taut dark fibers. Complete tears show a wavy or absent ligament with surrounding edema in the intercondylar notch. Secondary signs include pivot-shift bone bruises at the lateral femoral condyle and posterior lateral tibial plateau, anterior translation of the tibia greater than 5 mm, and a deepened lateral femoral notch sign. Partial tears can be more subtle, showing increased internal signal without complete fiber disruption.
Posterior cruciate ligament injuries occur less frequently and usually result from dashboard trauma or hyperextension. The thicker PCL is harder to disrupt completely, so most injuries appear as focal thickening with internal bright signal rather than frank discontinuity. Radiologists measure PCL thickness because anything greater than 7 mm is considered abnormal and suggests partial tearing or chronic laxity from prior injury.
Medial collateral ligament sprains are graded I through III based on fiber disruption. Grade I shows only periligamentous edema with intact fibers. Grade II demonstrates partial fiber disruption with thickening and surrounding fluid. Grade III represents complete tear with discontinuous fibers and often associated bone marrow edema at the femoral or tibial attachment. The MCL heals well without surgery in most cases, but combined ACL-MCL injuries change management significantly.
Cartilage defects are graded using the modified Outerbridge or International Cartilage Repair Society systems. Grade 1 shows softening or signal change without surface disruption. Grade 2 involves partial thickness fissuring less than 50 percent of cartilage depth. Grade 3 means deeper fissuring greater than 50 percent, and grade 4 represents full-thickness defects exposing subchondral bone. Patellofemoral chondral lesions are extremely common and frequently underlie anterior knee pain syndromes.
Bone marrow edema patterns tell important stories. Kissing contusions at the lateral femoral condyle and posterolateral tibial plateau strongly suggest ACL rupture. Patellar edema with lateral femoral edema indicates a recent patellar dislocation. Diffuse subchondral edema in older patients usually reflects osteoarthritis. Geographic edema with a serpentine low-signal margin suggests osteonecrosis, while linear edema crossing the cortex indicates a stress fracture requiring immediate weightbearing restrictions.
Tendon pathology rounds out the common findings. Patellar tendinopathy, or jumper's knee, shows fusiform thickening and bright internal signal at the proximal patellar tendon insertion. Quadriceps tendon tears appear most often at the suprapatellar attachment with retraction in complete cases. Iliotibial band friction syndrome causes edema between the band and lateral femoral epicondyle, while pes anserine bursitis lights up as bright fluid medial to the proximal tibia.
Linear bone marrow edema crossing the cortex of the tibial plateau or femoral neck may represent a stress fracture rather than a simple bruise. Continued weight bearing risks complete fracture displacement. If your radiology report mentions a linear or cortical-based edema pattern, contact your orthopedic provider before returning to running, jumping, or impact activities. A protective boot, crutches, or non-weight-bearing status is often required for several weeks.
Reading the radiology report alongside the images is the best way to understand your knee MRI. Reports follow a standard structure beginning with patient demographics, clinical history, technique, comparison studies, and a systematic findings section organized by anatomic region. The impression at the bottom synthesizes the findings into clinically relevant diagnoses. Always read the impression first, then go back through the body of the report to understand the supporting observations.
The technique section lists every sequence acquired, the field strength of the magnet, the slice thickness, and whether contrast was administered. Most non-contrast knee MRIs use slice thicknesses between 3 and 4 mm with no gap or a small interslice gap. If contrast was given, it was likely gadolinium-based for evaluation of synovitis, infection, tumor, or postoperative recurrence of meniscal tears. Direct MR arthrography injects dilute gadolinium into the joint to better define cartilage defects and labral-like structures.
Findings sections typically start with bones and joint alignment, then move to menisci, cruciate ligaments, collateral ligaments, tendons, cartilage, and finally the synovium and surrounding soft tissues. Each meniscus is described separately with location and morphology of any tear. Ligaments are graded as intact, sprained, partially torn, or completely torn. Cartilage defects are localized to specific compartments and graded by depth. Effusions are quantified as small, moderate, or large.
The impression usually lists three to five key findings in order of clinical significance. A typical impression for a meniscal tear might read: complex tear involving the posterior horn and body of the medial meniscus, mild medial compartment chondromalacia, small joint effusion. The ordering reflects what the radiologist believes is most likely causing the patient's symptoms. Discuss the impression with your orthopedist to decide whether conservative management or arthroscopy is appropriate. For comparison with other joint studies, our guide to shoulder mri without contrast cpt covers similar interpretive principles applied to rotator cuff anatomy.
Comparison with prior studies is enormously valuable. A meniscal signal that has been stable for five years is far less worrisome than a new finding. Radiologists explicitly note whether prior studies were available and what changed. If you have ever had imaging at a different facility, bring those discs to your appointment so the radiologist can incorporate them into the interpretation. Subtle progression of cartilage loss is much easier to identify on direct comparison than on a single isolated study.
Incidental findings show up on roughly 20 percent of knee MRIs. These include popliteal cysts, ganglion cysts adjacent to the cruciate ligaments, fabellae (small accessory bones behind the lateral femoral condyle), bipartite patellae, and discoid lateral menisci. Most incidentals are asymptomatic and require no treatment but should be acknowledged so they are not mistaken for new pathology on future studies. The radiologist will state whether each finding is clinically significant or merely incidental.
Postoperative knee MRIs deserve special attention. After meniscal repair, the suture line may show persistent bright signal for years even when fully healed. After ACL reconstruction, the graft should appear as a uniformly dark band, but mild edema around the femoral and tibial tunnels for the first six months is normal. Hardware artifacts can obscure anatomy, so metal artifact reduction sequences are often added. Always tell the radiologist about prior knee surgery so they can adjust their interpretive framework appropriately.
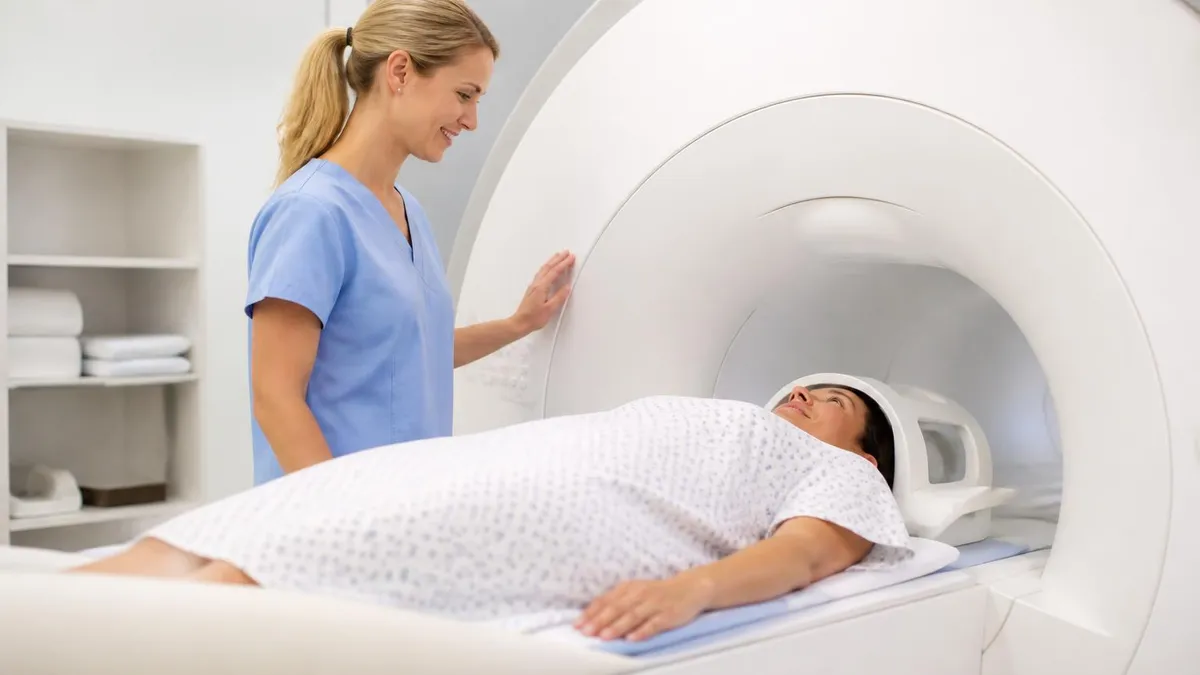
Preparing for a knee MRI is straightforward but a few practical tips dramatically improve image quality. Eat a normal meal beforehand unless your physician ordered fasting for contrast administration. Hydrate well so contrast clears smoothly from your kidneys afterward. Take your usual medications unless told otherwise. Arrive 15 to 20 minutes early to complete the safety screening form, which asks about every implant, surgery, and metallic exposure in your history. The technologist will review your form before allowing you into the magnet room.
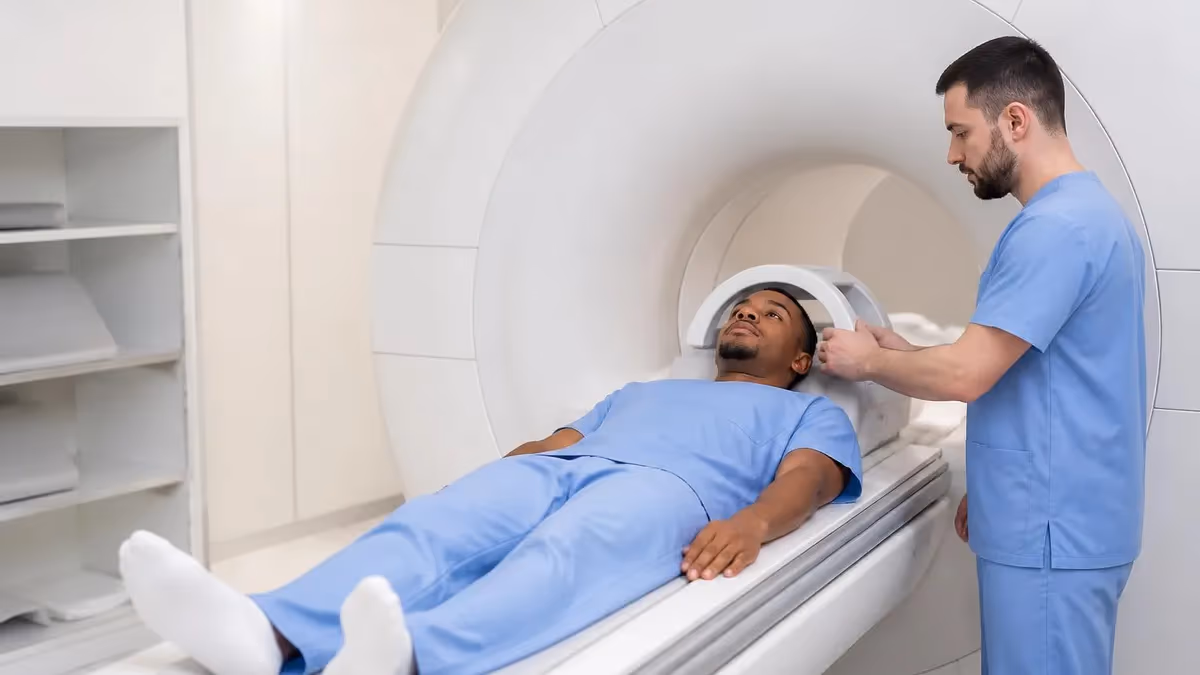
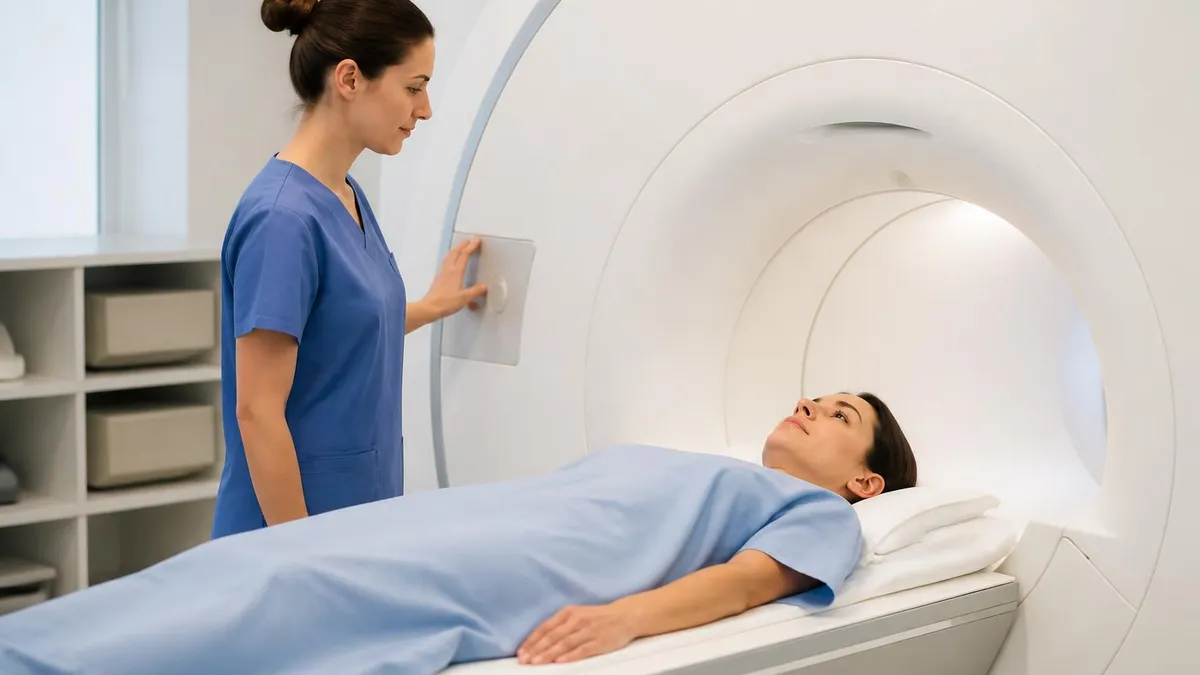
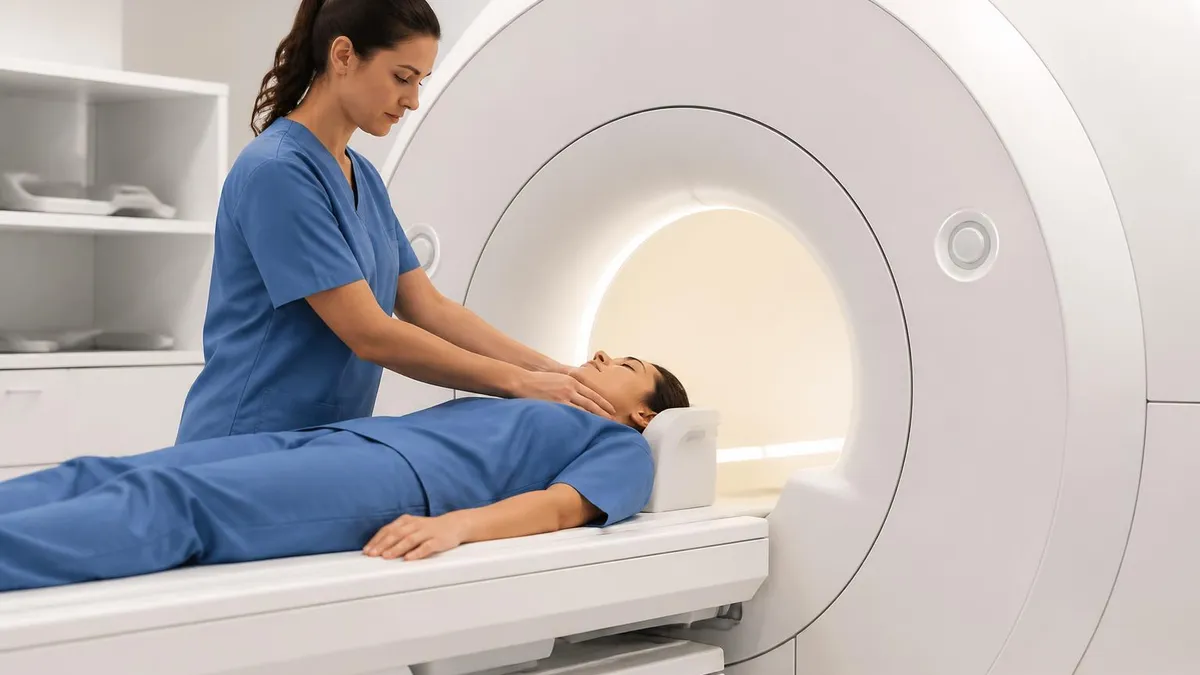
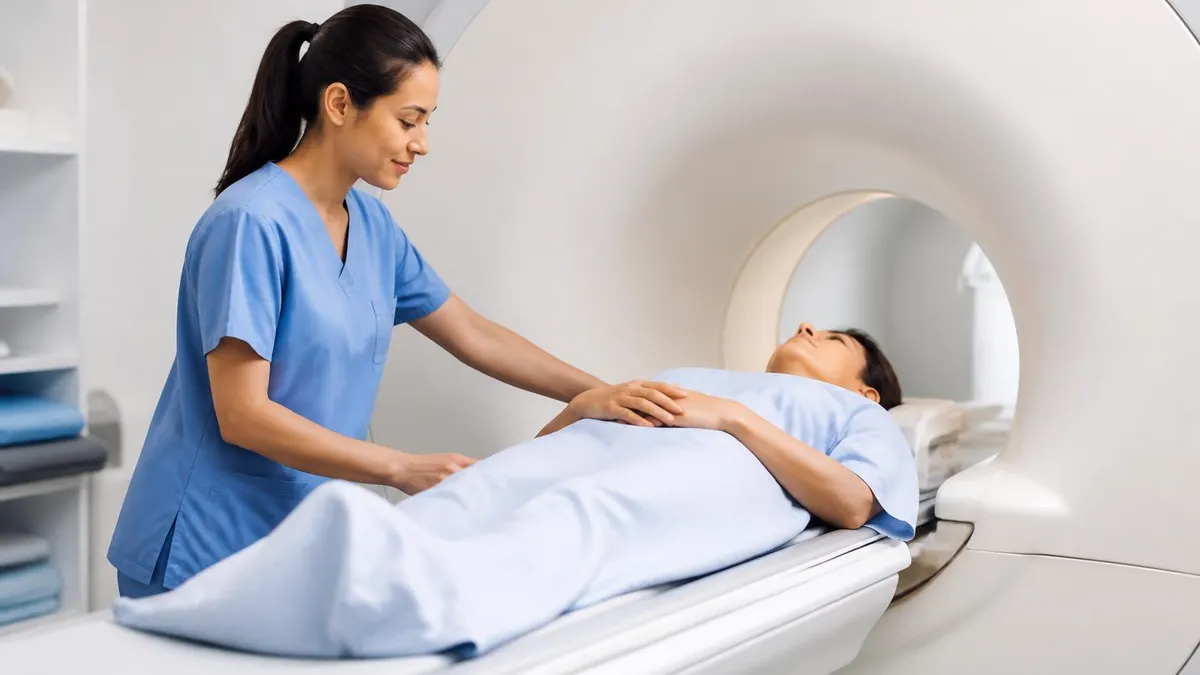
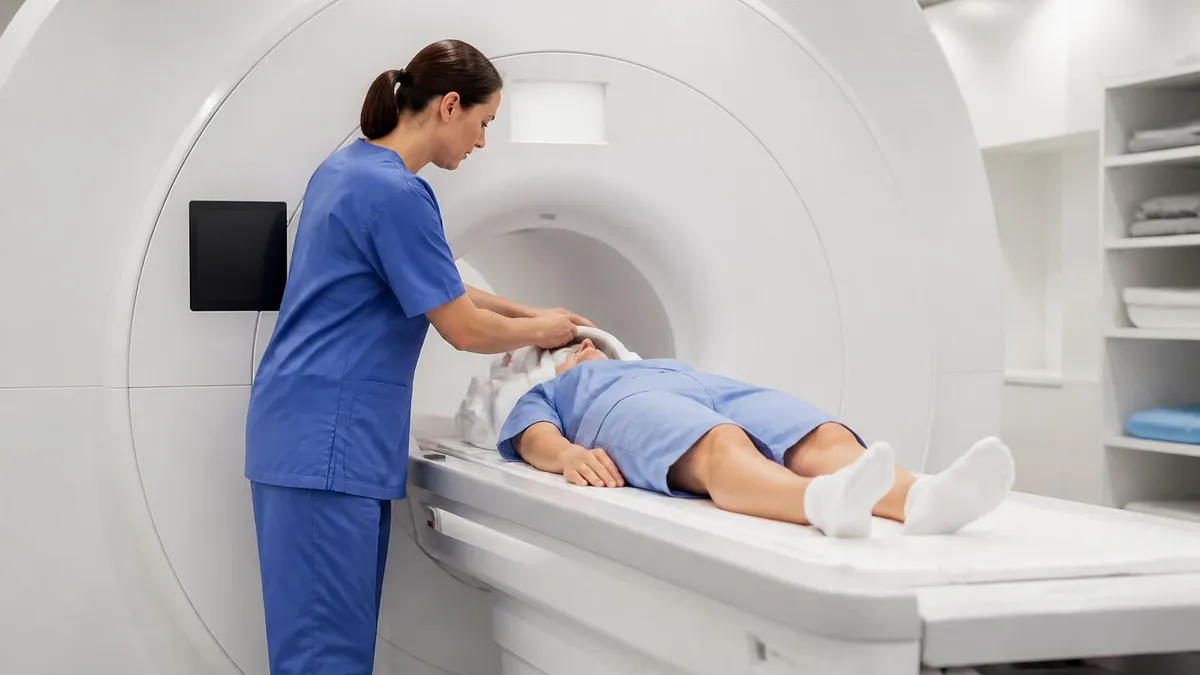
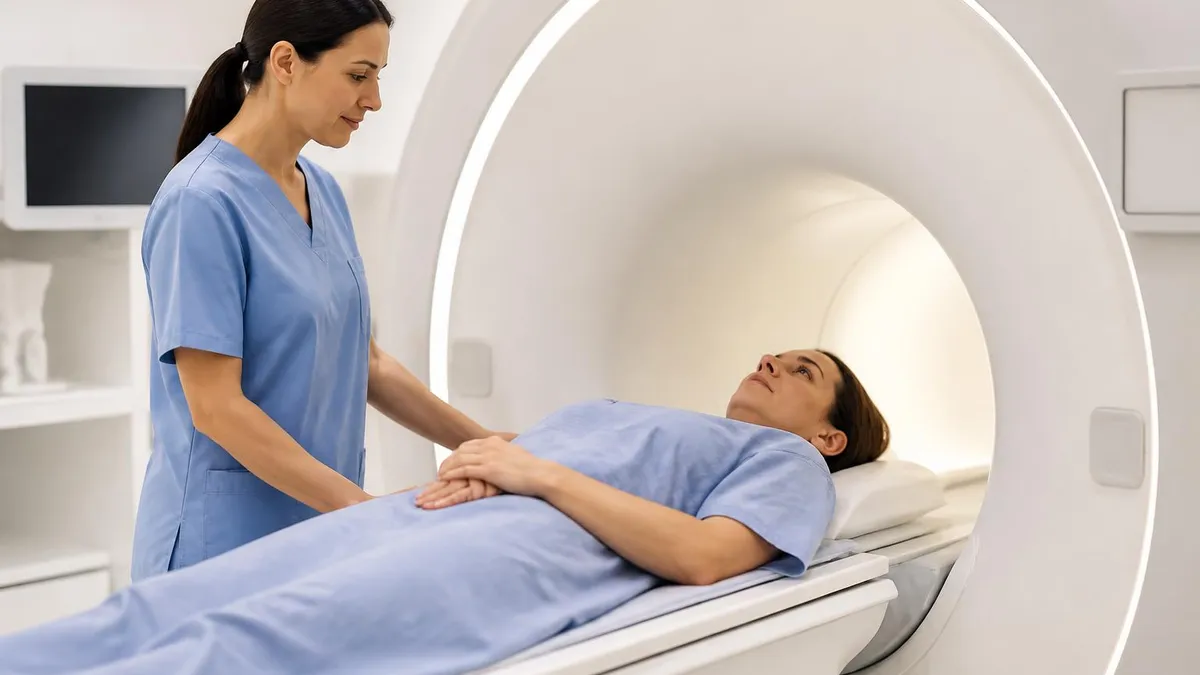
During the scan, you will lie on your back with your knee positioned inside a dedicated knee coil that resembles a hollow plastic tube. The coil dramatically improves signal-to-noise ratio compared to body coils and is essential for high-resolution imaging. The technologist will use foam padding to immobilize your knee because even small motions blur the images and may require repeated sequences. A panic button is placed in your hand so you can communicate at any time during the study.
Noise is the most common patient complaint. MRI scanners generate loud knocking, buzzing, and beeping sounds as gradients switch rapidly during image acquisition. Volumes can exceed 100 decibels, similar to a chainsaw. You will receive earplugs, headphones, or both. Many facilities offer music playlists or audiobooks to help pass the time. Closing your eyes and practicing slow rhythmic breathing helps minimize anxiety, especially for the first few sequences when the sounds are unfamiliar.
Claustrophobia affects roughly 10 to 15 percent of patients undergoing MRI. Strategies include using a blindfold so you cannot see the bore walls, asking for oral anxiolytic medication prescribed by your physician, or scheduling at a facility with a wide-bore or open MRI scanner. Wide-bore systems have a 70 cm opening rather than the standard 60 cm and accommodate larger body habitus more comfortably. Open MRI systems sacrifice some image quality for greatly reduced confinement and are useful for patients who simply cannot tolerate closed bores.
After the scan, you can return to normal activities immediately. Contrast-enhanced studies sometimes cause mild nausea or a temporary metallic taste, but these resolve quickly. Drink extra water to help your kidneys clear the gadolinium. Images are typically interpreted within 24 to 48 hours, though urgent studies are read the same day. Your referring physician receives the report electronically and will contact you to review the findings and discuss next steps in management.
If you want to view your own images, request a CD or digital download from the imaging center. Most facilities include free DICOM viewer software on the disc. Open the study and scroll through each series slice by slice. Compare what you see to the descriptions in this article, paying particular attention to the menisci on sagittal images and the ACL trajectory through the intercondylar notch. Many patients find this exercise empowering and arrive at follow-up appointments better prepared to ask informed questions.
Finally, remember that MRI images are only one part of clinical decision-making. The radiology report describes anatomy, but only your physician can integrate those findings with your symptoms, physical examination, and treatment goals. A meniscal tear seen on imaging may not require surgery if pain is minimal and function is preserved. Conversely, a relatively mild-appearing imaging finding might warrant intervention in a high-demand athlete. Always discuss results in the context of your full clinical picture before making treatment decisions.
MRI Questions and Answers
The History of MRI: From Discovery to Modern Medicine
MRI Medical Abbreviation: What MRI Stands For and Why It Matters
MRI With and Without Contrast: How It Works, What to Expect
Shoulder MRI: What It Shows, Procedure, and Reading the Report

MRI Imaging Centers: Complete Guide to Independent Outpatient MRI Facilities
About the Author
Medical Laboratory Scientist & Clinical Certification Expert
Johns Hopkins UniversityDr. Sandra Kim holds a PhD in Clinical Laboratory Science from Johns Hopkins University and is certified as a Medical Technologist (MT) and Medical Laboratory Scientist (MLS) through ASCP. With 16 years of clinical laboratory experience spanning hematology, microbiology, and molecular diagnostics, she prepares candidates for ASCP board exams, MLT, MLS, and specialist certification tests.
Join the Discussion
Connect with other students preparing for this exam. Share tips, ask questions, and get advice from people who have been there.
View discussion (6 replies)