How to Prepare for an MRI: Complete Patient Guide 2026 July
Learn how to prepare for an MRI: fasting rules, what to wear, contrast prep, claustrophobia tips, and a step-by-step checklist for scan day. 📝

Learning how to prepare for an MRI is the single best way to make sure your scan goes smoothly, produces diagnostic-quality images, and ends on schedule. Magnetic resonance imaging uses a powerful magnet, radio waves, and a computer to build detailed cross-sectional pictures of soft tissue, bone marrow, blood vessels, and nerves. Because the magnetic field is always on, even when no scan is running, every detail of your preparation matters, from the clothing you wear into the room to the metal you may not realize is on your body.
This guide walks you through everything U.S. patients need to know before an outpatient MRI appointment, whether you are getting a knee study at an imaging center or a contrast-enhanced brain MRI at a hospital. We cover fasting rules, medication timing, what to wear, jewelry and piercings, makeup and deodorant, and the safety screening you will fill out at check-in. You will also learn how to handle claustrophobia, sedation, and contrast injections.
Most outpatient MRI scans last between 20 and 60 minutes. The scanner is loud, narrow, and requires you to lie still, sometimes in awkward positions, while images are acquired in short bursts called sequences. Patients who arrive prepared, hydrated, dressed in the right clothing, and informed about what will happen tend to finish the exam faster and rarely need a repeat scan. Many of the patient anxieties around MRI come from MRI Safety 2026: Complete Guide to MRI Protocols and Hazards issues that simple preparation steps can completely eliminate.
Preparation also depends on the body part being scanned. A pelvic MRI may require a partially full bladder, while an abdominal mri cpt code typically requires four to six hours of fasting. A breast MRI is scheduled to a specific phase of the menstrual cycle, and a cardiac MRI may require holding caffeine for 24 hours. Your imaging center will send specific instructions, but knowing the general framework helps you ask the right questions when those instructions arrive by text, portal message, or phone call.
You will also need to think about what to bring. A photo ID, your insurance card, the physician order, and a list of previous surgeries and implants are the four essentials. Patients with pacemakers, cochlear implants, aneurysm clips, neurostimulators, insulin pumps, or recent stents need to provide the make and model of the device so the technologist can verify it is MRI conditional or MRI safe at the field strength used by that scanner, usually 1.5 Tesla or 3 Tesla.
Finally, mental preparation matters as much as physical preparation. The scanner produces banging, knocking, and buzzing sounds that can reach 110 decibels. You will be given hearing protection and often headphones with music. Knowing what to expect, practicing slow breathing, and arriving rested make a measurable difference in whether you can hold still for a full sequence. The sections that follow break each step down so you can walk into your appointment feeling confident, not anxious.
Use the checklist, timeline, and FAQ in this guide as a complete preparation system. By the time you finish reading, you will know exactly what to do the night before, the morning of, and the moment you arrive at the imaging center, plus what to expect during and after the scan itself.
MRI Preparation by the Numbers
Your MRI Preparation Timeline
48 Hours Before
24 Hours Before
Morning of Scan
At Check-In
During the Scan
After the Scan
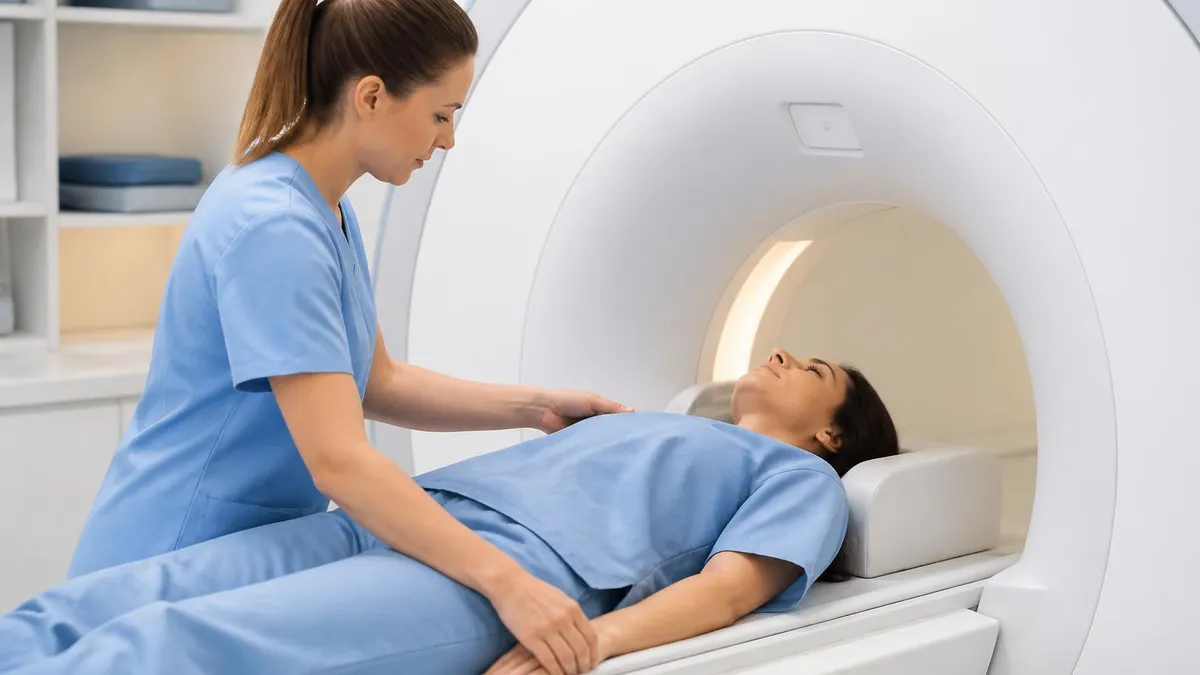
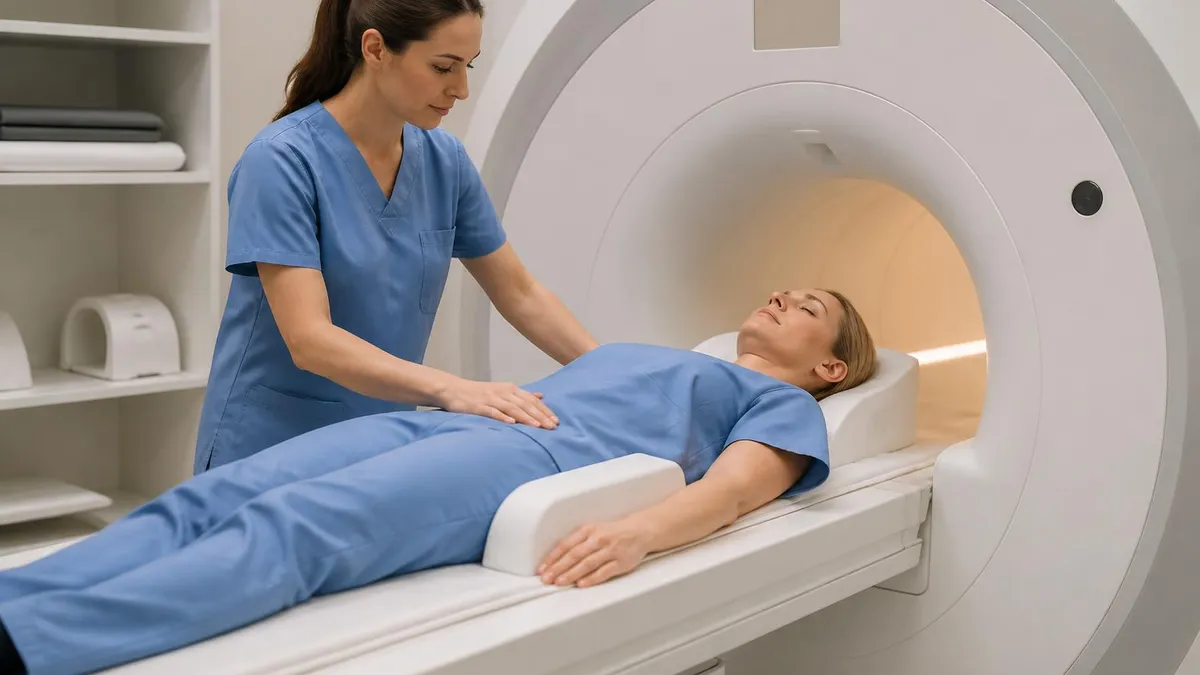
The clothing you wear to an MRI matters more than most patients realize. The magnetic field is always on, so anything ferromagnetic can become a projectile or heat up against your skin during a long sequence. Most imaging centers provide a gown, but you may be allowed to keep on personal clothing if it is completely free of metal, including no snaps, zippers, hooks, eyelets, wires, foil prints, or rhinestones. Plain cotton tee shirts, sweatpants, leggings, and socks without grippers are usually safe choices.
Underwear should be cotton, and women should bring a sports bra without an underwire. Underwire bras contain a curved metal piece that will cause an artifact across chest and breast images even if it does not heat up. Many imaging centers will simply ask you to remove it. Shapewear, compression garments, and athletic wear with silver-thread antimicrobial finishes can also cause artifacts and should be left at home, along with patches like nicotine, scopolamine, or hormone patches, which often contain metal foil.
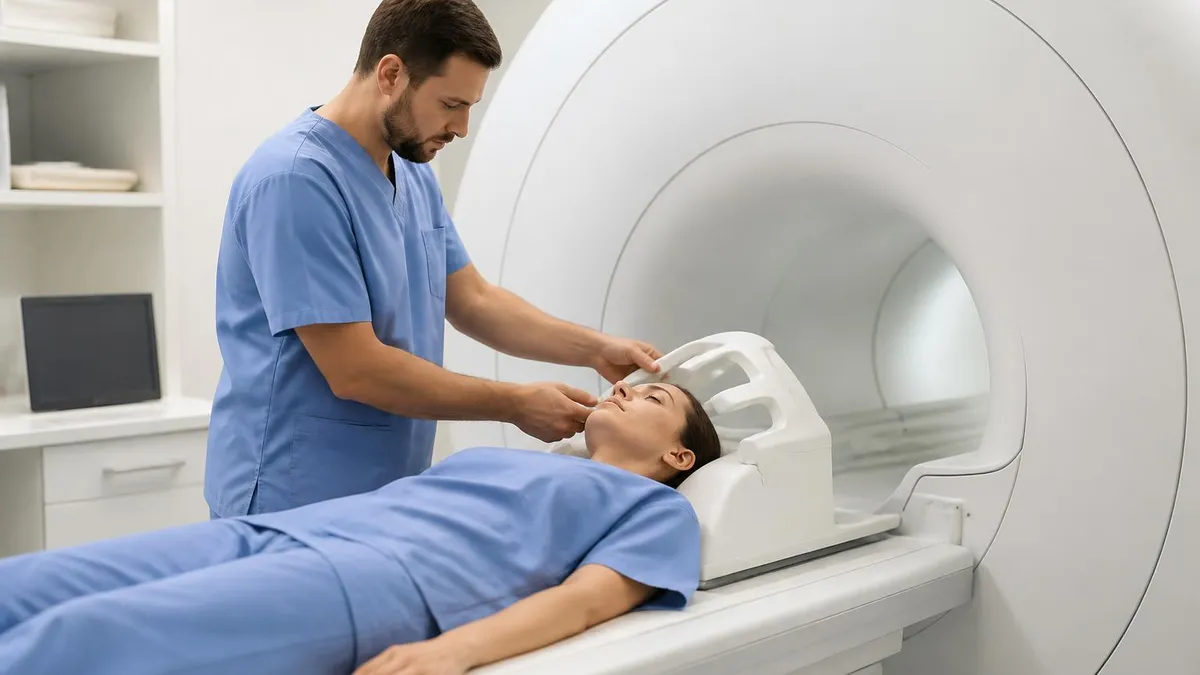
Jewelry is the next major concern. Remove rings, earrings, necklaces, bracelets, watches, fitness trackers, hearing aids, and all body piercings before you arrive if possible. Wedding rings can usually be taped over for safety, but tongue and nipple piercings must come out. If a piercing cannot be removed, tell the technologist; they may proceed with caution or reschedule depending on the body part being scanned and the proximity to the imaging coil.
Makeup, eyeliner, mascara, false eyelashes, and tattoos deserve special attention for brain, orbit, and face MRIs. Some cosmetic pigments, especially older permanent eyeliner and mascara, contain iron oxide and can heat up or distort images. Wash your face thoroughly the morning of a head MRI.
Dark, large, and older tattoos can occasionally feel warm during the scan; tell the technologist if you have one in the area being imaged so they can monitor you. For a deeper look at what radiologists actually see in your study, review the What a Normal MRI Looks Like: Brain, Spine & Knee guide before your appointment.
Hair products, lotions, deodorant, and antiperspirant should also be skipped on scan day. Antiperspirants and some sunscreens contain aluminum and other metallic compounds that can produce a streak or signal void on chest and shoulder images. Dry shampoo and certain styling sprays contain metallic flakes that cause similar issues for brain studies. If you forget, do not panic; the technologist will give you wipes and ask you to clean the area before entering the magnet room.
Bring a photo ID, your insurance card, the original physician order if you have a paper copy, and a written list of all surgeries with dates and the implanted device cards for any pacemaker, defibrillator, neurostimulator, cochlear implant, or shunt. If you wear glasses, bring an old pair or contacts in case you need to read consent forms. Leave watches, wallets with chip cards, smartphones, and keys in your car or the secure locker provided.
Finally, plan your transportation. Most MRI patients can drive themselves home, but anyone receiving oral or IV sedation must have a licensed driver present at discharge. Sedated patients should also avoid operating heavy machinery, signing legal documents, or caring for small children unsupervised for the remainder of the day. Plan to be at the imaging center for at least 90 minutes total, even though the scan itself may only run 30 minutes.
MRI Practice Test Questions
Prepare for the MRI - Magnetic Resonance Imaging exam with our free practice test modules. Each quiz covers key topics to help you pass on your first try.
MRI Knowledge
MRI Exam Questions covering Knowledge. Master MRI Test concepts for certification prep.
MRI Physics
Free MRI Practice Test featuring Physics. Improve your MRI Exam score with mock test prep.
MRI Anatomy and Pathology
MRI Test Prep for MRI Anatomy and Pathology. Practice MRI Quiz questions and boost your score.
MRI Anatomy and Positioning
MRI Questions and Answers on MRI Anatomy and Positioning. Free MRI practice for exam readiness.
MRI Contrast Agents
Free MRI Quiz on MRI Contrast Agents. MRI Exam prep questions with detailed explanations.
MRI Patient Care and Positioning
MRI Practice Questions for MRI Patient Care and Positioning. Build confidence for your MRI certification exam.
MRI Contrast, Fasting and Medication Rules
Fasting is not required for every MRI. Routine brain, spine, joint, and extremity scans without contrast typically require no fasting at all. You can eat, drink, and take medications normally. Showing up hungry is actually a bad idea because low blood sugar increases anxiety and the urge to move, both of which can ruin a scan that requires you to lie completely still for thirty to sixty minutes.
Abdominal, pelvic, MRCP, and enterography scans usually require four to six hours of fasting, including no gum, mints, or hard candy, because food and saliva stimulate bowel motion that blurs the images. Water is usually permitted up to two hours before. Cardiac MRI with stress agents requires a 24-hour caffeine hold. Always follow the specific instructions from your imaging center, as protocols vary between hospitals and outpatient centers.

Open MRI vs Closed Bore MRI: Which Is Right for Your Prep?
- +Open MRI is far more comfortable for claustrophobic and larger patients
- +No medication or sedation usually needed for open MRI
- +Children and elderly patients tolerate open scanners better
- +Open MRI can accommodate patients up to 550 pounds at some centers
- +Family members can stay closer during the scan in an open unit
- +Easier positioning for shoulder, hip, and weight-bearing studies
- −Open MRI usually runs at 0.3 to 1.2 Tesla, producing lower resolution images
- −Some studies, like breast or cardiac MRI, are not available on open scanners
- −Scan times on lower-field open units can be 30 to 50 percent longer
- −Fewer open MRI centers exist, leading to longer drives and waitlists
- −Insurance may not cover open MRI if a closed scanner is locally available
- −Subtle findings like small MS lesions may be missed at lower field strength
Day-of-Scan Checklist: How to Prepare for an MRI
- ✓Confirm fasting status and follow eating instructions exactly
- ✓Take routine medications with a small sip of water unless told otherwise
- ✓Wear loose, metal-free cotton clothing or plan to use a gown
- ✓Remove all jewelry, watches, hearing aids, and removable piercings
- ✓Skip lotion, deodorant, makeup, hair gel, and hair spray
- ✓Bring photo ID, insurance card, the order, and implant device cards
- ✓Arrive at least 30 minutes before the scheduled appointment time
- ✓Use the restroom right before entering the MRI suite
- ✓Bring a list of every surgery and implant with approximate dates
- ✓Arrange a driver if oral or IV sedation is planned
The single most important MRI prep step
Tell the technologist about every metal implant, surgery, tattoo, and piercing, even if you mentioned it on the form. Verbal confirmation in the screening room catches more than 90 percent of safety incidents. If you are not sure whether something is in your body, say so; the team can take a quick screening X-ray to be safe.
The MRI safety screening is the most critical part of your visit, and understanding why it exists will help you give complete, accurate answers. The MRI scanner uses a magnetic field 30,000 to 60,000 times stronger than Earth's natural field, plus rapidly switching gradients and radiofrequency pulses. Ferromagnetic objects can be pulled into the bore at speeds exceeding 40 miles per hour. Some implants can move, heat, or malfunction in the field, and a few can be life-threatening if scanned without verification.
The screening form has roughly 60 questions covering pacemakers, defibrillators, neurostimulators, cochlear implants, aneurysm clips, vascular stents, vena cava filters, joint replacements, surgical staples, spinal hardware, dental work, intrauterine devices, insulin pumps, drug pumps, shrapnel, bullet fragments, body piercings, tattoos, permanent makeup, and pregnancy status. Answer yes to anything you have ever had, even if it was decades ago, because some older implants are not MRI compatible at modern 3 Tesla field strengths.
If you have an implanted device, bring the original implant card or surgical note. The technologist will look up the make, model, and serial number in the MagResource or MRIsafety.com databases to confirm the device is MRI conditional, including specific conditions like maximum field strength, gradient slew rate, and specific absorption rate limits. Some pacemakers can be scanned only after a cardiologist programs them into MRI mode immediately before the exam.
Pregnancy is not an absolute contraindication to MRI, but contrast is usually avoided in the first trimester unless the diagnostic benefit clearly outweighs theoretical risk. Tell the technologist if there is any chance you are pregnant. Breastfeeding patients can receive gadolinium and continue nursing because less than 0.04 percent of the dose passes into breast milk, and almost none is absorbed by the infant's gut.
Recent surgeries deserve special attention. Vascular clips, embolization coils, and stents are typically safe to scan after six weeks, but the surgeon's note should confirm the device is MRI conditional. Tissue expanders with metal ports, port-a-caths, and PICC lines are usually safe but generate local artifacts. Magnetic dental implants, retainers with wires, and orthodontic braces are generally safe but degrade image quality for head and neck studies.
Tattoos rarely cause problems, but very dark, very large, or very recent tattoos may feel warm during long sequences because some pigments contain iron oxide. Cosmetic permanent makeup applied before about 2005 is more likely to contain iron. The technologist may place a cold pack over the area or modify the protocol to reduce specific absorption rate. Stop the scan with the squeeze ball if you feel burning, not just warmth.
Finally, do not omit information out of embarrassment. Sex toys with magnets, retained ear piercings under healed skin, retained shrapnel from old injuries, and prison tattoos with non-standard ink all need to be disclosed. The screening team has heard everything and will simply make sure you are scanned safely. A two-minute conversation is far better than an injury or a non-diagnostic study that has to be repeated.

Wallets, keys, phones, hairpins, hearing aids, oxygen tanks, and even some cardiac monitors must stay outside the magnet room. Loose ferromagnetic objects have killed patients when pulled into the bore at high speed. If you are unsure whether an item is safe, ask before stepping past the Zone III door.
Roughly one in seven patients experiences some degree of claustrophobia during MRI, and about three percent cannot complete the scan without intervention. The closed bore is 60 to 70 centimeters wide and up to 170 centimeters long. Your head may be only a few inches from the top of the bore depending on the study. Knowing this in advance and practicing simple coping strategies dramatically improves your odds of finishing a high-quality exam on the first try.
Start with mental preparation. Visit the imaging center for a brief walk-through if they offer one. Watch a short video of the scanner in action so the noise does not surprise you. Practice slow diaphragmatic breathing, inhaling for four counts and exhaling for six, for ten minutes daily in the week before your scan. This activates the parasympathetic nervous system and reduces your baseline anxiety level when you arrive.
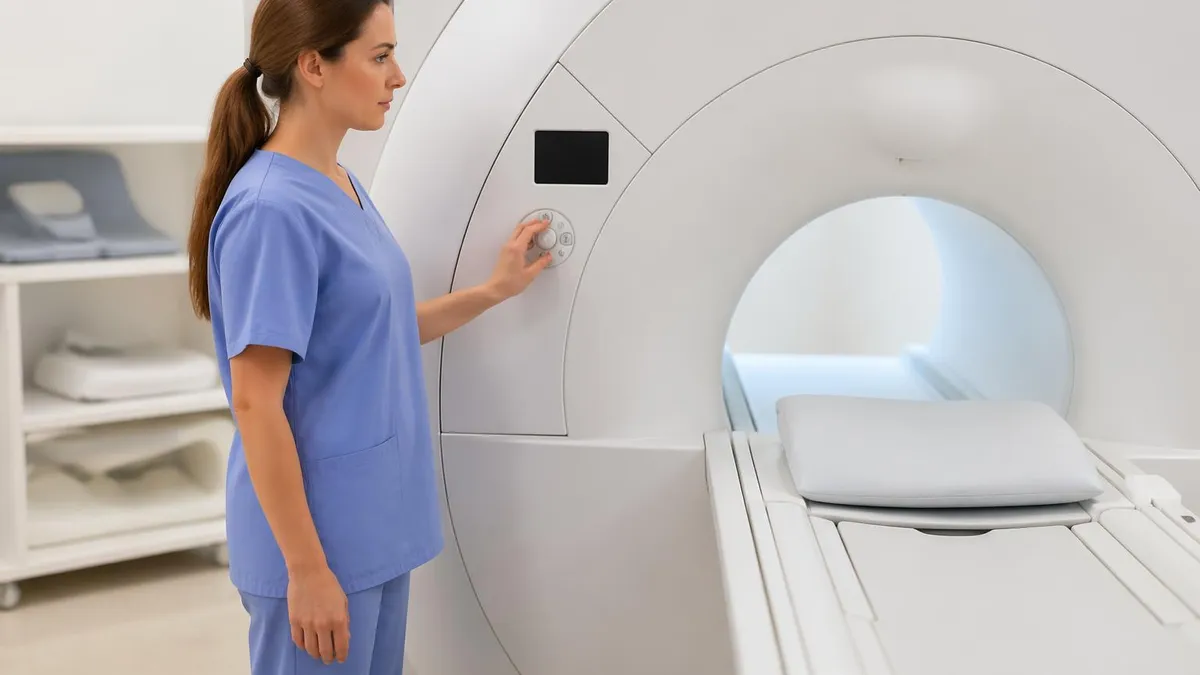
Ask whether the scanner is a wide-bore, short-bore, or open-architecture model. Many modern 1.5 and 3 Tesla scanners now have a 70 centimeter bore, only slightly more confining than a CT scanner. Wide-bore systems are kinder for larger patients and anyone with mild claustrophobia. True open MRI is reserved for severe claustrophobia or extreme body habitus because image quality is lower. Your physician can request a specific scanner type when ordering the study.
Position matters. For brain, cervical spine, and shoulder MRIs, your head goes into the magnet first. For knee, ankle, and lumbosacral mri cpt code MRIs, your feet go in first and your head may remain outside the bore entirely, which most patients find far more tolerable. If you have a choice of body part imaging order, ask if a feet-first position is possible. Reviewing the Common MRI Findings: Brain, Spine and Joints Guide can also reduce anxiety by demystifying what the radiologist is looking for.
Pharmacologic help is appropriate when behavioral techniques are not enough. Your physician can prescribe 0.5 to 1 milligram of lorazepam or 0.25 to 0.5 milligram of alprazolam taken 30 to 60 minutes before the appointment. You must have a sober driver because these medications impair driving for the rest of the day. For severe cases, IV moderate sedation or even general anesthesia can be arranged, especially for children, autistic adults, and patients with severe PTSD.
Use the equipment provided. Every scanner has a squeeze ball or call button that stops the scan immediately and brings the technologist into the room within seconds. Hearing protection with music of your choosing, mirrors that let you see out of the bore, weighted blankets, and aromatherapy strips are increasingly common patient comfort offerings. Ask what your center provides when you schedule the appointment.
Finally, build a mental anchor. Close your eyes before entering the bore, keep them closed for the entire scan, and imagine yourself in a favorite calm location, mentally rehearsing details like the color of the sky or the smell of the air. Counting sequences also helps; most scans use five to eight sequences of two to seven minutes each, so each banging noise change means you are one step closer to finished.
Practical tips on scan day separate a good MRI experience from a stressful one. Wake up at least two hours before your appointment so you are fully alert and have time to shower, dress, and review the checklist without rushing. Eat a light meal if fasting is not required, choosing protein and complex carbohydrates that keep your blood sugar stable. Drink water steadily but stop one hour before to avoid needing the restroom mid-scan, especially for studies longer than 30 minutes.
Dress in layers because the MRI room is kept cool, typically around 65 to 68 degrees Fahrenheit, to protect the magnet's cooling system. A long-sleeve cotton top under your provided gown plus warm cotton socks make a big difference during longer protocols. Avoid heavy meals and carbonated beverages for two to four hours before any abdominal or pelvic study, even if a strict fast is not required, because bowel gas causes susceptibility artifacts.
Use the restroom right before walking into the scan room, even if you do not feel like you need to. Once positioned on the table with the coil locked in place, getting up to use the bathroom means undoing the entire setup and often starting the scan from the beginning. For pelvic and prostate MRI, the imaging center may actually want a partially full bladder; follow their specific instructions rather than this general guidance.
Communicate clearly with the technologist. Tell them if you have back pain, neck pain, or any positions you cannot hold. Pillows, wedges, and knee bolsters can be added under your legs, lower back, or neck to make the scan tolerable. Mention any cough, claustrophobia, or recent meals that might cause discomfort. The technologist wants the scan to succeed as much as you do and will work with you on positioning before the first sequence starts.
During the scan itself, follow breathing instructions exactly. Abdominal and cardiac MRI use breath-hold sequences lasting 15 to 25 seconds; practice holding your breath at home in the days before. Other sequences let you breathe normally. Do not talk, swallow excessively, or move between sequences; even a small head shift can ruin a brain scan. The intercom will tell you when each series is starting and how long it will last.
If you receive contrast, expect a cool sensation in your arm and a brief metallic taste as the gadolinium is injected. This is normal and resolves within seconds. Severe allergic reactions are rare. The IV stays in until the scan finishes in case additional sequences are needed. After the scan, the technologist will remove the IV, give you discharge instructions, and walk you to the changing area.
Plan your post-scan day realistically. Even without sedation, many patients feel mentally fatigued from lying still in a loud environment. Eat a normal meal, hydrate, and avoid driving long distances if you feel tired. Results typically appear in the patient portal within 24 to 48 hours, though urgent findings are called to the ordering provider the same day. If you do not hear anything within three business days, call the office to ask.
MRI Questions and Answers


About the Author

Medical Laboratory Scientist & Clinical Certification Expert
Johns Hopkins UniversityDr. Sandra Kim holds a PhD in Clinical Laboratory Science from Johns Hopkins University and is certified as a Medical Technologist (MT) and Medical Laboratory Scientist (MLS) through ASCP. With 16 years of clinical laboratory experience spanning hematology, microbiology, and molecular diagnostics, she prepares candidates for ASCP board exams, MLT, MLS, and specialist certification tests.
Join the Discussion
Connect with other students preparing for this exam. Share tips, ask questions, and get advice from people who have been there.
View discussion (6 replies)