Upright MRI: How Standing & Positional Scans Work 2026 July
Upright MRI explained: ❓ how standing/positional scans work, costs, insurance, best uses for spine, knee & TMJ, plus limits vs traditional MRI.

An upright MRI scans you while you sit, stand, bend, or hold a position that matches how your pain actually shows up in daily life. That's the whole point. A standard MRI puts you flat on your back, but gravity disappears the second you lie down, and so do many of the mechanical problems doctors are trying to see.
If your back screams when you stand and goes quiet when you lie down, a supine scan can miss the smoking gun. Doctors have argued for decades about whether dynamic imaging changes outcomes, but for patients with positional symptoms, the question is simpler: does anything show up at all?
You'll also hear an upright MRI called a standing MRI, a weight bearing MRI, or a positional MRI. The names are interchangeable, and centers tend to pick whichever one their marketing team likes best. FONAR Corporation built the first commercial unit in the early 2000s.
The technology has spread to a few hundred clinics across the US since then. It's not the right test for every patient, and the image quality is a real trade-off compared to high-field scanners. But for the right problem, in the right patient, an upright MRI shows things no supine scan can.
If you've been bounced between specialists, told your imaging is normal, and still hurt every time you stand up, this guide walks you through the whole landscape — what it does well, where it falls flat, what insurance looks like in practice, and how to figure out whether it's a fit for your particular problem.
Upright MRI scans you in functional positions (sitting, standing, bending) instead of flat on your back. Field strength is lower (0.3T-0.6T vs 1.5T-3T), so resolution drops, but you can see weight-bearing pathology that hides on a supine scan. Best for mechanical back pain, spondylolisthesis, TMJ, severe claustrophobia. Self-pay runs $1,000-$3,500. Insurance coverage is improving but still inconsistent.
Here's the practical question most people land on: is an upright MRI worth chasing, or should you just book a regular scan? The answer depends on whether your symptoms are positional. If your sciatica only fires when you walk, if your neck pinches when you tilt your head back, if your jaw clicks only when you open wide, your problem is dynamic.
A test that catches you frozen in the painful position has a real shot at finding the cause. If your pain is constant or your symptoms are systemic, a high-field 1.5T or 3T scan is almost always the better choice. Save the upright scan for the positional puzzles your standard imaging can't crack.
The decision also depends on what your last scan showed. If you've already had a standard MRI and the radiologist flagged something specific — a herniated disc, a torn meniscus, clear stenosis — you usually don't need an upright scan to confirm it. The diagnosis is already in hand.
Upright MRI shines when your symptoms are real and reproducible, but your standard scan came back unremarkable or showed findings that don't fully explain your pain. In other words, when the picture and the patient don't match.
Upright MRI: How It Works, Best Uses, Limits
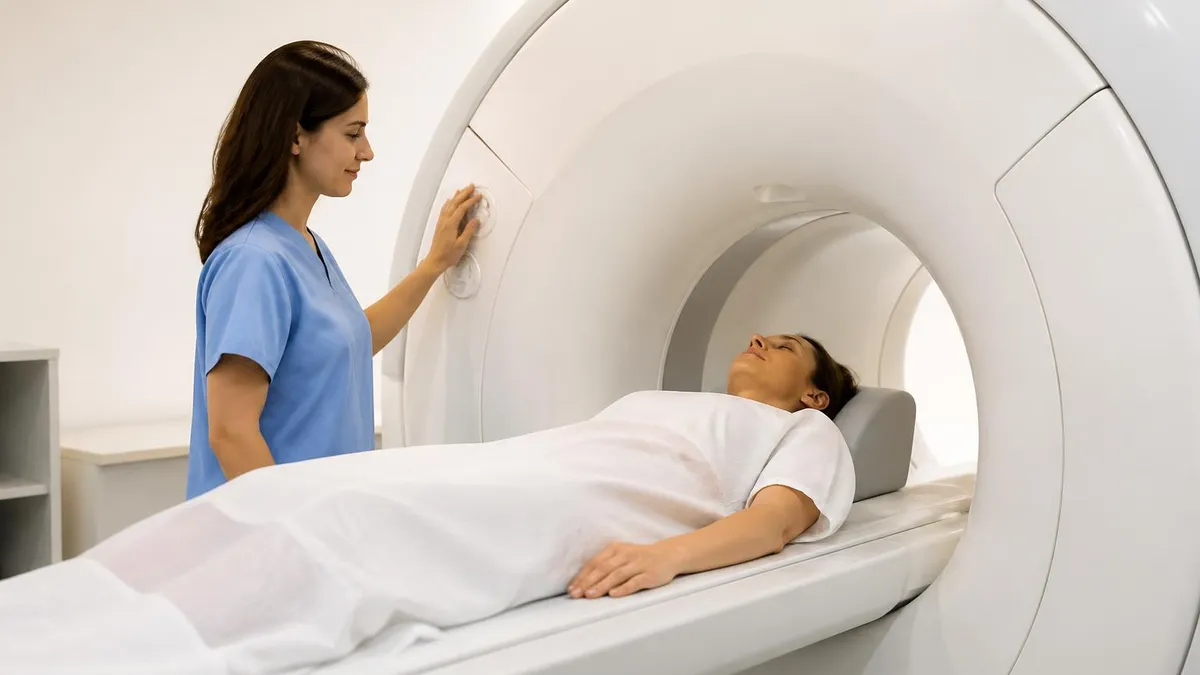
An upright MRI uses a pair of horizontal magnet poles with a wide vertical gap between them. You sit in a chair, stand on a platform, or recline at an angle inside that gap. The magnet doesn't surround you like a tube — your face stays open the entire scan. The chair tilts and rotates to capture neutral, flexion, extension, side-bending, and rotation positions in sequence.
The physics is the same as any MRI. Hydrogen atoms align with the magnetic field, radio pulses knock them out of alignment, and the signal they emit as they snap back gets reconstructed into images. The difference is field strength. Most upright scanners run at 0.6 Tesla; some older units run at 0.3T. A standard hospital scanner is 1.5T or 3T. Lower field means weaker signal, which means longer scan times and lower resolution.
Most patients arrive at the upright MRI conversation after a standard MRI came back clean despite real, daily symptoms. That's a frustrating place to sit. Your doctor sees the report, sees the normal scan, and the conversation drifts toward physical therapy, injections, or learning to live with it.
The standard supine MRI is excellent at finding structural pathology, but it's blind to anything that depends on load. A bulging disc can retreat into the disc space when you lie flat. A vertebra that slips forward when you stand can sit perfectly aligned when you're horizontal. The image looks normal because, in that moment, the spine is normal.
This is the gap upright MRI is built to fill. Researchers have published case series over the last fifteen years showing positional changes in disc geometry, vertebral alignment, and nerve root compression that simply don't appear on supine scans.
Studies on lumbar instability document slippage that increases by two to five millimeters when patients stand. That's a meaningful change clinically. A two-millimeter slip in standing can be the difference between conservative management and a surgical referral. Spine surgeons increasingly request upright imaging before recommending fusion or decompression for borderline cases. The dynamic data changes their decision-making in a real percentage of patients, especially those with grade 1 listhesis that may or may not be unstable.
Top Conditions Upright MRI Helps Diagnose
- Symptom pattern: Worsens with standing, walking, prolonged sitting
- What upright shows: Disc bulge under axial load, dynamic stenosis
- Why supine misses it: Disc retracts when gravity is removed
- What it is: Vertebra slips forward over the one below
- What upright shows: Degree of slippage in standing position
- Why supine misses it: Slippage often reduces when lying flat
- Symptom pattern: Pain or numbness in flexion or extension
- What upright shows: Disc protrusion in dynamic neck positions
- Why supine misses it: Neutral position hides positional bulges
- Symptom pattern: Jaw clicks, locks, or pops with movement
- What upright shows: Disc position with mouth open and closed
- Why supine misses it: Static scan can't capture motion
- Symptom pattern: Knee pain only when standing or walking
- What upright shows: Meniscus and cartilage under load
- Why supine misses it: Joint space opens when unloaded
- What it is: Narrowing of nerve exit channels
- What upright shows: Foramen closure in extension or standing
- Why supine misses it: Foramen opens in neutral supine position
Field strength is the single biggest technical issue with upright MRI, and you should understand it before you decide. Signal strength scales roughly linearly with field strength. A 3T scanner produces about five times the signal of a 0.6T upright unit, and signal is what gives you sharp images of small structures.
That difference shows up in every scan. Ligament tears, small disc fragments, subtle bone marrow edema, and tiny nerve root inflammation are all easier to spot at 3T. A radiologist reading a 0.6T scan has less to work with, and the reports often include hedging language like limited evaluation for that reason.
Slice thickness matters too. High-field scanners can capture sub-millimeter detail when needed. Most upright systems work with thicker slices to preserve enough signal for a usable image. Small lesions can fall between slices and not register at all.
Radiologists who read both modalities often note in their reports when the upright study should be supplemented with a high-field scan to rule out a specific finding. The two reads work together rather than substituting for each other.
That said, for the big mechanical questions — is there a slip, does this disc bulge under load, does the canal narrow when you stand — a 0.6T positional scan is often the right tool. You don't need 3T detail to see a vertebra that moves three millimeters. You need to see the vertebra in the position that matters.
Newer 1.0T mid-field upright systems are starting to close the gap. They cost more, the manufacturer base is smaller, and they're rare in the US, but they offer noticeably better resolution than 0.6T while still scanning in upright positions. If you're shopping for the highest-quality positional scan, ask whether any 1.0T units are within driving distance. They're worth the trip when the diagnosis is borderline.
MRI Field Strength at a Glance
Cost is the next thing patients ask about. Self-pay rates for an upright MRI in 2026 typically land between $1,000 and $3,500 in the US, depending on the body part, location, and whether you need contrast. Major metros like New York and Los Angeles tend to run higher than smaller markets.
Cash discounts of 30 to 50 percent off the sticker price are common if you ask. A standard 1.5T or 3T MRI of the same body part usually runs $400 to $2,500 self-pay, so upright is generally 10 to 30 percent more expensive head to head. Always ask whether the quote is all-in or technical-fee-only.
Health savings accounts and flexible spending accounts cover upright MRI if your physician orders it. Some patients pay the self-pay rate with HSA dollars even when insurance approval is unclear, because the tax savings effectively cut the cost by 20 to 30 percent. If you have either type of account, factor that into the math before deciding between an appeal and just paying out of pocket.
Body part matters too. A lumbar spine upright scan typically runs higher than a single-joint study like the TMJ or knee. Studies that require multiple positions in sequence take more scanner time, which raises the cost. Contrast adds another $100 to $400 to the bill, and most upright spine and joint protocols don't use it.
If you want a deeper breakdown of fees for different machines and body parts, our MRI scan cost guide covers how negotiated rates work, why hospital-based scans cost so much more than free-standing imaging centers, and where to find published price lists. Several large imaging chains now publish their self-pay rates online.
Pros and Cons of Upright MRI
- +Captures weight-bearing pathology invisible on supine scans
- +Open design is friendly for severe claustrophobia
- +Better fit for many obese patients who don't fit closed bores
- +Allows true dynamic imaging in flexion, extension, and rotation
- +TMJ scans capture mouth open and mouth closed positions
- +No ionizing radiation, same safety profile as standard MRI
- +Often the answer when standard MRI was inconclusive
- −Lower resolution than 1.5T or 3T scanners
- −Scan times are longer, often 45 to 90 minutes total
- −Self-pay cost typically higher than standard MRI
- −Insurance approval is harder to get for routine cases
- −Not suitable for brain, abdomen, or cancer staging
- −Geographic availability is limited outside major metros
- −Holding positions can be painful for chronic pain patients
Insurance is where the upright MRI process turns frustrating fast. Many insurers still flag upright scanners as experimental or investigational in their coverage policies. The standard rejection language reads something like "standard supine MRI is sufficient for diagnosis."
That's not strictly true for positional pathology, and the rejection is appealable, but you'll need documentation. Coverage has improved since 2010, especially for chronic mechanical back pain, documented spondylolisthesis, and TMJ disorders. Pre-authorization is still the rule and denials are still common.
The good news: appeals work more often than patients expect. A clean documentation packet — failed conservative treatment, prior inconclusive imaging, physician letter explaining the dynamic component — flips many denials on first appeal. Specific language matters. Saying "the patient has positional symptoms that supine imaging cannot adequately evaluate" carries more weight than "the doctor wants an upright scan."
If the first appeal fails, an external independent review through your state insurance commission flips a significant fraction of the remaining cases. Don't treat a first denial as the final answer. Many imaging centers have prior-auth specialists on staff who do this paperwork dance every day. Ask whether yours offers that service before you start.
Insurance Appeal Checklist for Upright MRI
- ✓Document at least six weeks of failed conservative treatment (PT, NSAIDs, injections)
- ✓Get a prior standard MRI report on file, ideally noting the scan was inconclusive
- ✓Have your doctor write a letter explaining why position-dependent imaging is medically necessary
- ✓Note specifically that symptoms worsen with standing, walking, or other loaded positions
- ✓Cite peer-reviewed literature supporting upright MRI for your specific condition
- ✓Request an external (independent) review if the internal appeal is denied
- ✓Keep records of every phone call, including representative name and reference number
- ✓Ask your provider's office whether they have a prior-auth specialist who handles appeals
What to Expect on Upright MRI Day
Schedule and pre-auth
Bring your records
Check in and change
Remove all metal
Position in the scanner
Multi-position sequences
Total scan time
Results turnaround
You'll find upright MRI at fewer than 200 locations across the US, mostly concentrated in major metros and a few specialty spine centers. FONAR Corporation runs a clinic locator at fonar.com that shows the closest unit by ZIP code.
Other manufacturers make positional MRI systems too. Esaote's G-Scan uses a tilt table that rotates from supine to standing. Hitachi's Aperto Lucent is an open scanner with limited tilt capability. A few newer entrants are pushing 1.0T mid-field systems. When you search upright MRI near me, you're mostly looking at FONAR sites with a scattering of Esaote and Hitachi installations.
Call ahead to confirm two things. First, that the center has a true upright scanner, not just an open MRI (open scanners are roomier but still lie you flat). Second, that they're in-network, or that the self-pay rate includes the radiologist read.
A surprising number of facilities bill the scan and the read separately, and you can end up with a second bill weeks later for the professional component. Ask explicitly: does your quoted price include the radiologist interpretation? If the answer is unclear, ask for the all-in number in writing.
Open vs Closed vs Upright MRI
- Position: Lying flat in a 60cm tube
- Resolution: Highest available
- Claustrophobia: Often a problem
- Best for: Brain, abdomen, cancer, almost everything
- Position: Lying flat in a 70cm tube
- Resolution: Same as closed bore
- Claustrophobia: Better but still enclosed
- Best for: Larger patients, mild anxiety
- Position: Lying flat with sides open
- Resolution: Lower than 1.5T
- Claustrophobia: Much more tolerable
- Best for: Anxiety, large patients, basic imaging
- Position: Sitting, standing, bending
- Resolution: Lowest of the four
- Claustrophobia: Easiest of all options
- Best for: Positional pain, spondylolisthesis, TMJ
Spine work is where upright MRI earns its keep. Lumbar disc bulges can hide on a supine scan and pop right out when you stand. Spondylolisthesis is the classic example — a vertebra that slips three millimeters forward in a standing scan can look perfectly aligned lying down.
Cervical scans in extension reveal foraminal narrowing that wouldn't show up neutral. If your back or neck pain has a clear positional trigger and a supine MRI came back clean, a positional scan is the logical next step. The pathology is there; it's just hiding in the wrong body position.
TMJ disorders are another sweet spot. The temporomandibular joint has a small fibrocartilage disc that can dislocate forward when you open your mouth. The only way to see that disc move is to image the joint with the mouth open and then again with it closed.
An upright MRI captures both positions cleanly in a single sitting. For full body part coverage on other regions, our pelvic MRI guide covers what supine pelvic imaging shows, and our MRI of the knee page explains how knee scans typically run on standard scanners.
Athletes and active patients often benefit too. A knee that feels loose during cutting movements may look pristine on a supine scan because the ligaments aren't loaded. A weight-bearing scan with the knee flexed can show meniscal extrusion, cartilage deformation, and patellar tracking issues that simply don't appear when the joint is unloaded on a standard MRI table.
Don't choose upright MRI for these scenarios: brain or pituitary disorders (you need high-field detail), abdominal or pelvic cancer staging, acute trauma (CT is faster and better for emergencies), most pediatric imaging, MR angiography of small vessels, multiple sclerosis monitoring where subtle white matter lesions matter, or any case where soft tissue contrast at 1.5T or 3T is required for diagnosis. For these, a standard scan is the right answer.
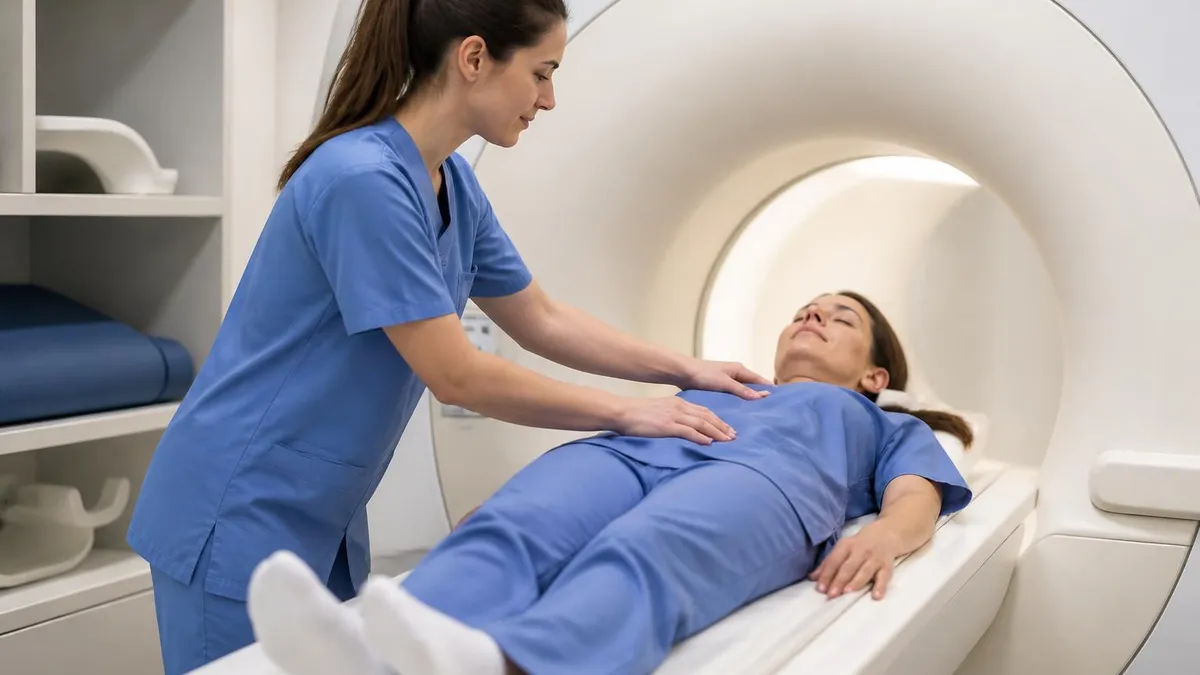
One thing patients often miss is how much the scan experience differs from a standard MRI. You're sitting up, not lying down, so if your back or hip hurts when you sit, the scan itself will hurt. The noise is the same — loud knocking, banging, and humming — and you'll get earplugs or headphones.
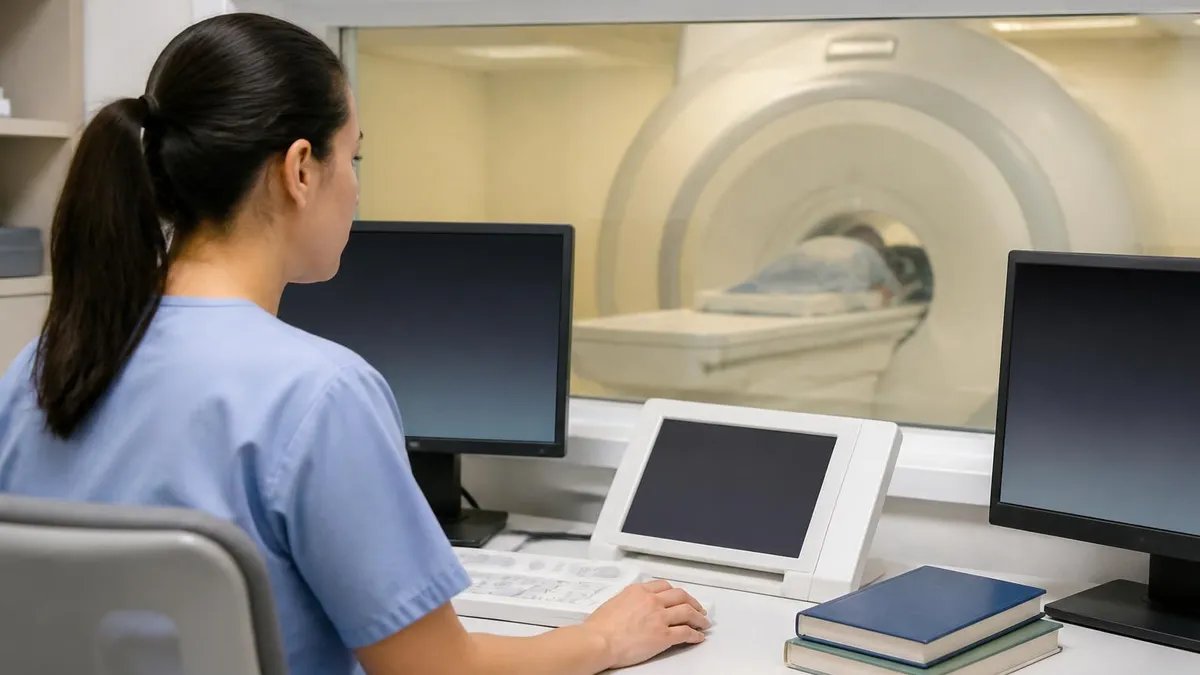
You have to hold each position perfectly still for 5 to 15 minutes at a stretch, and the tech will check on you between sequences. Some centers play music or let you watch a screen mounted in front of the scanner. Many patients tolerate it better than a tube scan because they can see out the entire time.
Practical tips help. Take any prescribed pain medication or muscle relaxant on schedule before the scan if your doctor approves — staying still in pain for an hour is brutal otherwise. Use the bathroom right before you start; once you're positioned, getting out and back in disrupts the imaging plan.
Wear comfortable clothes without metal. If you have anxiety, ask in advance whether a short course of an oral anxiolytic is appropriate. If you've never tolerated an MRI before, mention that when you schedule. Some centers offer staged practice sessions so you can see the scanner before scan day.
Bring a friend or family member if you can. Most upright centers allow a companion in the room — the open design makes it easy. Having someone there is reassuring, and they can hand you water or adjust your headphones between sequences without breaking the scan workflow.
Upright MRI Questions and Answers
Brand names get confusing fast. FONAR Upright MRI and FONAR Stand-Up MRI are the same technology with different marketing names — both refer to FONAR's true upright positional scanner running at 0.6T. The Esaote G-Scan is a tilt-table positional system that rotates from supine to standing inside a smaller magnet.
The Hitachi Aperto Lucent is an open scanner with limited tilt capability, not a true upright unit, though some facilities market it under the upright label. If your scan order specifies upright or positional, make sure the facility's equipment matches what your doctor ordered. The wrong machine produces the wrong study.
For more on machine differences across the MRI landscape, our MRI machine types guide breaks down the categories from low-field open systems through 3T premium scanners.
If you're trying to picture what a standard high-field scan delivers for comparison, our normal brain MRI page shows what good detail looks like at 1.5T and 3T. Side by side, the difference between a 0.6T positional spine scan and a 3T brain scan is striking — but each tool answers a different clinical question. Picking the right one comes down to what you're trying to find.
The bottom line: upright MRI is a specialist's tool, not a replacement for standard imaging. If your symptoms have a clear positional trigger, if a standard MRI came back clean, or if claustrophobia has stopped you from completing a scan in the past, ask your doctor whether positional imaging makes sense.
Get the prior authorization paperwork started early, expect a possible denial and a successful appeal, and budget for the possibility of self-pay. The image won't be as crisp as a 3T scan, but for the right problem, it's the only test that catches the pathology in the act.
For everything else — brain disorders, abdominal evaluation, cancer staging, acute injury, MR angiography of fine vessels, MS monitoring — stay with a standard high-field MRI. The two tools complement each other; they don't compete.
The smartest patients match the test to the question, not the question to the test. If your problem changes with position, ask about an upright scan. If it doesn't, book the 1.5T or 3T scan that has the field strength to answer your actual question. Either way, you're better off knowing what each tool does before you walk into the imaging center.
About the Author

Medical Laboratory Scientist & Clinical Certification Expert
Johns Hopkins UniversityDr. Sandra Kim holds a PhD in Clinical Laboratory Science from Johns Hopkins University and is certified as a Medical Technologist (MT) and Medical Laboratory Scientist (MLS) through ASCP. With 16 years of clinical laboratory experience spanning hematology, microbiology, and molecular diagnostics, she prepares candidates for ASCP board exams, MLT, MLS, and specialist certification tests.
Join the Discussion
Connect with other students preparing for this exam. Share tips, ask questions, and get advice from people who have been there.
View discussion (6 replies)