
MRI Imaging Near Me: How to Find, Book, and Prepare for a Local MRI Scan
MRI imaging near me — compare local MRI centers, costs, wait times, scanner strength, and prep tips so you book the right scan fast and confidently. 🎓
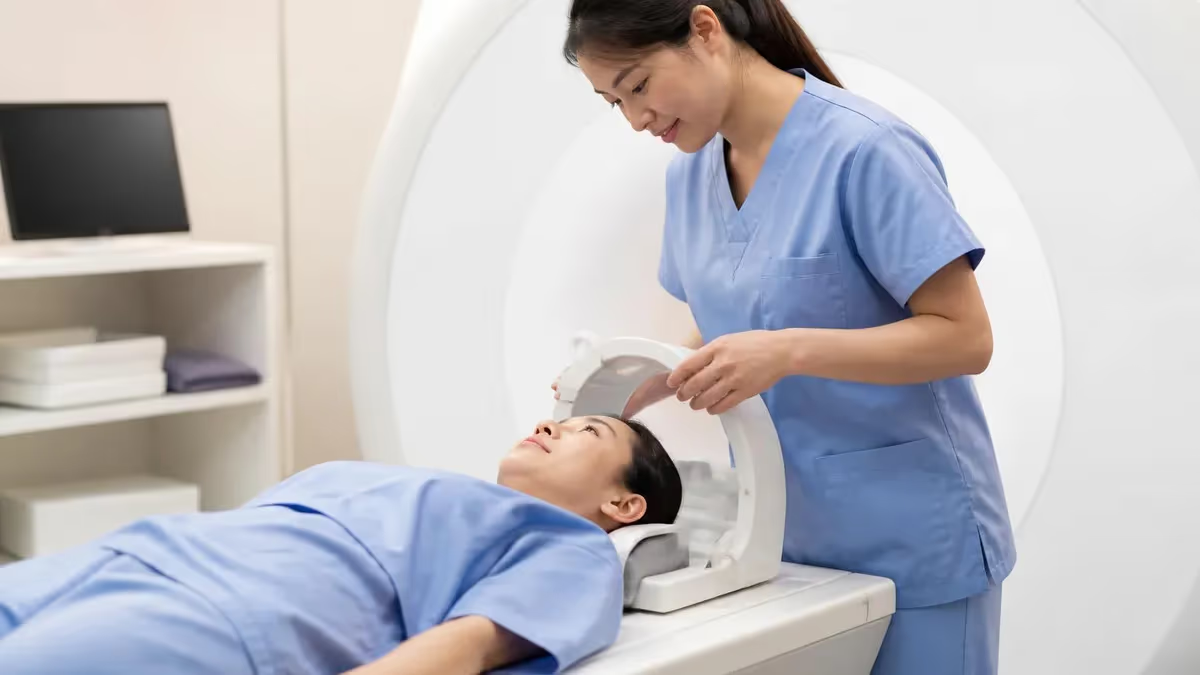
Searching for mri imaging near me usually means one of two things: your doctor just ordered a scan and you need it done quickly, or you are shopping around because the first quote you received felt eye-watering. Either way, the good news is that the United States has one of the densest MRI networks in the world, with more than 12,000 scanners spread across hospitals, outpatient centers, and independent diagnostic facilities. Knowing how to filter that list saves time, money, and a surprising amount of anxiety.
Not every nearby MRI center is the right fit. Magnet strength, coil availability, radiologist subspecialty, sedation services, and turnaround time for the final report all matter. A 1.5T scanner inside a community hospital might be perfect for a routine knee study, while a 3T scanner at an academic center is usually preferred for prostate, cardiac, or complex neurological imaging. Understanding these differences before you book prevents repeat scans and follow-up referrals.
Cost is the other piece readers worry about. The cash price for the same lumbar spine MRI can range from $375 at a freestanding outpatient center to more than $3,200 at a hospital-based imaging department within the same zip code. Insurance contracts, facility fees, and contrast use drive most of that variation. Before you book, it pays to get an itemized estimate, ask whether the radiologist read is included, and confirm whether your insurer requires prior authorization.
Local search results also blend urgent care imaging, mobile MRI units, and full-service radiology groups. Each model has trade-offs. Mobile units can be convenient and lower priced, but they may use lower field strengths and limited coil options. Hospital imaging suites cost more but offer faster access to sedation, anesthesia, and inpatient escalation if something unexpected appears on the scan. Outpatient centers tend to balance cost, comfort, and quality for most routine indications.
This guide walks through how to evaluate the centers that pop up on your map, what questions to ask before you confirm an appointment, how to prepare so you do not get turned away on scan day, and what happens between the moment you slide out of the bore and the moment your physician calls with results.
We will also look at how to read a quote, when to push back on prior authorization denials, and how to compare facilities on quality rather than just distance. If you want a refresher on what scans actually show, see our companion piece on what MRI can detect before you book.
By the end, you should feel confident walking into any nearby imaging center, asking the right questions, and leaving with a high-quality study that your ordering provider can actually use. Whether you are managing chronic back pain, investigating a new neurological symptom, or following up on a sports injury, the process is more transparent than most patients realize once you know where to look.
MRI Access in the United States by the Numbers
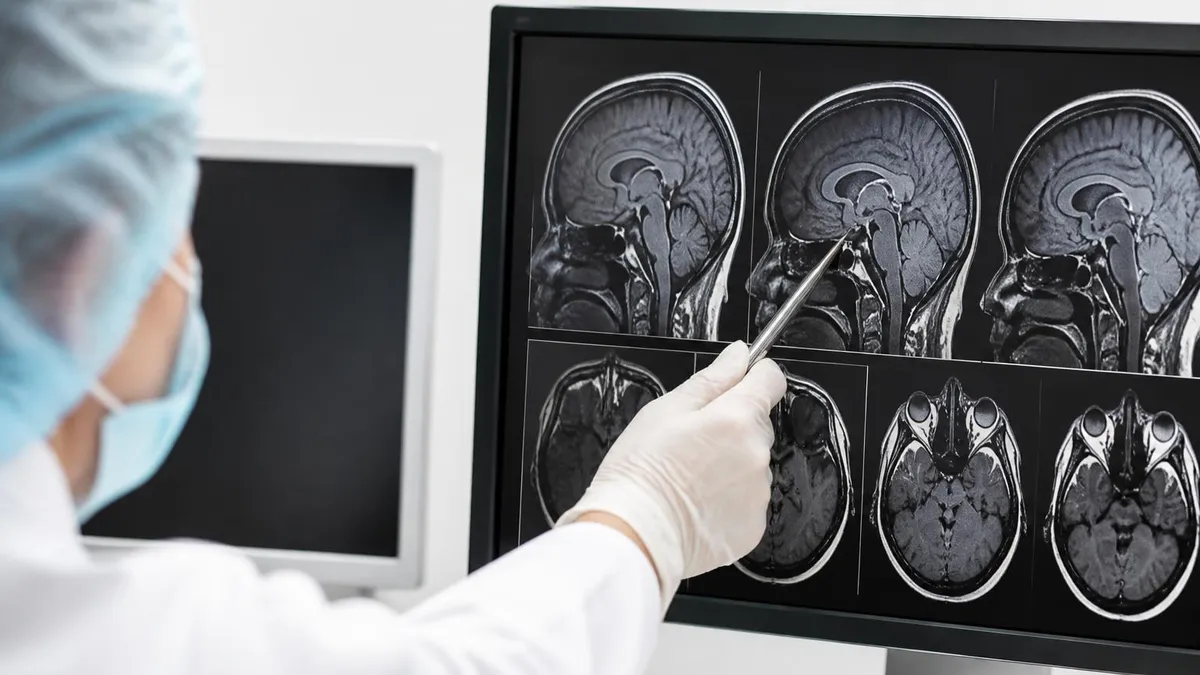
Types of MRI Centers You Will Find Nearby
Located inside or attached to a hospital, these centers offer the broadest scanner mix, sedation services, and rapid escalation if findings need urgent care. Expect higher facility fees and longer wait times for elective studies.
Freestanding centers that focus on scheduled exams. They usually offer competitive cash prices, evening hours, and faster scheduling. Most operate 1.5T or 3T scanners and serve referrals from multiple specialty practices in the area.
Physician-owned or radiologist-owned centers focused on imaging only. Often the lowest cost option for cash-pay patients and frequently bundle the technologist fee with the radiologist read into one transparent price.
Trailer-mounted scanners that rotate between rural hospitals and clinics. Convenient for underserved areas but typically lower field strength and limited specialty coils, so confirm capability matches your prescription.
University-affiliated radiology departments with 3T and sometimes 7T research scanners, subspecialty radiologists, and advanced protocols like fMRI or MR spectroscopy. Best for complex or unusual indications.
Once you have a referral in hand, your search for mri imaging near me typically starts on Google Maps or your insurer's provider finder. Both tools give you proximity, but neither tells you much about scanner quality. The trick is to layer multiple sources. Start with your insurance directory to filter in-network facilities, then cross-reference each location on Google reviews, Healthgrades, and the American College of Radiology (ACR) accreditation database. Accredited centers have demonstrated minimum standards for image quality, safety, and personnel qualifications.
Distance matters less than people think. A 20-minute longer drive to a center with a 3T scanner and subspecialty musculoskeletal radiologists can mean the difference between a definitive answer and a vague report recommending further imaging. Ask your referring physician whether they have a preferred facility. Most orthopedic surgeons, neurologists, and oncologists rely on specific radiology groups whose reports they trust, and your scan is more useful to them when read by a familiar voice.
Call ahead and ask three specific questions. First, what is the field strength of the scanner that will be used for your study? Second, does the center have the right coil for your body part — for example, a dedicated breast coil, shoulder coil, or endorectal coil? Third, will the report be read by a general radiologist or a fellowship-trained subspecialist? Centers that answer confidently usually have nothing to hide, while hesitation often signals outsourced reads or aging equipment.
Also weigh patient experience factors. Wide-bore scanners with 70 cm openings are far more comfortable for claustrophobic, larger, or pediatric patients than older 60 cm bores. Some centers offer open MRI, which uses a C-shaped design with no tunnel, though open units typically operate at 0.3T to 1.2T and produce lower-resolution images. For most diagnostic indications, a wide-bore 1.5T or 3T is the sweet spot between comfort and image quality.
Finally, do not ignore wait times. A center that can scan you Thursday morning is more valuable than one with a 17-day backlog, especially when symptoms are progressing or your insurance authorization expires within 30 days. Many outpatient centers reserve same-week slots for ordering physicians who call directly, so ask your doctor's office to phone if your online options look slow. Once you have a shortlist, review our piece on what a normal MRI looks like so you have context when results arrive.
Finally, remember that the cheapest option is not always the best value. A $400 scan that has to be repeated because of motion artifact, wrong protocol, or non-diagnostic image quality costs you more in time and copays than a $650 scan done correctly the first time. Read recent reviews carefully and pay attention to complaints about rescans, lost images, or delayed reports.
MRI Practice Test Questions
Prepare for the MRI - Magnetic Resonance Imaging exam with our free practice test modules. Each quiz covers key topics to help you pass on your first try.
MRI Knowledge
MRI Exam Questions covering Knowledge. Master MRI Test concepts for certification prep.
MRI Physics
Free MRI Practice Test featuring Physics. Improve your MRI Exam score with mock test prep.
MRI Anatomy and Pathology
MRI Test Prep for MRI Anatomy and Pathology. Practice MRI Quiz questions and boost your score.
MRI Anatomy and Positioning
MRI Questions and Answers on MRI Anatomy and Positioning. Free MRI practice for exam readiness.
MRI Contrast Agents
Free MRI Quiz on MRI Contrast Agents. MRI Exam prep questions with detailed explanations.
MRI Patient Care and Positioning
MRI Practice Questions for MRI Patient Care and Positioning. Build confidence for your MRI certification exam.
Comparing Local MRI Imaging Options
The same MRI exam can vary by a factor of eight within a 30-mile radius. Hospital-based outpatient departments often charge $1,800 to $3,200 because they bundle facility fees, while freestanding centers typically run $400 to $900 for the same study. Cash-pay rates published on transparent pricing pages are usually 20 to 40 percent lower than the insurance-billed price, which is why high-deductible plan members frequently skip insurance entirely for elective imaging.
Always request an itemized estimate that separates the technical fee from the professional read. Confirm whether contrast is included and whether prior authorization is required. If your insurer denies a prior auth, ask the ordering physician to submit a peer-to-peer review. For uninsured patients, many centers offer prompt-pay discounts of 10 to 25 percent when the bill is settled at the time of service.
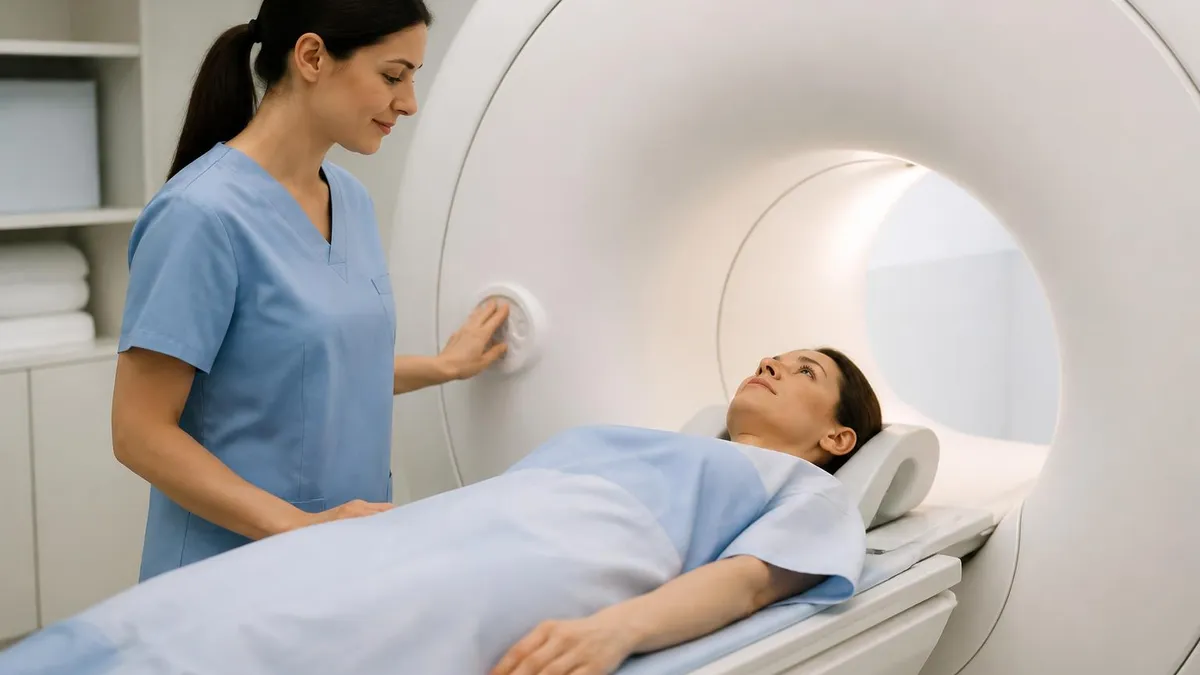
Outpatient Imaging Centers vs Hospital-Based MRI
- +Outpatient centers typically cost 50 to 75 percent less than hospital imaging
- +Faster scheduling, often within 3 to 5 business days
- +More convenient parking, check-in, and exit workflow
- +Many offer transparent published cash pricing online
- +Subspecialty radiologists available at many freestanding groups
- +Evening and weekend appointment slots commonly available
- +Newer wide-bore scanners are increasingly standard
- −Limited sedation and anesthesia capability for anxious patients
- −No immediate escalation if urgent findings appear on the scan
- −Smaller coil inventory compared with major hospitals
- −Some centers outsource overnight reads to teleradiology groups
- −Insurance networks may favor hospital systems in certain regions
- −Fewer pediatric-specialized protocols than children's hospitals
Booking Checklist for MRI Imaging Near Me
- ✓Confirm the exact study ordered (body part, with or without contrast, specific protocol)
- ✓Verify the scanning facility is in-network with your insurance plan
- ✓Request a written cost estimate including technical and professional fees
- ✓Check whether prior authorization is required and submit early if needed
- ✓Ask about field strength (1.5T or 3T) and confirm the appropriate coil is available
- ✓Confirm radiologist subspecialty matches your indication when relevant
- ✓Note any metal implants, pacemakers, or aneurysm clips for safety screening
- ✓Arrange a driver if sedation or anti-anxiety medication will be used
- ✓Request electronic image sharing so your referring physician gets results promptly
- ✓Save the facility phone number for last-minute questions or rescheduling
Always ask for the cash price before billing insurance
If you have a high-deductible plan and have not met your deductible, the cash-pay price at a freestanding outpatient center is often less than what insurance would apply toward your deductible. Compare both numbers in writing before scan day. Some patients save $800 to $1,500 by paying cash for a single MRI study at a transparent-pricing center.
Preparation begins the moment your appointment is confirmed. The facility will send a safety screening form asking about metal implants, surgical history, pregnancy, kidney function (if contrast is planned), and claustrophobia. Fill it out carefully and call if anything is unclear. Cardiac pacemakers, cochlear implants, certain aneurysm clips, and metallic foreign bodies in the eye are absolute or relative contraindications. Many newer pacemakers are MR-conditional, but the facility needs documentation to scan you safely under specific parameters.
If contrast is part of your protocol, expect a request for a recent serum creatinine or estimated glomerular filtration rate (eGFR), particularly if you are over 60 or have diabetes, hypertension, or known kidney disease. Modern macrocyclic gadolinium contrast agents are very safe, but patients with severe renal impairment may need a different agent or no contrast at all. Bring a list of medications and any prior imaging you would like the radiologist to compare against the new study.
On the day of the scan, wear loose-fitting clothes without metal zippers, snaps, or underwires. Leave watches, jewelry, hair accessories, and credit cards in the car or a locker. Some facilities provide gowns and scrub pants, others let you scan in your own clothing if it is metal-free. Eat normally unless your scan requires fasting — typically only abdominal, pelvic, or contrast-enhanced studies with specific bowel preparation protocols ask you to skip a meal beforehand.
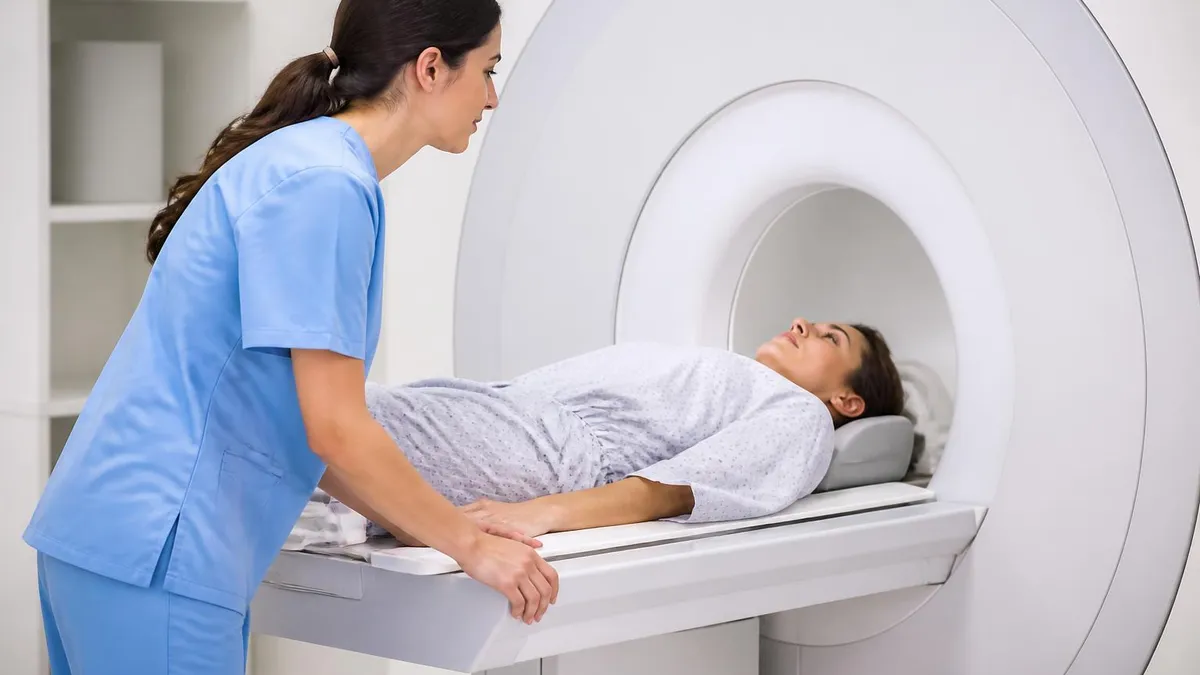
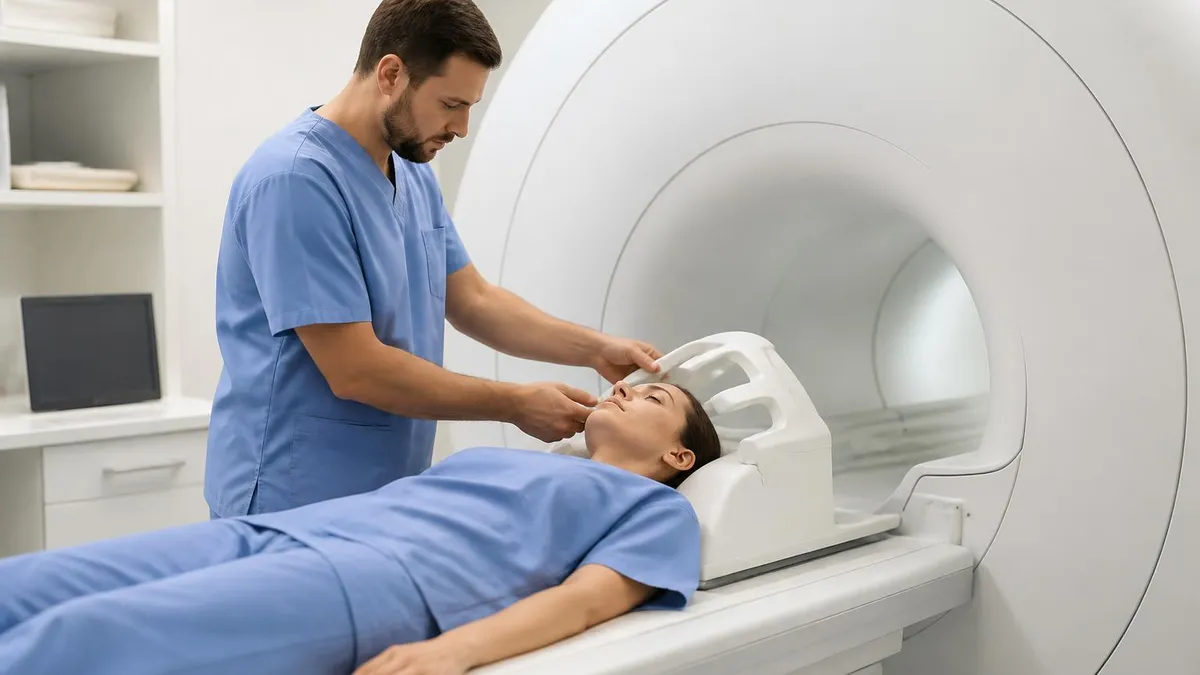
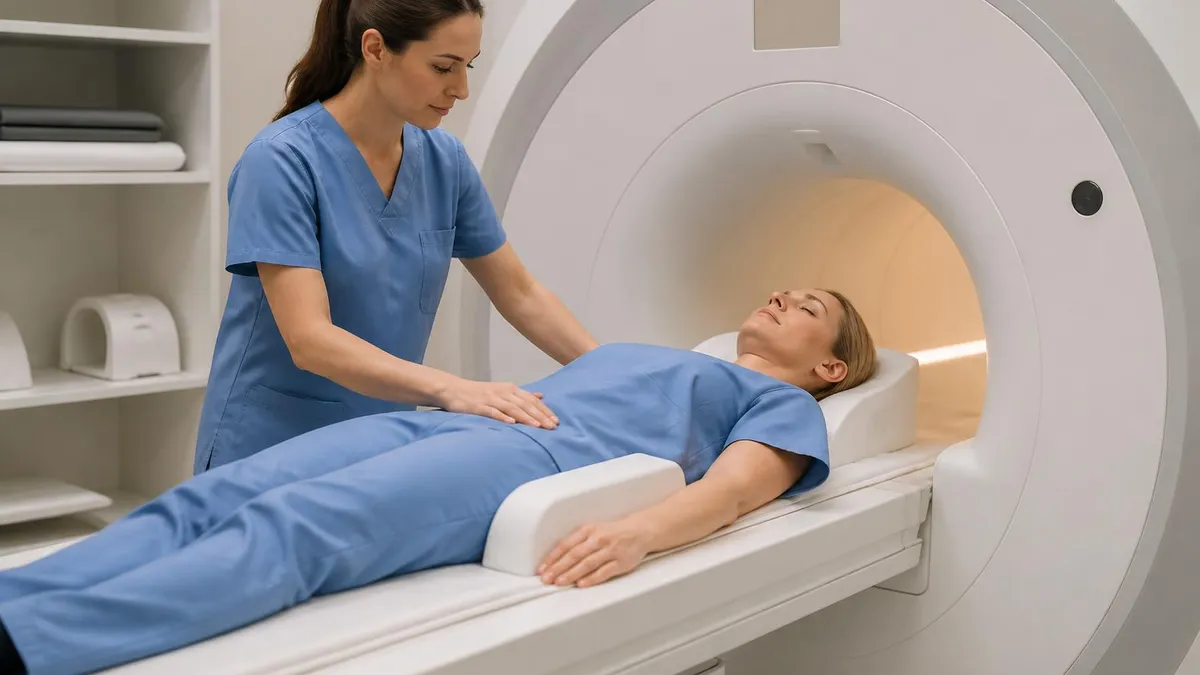
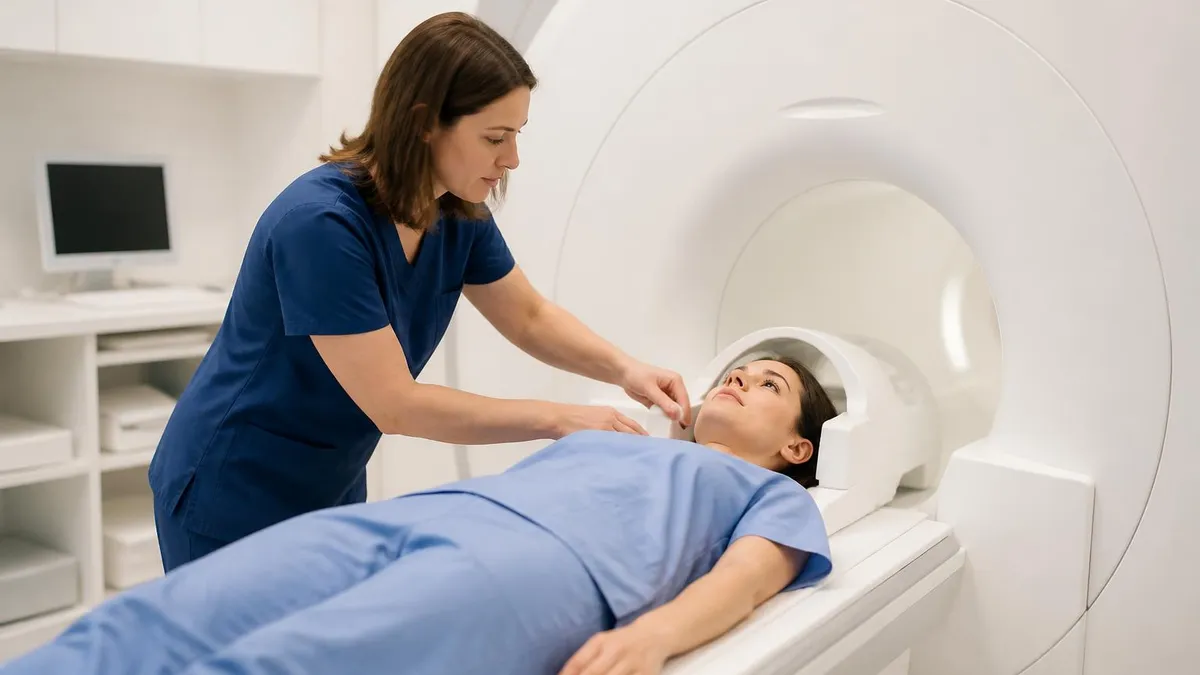
Arrive 15 to 30 minutes early to complete paperwork, confirm insurance, and review the screening form with a technologist. The tech will walk through the procedure, position you on the table, and hand you a squeeze ball or call button. You will be offered hearing protection because the scanner produces loud knocking sounds during gradient switching — earplugs, headphones with music, or both. Hold still during each sequence, which can last 30 seconds to seven minutes, and breathe normally unless instructed otherwise.
Claustrophobia affects roughly 5 to 10 percent of patients. If you suspect you may struggle, ask your ordering physician for a low-dose anxiolytic like lorazepam ahead of time and arrange a driver. Many centers also play music, offer eye masks, and use mirrors that let you see out of the bore. For severe cases, open MRI or sedation MRI are alternatives, though both involve trade-offs in image quality, cost, or recovery time. Communicating early lets the staff plan accordingly.
If you want a deeper sense of what the staff might see on your images, read our overview of common MRI findings before your appointment. Knowing the vocabulary makes the post-scan conversation with your physician far less intimidating, and helps you ask better questions about next steps.
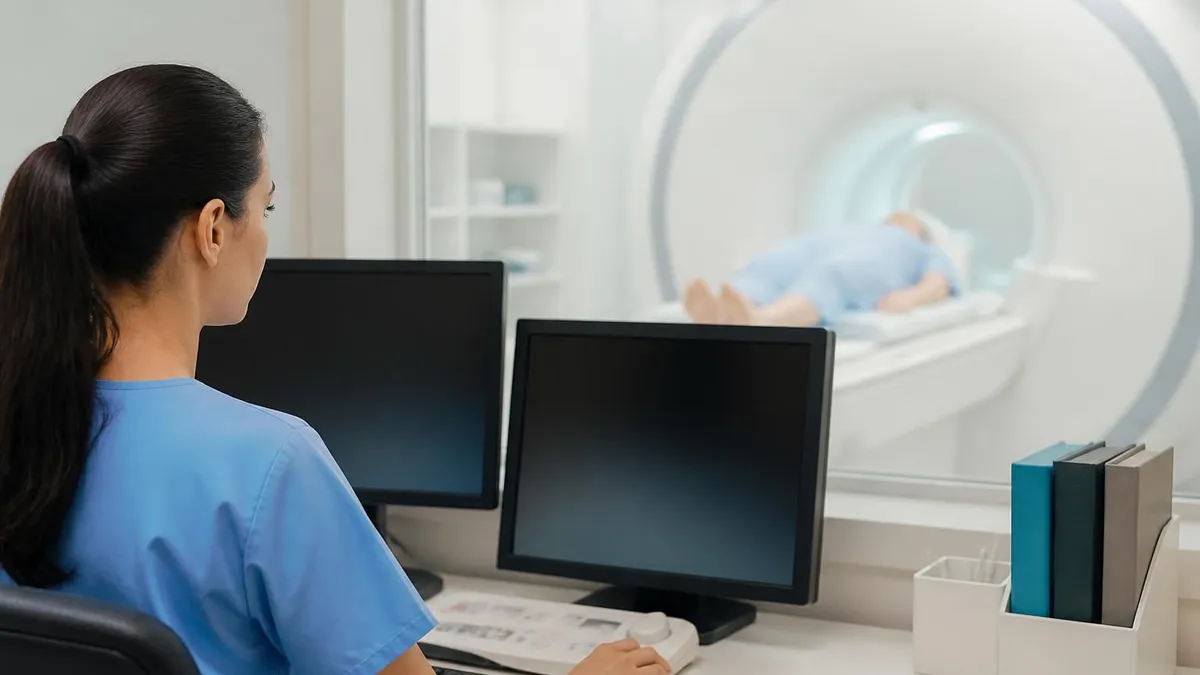
Never minimize or omit information about implants, prior surgeries, occupational metal exposure, or possible pregnancy. The MRI suite contains a magnetic field 30,000 to 60,000 times stronger than Earth's, and ferromagnetic objects can become dangerous projectiles. When in doubt, mention it. The technologist or radiologist will decide whether it affects your scan safety or protocol.
Once the scan ends, the technologist will help you off the table and review the images for completeness before letting you go. If you received contrast, expect a brief observation period — usually 15 to 30 minutes — to monitor for rare allergic reactions. Drink fluids afterward to help your kidneys clear the gadolinium, and resume normal activities immediately unless you took sedation, in which case follow the no-driving instructions you received in advance.
The radiologist's report is the next critical step. At outpatient centers, reads are typically completed within 24 to 72 hours; urgent indications can often be turned around within hours when the ordering physician calls. The report is sent electronically to your referring provider and uploaded to the patient portal so you can view it as soon as it is signed. Reading your own report can be unnerving — radiologists describe everything they see, including incidental findings that may not be clinically significant.
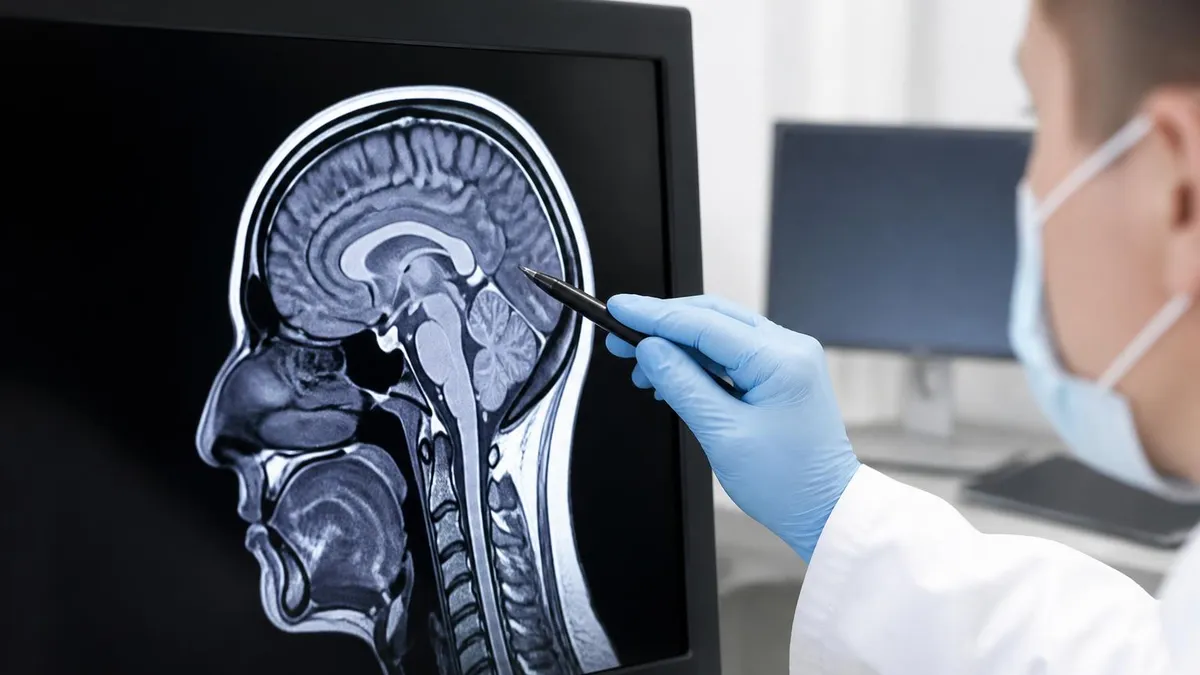
If you want context on the language radiologists use, our guide to full body MRI explains how findings are categorized and reported. Terms like "signal abnormality," "enhancement," and "degenerative changes" sound alarming but are often benign or expected for your age. Always discuss the report with your ordering physician before drawing conclusions or searching symptoms online. They have the clinical context to translate imaging findings into a meaningful plan.
Sometimes the report recommends additional imaging, follow-up in 3 to 6 months, or referral to a specialist. This is normal radiology practice and does not necessarily mean something is seriously wrong. Indeterminate findings are common, and a short-interval follow-up scan often clarifies whether a lesion is stable, resolving, or evolving. Build a relationship with one imaging center when possible so future studies can be compared on the same scanner with consistent protocols.
Keep a personal copy of every MRI you have. Most centers will burn a CD or share images electronically through PocketHealth, Ambra, or a similar platform at no charge. Save these in a personal health record along with the written report. If you ever change physicians, move, or seek a second opinion, having images in hand prevents duplicate scans, additional contrast exposure, and unnecessary spending. Some patients store decades of imaging this way and find it invaluable when a new symptom arises.
Finally, give the center feedback. Honest online reviews help future patients searching for nearby MRI options identify trustworthy facilities. Mention scheduling experience, technologist demeanor, report turnaround, billing accuracy, and any issues that arose. Good imaging centers welcome the input and use it to improve. Your one review may be exactly what the next patient needs to choose confidently.
A few practical tips can make the difference between a smooth MRI experience and a frustrating one. First, schedule your scan as early in the day as possible. Morning slots are typically less affected by accumulated delays from earlier cases, and morning radiologists are fresher when reading complex studies. If you need fasting or contrast, an early appointment also minimizes the time you spend hungry or dehydrated, which matters more than most patients expect.
Second, bring a list of your medications, allergies, and prior imaging facilities. If you have had related scans elsewhere, request the prior images on CD or via electronic transfer before your appointment. Comparison studies dramatically improve report quality because the radiologist can quantify changes over time rather than describe findings in isolation. Many centers will not wait for outside images if you arrive without them, so plan ahead.
Third, if you are anxious about being inside the scanner, practice short breathing exercises ahead of time. Four seconds in through the nose, six seconds out through the mouth, repeated for several minutes, lowers heart rate and slows racing thoughts. Bringing a familiar item — a blanket, a favorite song playlist, or a meaningful object to hold — provides grounding during the scan. Tell the technologist about your anxiety upfront so they can pace breaks between sequences.
Fourth, ask the technologist to explain what each sequence will sound and feel like before it starts. Knowing that the next three minutes will be loud knocking, then a few seconds of silence, then a high-pitched buzz makes the experience predictable. Predictability calms the nervous system. The staff has guided thousands of patients through the same process and is genuinely happy to talk you through it when you ask.
Fifth, after the scan, do not catastrophize what you see on the report. Radiology reports are written for physicians and intentionally describe every observation, including normal age-related changes, anatomical variants, and incidental findings. A herniated disc on imaging does not always correlate with pain. A small thyroid nodule may need no follow-up at all. Bring questions to your physician visit rather than spiraling on search engines.
Sixth, keep your scan records organized. Create a folder — physical or digital — for the written report, images, billing statements, and any follow-up recommendations. Bring this folder to every related medical appointment for the next several years. Continuity of imaging history is one of the most underused tools in personal health management, and patients who maintain it tend to receive better, faster, more accurate care.
Finally, remember that finding the right local MRI center is a skill that improves with practice. The first time feels overwhelming. By your second or third scan, you know which questions to ask, which facilities offer the best balance of cost and quality, and which radiologists provide reports your physicians actually trust. Treat the process as a partnership rather than a one-time transaction, and your imaging experiences will get smoother every time.
MRI Questions and Answers
About the Author

Medical Laboratory Scientist & Clinical Certification Expert
Johns Hopkins UniversityDr. Sandra Kim holds a PhD in Clinical Laboratory Science from Johns Hopkins University and is certified as a Medical Technologist (MT) and Medical Laboratory Scientist (MLS) through ASCP. With 16 years of clinical laboratory experience spanning hematology, microbiology, and molecular diagnostics, she prepares candidates for ASCP board exams, MLT, MLS, and specialist certification tests.
Join the Discussion
Connect with other students preparing for this exam. Share tips, ask questions, and get advice from people who have been there.
View discussion (8 replies)