
HVAC Evaporator Coil: Complete Guide to Function, Maintenance, Replacement, and Efficiency
Learn how the HVAC evaporator coil works, signs it needs replacement, maintenance tips, and costs. ✅ Complete guide for homeowners and technicians.
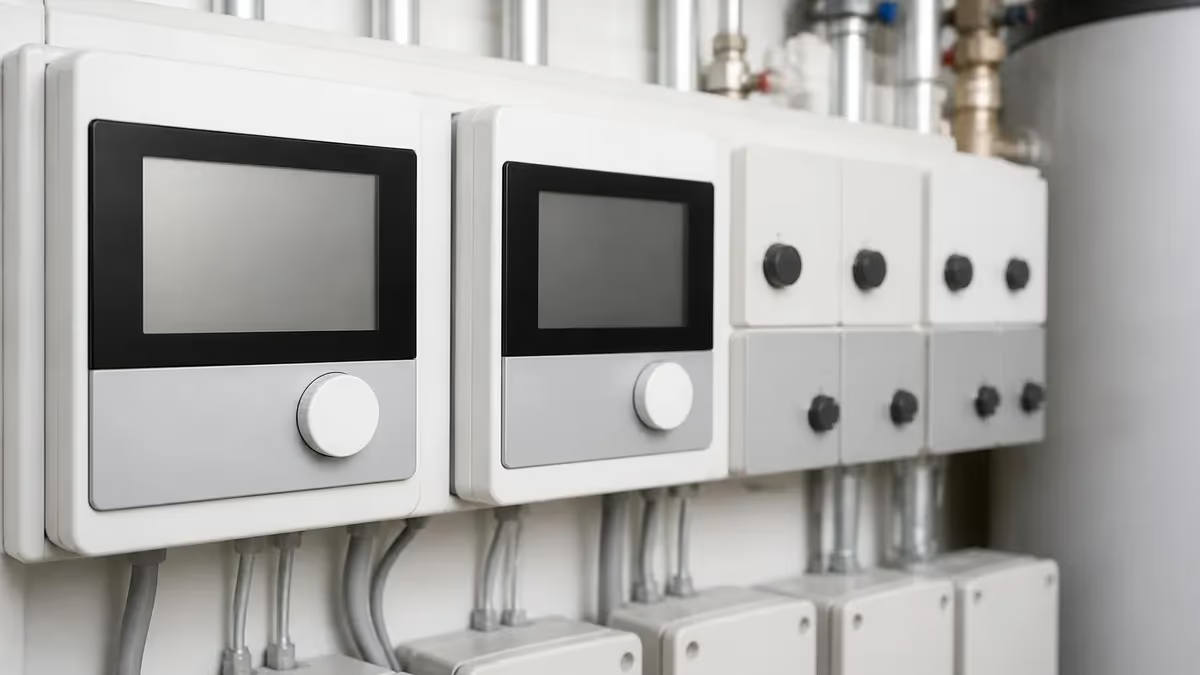
The hvac evaporator coil is one of the most critical components in any central air conditioning or heat pump system. Positioned inside the air handler or furnace cabinet, the evaporator coil is where the actual cooling process happens. Practice with the free HVAC practice test on PracticeTestGeeks (750+ questions with answer explanations).
Refrigerant flows through the coil at low pressure, absorbing heat energy from the warm indoor air that passes over it, and in doing so, drops the air temperature by 15 to 20 degrees Fahrenheit before sending it back through your ducts. Without a properly functioning evaporator coil, your system cannot cool your home regardless of how new or powerful the outdoor unit is.
Understanding how the evaporator coil works helps homeowners make smarter decisions about maintenance and repair. When warm air from your return ducts passes across the coil's finned surface, the refrigerant inside absorbs that heat and evaporates from a liquid into a gas — hence the name. That gas travels to the outdoor compressor, where the heat is expelled outside, and the refrigerant returns as a liquid to repeat the cycle. This continuous loop is the foundation of every vapor-compression cooling system used in residential and commercial HVAC equipment across the United States.
Evaporator coil problems are among the most common — and most expensive — service calls HVAC technicians handle. A dirty coil reduces heat transfer efficiency, causing your system to run longer cycles, consume more electricity, and struggle to meet thermostat setpoints even on moderately warm days. A frozen coil, which can result from restricted airflow or low refrigerant charge, can cause compressor damage if the ice buildup travels into the suction line. Identifying coil issues early and addressing them promptly can save homeowners hundreds or even thousands of dollars in downstream repairs.
Coil design has advanced considerably over the past two decades. Modern evaporator coils use aluminum fins bonded to copper or aluminum tubing in A-frame, N-frame, or slab configurations depending on the air handler orientation. Some high-efficiency systems use microchannel coil technology, which reduces the refrigerant charge required and improves heat transfer rates. Understanding these design differences matters when you are replacing a coil, because not all replacement coils are created equal, and choosing the wrong type can reduce system efficiency or void the manufacturer warranty on your air handler.
Proper evaporator coil maintenance is straightforward but often neglected. The most important task is keeping the coil clean, which primarily means changing air filters on schedule — typically every one to three months depending on filter type and household conditions. A clogged filter forces the blower to pull air through higher resistance, reducing airflow across the coil and causing the surface temperature to drop below the freezing point of water. Annual professional cleaning with coil cleaner spray removes the dust, mold, and debris that bypass filters and accumulate on the fins over time, restoring heat transfer performance to near-original levels.
For homeowners considering a coil replacement, the cost and process depend heavily on the coil's location, the system's refrigerant type, and whether the technician needs to recover and recharge refrigerant. A standard residential evaporator coil replacement costs between $1,200 and $2,800 including labor in most US markets as of 2025, with higher costs for difficult installations in cramped attic air handlers or older systems using R-22 refrigerant, which is now manufactured only from recycled stock and commands premium pricing. In many cases, replacing an aging coil alongside the outdoor condensing unit makes more economic sense than replacing only one component.
This guide covers everything you need to know about evaporator coils — how they work, how to diagnose problems, what professional service involves, when replacement makes sense over repair, and how to maximize coil life through preventive maintenance. Whether you are a homeowner trying to understand a technician's recommendation, a student preparing for the HVAC certification exam, or a working technician brushing up on best practices, the sections below provide the depth and detail you need to make informed decisions about this central piece of air conditioning equipment.
Free HVAC Study Tools
Interactive HVAC resources on PracticeTestGeeks, free to start:
- HVAC practice test — 750+ questions with instant scoring and answer explanations
- HVAC flashcards — review key terms and concepts card by card
- HVAC study guide — topic-by-topic overview of what the exam covers
- HVAC cheat sheet — one-page printable summary for last-minute review
HVAC Evaporator Coil by the Numbers

How the Evaporator Coil Cooling Cycle Works
Liquid Refrigerant Enters the Coil
Warm Air Passes Over the Fins
Refrigerant Absorbs Heat and Evaporates
Moisture Condenses on the Coil Surface
Cooled Air Returns to Living Spaces
Vapor Travels to Outdoor Unit for Heat Rejection
Recognizing the signs of evaporator coil problems early can prevent minor issues from escalating into major system failures. The most obvious symptom of a failing or dirty evaporator coil is reduced cooling capacity — your system runs continuously but struggles to lower indoor temperatures to the thermostat setpoint, even when outdoor temperatures are moderate. If your home takes twice as long to cool down as it did a season ago and your energy bills have risen noticeably, a dirty or damaged evaporator coil is among the first things a technician should inspect.
Ice buildup on the evaporator coil is a visible warning sign that something is wrong with your system. When airflow across the coil drops below the design minimum — due to a clogged filter, closed supply vents, or a failing blower motor — the refrigerant cannot absorb enough heat to evaporate properly.
The coil surface temperature drops below 32°F and frost begins to form on the fins. Left uncorrected, the ice spreads along the suction line toward the compressor, potentially causing liquid refrigerant slugging that destroys compressor valves. If you see ice on any part of your indoor unit, shut the system off immediately and call a technician.
Water leaks around the air handler often indicate a secondary problem related to the evaporator coil. When the coil is heavily fouled with dirt and biological growth, the condensate water produced during normal operation cannot drain freely off the fin surfaces. Instead, it pools and overflows the drain pan, which can cause water damage to ceilings, walls, and flooring below the air handler.
Algae and mold growth in the condensate drain line — a very common problem in humid climates like Florida, Texas, and the Southeast — can block the drain entirely. Pouring a cup of diluted bleach into the condensate drain access port quarterly is an inexpensive preventive measure.
Unusual odors coming from supply vents can also point to evaporator coil issues. A musty or mildew smell indicates biological growth on the coil surface or in the drain pan, which is common when the coil is consistently wet and the system short-cycles rather than running long enough to dry the coil after cooling. A chemical or sweet smell, sometimes described as smelling like nail polish remover, may indicate a refrigerant leak.
Modern refrigerants used in residential HVAC systems — primarily R-410A in equipment installed between 2010 and 2025, and R-454B in newer equipment — are not toxic at normal leak concentrations, but they are ozone-depleting or have high global warming potential, and releasing them is illegal under EPA Section 608 regulations.
Low refrigerant charge is another coil-related problem that manifests in multiple ways. When the system is undercharged, the refrigerant entering the coil is at a lower pressure than designed, which causes the coil temperature to drop too low. This leads to ice formation even when airflow is adequate. An overcharged system, by contrast, causes the refrigerant to flood back to the compressor as liquid rather than vapor, which can cause compressor failure. Both conditions require a certified HVAC technician to diagnose with manifold gauges and correct by recovering, evacuating, and recharging the system to the manufacturer's specified charge weight.
Refrigerant leaks in the evaporator coil itself are a serious problem that has become more common in recent years. Formicary corrosion — a type of pitting corrosion caused by the reaction between copper tubing, formic acid, and oxygen in the air — is the primary cause of pinhole leaks in evaporator coils, particularly in homes with new construction materials that off-gas volatile organic compounds.
Aluminum coils, which are increasingly common in modern equipment, are not susceptible to formicary corrosion but can corrode from other sources. A technician can perform a leak search using electronic leak detectors or UV dye to pinpoint the source, though coil leaks often require full coil replacement rather than spot repair.
Technicians diagnose evaporator coil problems using a combination of visual inspection, temperature differential measurements, static pressure testing, and refrigerant pressure readings. The temperature split across the coil — measured by comparing the temperature of return air entering the coil to supply air leaving it — should typically be between 16 and 22 degrees Fahrenheit under normal operating conditions.
A split lower than 14 degrees suggests a dirty coil, low refrigerant charge, or restricted airflow. A split higher than 24 degrees may indicate an overcharge condition or a restriction in the metering device. These measurements, combined with suction and discharge pressure readings, give technicians the data needed to accurately diagnose coil and system problems.
HVAC Practice Test Questions
Prepare for the HVAC - Heating Ventilation and Air Conditioning exam with our free practice test modules. Each quiz covers key topics to help you pass on your first try.
HVAC Air Conditioning
HVAC Exam Questions covering Air Conditioning. Master HVAC Test concepts for certification prep.
HVAC Code Compliance
Free HVAC Practice Test featuring Code Compliance. Improve your HVAC Exam score with mock test prep.
HVAC Electrical Controls
HVAC Test Prep for Electrical Controls. Practice HVAC Quiz questions and boost your score.
HVAC Energy Efficiency
HVAC Questions and Answers on Energy Efficiency. Free HVAC practice for exam readiness.
HVAC Heating Systems
HVAC Mock Test covering Heating Systems. Online HVAC Test practice with instant feedback.
HVAC Load Calculations
Free HVAC Quiz on HVAC Load Calculations. HVAC Exam prep questions with detailed explanations.
HVAC Tools and Equipment
HVAC Practice Questions for HVAC Tools and Equipment. Build confidence for your HVAC certification exam.
HVAC Refrigeration
HVAC Test Online for Refrigeration. Free practice with instant results and feedback.
HVAC Safety Practices
HVAC Study Material on Safety Practices. Prepare effectively with real exam-style questions.
HVAC System Design
Free HVAC Test covering System Design. Practice and track your HVAC exam readiness.
HVAC Thermodynamics
HVAC Exam Questions covering Thermodynamics. Master HVAC Test concepts for certification prep.
Evaporator Coil Types, Materials, and Configurations
A-frame evaporator coils are the most common residential configuration, shaped like a peaked tent with two slanted coil panels meeting at the top. This design maximizes the coil surface area that fits within the air handler cabinet while allowing condensate to drain naturally down the sloped surfaces into the drain pan below. A-frame coils work well in upflow and downflow air handlers and are available in a wide range of tonnage ratings from 1.5 to 5 tons to match different system capacities.
N-frame coils, sometimes called Z-coils, use a folded configuration that provides even greater surface area within a compact cabinet footprint, making them common in high-efficiency systems and applications where cabinet height is limited. Slab coils are a simpler flat design used in horizontal air handler applications such as attic installations where the airflow is horizontal rather than vertical. When replacing a coil, the installer must match not only the tonnage and refrigerant type but also the coil configuration, cabinet dimensions, and metering device type to ensure proper system operation and maintain manufacturer warranty coverage.
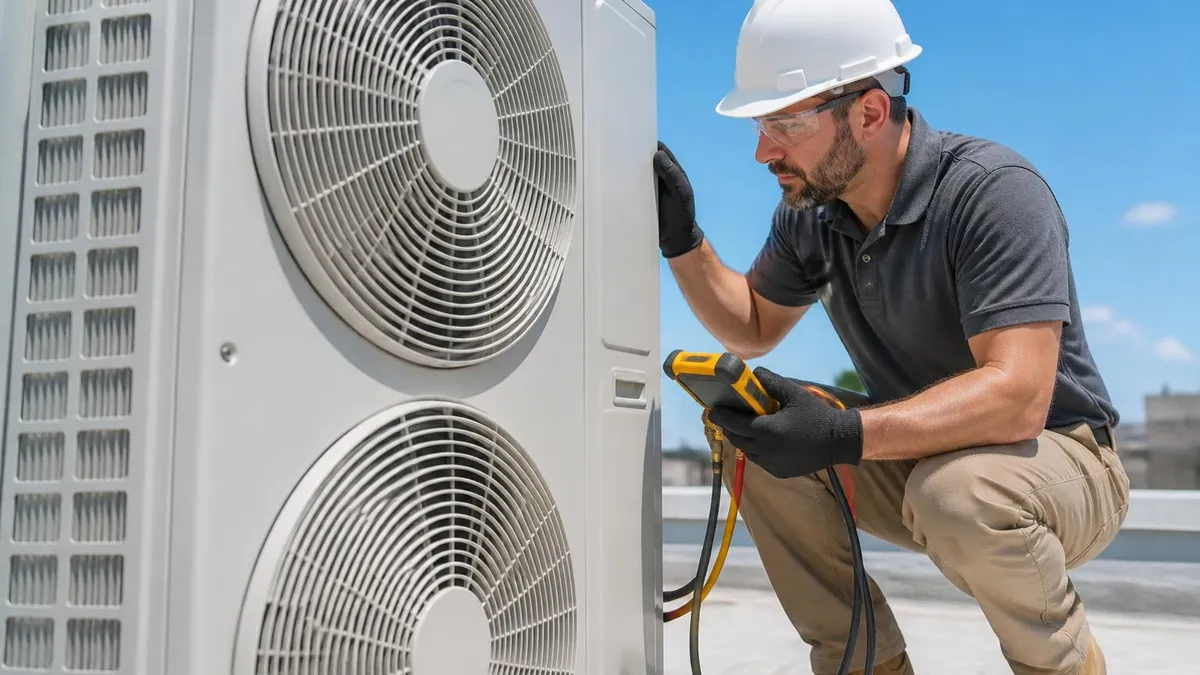
Repair vs. Replace: Evaporator Coil Decision Guide
- +Coil replacement restores full system efficiency and eliminates ongoing refrigerant loss costs
- +New coils come with manufacturer warranties of 5 to 10 years on parts
- +Replacing the coil alongside the outdoor unit ensures AHRI-matched efficiency ratings
- +Modern coil materials reduce vulnerability to formicary corrosion in new installations
- +A new coil can extend the service life of an otherwise functional air handler by 5 to 8 years
- +Replacement eliminates recurring service calls for leak repair and refrigerant recharging
- −Coil replacement costs $1,200 to $2,800 including labor and refrigerant recharge
- −Older R-22 systems may require costly refrigerant at $50 to $150 per pound for recharge
- −If the air handler or furnace is also aging, replacing only the coil may not be cost-effective
- −Installation in difficult locations such as attic air handlers adds significant labor cost
- −Replacement coils may not be stocked locally, causing delays of several days or more
- −Mismatched replacement coils can void the outdoor unit warranty and reduce efficiency
Pros and Cons at a Glance
| Pros | Cons |
|---|---|
| Coil replacement restores full system efficiency and eliminates ongoing refrigerant loss costs | If the air handler or furnace is also aging, replacing only the coil may not be cost-effective |
| Replacing the coil alongside the outdoor unit ensures AHRI-matched efficiency ratings | Installation in difficult locations such as attic air handlers adds significant labor cost |
| Modern coil materials reduce vulnerability to formicary corrosion in new installations | Replacement coils may not be stocked locally, causing delays of several days or more |
| Replacement eliminates recurring service calls for leak repair and refrigerant recharging | Mismatched replacement coils can void the outdoor unit warranty and reduce efficiency |
HVAC Evaporator Coil Maintenance Checklist
- ✓Replace air filters every 1 to 3 months to maintain adequate airflow across the coil
- ✓Inspect the evaporator coil visually at least once per year for dirt buildup and ice formation
- ✓Clean the coil with a no-rinse coil cleaner spray annually during preventive maintenance visits
- ✓Check the condensate drain pan for standing water, algae growth, and debris accumulation
- ✓Flush the condensate drain line with diluted bleach or a drain treatment tablet quarterly
- ✓Verify the temperature split across the coil is between 16 and 22°F during normal operation
- ✓Confirm all supply and return vents in the home are open and unobstructed by furniture
- ✓Inspect the insulation on the suction line between the indoor and outdoor units for damage
- ✓Ensure the air handler cabinet door and panels are fully sealed to prevent bypass air leakage
- ✓Schedule a professional refrigerant pressure check if the system shows signs of underperformance
A $5 Filter Change Prevents a $2,000 Coil Replacement
The single most important thing a homeowner can do to protect their evaporator coil is to change the air filter on schedule. Studies by ASHRAE and major HVAC manufacturers consistently show that restricted airflow from clogged filters is the leading cause of evaporator coil icing, coil fouling, and premature system failure. A standard 1-inch MERV-8 filter costs $5 to $10 and should be replaced every 30 to 90 days depending on household conditions. That small investment directly prevents the most common and most expensive coil problems homeowners face.
The cost of evaporator coil replacement varies significantly based on several factors that homeowners should understand before accepting a service estimate. The coil itself represents the largest portion of the total cost, typically $400 to $1,200 for the part depending on brand, size, and configuration.
Labor for a standard installation in an accessible air handler location runs $300 to $600, though attic installations or systems in finished mechanical closets can add $200 to $400 in additional labor time. The refrigerant recharge required after any coil replacement adds $150 to $600 depending on the refrigerant type, system size, and how much refrigerant was lost due to the leak.
R-22 systems present a particular cost challenge for coil replacement decisions. R-22 refrigerant, which was used in air conditioning systems installed before approximately 2010, has been phased out of production under the EPA's SNAP program and the Montreal Protocol. As of 2020, R-22 can only be sourced from recycled or reclaimed stock, and prices have risen to $40 to $150 per pound from the $5 to $15 per pound prices seen a decade ago.
A 3-ton R-22 system requiring a full refrigerant recharge after coil replacement may need 6 to 10 pounds of refrigerant, adding $400 to $1,500 in refrigerant cost alone. For most R-22 systems, replacing the entire system with a new R-410A or R-454B unit makes more financial sense than investing in coil replacement and refrigerant recharging.
The replacement process itself follows a standard sequence that technicians complete over two to four hours for a typical residential installation. The technician first recovers any remaining refrigerant from the system using an EPA-certified recovery machine and weighs the recovered amount to document the charge. The indoor unit panels are removed, the refrigerant lines are disconnected from the coil connections, and the existing coil is removed from the cabinet.
The new coil is positioned, the refrigerant line connections are brazed with nitrogen purge to prevent oxidation inside the copper tubing, and the cabinet is reassembled. The system is then evacuated to at least 500 microns of vacuum to remove air and moisture from the refrigerant circuit before the new charge is metered in by weight.
Homeowners should always verify that the replacement coil is AHRI-matched to their outdoor condensing unit. AHRI, the Air-Conditioning, Heating, and Refrigeration Institute, maintains a database of certified matched system combinations that can be searched at ahridirectory.org. A matched combination guarantees that the coil and condenser together will deliver the published SEER2 efficiency rating. Installing an unmatched coil — sometimes called a generic or universal replacement coil — may restore basic cooling function but typically delivers efficiency 10 to 20 percent below what a matched system would achieve, costing the homeowner more in electricity bills over the remaining system life.
Warranty considerations are another important factor in coil replacement decisions. Most HVAC manufacturers require that warranty claims on parts be submitted with proof that the replacement part is the manufacturer's branded component or an approved alternative, installed by a licensed contractor.
Some manufacturer warranties on outdoor units specify that only the OEM coil or an AHRI-matched coil can be used in warranty repairs without voiding the outdoor unit's parts warranty. Homeowners should review their existing warranty documentation before authorizing a coil replacement and ask the contractor to provide documentation of the AHRI certification number for the replacement coil and condenser combination.
When the decision is made to replace the coil rather than the entire system, homeowners should also ask the technician to inspect and clean the air handler blower, check the capacitor and contactor condition, verify duct static pressure, and measure supply and return air temperatures after the new coil is installed.
These additional diagnostic steps cost little additional time but ensure that the new coil is operating in a system that is otherwise in good condition, protecting the coil investment and maximizing system performance. A technician who replaces the coil and leaves without verifying system performance is not providing complete service.
Financial assistance for HVAC coil replacement or full system replacement may be available through several sources. The federal Inflation Reduction Act provides tax credits of up to $600 for qualifying high-efficiency HVAC equipment purchased through 2032. Many state and local utility companies offer rebates for replacing older, inefficient systems with ENERGY STAR certified equipment.
The rebates typically range from $100 to $800 depending on the efficiency level and region. Additionally, many HVAC contractors offer financing through third-party lenders for approved customers, allowing homeowners to spread the cost of system repair or replacement over 12 to 60 monthly payments, often with promotional zero-interest periods for the first 12 to 18 months.
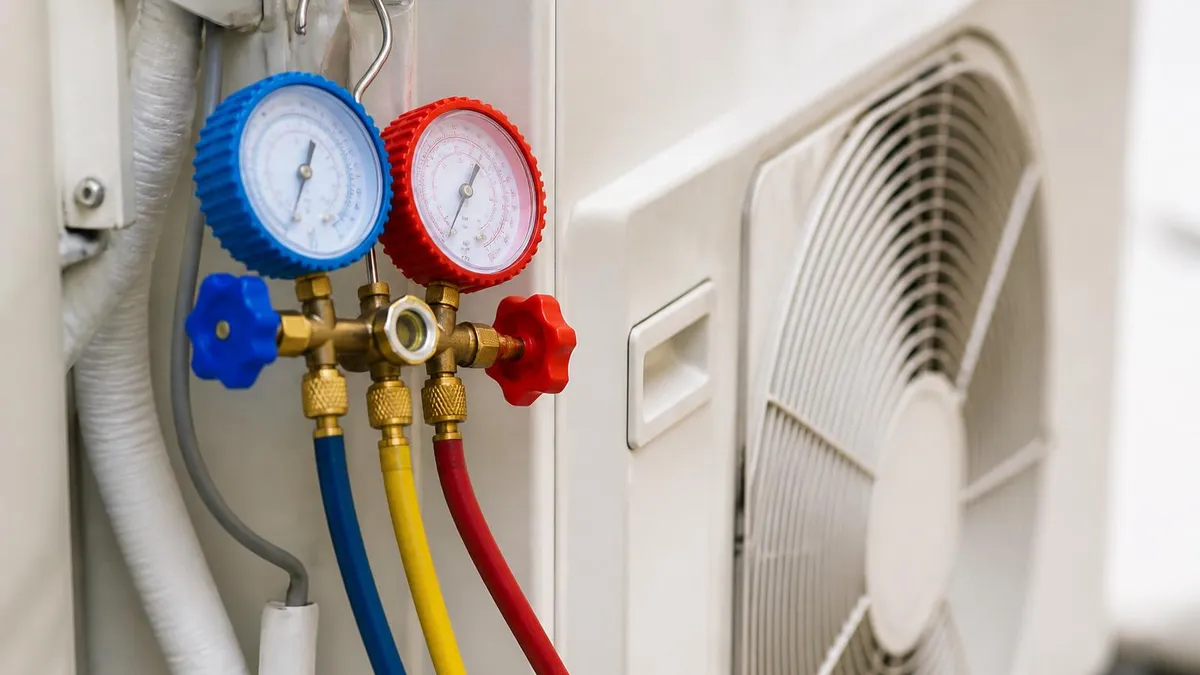
If you see ice forming on your indoor air handler or on the suction line between your indoor and outdoor units, shut the system's cooling mode off immediately and run only the fan to thaw the coil. Operating the compressor with a frozen evaporator coil can push liquid refrigerant into the compressor, destroying the valves and pistons — a repair that costs $1,500 to $2,500 or requires full system replacement. The underlying cause of the freeze, whether a dirty filter, blocked airflow, or low refrigerant charge, must be identified and corrected before restarting cooling mode.
Maximizing evaporator coil efficiency and longevity requires understanding how the coil interacts with every other component in the HVAC system. The coil does not operate in isolation — its performance is directly affected by the quality and quantity of airflow from the blower, the refrigerant charge maintained by the outdoor unit, the cleanliness of the filter upstream, and the condition of the ductwork downstream. Optimizing coil performance means optimizing the entire air-side and refrigerant-side system simultaneously, which is why a holistic approach to HVAC maintenance consistently produces better long-term results than addressing individual components in isolation.
Airflow optimization is the most impactful efficiency measure a homeowner can take. Even a new, perfectly clean evaporator coil will underperform if airflow is restricted by undersized return ducts, partially closed dampers, or high-restriction air filters. ASHRAE Standard 62.2 and Manual D duct design protocols specify minimum return air duct sizing to ensure the blower can deliver design airflow without excessive static pressure.
In many existing homes, particularly those built before 1990, return air is undersized for the current system capacity, forcing the blower to work harder and reducing coil performance. A static pressure measurement using a digital manometer can quickly identify whether the duct system is sized correctly for the current equipment.
Refrigerant charge optimization is equally important. Even a charge deviation of 10 percent from the manufacturer's specified weight can reduce system efficiency by 5 to 10 percent and stress system components. The correct charge weight is specified on the equipment data plate for the outdoor unit and is typically expressed in pounds and ounces for a standard line set length, with adjustment factors for longer or shorter line sets.
Technicians should always charge new systems by weight using a digital refrigerant scale rather than relying solely on pressure readings, which can be misleading if the outdoor temperature is not within the normal operating range for pressure-based charging methods.
Coil cleaning frequency depends heavily on local conditions and system use. In areas with high pollen counts, pet-owning households, or homes near construction activity, annual professional coil cleaning may be insufficient. Technicians in high-fouling environments sometimes recommend semi-annual cleaning or the addition of a UV germicidal light system installed in the air handler near the coil.
UV-C light systems kill mold, bacteria, and other biological growth on the coil surface, reducing fouling between service visits and improving indoor air quality. Studies have shown that UV coil treatment systems can maintain coil cleanliness and reduce energy consumption by 10 to 15 percent in biofilm-prone environments compared to untreated systems.
The relationship between evaporator coil performance and indoor humidity is especially important in hot, humid climates. A properly functioning coil removes both sensible heat, measured as temperature reduction, and latent heat, measured as moisture removal. In humid climates, the latent load can represent 30 to 50 percent of the total cooling load, meaning a significant portion of the system's capacity is used for dehumidification rather than temperature reduction.
Systems with properly functioning evaporator coils maintain indoor relative humidity between 40 and 55 percent, which is the range recommended by ASHRAE for occupant comfort and prevention of mold growth. An oversized system with a short-cycling compressor may cool the air adequately in terms of temperature but fail to run long enough to remove sufficient moisture, leading to a cool but clammy indoor environment.
Variable-speed blower motors, which are standard in most mid-to-high efficiency air handlers sold today, offer significant advantages for evaporator coil performance and efficiency. Unlike single-speed or two-speed blowers, variable-speed motors continuously adjust their speed to maintain a target static pressure or airflow rate, which keeps the airflow across the evaporator coil within the optimal range even as filter resistance increases over time.
Variable-speed blowers also enable longer, lower-capacity cooling runs that improve dehumidification performance and provide more consistent temperature distribution throughout the home. The energy savings from a variable-speed blower motor compared to a standard PSC motor can reach $200 to $400 per year in climates with long cooling seasons.
For homeowners and technicians preparing for HVAC certification exams, the evaporator coil is a foundational topic that appears throughout the refrigeration, air conditioning, and system design sections of the EPA 608, NATE, and state licensing examinations. Understanding the thermodynamic principles of heat transfer, phase change, and refrigerant behavior at the evaporator coil is essential for diagnosing system problems accurately and designing systems that meet ACCA Manual J load calculations. The practical knowledge of coil selection, installation, cleaning, and performance verification covered in this guide directly supports exam preparation and real-world service competence across all residential and light commercial HVAC work.
Related reading: hvac evaporator coil covers the next step in more detail.
Practical tips for homeowners can dramatically extend evaporator coil life and reduce the frequency and cost of professional service visits. The simplest and most powerful habit is setting a recurring calendar reminder to check the air filter every 30 days.
Even if you use 3-month filters, a monthly visual check takes 30 seconds and catches filters that have loaded faster than normal due to a dusty renovation project, a shedding pet, or higher-than-usual system run time during extreme weather. A filter that is visibly gray and congested should be replaced immediately regardless of how recently it was installed — filter replacement cost is negligible compared to coil cleaning or repair cost.
Keeping supply and return vents unobstructed is equally critical. Many homeowners inadvertently reduce system airflow by placing furniture over floor registers, closing vents in unused rooms to save energy (which actually increases static pressure and can freeze the coil), or allowing return air grilles to become blocked by drapes or wall hangings.
Walk through your home and verify that every supply register and every return grille is fully open and clear of obstructions. In homes with multiple zones controlled by motorized dampers, verify that the zone control system is not closing too many zones simultaneously, which can starve the air handler of return air even with clean filters and open registers.
For rental property owners and HVAC contractors managing multiple properties, a preventive maintenance program with documented service records is the most cost-effective approach to evaporator coil management. A typical residential preventive maintenance visit that includes coil inspection, coil cleaning if needed, drain pan treatment, filter replacement, and refrigerant pressure verification costs $75 to $150 and prevents the $500 to $2,800 reactive service calls that result from neglected maintenance.
Contractors who offer annual maintenance agreements with two visits per year — one before the cooling season and one before the heating season — provide the most comprehensive coverage and typically include discounts on parts and labor for repairs discovered during maintenance visits.
Understanding refrigerant system fundamentals helps homeowners have more productive conversations with HVAC technicians. When a technician recommends refrigerant service, ask for a written record of the system pressures measured, the suction and discharge line temperatures, the superheat and subcooling values calculated from those measurements, and the amount of refrigerant added or removed. These readings are the diagnostic evidence that justifies refrigerant service and provide a performance baseline for comparison in future service visits. Technicians who cannot or will not provide this documentation are not following industry best practices, and homeowners should be cautious about authorizing refrigerant service without it.
For those preparing for HVAC certification exams, evaporator coil knowledge is tested in several key areas. Refrigerant state at different points in the system — liquid entering the coil, wet mix inside the coil, and superheated vapor exiting the coil — is a fundamental concept in refrigeration theory.
Superheat measurement, which quantifies how much the vapor has been heated above its saturation temperature at the coil outlet, is a primary method for diagnosing refrigerant charge and metering device performance. Target superheat values vary by system type — typically 8 to 12°F for TXV systems and 20 to 30°F for fixed-orifice systems — and deviations indicate specific diagnostic conditions that exam questions frequently test.
Subcooling, measured at the liquid line service port, is the complementary diagnostic measurement that confirms adequate refrigerant charge on the high side of the system. Target subcooling for most residential systems is 10 to 15°F. High subcooling with low superheat typically indicates overcharge; low subcooling with high superheat typically indicates undercharge or a restriction in the liquid line or filter drier.
Mastering these diagnostic relationships is essential for NATE certification and most state HVAC licensing exams, and is the type of applied knowledge that separates technicians who can quickly and accurately diagnose refrigerant system problems from those who must guess and add refrigerant by trial and error.
The future of evaporator coil technology will be shaped by the ongoing transition to low-GWP refrigerants mandated by the American Innovation and Manufacturing Act and EPA regulations. R-454B, sold under the trade name Puron Advance, is the primary replacement for R-410A in new residential equipment manufactured after January 2025. R-454B has a global warming potential of 466 compared to R-410A's GWP of 2,088, representing a 78 percent reduction in climate impact.
Evaporator coils designed for R-454B must use materials and lubricants compatible with the new refrigerant and its slightly different pressure-temperature characteristics. Technicians and students entering the field today should familiarize themselves with R-454B properties and handling requirements, as this refrigerant will dominate residential HVAC service work for the next two to three decades.
Sample HVAC Practice Questions
Try these questions from our free HVAC practice tests. The correct answer and an explanation follow each question.
How do low-e window coatings contribute to HVAC energy efficiency?
- A. They reflect infrared radiation, reducing solar heat gain in summer and heat loss in winter
- B. They improve the structural insulation value of the glass
- C. They reduce visible light transmission to lower lighting loads
- D. They prevent condensation that could damage HVAC ductwork
Answer: A. They reflect infrared radiation, reducing solar heat gain in summer and heat loss in winter
Low-e coatings selectively reflect long-wave infrared radiation, reducing unwanted solar heat gain in summer and slowing heat escape through windows in winter.
What is 'EER' (Energy Efficiency Ratio) versus 'SEER' (Seasonal Energy Efficiency Ratio) for cooling equipment?
- A. EER and SEER are identical metrics—just different names used by different manufacturers
- B. EER measures efficiency at a single standard test condition (95°F outdoor, 80°F/67°F wet bulb indoor); SEER integrates efficiency across the full cooling season at varying conditions
- C. EER applies to commercial equipment; SEER applies only to residential equipment
- D. EER measures refrigerant efficiency; SEER measures overall system efficiency including ductwork
Answer: B. EER measures efficiency at a single standard test condition (95°F outdoor, 80°F/67°F wet bulb indoor); SEER integrates efficiency across the full cooling season at varying conditions
EER is a single-point efficiency measure at standard peak conditions, while SEER represents a weighted seasonal average that better predicts real-world energy consumption and annual operating cost.
An evaporator coil repeatedly freezes. After verifying adequate airflow, the next most likely cause is:
- A. High outdoor ambient temperature
- B. Low refrigerant charge
- C. Overcharged refrigerant
- D. High suction superheat
Answer: B. Low refrigerant charge
Low refrigerant charge reduces suction pressure and evaporator temperature below the freezing point of moisture in the air, causing coil icing.
Why does a dirty air filter negatively impact HVAC energy efficiency?
- A. It increases static pressure drop, forcing the blower to work harder for the same airflow
- B. It raises refrigerant temperature
- C. It causes the thermostat to cycle more frequently
- D. It reduces condenser fan efficiency
Answer: A. It increases static pressure drop, forcing the blower to work harder for the same airflow
A clogged filter increases resistance in the air distribution system, increasing blower motor energy consumption and potentially reducing airflow and capacity.
HVAC Questions and Answers
HVAC Sales: The Complete Guide to Selling Heating and Cooling Systems, Building Customer Trust, and Closing More Deals
HVAC Air Duct Sealing: The Complete Homeowner and Contractor Guide to Sealing Ductwork for Efficiency, Comfort, and Indoor Air Quality
HVAC Solutions: The Complete Guide to Heating, Cooling, and Indoor Air Quality Systems for Homes and Buildings

Commercial HVAC Repair: Systems, Costs, and Service Strategies
HVAC Apprenticeship Programs: Your Complete Guide to Starting a Hands-On Career in Heating, Ventilation, and Air Conditioning
About the Author

NATE Certified HVAC Technician & Licensing Exam Trainer
Universal Technical InstituteMike Johnson is a NATE-certified HVAC technician and EPA 608 universal-certified refrigerant handler with a Bachelor of Science in HVAC/R Technology. He has 19 years of commercial and residential HVAC installation and service experience and specializes in preparing technicians for NATE certification, EPA 608, A2L refrigerant safety, and state HVAC contractor licensing examinations.