HVAC Air Duct Sealing: The Complete Homeowner and Contractor Guide to Sealing Ductwork for Efficiency, Comfort, and Indoor Air Quality
HVAC air duct sealing guide covering mastic vs tape, 🟢 Aeroseal pricing, leak testing, code rules, and DIY vs pro steps to cut energy bills up to 30%.

HVAC air duct sealing is the process of closing gaps, cracks, and disconnected joints in the duct system that distributes conditioned air through a home or commercial building. Even a well-designed forced-air system loses 20% to 30% of its airflow to leaks, according to ENERGY STAR field studies, which translates into higher utility bills, uneven room temperatures, dusty indoor air, and an hvac unit sizes that runs longer than it should. Sealing those leaks is one of the highest-return improvements a property owner can make.
Most duct leakage happens at predictable locations: longitudinal seams on rectangular trunks, transverse joints between sections, takeoffs to branch runs, boot connections at registers, and the plenum-to-air-handler interface. In older homes, decades of thermal cycling have cracked mastic, peeled cloth tape, and loosened sheet-metal screws. In newer builds, rushed installation often leaves S-cleats and drive cleats incompletely engaged. Identifying every leak path is the foundation of a successful sealing project, whether you do the work yourself or hire a contractor.
The right sealing method depends on the duct material, accessibility, and how much leakage the system has. Hand-applied mastic and UL 181 foil tape work well on accessible metal, fiberglass duct board, and flex duct. Aerosolized sealants like Aeroseal travel through the system as a fine mist and plug leaks from the inside, which is ideal for ducts hidden in walls, soffits, and chases. A good contractor uses a duct blaster test to measure leakage before and after work to verify results in cubic feet per minute at 25 pascals (CFM25).
The financial case is strong. The U.S. Department of Energy estimates that sealing and insulating ducts in unconditioned spaces can cut heating and cooling costs by 10% to 30%, with payback periods of two to five years on a typical $1,000 to $3,000 project. Federal tax credits under the Inflation Reduction Act, plus state and utility rebates, can knock another 30% off the cost. For homes with persistent comfort complaints, the comfort improvement alone usually justifies the investment before the energy savings are counted.
Code authorities increasingly treat duct sealing as a baseline requirement rather than an upgrade. The 2021 International Energy Conservation Code (IECC) caps total duct leakage at 4 CFM25 per 100 square feet of conditioned floor area when ducts run outside the thermal envelope, and many jurisdictions have adopted even tighter limits. New construction and additions almost always require a third-party blower-door or duct-blaster test, with documentation submitted to the building department before a certificate of occupancy is issued.
Indoor air quality is another driver. Leaky hvac duct sizing calculator pull air from attics, crawl spaces, garages, and wall cavities, dragging in dust, mold spores, attic insulation fibers, combustion gases, and even rodent droppings. Sealing returns properly removes those negative-pressure pathways and helps keep filtered, conditioned air the only thing entering the living space. For households with allergies, asthma, or chemical sensitivities, the air-quality benefit often matters more than the energy savings.
This guide walks through every part of an HVAC duct sealing project: how to inspect ductwork, the materials and tools you need, step-by-step sealing techniques, code and testing requirements, realistic cost ranges, and how to evaluate quotes from contractors. Whether you are a homeowner trying to fix a hot bedroom, an apprentice studying for a certification, or a seasoned tech refining your craft, the sections below cover the practical details. For a deeper look at component selection, see our companion HVAC Duct Supplies reference, which catalogs the materials referenced throughout this article.
HVAC Air Duct Sealing by the Numbers

How a Duct Sealing Project Unfolds
Initial Walkthrough and Visual Inspection
Baseline Duct Blaster Test
Access and Prep Work
Manual Sealing of Accessible Joints
Aerosol Sealing for Hidden Sections
Post-Seal Verification Test
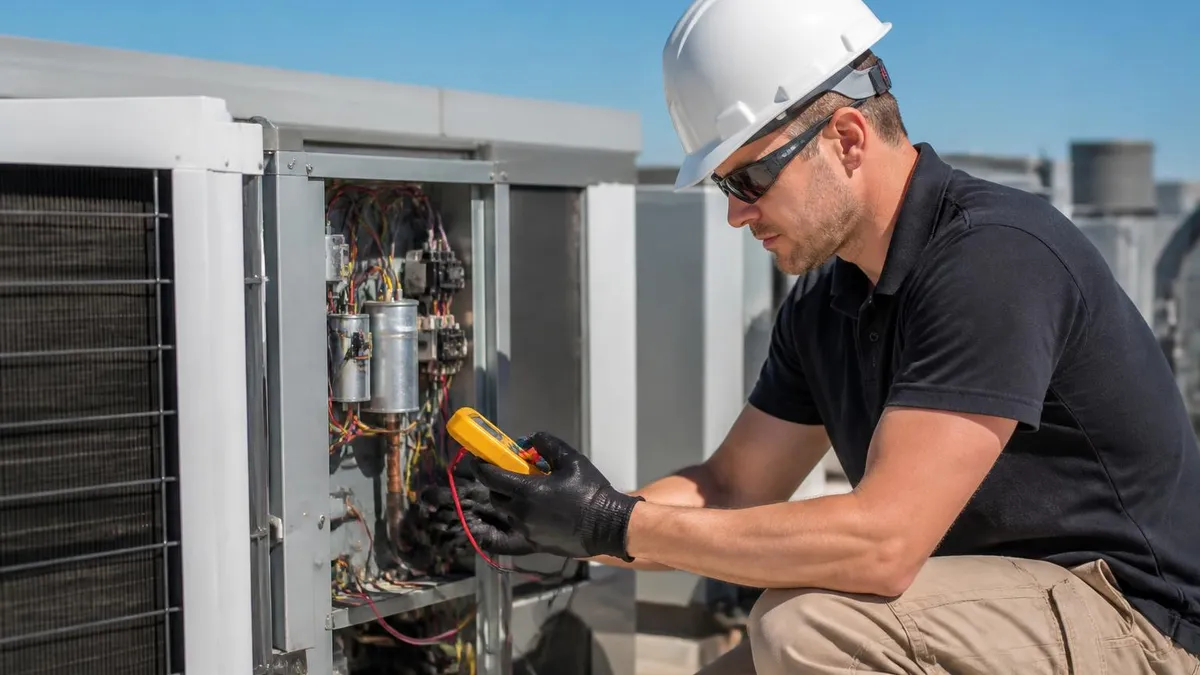
Finding leaks is half the job. The cheapest sealant in the world cannot fix a hole that nobody bothered to look for, and rushing into application without a proper inspection almost always leaves the biggest leaks untouched. Professional duct sealers approach diagnosis as a structured process: a visual walk-through, a smoke or theatrical-fog test, an infrared scan when conditions allow, and finally a calibrated pressure test that puts a hard number on the total leakage rate.
Start with the obvious. Walk every accessible section of duct with a bright flashlight and look for disconnected joints, crushed flex duct, peeling cloth tape, gaps between trunk lines and takeoffs, and missing or torn insulation. Pay special attention to the plenum-to-air-handler junction, which vibrates with every blower startup and is the single most common location for major leaks. Boot connections at floor and ceiling registers come second. A pencil and clipboard or a phone-based sketch app help record each defect for later sealing.
The next step is a pressure differential test. A duct blaster — essentially a small calibrated blower with a pressure gauge — attaches to a register or the air handler cabinet while all other registers are masked off. The fan pulls or pushes air to maintain 25 pascals of pressure across the duct walls, and the airflow required to hold that pressure equals the total leakage. A reading of 100 CFM25 in a 2,000-square-foot home means 5 CFM25 per 100 square feet, which exceeds the 2021 IECC threshold and signals that sealing work is warranted.
Smoke and fog tests reveal individual leak locations after the total is known. A theatrical fogger or a chemical smoke pencil injected at the air handler fills the ducts under positive pressure, and visible plumes escaping from joints and seams pinpoint each leak. Infrared cameras can show the same leaks as temperature differences when conditioned air is moving, but they require a significant temperature gradient and are less reliable in mild weather. The combination of pressure test plus visual leak mapping is the diagnostic gold standard.
Return-side leaks deserve special attention because they pull unconditioned, unfiltered air into the system. A return that runs through an attic and leaks at the boot can suck in 150-degree summer air, fiberglass insulation fibers, and combustion gases from a nearby water heater flue. The supply side leaks conditioned air into spaces where it does no good, but the return side actively contaminates the air you breathe. When budget is tight, sealing returns first usually delivers the largest comfort and health improvements.
Document every measurement. A simple table with before-and-after CFM25 readings, the conditioned floor area, and the calculated leakage ratio satisfies most rebate programs and code officials. Add photos of the worst leaks before sealing and the finished joints afterward to make the report credible. If you plan to apply for a utility rebate or a federal tax credit, the documentation requirements are usually spelled out on the program website, and missing paperwork is the most common reason rebates get denied.
Accurate diagnosis also informs sizing decisions for future work. A duct system that leaks 30% is effectively undersized at the registers, and the homeowner may have lived with weak airflow for years. After sealing, register flows often jump 15% to 25%, which sometimes reveals new problems like underperforming returns or oversized equipment. The free HVAC duct calculator can help recheck branch sizing once leakage is under control, ensuring the rest of the system performs as designed.
HVAC Practice Test Questions
Prepare for the HVAC - Heating Ventilation and Air Conditioning exam with our free practice test modules. Each quiz covers key topics to help you pass on your first try.
HVAC Air Conditioning
HVAC Exam Questions covering Air Conditioning. Master HVAC Test concepts for certification prep.
HVAC Code Compliance
Free HVAC Practice Test featuring Code Compliance. Improve your HVAC Exam score with mock test prep.
HVAC Electrical Controls
HVAC Test Prep for Electrical Controls. Practice HVAC Quiz questions and boost your score.
HVAC Energy Efficiency
HVAC Questions and Answers on Energy Efficiency. Free HVAC practice for exam readiness.
HVAC Heating Systems
HVAC Mock Test covering Heating Systems. Online HVAC Test practice with instant feedback.
HVAC Load Calculations
Free HVAC Quiz on HVAC Load Calculations. HVAC Exam prep questions with detailed explanations.
HVAC Tools and Equipment
HVAC Practice Questions for HVAC Tools and Equipment. Build confidence for your HVAC certification exam.
HVAC Refrigeration
HVAC Test Online for Refrigeration. Free practice with instant results and feedback.
HVAC Safety Practices
HVAC Study Material on Safety Practices. Prepare effectively with real exam-style questions.
HVAC System Design
Free HVAC Test covering System Design. Practice and track your HVAC exam readiness.
HVAC Thermodynamics
HVAC Exam Questions covering Thermodynamics. Master HVAC Test concepts for certification prep.
HVAC Air Duct Sealing Materials and Methods
Water-based duct mastic is the industry standard for sealing accessible joints on metal, fiberglass duct board, and flex duct. It comes in tubs or caulking-gun cartridges and applies with a disposable brush or gloved hand. The product cures into a flexible, rubbery film that bonds to clean sheet metal and remains pliable through years of thermal cycling. UL 181A-M and UL 181B-M listings indicate compliance with NFPA and most state mechanical codes.
Apply mastic in a layer about 1/16 inch thick, fully covering each joint and extending at least one inch onto the adjacent surfaces. For gaps wider than 1/8 inch, embed UL 181 mesh tape into the wet mastic to bridge the opening before adding a top coat. Allow 24 to 48 hours for full cure before pressurizing the system at code-test pressures, and store unused product above 40 degrees Fahrenheit to prevent freezing damage to the emulsion.
Should You Seal Ducts Yourself or Hire a Professional?
- +Significant material cost savings — a complete DIY mastic kit runs $80 to $150
- +Full control over which joints get treated and how much sealant goes on
- +No need to schedule contractor visits or wait for crew availability
- +Hands-on knowledge of your own system helps with future troubleshooting
- +Smaller projects in accessible basements often take only a weekend
- +Lets you focus extra attention on problem rooms and known leak points
- −No calibrated duct blaster means leakage reduction is unverified
- −Ducts in walls, ceilings, and tight crawl spaces remain unreachable
- −Aerosol sealing requires certified equipment and is not a DIY option
- −Utility rebate and tax credit programs often require licensed contractors
- −Working in 130-degree attics or freezing crawl spaces is physically punishing
- −Missing major leaks at the plenum can cancel out smaller gains elsewhere
HVAC Air Duct Sealing Pre-Seal Inspection Checklist
- ✓Photograph every accessible duct run before disturbing anything for before/after documentation
- ✓Confirm the air handler is off and circuit breaker is locked out before climbing onto ducts
- ✓Vacuum loose dust, fiberglass particles, and debris off all surfaces that will receive sealant
- ✓Mechanically reattach any disconnected joints with at least three #8 sheet-metal screws per connection
- ✓Replace any flex duct sections with crushed liners, torn jackets, or compressed insulation
- ✓Verify return-side ducts are not pulling air from an attic, garage, or combustion appliance closet
- ✓Mask off all supply and return registers with painter's plastic for the baseline duct blaster test
- ✓Record baseline CFM25 reading and calculate leakage per 100 square feet of conditioned floor area
- ✓Confirm sealant product carries UL 181A-M, 181B-M, or 181B-FX listing required by local code
- ✓Verify ambient temperature is above 40°F and surfaces are dry before applying water-based mastic
A single 1/4-inch gap at the plenum can leak more air than a hundred small joints downstream.
Field studies by the Florida Solar Energy Center and Lawrence Berkeley National Laboratory consistently find that 40% to 60% of total system leakage comes from the connection between the air handler and the supply or return plenum. Sealing that single junction with mastic, mesh tape, and additional sheet-metal screws often delivers more savings than every other joint combined. Always start there before moving to branch runs.
Code requirements for duct sealing have tightened steadily since the 2009 IECC introduced the first nationwide leakage cap. The current 2021 model code, adopted in whole or in part by most states, sets a total duct leakage limit of 4 CFM25 per 100 square feet of conditioned floor area when any portion of the system runs outside the thermal envelope. When ducts are entirely inside conditioned space, the limit relaxes to 8 CFM25 per 100 square feet. Some states like California (Title 24) and Florida have additional state-level amendments that go further.
Testing must be performed by a certified third party in most jurisdictions, and the technician submits a signed report to the building department. The two recognized testing protocols are total leakage, measured with all registers sealed, and leakage to outside, measured with the building also depressurized to neutralize indoor pressure. Total leakage is the more common test for residential new construction; leakage to outside is harder to perform but provides a truer picture of actual energy loss when ducts pass through both conditioned and unconditioned zones.
The International Mechanical Code (IMC) Section 603 governs the installation and sealing of ducts in hvac rtu 3d cad york. It mandates that all transverse joints, longitudinal seams, and duct wall penetrations be sealed with a listed closure system per SMACNA standards. hvac duct sizing calculator are classified by static pressure: Seal Class A for high-pressure ductwork above 4 inches w.c., Class B for 2 to 4 inches, and Class C for low-pressure systems below 2 inches. Class A requires the most stringent sealing of all joints and seams.
Documentation drives compliance. A complete sealing package for code submission typically includes the pre-seal duct blaster report, photos of representative sealed joints, the sealant product data sheet showing UL 181 listing, the calibration certificate for the test equipment, and the post-seal report signed by a Building Performance Institute (BPI) or RESNET-certified rater. Builders who skimp on documentation often face certificate-of-occupancy delays even when the actual sealing work is excellent.
Energy rebate programs add another documentation layer. Most utilities require pre- and post-seal CFM25 readings, contractor licensing verification, and itemized invoices showing material and labor costs separately. The federal Section 25C tax credit under the Inflation Reduction Act covers 30% of duct sealing costs up to a $1,200 annual limit on building envelope improvements, but it requires Manufacturer Certification Statements and a Form 5695 attached to the homeowner's tax return. Keep originals for three years in case of audit.
Existing homes have less stringent requirements than new construction in most jurisdictions, but many states now require duct sealing whenever the HVAC equipment is replaced or significantly altered. California Title 24 requires a duct test if more than 40 feet of duct is replaced or if the air handler is changed. This is sometimes a surprise to homeowners who expected a simple equipment swap. A reputable HVAC contractor will mention the testing requirement during the quote process and price it accordingly.
Commercial inspectors increasingly use thermal imaging during plan reviews and walk-throughs to validate sealing work, especially on rooftop unit (RTU) connections and high-velocity systems. Subtle leaks that pass a pressure test can still create cold spots and condensation problems visible on infrared. Contractors who do high-quality sealing work consistently photograph and thermograph their connections as part of their handover package, which speeds up final inspections and reduces callback risk significantly.
The gray cloth-backed adhesive tape sold as duct tape was never designed for HVAC use and is explicitly prohibited by the International Mechanical Code, the IECC, and every state amendment. Its adhesive dries out and releases within months on warm metal ducts, and the tape itself can become a fire hazard. Always use UL 181A-P or 181B-FX listed products only.
Hiring the right contractor makes or breaks a duct sealing project. The work is hidden after completion, the quality is hard for a homeowner to evaluate visually, and shortcuts can be impossible to detect without a duct blaster test. Vetting candidates carefully before signing a contract protects both your budget and the long-term performance of your HVAC system. Start with a written scope of work that names specific deliverables rather than vague promises like "seal accessible joints."
Verify the contractor holds the appropriate state mechanical or HVAC license, carries general liability insurance of at least one million dollars, and ideally certifies through a recognized third party such as the Building Performance Institute, RESNET HERS, or NATE. Aeroseal dealers carry an additional manufacturer certification that requires annual training. Membership in industry groups like ACCA (Air Conditioning Contractors of America) signals a commitment to ongoing education and ethical business practices that homeowners can rely on.
Always insist on a pre-seal duct blaster test as part of the quote. Some contractors will offer to seal ducts based only on visual inspection, which means there is no baseline to measure improvement against and no way to confirm code compliance afterward. The duct blaster test itself takes about 30 to 45 minutes and adds $150 to $300 to the project cost, but it is the only objective measure of project success and the single most important quality-assurance step.
Compare at least three written quotes that detail the materials being used (specific mastic brand, UL listing number, tape type), the labor hours estimated, the testing protocol, and the warranty offered on the work. Beware of quotes that come in dramatically lower than the others, which usually signal that the contractor is skipping testing, using cheaper materials, or planning to seal only easily accessible sections while ignoring the harder leaks. The cheapest job is rarely the cheapest in five years.
References matter more than online reviews for this kind of specialized work. Ask each candidate for three customer references from sealing jobs completed in the past 12 months, then actually call them. Useful questions include whether the post-seal duct blaster numbers met the contractor's stated promise, whether room comfort improved measurably, whether the energy bills dropped as predicted, and whether the contractor returned promptly for any callbacks or warranty work after completion.
Payment terms protect both parties. A reasonable schedule is 10% to 25% deposit on contract signing, a progress payment at the midpoint, and final payment only after the post-seal duct blaster test confirms the promised leakage reduction in writing. Avoid contractors who demand more than 50% upfront, and never pay the final invoice until you have received the written test report. Local HVAC contractors with established reputations in your area are usually worth the small price premium they command.
Finally, plan to verify the work yourself. Walk the ducts with the contractor before they leave, looking for visible mastic on every joint, intact mesh tape on larger gaps, and tight clamps on every flex connection. Run the system and check that air now blows strongly from previously weak registers. Note the post-seal CFM25 number on the report and save it for comparison the next time anyone services your HVAC equipment. Documented improvements stay valuable for years.
Once a sealing project is complete, the work of maintaining the gains begins. Sealed ducts are not a permanently set-it-and-forget-it improvement; mastic eventually develops hairline cracks from thermal cycling, sheet-metal screws can back out, and renovations or service calls can damage previously sealed joints. A simple annual walk-through of accessible ducts catches problems before they grow back into significant leakage and helps protect the energy savings, comfort improvement, and indoor air quality benefits you invested in.
Schedule a follow-up duct blaster test every five years or whenever the HVAC equipment is replaced. Most well-sealed systems hold their numbers for a decade or longer, but home additions, electrical work that punctures ducts, attic renovations, and pest activity can all create new leaks. Catching a doubled leakage rate early lets you patch a few joints inexpensively rather than waiting until performance has degraded enough to motivate a full second sealing project.
Maintain the surrounding insulation and vapor barriers along with the duct sealing itself. Even a perfectly sealed duct loses energy if its insulation is damaged or wet, and a wet vapor barrier on a cold supply duct in a humid attic can cause mold growth that leads to expensive remediation. Use closed-cell duct wrap with a foil-faced vapor barrier rated R-8 or higher in attics and crawl spaces, and seal every seam in the vapor jacket with foil tape that is rated for the application.
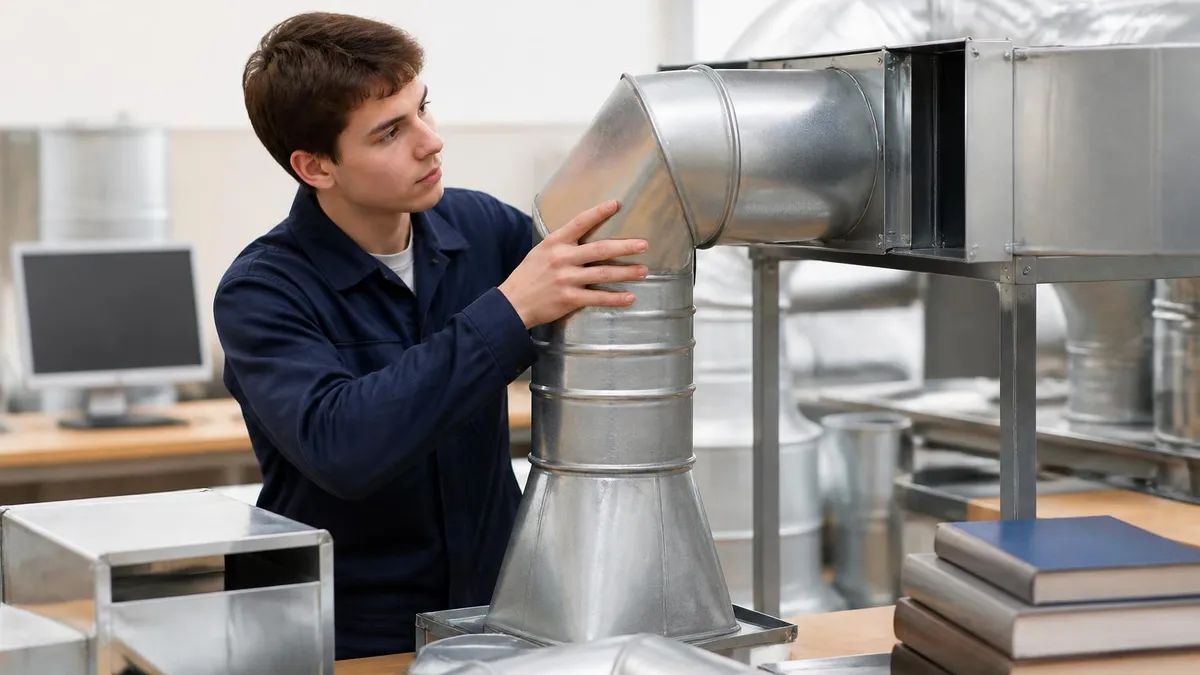
Pay close attention to flex duct in particular. The thin metallized inner liner is fragile, and even minor crushing or sharp bends dramatically increase resistance and turbulence-driven leakage at the connection points. Support every flex run every four feet with wide nylon straps that do not pinch the insulation, and never let flex duct sag below the rigid trunk it connects to. Compressed or sagging flex is one of the most common causes of weak airflow in otherwise well-sealed systems across the country.
Filtration deserves attention after sealing because the system now moves more air at the same blower speed. Upgrade to a deeper filter cabinet that accepts four-inch or five-inch media if the existing one-inch slot pressure-drops the system too aggressively. Higher MERV ratings catch more particulates but also restrict more airflow, so balance filtration against static pressure. A static-pressure test at the air handler before and after filter changes reveals whether you have headroom for a more efficient filter or need to stay conservative.
Combustion safety testing is mandatory after any return-side sealing in homes with atmospheric-vent gas appliances. Tighter returns can depressurize a utility room enough to backdraft a water heater or furnace flue, sending carbon monoxide into living space. A BPI-certified technician runs a worst-case depressurization test with all exhaust fans and the air handler running, then measures spillage at each combustion appliance. Sealed-combustion or direct-vent appliances are immune, but older atmospheric units must be checked carefully every time.
Finally, keep your records organized for future homeowners and service technicians. A folder with the original blower-door and duct-blaster reports, the sealant product data sheets, photographs of representative sealed joints, and the invoice itemizing labor and materials adds documented value to the home at resale. Real estate appraisers and energy-conscious buyers increasingly look for this kind of envelope-improvement documentation, and homes with verified high-performance ductwork command measurable price premiums in many regional markets nationwide.
HVAC Questions and Answers

HVAC Duct Supplies: The Complete Buyer's Guide to Ductwork Components, Sizing, and Installation Materials

HVAC Duct Calculator: The Complete Guide to Sizing Ductwork for Airflow, Static Pressure, and System Efficiency
Certified HVAC Contractors: How to Find, Vet, and Hire the Right Professional for Your Home or Business
HVAC Repair Philadelphia: The Complete Homeowner's Guide to Finding, Hiring, and Working With Local Heating and Cooling Pros

Best HVAC Repair in Bandon, OR: Local Services Near Me Guide
About the Author
NATE Certified HVAC Technician & Licensing Exam Trainer
Universal Technical InstituteMike Johnson is a NATE-certified HVAC technician and EPA 608 universal-certified refrigerant handler with a Bachelor of Science in HVAC/R Technology. He has 19 years of commercial and residential HVAC installation and service experience and specializes in preparing technicians for NATE certification, EPA 608, A2L refrigerant safety, and state HVAC contractor licensing examinations.