HVAC RTU: The Complete Guide to Rooftop Units, Sizing, Installation, and Maintenance for Commercial Buildings
🎯 Complete HVAC RTU guide covering rooftop unit types, sizing, installation, maintenance, and troubleshooting for commercial buildings and light
An HVAC RTU, or rooftop unit, is the workhorse of commercial heating and cooling across the United States. From strip-mall storefronts and quick-service restaurants to schools, warehouses, and big-box retail, packaged rooftop equipment delivers conditioned air through a single self-contained cabinet mounted on a roof curb. Understanding how these systems work, how they are sized, and how they should be maintained is essential for facility managers, contractors, building owners, and anyone preparing for an HVAC certification exam.
Unlike split systems that separate the condenser from the indoor coil, an RTU houses the compressor, condenser, evaporator coil, blower, filters, and heating section in one cabinet. This packaged design simplifies installation because almost every refrigerant connection, electrical termination, and gas line is factory-assembled. Field labor focuses on setting the unit on a curb, connecting power, gas, and ductwork, and commissioning controls — a process that can be completed in a single day for many small commercial buildings.
RTUs come in cooling-only, gas-electric, electric-electric, and heat pump configurations, ranging from roughly two tons up to fifty tons or more. Most light-commercial buildings use units between three and twenty-five tons, sized to match the load calculation of the specific space. Modern equipment ships with variable-speed compressors, ECM blowers, economizers, demand-controlled ventilation, and factory-installed BACnet or Modbus controls that integrate with building management systems.
For anyone planning a new build or replacement, working with experienced hvac contractors matters more than chasing the lowest bid. Rooftop equipment lives outside in punishing weather for fifteen to twenty years, and small installation mistakes — an unlevel curb, a missing condensate trap, an undersized gas line — compound into thousands of dollars of avoidable service calls. Quality installation pays back many times over.
The economics of rooftop equipment also favor preventive maintenance. According to industry data from ASHRAE and ENERGY STAR, neglected RTUs can lose fifteen to thirty percent of their rated efficiency within five years, driving up monthly utility bills and shortening the service life of compressors and heat exchangers. A documented quarterly maintenance program typically pays for itself in energy savings alone, before accounting for avoided emergency repairs and tenant comfort complaints.
This guide walks through everything you need to know about commercial rooftop equipment: the major components, how to size a unit, the installation process, code requirements, maintenance best practices, troubleshooting common problems, and how RTUs compare to split systems and VRF. Whether you are studying for a journeyman exam, specifying equipment for a new shopping center, or troubleshooting a unit that keeps tripping on high-pressure, the principles below apply.
By the end of this article, you will understand how to evaluate manufacturer submittals, what to inspect on a startup punch list, how economizers and demand-controlled ventilation interact, and which diagnostic steps separate a quick fix from a costly compressor replacement. The information reflects current ASHRAE 90.1 hvac regulations IECC code requirements, and field practices used by commercial HVAC technicians across North America.
Commercial Rooftop Units by the Numbers
RTU Types and Configurations
Combines a gas-fired furnace section with a DX electric cooling circuit. Most common in cold and mixed climates where natural gas is available. Heating capacities typically range from 60,000 to over 400,000 BTU/h.
Uses electric resistance heat strips paired with a DX cooling circuit. Common where gas is unavailable or in southern climates with minimal heating loads. Simpler venting requirements but higher operating cost in heating mode.
Reverses the refrigerant cycle to provide both heating and cooling without combustion. Often paired with electric backup heat. Performance drops in extreme cold, but cold-climate models now operate efficiently below 5°F.
A DOAS RTU conditions only ventilation air and delivers it neutral or slightly tempered to the zone. Used in high-performance buildings paired with VRF or chilled beams. Includes energy recovery wheels or plates.
Uses a variable-speed compressor and ECM fan to modulate capacity continuously. Achieves IEER ratings above 18 and reduces short-cycling. Higher first cost but significantly lower lifetime energy consumption.
hvac duct sizing calculator a rooftop unit starts with a Manual N or ASHRAE-compliant load calculation, not a rule-of-thumb square-footage shortcut. Commercial buildings have wildly different internal loads — a server room produces hundreds of watts per square foot of sensible heat, while a self-storage facility may need almost no cooling at all. A correct load calculation accounts for envelope U-values, glazing area and orientation, occupancy schedules, lighting power density, plug loads, ventilation requirements, and infiltration.
Most experienced engineers run their load calculations through software such as Trane Trace, Carrier HAP, or Wrightsoft Right-Suite Commercial. These tools generate hour-by-hour peak loads for cooling and heating, which determine both the nominal tonnage and the required supply air CFM. A general benchmark for general office space is 350 to 450 square feet per ton, but anything outside that range — restaurants, gyms, data closets, sanctuaries — requires a real calculation.
The relationship between cooling tonnage and airflow matters as much as the tonnage itself. Standard packaged equipment is built for roughly 400 CFM per ton in comfort cooling applications, but high-latent loads (kitchens, gyms, indoor pools) may need lower CFM-per-ton to wring out moisture, while sensible-heavy loads (electronics rooms) may push the design up to 450 CFM per ton. Mis-matching airflow leads to humidity complaints in summer and noisy diffusers year-round.
Ventilation air per ASHRAE 62.1 must be added separately to the load calculation. Code-minimum outdoor air for offices is 5 CFM per person plus 0.06 CFM per square foot, while restaurants and gyms can require three to five times more. For a deeper dive on sizing duct distribution after you have selected the rooftop unit, our HVAC Duct Calculator guide explains how to size mains, branches, and return paths based on the equipment you have specified.
Oversizing is the single most common mistake in commercial rooftop design. An RTU sized for the absolute worst-case design day will short-cycle for ninety percent of the cooling season, never running long enough to dehumidify properly. Modern code and best practice favor right-sizing or even slight undersizing, paired with variable-speed compressors that can ramp up to handle peaks while running at twenty or thirty percent capacity during mild weather.
Altitude, climate, and economizer use also influence selection. Manufacturer performance data is typically published at sea level and ARI conditions, so units installed in Denver or Salt Lake City need a derating factor — usually three to four percent capacity loss per thousand feet of elevation. In dry climates where economizers can provide free cooling for fifteen hundred or more hours per year, picking a unit with a properly sized economizer hood and demand-controlled ventilation can cut annual cooling energy by twenty percent or more.
Finally, consider future flexibility. If the tenant mix in a multi-tenant retail center is likely to change every few years, specifying a slightly larger curb and a unit with a roomy electrical service panel can save tens of thousands of dollars when a barbershop turns into a coffee roaster. Documentation matters too — keep the original load calc, equipment schedule, and submittal package in the building file for the next contractor who shows up with a tape measure.
HVAC Practice Test Questions
Prepare for the HVAC - Heating Ventilation and Air Conditioning exam with our free practice test modules. Each quiz covers key topics to help you pass on your first try.
HVAC Air Conditioning
HVAC Exam Questions covering Air Conditioning. Master HVAC Test concepts for certification prep.
HVAC Code Compliance
Free HVAC Practice Test featuring Code Compliance. Improve your HVAC Exam score with mock test prep.
HVAC Electrical Controls
HVAC Test Prep for Electrical Controls. Practice HVAC Quiz questions and boost your score.
HVAC Energy Efficiency
HVAC Questions and Answers on Energy Efficiency. Free HVAC practice for exam readiness.
HVAC Heating Systems
HVAC Mock Test covering Heating Systems. Online HVAC Test practice with instant feedback.
HVAC Load Calculations
Free HVAC Quiz on HVAC Load Calculations. HVAC Exam prep questions with detailed explanations.
HVAC Tools and Equipment
HVAC Practice Questions for HVAC Tools and Equipment. Build confidence for your HVAC certification exam.
HVAC Refrigeration
HVAC Test Online for Refrigeration. Free practice with instant results and feedback.
HVAC Safety Practices
HVAC Study Material on Safety Practices. Prepare effectively with real exam-style questions.
HVAC System Design
Free HVAC Test covering System Design. Practice and track your HVAC exam readiness.
HVAC Thermodynamics
HVAC Exam Questions covering Thermodynamics. Master HVAC Test concepts for certification prep.
RTU Components and How They Work
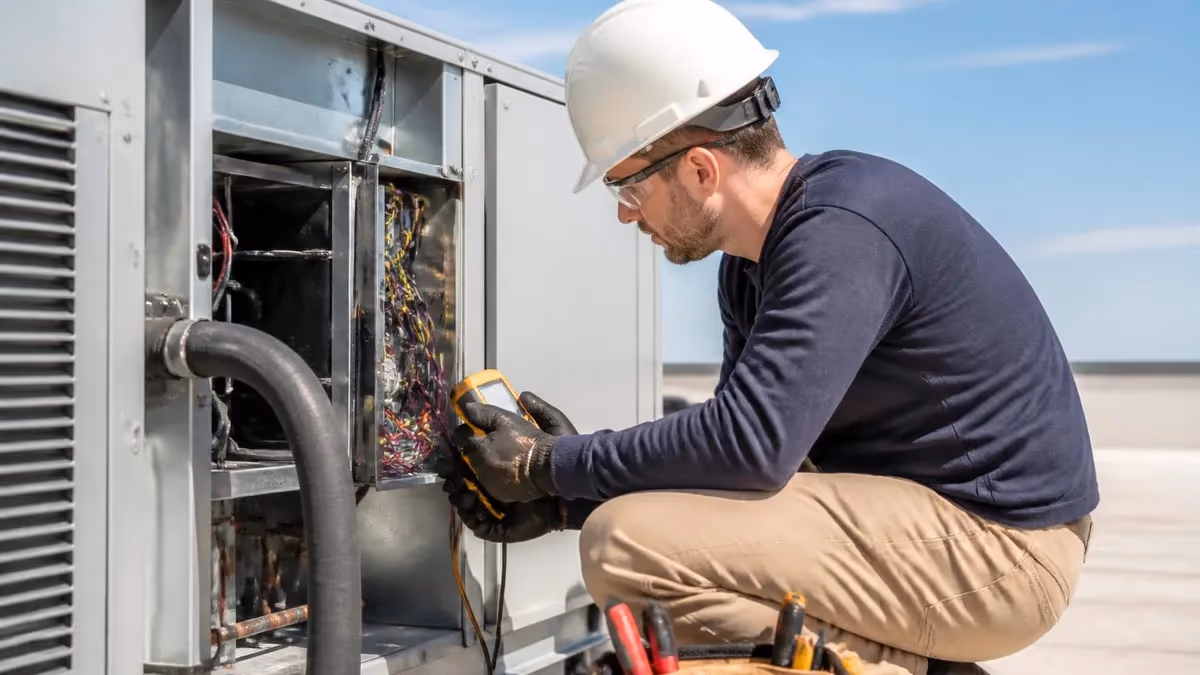
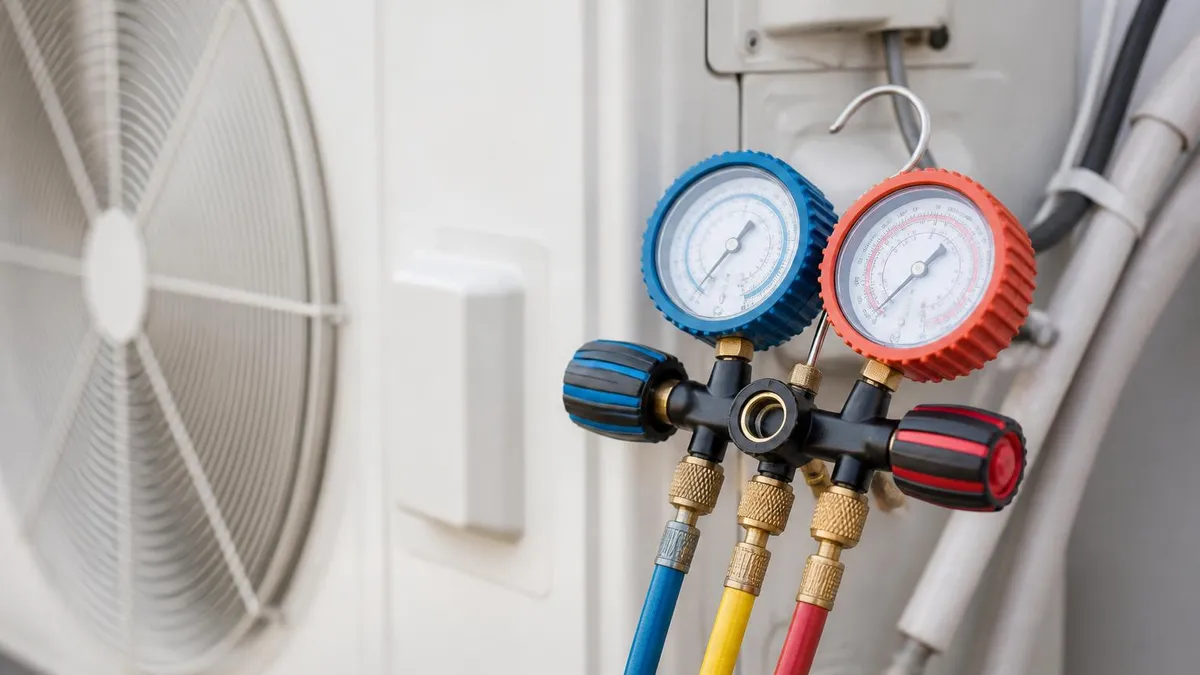
The refrigeration circuit is the heart of any HVAC RTU. A scroll or rotary compressor draws low-pressure vapor refrigerant from the evaporator, compresses it into a high-temperature high-pressure gas, and pushes it through the condenser coil where outdoor air rejects the heat. Most modern packaged equipment runs on R-410A today, with manufacturers transitioning to R-454B and R-32 as part of the AIM Act phasedown of high-GWP refrigerants by 2025.
From the condenser, liquid refrigerant passes through a filter-drier and metering device — usually a thermal expansion valve or, increasingly, an electronic expansion valve. It enters the evaporator coil, absorbs heat from the return airstream, and returns to the compressor as low-pressure vapor. Superheat at the suction line and subcooling at the liquid line are the two key measurements technicians use to confirm a properly charged system, regardless of refrigerant type or ambient conditions.
RTU vs Split System: Which Makes Sense?
- +Single-curb installation cuts field labor dramatically compared to splits
- +Factory-charged and factory-tested before it ships to the jobsite
- +Roof-mounted location frees interior floor space and mechanical room area
- +Easier zoning per tenant — one unit per space simplifies billing and control
- +Service access from the roof avoids disrupting building occupants
- +Standardized curbs make like-for-like replacement straightforward
- +Built-in economizers enable free cooling without extra field labor
- −Roof penetrations create long-term leak risk if flashing is poorly done
- −Service technicians work in extreme heat, cold, wind, and ice on the roof
- −Roof loading must be verified by structural engineer for larger units
- −Replacement requires crane access and street or parking lot closure
- −Limited duct length capability compared to central air handlers
- −Noise can transmit through curb into spaces directly below
- −Lower IEER than equivalent split or VRF systems at part-load
Rooftop Unit Installation Checklist
- ✓Verify roof structural capacity for unit operating weight plus snow load
- ✓Confirm curb is level within 1/8 inch and properly flashed and sealed
- ✓Install seismic restraints where required by local code or IBC zone
- ✓Run a properly sized gas line with sediment trap and approved shutoff valve
- ✓Pull dedicated electrical circuit with correctly sized disconnect within sight
- ✓Pipe condensate to an approved drain with a properly sized P-trap
- ✓Verify supply and return duct connections are sealed to SMACNA Seal Class A
- ✓Set minimum outdoor air damper position based on ASHRAE 62.1 calculation
- ✓Commission economizer changeover sensors and verify damper modulation
- ✓Measure and record refrigerant superheat, subcooling, and static pressures
- ✓Confirm gas pressure, manifold pressure, and combustion analysis at startup
- ✓Document equipment tag, serial numbers, and BAS integration points
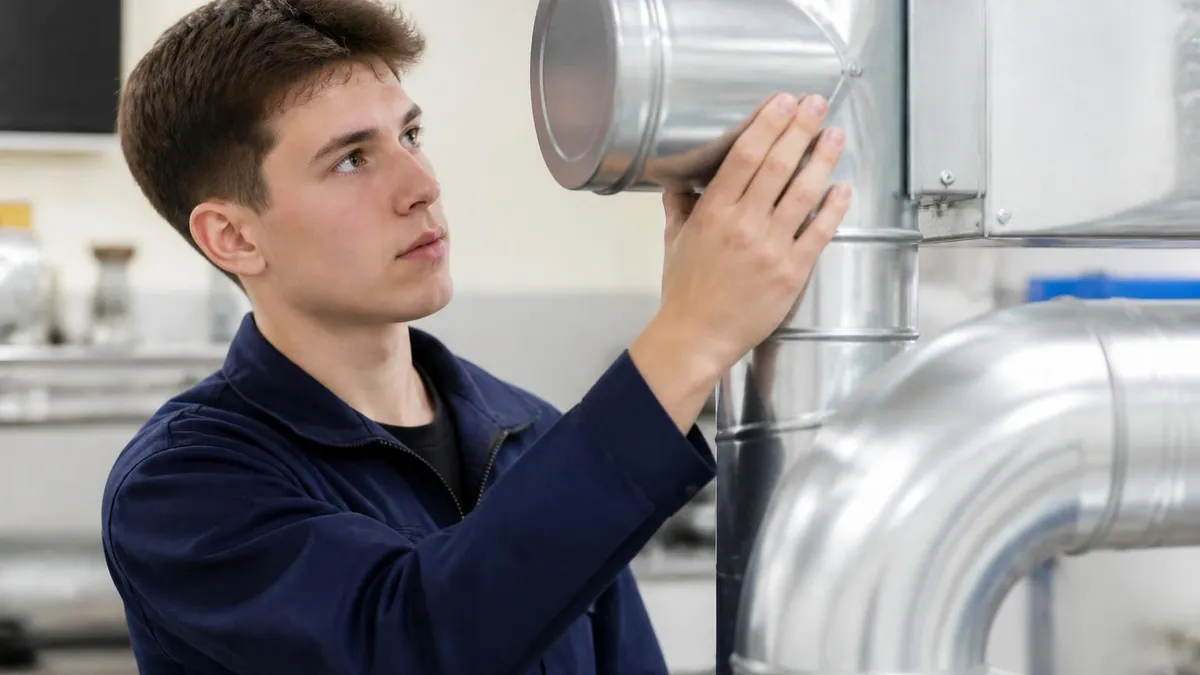
Measure airflow before you ever touch the refrigerant gauges
The single biggest mistake new technicians make is charging refrigerant on a unit that has restricted airflow, dirty filters, or a slipping belt. Superheat and subcooling are only meaningful when airflow is at design — typically 400 CFM per ton. Always verify static pressure, belt tension, and damper position before adjusting charge, or you will chase symptoms instead of the root cause.
A documented preventive maintenance program is the difference between an RTU that lives twenty years and one that dies in eight. Most manufacturers and ASHRAE Standard 180 recommend quarterly inspections at minimum, with more intensive seasonal startups before cooling and heating seasons. The cost of a comprehensive PM contract typically runs between $300 and $800 per unit per year for light-commercial equipment, and it pays back almost immediately in reduced emergency calls and energy savings.
The most impactful maintenance task is also the simplest: change the filters. Modern packaged equipment uses MERV 8 to MERV 13 pleated filters that load up faster than building owners expect. A dirty filter raises static pressure, reduces airflow across the evaporator, and pushes the coil toward freeze-up. Filters in restaurants, retail, and high-traffic spaces often need replacement every thirty to sixty days, not the calendar-quarter schedule many service contracts assume.
Condenser coil cleaning is the next quick win. A dirty condenser coil — clogged with cottonwood seeds, kitchen grease, or rooftop dust — increases head pressure, reduces capacity, and drives compressor temperatures up. Most coils can be cleaned with a foaming alkaline coil cleaner and a low-pressure rinse, restoring rated capacity in under thirty minutes. Microchannel coils require gentler chemistry and lower water pressure than copper-aluminum coils to avoid damaging the thin fins.
Belt and bearing inspection on belt-drive units, drain pan cleaning, condensate line flushing, and burner inspection round out the quarterly task list. Combustion-side maintenance is especially critical because cracked heat exchangers can leak carbon monoxide into the supply airstream. Annual combustion analysis with a calibrated analyzer documents safe operation and creates a paper trail for liability purposes if a CO incident is ever investigated.
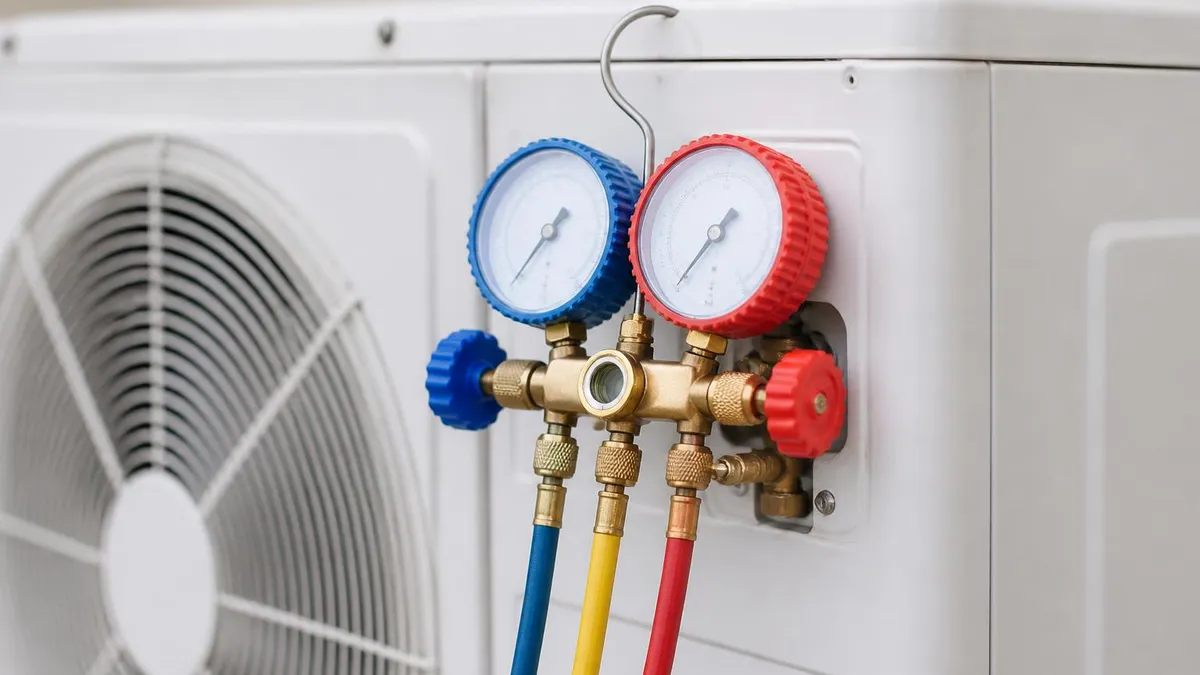
Refrigerant charge verification should be part of every seasonal startup. Recording superheat, subcooling, suction pressure, discharge pressure, and ambient temperature at each visit creates a baseline that makes future diagnostics much faster. When numbers drift over time, the trend often reveals slow leaks, fouled coils, or failing metering devices long before the unit actually fails on a call.
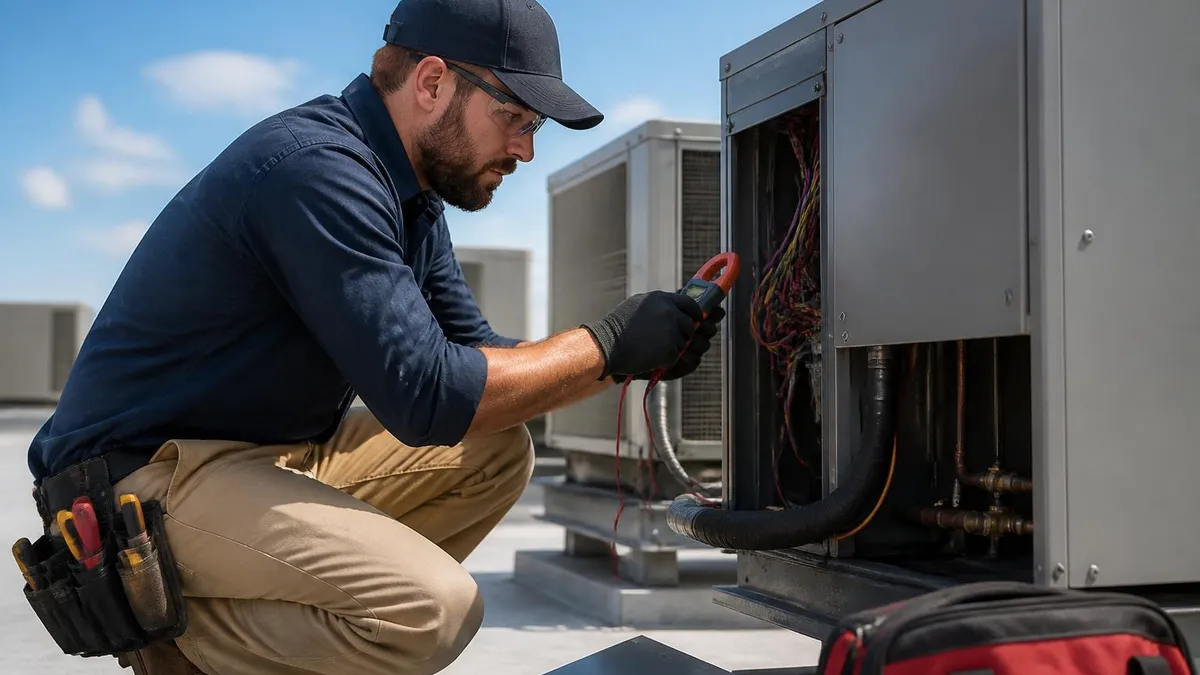
Electrical maintenance deserves equal attention. Contactor pitting, loose lugs, and degraded capacitors cause more compressor failures than refrigeration issues. Infrared thermal scans of disconnects and contactors highlight hot spots before they melt insulation or weld a contactor closed. Capacitor microfarad readings should be within plus or minus six percent of nameplate; anything outside that range should be replaced proactively rather than waiting for a comfort complaint.
Finally, document everything. A maintenance log kept at the unit — or in the building automation system — that lists model, serial, refrigerant type, charge weight, and every service event becomes invaluable when the unit needs warranty work, refrigerant tracking under EPA Section 608, or eventual replacement. Building owners who can produce clean records often get better trade-in or warranty consideration from manufacturers and contractors alike.
Under the AIM Act, new commercial RTUs manufactured after January 1, 2025 must use refrigerants with GWP below 700, meaning R-410A is being phased out in favor of R-454B and R-32. These mildly flammable A2L refrigerants require updated leak-detection, labeling, and service procedures. Verify your tools and recovery equipment are A2L-rated before working on next-generation equipment.
Troubleshooting a rooftop unit follows a disciplined sequence: confirm the complaint, verify the call for cooling or heating, check airflow, then move to refrigerant or combustion measurements. Most failures present as either no cooling, no heating, short-cycling, or comfort complaints, and each has a typical short list of root causes that a methodical technician can work through in under an hour.
No-cooling calls usually trace to one of five culprits: a tripped high-hvac pressure switch from a dirty condenser, a failed contactor or capacitor on the compressor, a low-charge condition from a slow leak, a stuck thermostatic expansion valve, or a control board lockout. Reading manufacturer fault codes from the onboard diagnostic LED or BAS interface narrows the list quickly. Modern controls log the last several faults with timestamps, often pointing directly at the failure mode.
Short-cycling — the unit starting and stopping every few minutes — is almost always either oversizing, a refrigerant problem, or a control problem. Verify cycle length against the manufacturer minimum runtime (usually three to five minutes), then check for low charge, restricted airflow, or a faulty thermostat with too narrow a deadband. Variable-speed equipment short-cycles less because it can modulate down, which is one of the strongest arguments for inverter-driven RTUs in mild climates.
Comfort complaints in conditioned space often have nothing to do with the rooftop unit itself. Hot spots and cold spots usually come from poorly designed or leaking ductwork, undersized return paths, or thermostat placement in a non-representative location. Before condemning the equipment, walk the ducts, check supply registers for proper throw, and confirm return air paths from every space. Quality HVAC Duct Supplies like proper takeoffs, balancing dampers, and sealed boots solve more comfort problems than equipment replacements.
Heating problems on gas-electric units typically involve ignition failures, flame sensor fouling, pressure switch faults, or limit switch trips. The control board flash codes usually identify the failure mode within seconds. A weak inducer motor, a partially blocked flue, or a cracked heat exchanger can all trip the pressure switch and shut the unit down on a call for heat. Always confirm safe combustion with an analyzer before returning a unit to service.
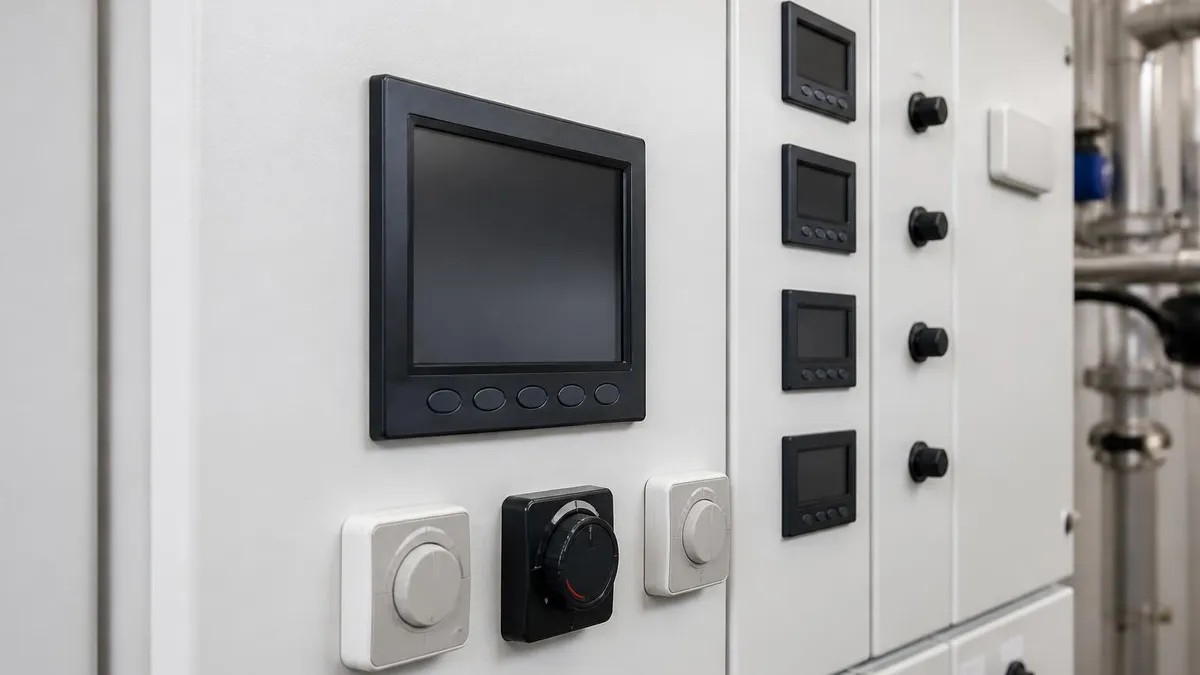
Economizer problems are an underappreciated source of energy waste and comfort complaints. A failed outdoor air sensor, a stuck actuator, or a miscalibrated changeover setting can leave the unit pulling 100 percent outdoor air in February or zero percent in May. The California Title 24 fault detection and diagnostic requirements have made economizer troubleshooting a routine part of commissioning, and tools like the ENERGY STAR economizer FDD checklist guide technicians through the process step by step.
Indoor air quality complaints — odors, humidity, stuffiness — frequently come back to ventilation rather than temperature. Confirm minimum outdoor air position, verify the CO2 sensor on demand-controlled hvac ventilation, and check filter loading. Many older units installed before ASHRAE 62.1-2019 simply do not provide enough outdoor air for current occupancy levels, and adding a CO2 sensor with a properly programmed BAS routine often fixes complaints without any mechanical work at all.
Practical tips from experienced rooftop technicians can save hours on every service call and years off your learning curve. The first is to always carry a clean set of gauges, a calibrated combustion analyzer, a digital manometer, and a sharp pair of tin snips. Roof work eats tools, and the technician who pulls up to the curb missing a critical instrument either drives back to the shop or guesses — neither outcome ends well for the customer or the equipment.
Second, photograph the nameplate, the wiring diagram inside the panel cover, and the current control board settings before you touch anything. Smartphone photos take seconds and prevent the disaster of reassembling a unit and realizing the dip switches were in a non-default position. When you finish the call, those photos become the as-found baseline for the next visit, and they form the start of a service history that pays dividends for years.
Third, respect the roof. Walk on the structural members, not the insulation board between them. Set tools on a canvas drop cloth so screws and washers do not roll off into gutters. Use a fall-arrest harness anchored to a manufacturer-rated tie-off point on any roof over six feet, in compliance with OSHA 29 CFR 1926.501. Roof falls remain one of the leading causes of HVAC technician fatalities every year.
Fourth, build a relationship with the building owner or property manager. Walk them through what you found, show them the photos, and email a written report after every visit. Owners who understand what their equipment is doing approve preventive work much faster than owners who only see invoices. Many service contractors find that proactive communication turns one-time service calls into multi-year maintenance contracts within a few months.
Fifth, plan replacements before they are emergencies. When equipment hits twelve to fifteen years old, start budgeting and discussing options with the owner. Emergency replacements during a heat wave often cost twenty to forty percent more than planned changeouts, both because of premium-time labor and because crane availability vanishes when every contractor in town is dealing with the same heat emergency. Detailed planning of hvac installation leeds in advance lets you spec efficient equipment, schedule favorable utility rebates, and choose your install date.
Sixth, take advantage of utility and federal incentives. Many utilities offer prescriptive rebates for high-efficiency RTUs that can hit four to eight hundred dollars per ton, and the federal Section 179D commercial buildings deduction can return more for projects that improve overall building efficiency. Bonus depreciation rules under the IRA also favor heat-pump rooftop equipment, particularly when paired with insulation or controls upgrades on the same project.
Finally, never stop learning. The rooftop unit you work on next year will likely have a new refrigerant, a new compressor technology, or a new communication protocol compared to the unit on your truck today. NATE, EPA 608, and manufacturer training programs are widely available, often subsidized by employers or distributors. Technicians who invest two or three weeks per year in formal training consistently earn more, work safer, and finish calls faster than those who rely solely on accumulated field experience.
HVAC Questions and Answers

HVAC Duct Supplies: The Complete Buyer's Guide to Ductwork Components, Sizing, and Installation Materials

HVAC Duct Calculator: The Complete Guide to Sizing Ductwork for Airflow, Static Pressure, and System Efficiency
Certified HVAC Contractors: How to Find, Vet, and Hire the Right Professional for Your Home or Business

Best HVAC Repair in Bandon, OR: Local Services Near Me Guide
HVAC Installations: The Complete Guide to Planning, Pricing, and Getting It Right the First Time
About the Author
NATE Certified HVAC Technician & Licensing Exam Trainer
Universal Technical InstituteMike Johnson is a NATE-certified HVAC technician and EPA 608 universal-certified refrigerant handler with a Bachelor of Science in HVAC/R Technology. He has 19 years of commercial and residential HVAC installation and service experience and specializes in preparing technicians for NATE certification, EPA 608, A2L refrigerant safety, and state HVAC contractor licensing examinations.