CPR Sequence: Complete Step-by-Step Guide to the Correct Order of CPR Actions in 2026 July
📚 Master the CPR sequence with the latest ACLS algorithm steps, compression-ventilation ratios, AED use, and infant CPR techniques for 2026 July.
The correct cpr sequence is the single most important thing any rescuer can learn, because the order in which you perform each action directly determines whether a sudden cardiac arrest victim survives with intact brain function. Every minute that passes without high-quality chest compressions reduces the chance of survival by roughly 7 to 10 percent, which means hesitation, skipped steps, or out-of-order actions translate directly into lost lives. Understanding the precise flow of recognition, activation, compressions, airway, and breathing is the foundation of every modern resuscitation protocol.
This guide walks you through the 2026 American Heart Association cpr sequence step by step, integrating updates from the current acls algorithm, the national cpr foundation training standards, and the most recent ILCOR consensus on science. Whether you are a layperson, a healthcare provider, or someone preparing for pals certification, the sequence remains anchored in a clear priority list: scene safety first, then assessment, then circulation, airway, and breathing in that exact order for adult cardiac arrest.
The phrase Chain of Survival captures why sequence matters so much. Each link, from early recognition through advanced life support and post-arrest care, depends on the previous one being performed correctly and quickly. A perfectly executed compression is wasted if the rescuer never recognized the arrest in the first place, and a flawless AED shock is useless if compressions stop for more than ten seconds during the rhythm analysis. Sequence is the glue that holds the entire response together.
For adults, the modern cpr sequence follows the C-A-B order: Compressions first, then Airway, then Breathing. This represents a deliberate shift away from the older A-B-C model because sudden cardiac arrest in adults is overwhelmingly caused by ventricular fibrillation, where oxygenated blood is still present in the lungs and bloodstream. Pushing that oxygen to the brain through immediate compressions is more valuable than spending precious seconds clearing an airway that is usually already patent.
For infants and children, the sequence is similar but with critical modifications because pediatric arrest is more often caused by respiratory failure rather than primary cardiac events. In these populations, ventilations carry far more weight, the compression-to-ventilation ratio shifts when two rescuers are present, and the depth and hand placement change dramatically. A rescuer who applies adult technique to an infant can cause serious harm, which is why every certification course teaches the pediatric sequence as a distinct skill set.
Throughout this article you will find detailed breakdowns of each step, including how to recognize cardiac arrest within ten seconds, how to deliver compressions at the correct rate and depth, when and how to integrate an AED, and how to transition smoothly to advanced life support providers when they arrive. We have also included practice quizzes, an FAQ section, and links to deeper resources so you can build true confidence rather than just memorizing a checklist for an exam.
By the end, you will not only know the cpr sequence but understand why each step exists, what the evidence behind it looks like, and how to adapt when reality does not match the textbook scenario. That depth of understanding is what separates rescuers who freeze from rescuers who act, and ultimately it is what saves the most lives in the field.
CPR Sequence by the Numbers

The 8 Steps of the CPR Sequence
1. Ensure Scene Safety
2. Check Responsiveness
3. Activate Emergency Response
4. Check Breathing and Pulse
5. Start Chest Compressions
6. Open the Airway
7. Deliver Rescue Breaths
8. Attach and Use the AED
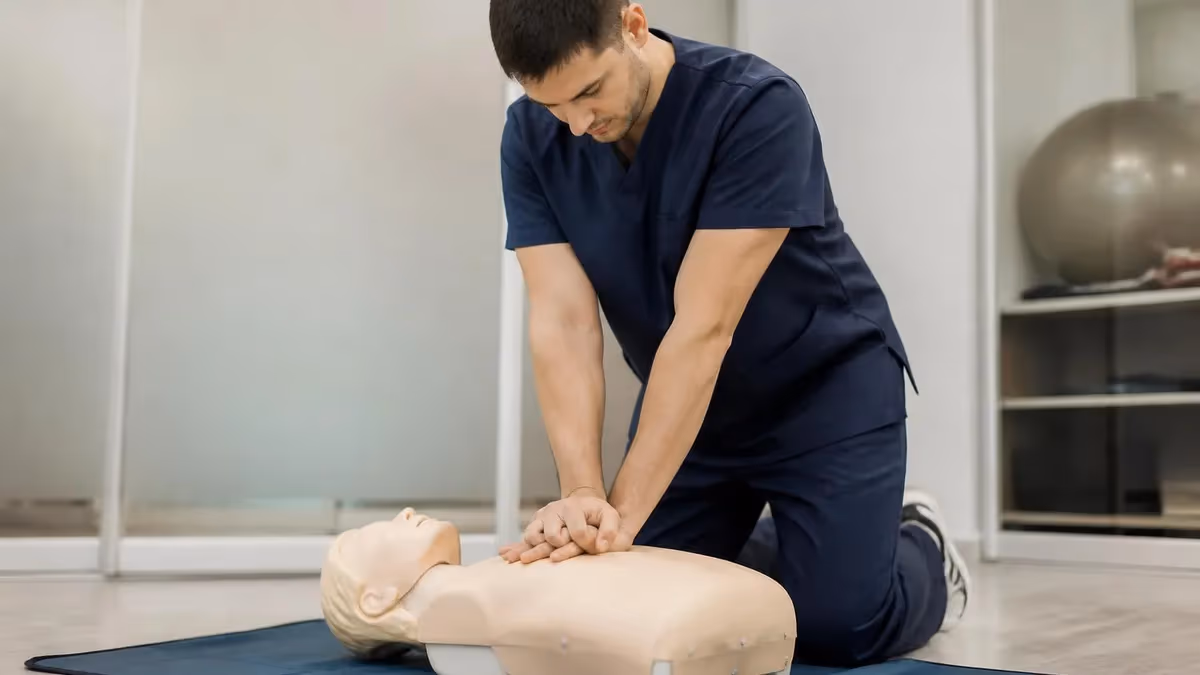
The adult cpr sequence is built around a simple but powerful principle: high-quality chest compressions delivered without interruption are the single most important predictor of survival from out-of-hospital cardiac arrest. Everything else in the sequence, from airway management to advanced life support medications, is layered on top of this foundation. If compressions are shallow, slow, or frequently paused, no amount of downstream intervention can compensate for the lost coronary and cerebral perfusion pressure.
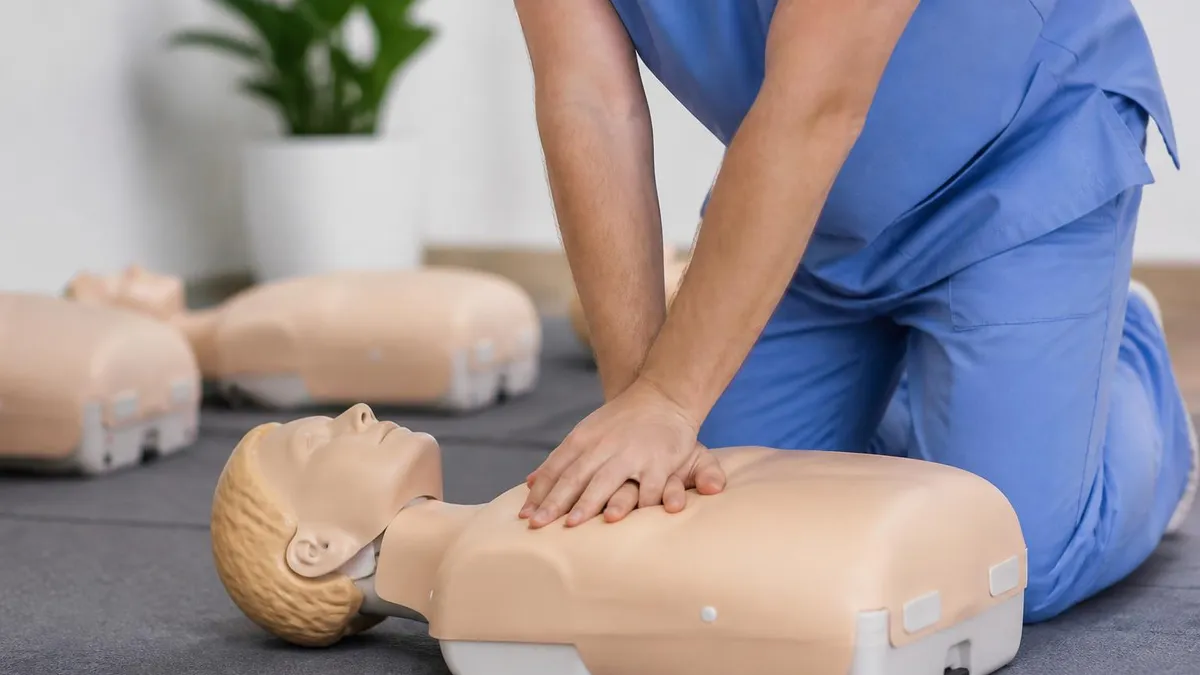
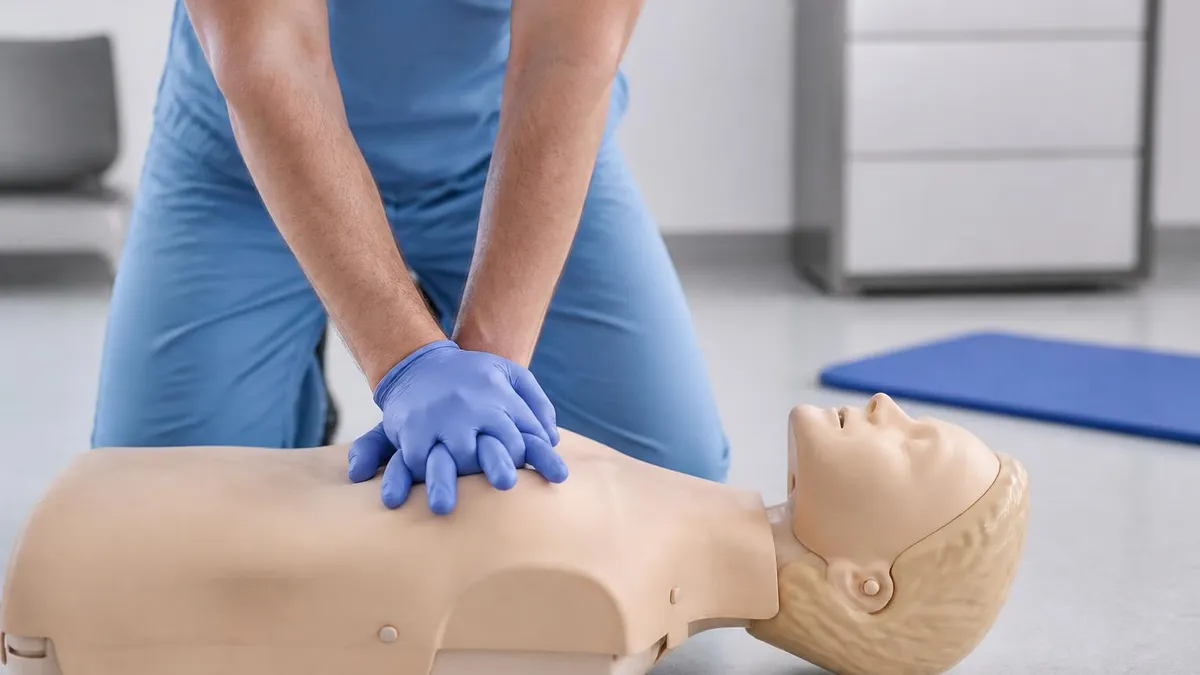
Once you have confirmed unresponsiveness and the absence of normal breathing, you should be on the victim's chest within ten seconds. Hand placement is on the lower half of the sternum, between the nipples in most adults, with the heel of the dominant hand making contact and the non-dominant hand stacked on top. Lock your elbows, position your shoulders directly above your hands, and use your body weight rather than your arm strength to drive each compression downward to a depth of at least two inches.
The compression rate of 100 to 120 per minute is faster than many beginners expect. A useful mental metronome is the beat of the Bee Gees song Stayin Alive, which sits squarely in the correct tempo range. Full chest recoil between compressions is just as important as depth, because incomplete recoil prevents venous blood from returning to the heart, which in turn reduces the volume available for the next compression to push forward to the brain and coronary arteries.
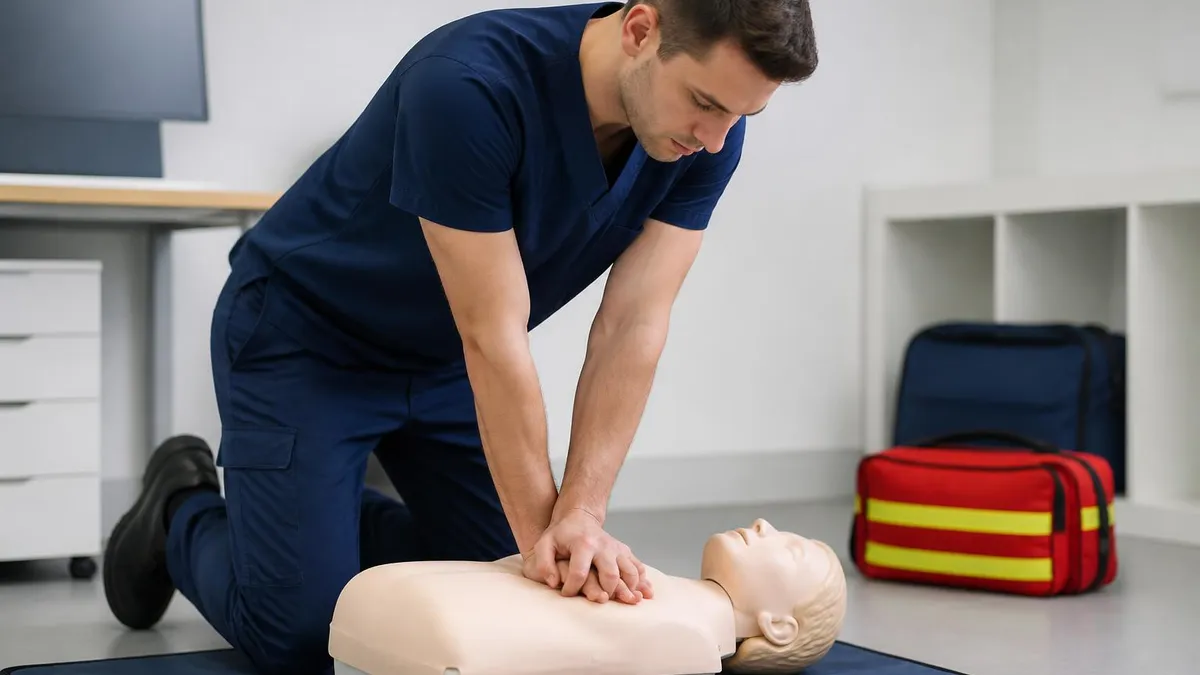
After 30 compressions, a single trained rescuer transitions to airway management and ventilation. Tilt the head back gently and lift the chin upward to align the airway, then deliver two breaths of approximately 500 to 600 milliliters each, just enough to produce visible chest rise. Avoid excessive ventilation, which raises intrathoracic pressure, reduces venous return, and paradoxically worsens outcomes. The whole airway and breathing interval should take less than ten seconds before returning to compressions.
For untrained bystanders or those uncomfortable providing ventilations, the modern consensus from the national cpr foundation and AHA is unambiguous: hands-only CPR is strongly preferred over no CPR at all. Continuous chest compressions at 100-120 per minute, without any rescue breaths, deliver outcomes nearly equivalent to conventional CPR during the first several minutes of adult cardiac arrest. The worst possible decision is to do nothing because you are afraid of doing the breathing portion incorrectly.
When a second trained rescuer arrives, the sequence shifts to a two-rescuer model. One rescuer continues compressions while the other manages the airway, delivers breaths, and operates the AED. Rescuers should swap roles every two minutes, or every five cycles of 30:2, to prevent fatigue from degrading compression quality. Studies consistently show that compression depth and rate decline measurably after just 90 seconds of continuous effort, even in fit rescuers.
Throughout the entire adult cpr sequence, the underlying goal is to minimize what experts call the no-flow fraction, meaning the percentage of total resuscitation time during which no compressions are being delivered. Best-in-class teams keep this number below 20 percent, and the difference between a no-flow fraction of 40 percent and 20 percent can double or triple the chance of return of spontaneous circulation in the field.

CPR Practice Test Questions
Prepare for the CPR Cardiopulmonary Resuscitation Practice exam with our free practice test modules. Each quiz covers key topics to help you pass on your first try.
CPR Basic CPR
CPR Exam Questions covering Basic CPR. Master CPR Test concepts for certification prep.
CPR and First Aid
Free CPR Practice Test featuring and First Aid. Improve your CPR Exam score with mock test prep.
CPR (Cardiopulmonary Resuscitation) Adult ...
CPR Mock Exam on (Cardiopulmonary Resuscitation) Adult CPR and AED Usage. CPR Study Guide questions to pass on your first try.
CPR (Cardiopulmonary Resuscitation) Airway...
CPR Test Prep for (Cardiopulmonary Resuscitation) Airway Obstruction and Choking. Practice CPR Quiz questions and boost your score.
CPR (Cardiopulmonary Resuscitation) Cardio...
CPR Questions and Answers on (Cardiopulmonary Resuscitation) Cardiopulmonary Emergency Recognition. Free CPR practice for exam readiness.
CPR (Cardiopulmonary Resuscitation) Child ...
CPR Mock Test covering (Cardiopulmonary Resuscitation) Child and Infant CPR. Online CPR Test practice with instant feedback.
CPR (Cardiopulmonary Resuscitation) High-P...
Free CPR Quiz on (Cardiopulmonary Resuscitation) High-Performance Team Dynamics. CPR Exam prep questions with detailed explanations.
CPR (Cardiopulmonary Resuscitation) Legal ...
CPR Practice Questions for (Cardiopulmonary Resuscitation) Legal and Ethical Considerations. Build confidence for your CPR certification exam.
CPR for Specific Populations
CPR Test Online for for Specific Populations. Free practice with instant results and feedback.
CPR Airway & Breathing Management
CPR Exam Questions covering Airway & Breathing Management. Master CPR Test concepts for certification prep.
CPR Assessment & Recognition of Cardiac Ar...
Free CPR Practice Test featuring Assessment & Recognition of Cardiac Arrest. Improve your CPR Exam score with mock test prep.
CPR Chest Compressions & Defibrillation
CPR Mock Exam on Chest Compressions & Defibrillation. CPR Study Guide questions to pass on your first try.
CPR Post-Resuscitation Care & Recovery
CPR Test Prep for Post-Resuscitation Care & Recovery. Practice CPR Quiz questions and boost your score.
Pediatric, Infant, and Adult CPR Sequence Variations
The adult sequence assumes a primary cardiac cause and prioritizes immediate compressions. Use two hands on the lower sternum, compress to a depth of at least 2 inches but not more than 2.4 inches, and maintain a rate of 100 to 120 per minute. The single-rescuer ratio is 30 compressions to 2 breaths, and you should attach an AED as soon as one becomes available without significant compression interruption.
Activate emergency services before starting CPR if you are alone with an unresponsive adult, because defibrillation is usually the definitive treatment. Continue cycles of 30:2 until the AED is ready to analyze the rhythm, advanced help arrives and assumes care, or the patient shows clear signs of return of spontaneous circulation such as purposeful movement, coughing, or normal breathing.
Hands-Only CPR vs Conventional 30:2 CPR
- +Easier for untrained bystanders to perform without hesitation
- +Eliminates fear of mouth-to-mouth contact and disease transmission
- +Maintains continuous coronary and cerebral perfusion pressure
- +Equally effective as conventional CPR in first several minutes of adult arrest
- +Easier to coach over the phone by 911 dispatchers
- +Reduces rescuer fatigue from switching between tasks
- −Not appropriate for drowning, drug overdose, or respiratory-cause arrests
- −Inadequate for infants and most pediatric cases
- −Lower effectiveness after the first 8 to 10 minutes of arrest
- −Does not address airway obstruction if breathing is the primary problem
- −Less effective when arrest is unwitnessed with unknown downtime
- −Provides no oxygenation support during prolonged resuscitation

CPR Sequence Skills Checklist
- ✓Confirm scene safety in under three seconds before approaching
- ✓Check responsiveness with shoulder tap and loud verbal stimulus
- ✓Activate 911 and request an AED before starting compressions on an adult
- ✓Check breathing and pulse simultaneously for no more than 10 seconds
- ✓Position hands correctly on the lower half of the sternum
- ✓Compress to a depth of 2 inches at 100-120 per minute with full recoil
- ✓Maintain a 30:2 compression-to-ventilation ratio for single-rescuer adult CPR
- ✓Open the airway using head-tilt chin-lift or jaw-thrust as appropriate
- ✓Deliver each rescue breath over one second with visible chest rise
- ✓Attach the AED and follow voice prompts as soon as it arrives
- ✓Switch compressors every two minutes to prevent fatigue
- ✓Continue CPR until ROSC, advanced help arrives, or you are physically unable to continue
Push Hard, Push Fast, Don't Stop
Every interruption to chest compressions longer than 10 seconds dramatically reduces survival odds. Modern resuscitation science treats compression continuity as the single most important quality metric. If you remember nothing else from this article, remember to start compressions early, push to at least 2 inches deep at 100-120 per minute, and resume them immediately after any pause for breaths, pulse checks, or AED analysis.
The Automated External Defibrillator transforms the cpr sequence from a holding action into a potentially curative intervention. When ventricular fibrillation or pulseless ventricular tachycardia is present, only an electrical shock can restore an organized rhythm, and the probability of successful defibrillation drops by approximately 10 percent for every minute that passes without one. This is why integrating the AED smoothly into the sequence is so important for any rescuer.
So what does aed stand for, and how does it actually work? AED stands for Automated External Defibrillator. The device analyzes the victim's heart rhythm through adhesive pads placed on the bare chest and automatically determines whether a shockable rhythm is present. If it is, the device charges and prompts the rescuer to deliver a shock by pressing a clearly marked button. Modern fully automated models will even deliver the shock without a button press after a verbal countdown.
The moment the AED arrives at the scene, one rescuer should continue compressions while another powers on the device, exposes the victim's chest, dries the skin if wet, and applies the pads in the positions shown on the device or packaging. Standard placement for adults is one pad on the upper right chest below the clavicle and the other on the lower left side along the mid-axillary line. Pediatric pads or pediatric mode should be used for children under 8 years or under 55 pounds.
Once the pads are attached, the AED will announce that it is analyzing the rhythm. At this point, all rescuers must clearly stop touching the victim, including pausing compressions, so the analysis is not corrupted by motion artifact. This pause should never exceed 10 seconds, and many experienced teams pre-charge the device during compressions to shrink the pause even further. When the AED announces shock advised, ensure no one is in contact with the patient, then deliver the shock.
Immediately after the shock, regardless of whether it appeared to restore a rhythm, return to chest compressions for another two-minute cycle before the AED reanalyzes. Resist the temptation to check for a pulse right after the shock, because even when defibrillation is successful, the heart often takes a minute or more to generate effective perfusion. Stopping compressions to check a pulse during this window almost always wastes critical time without producing useful information.
If the AED announces no shock advised, this does not mean CPR has failed. It simply means the current rhythm is not shockable, which could indicate asystole, pulseless electrical activity, or a successfully restored organized rhythm. Resume high-quality compressions immediately and continue cycles of 2 minutes of CPR followed by reanalysis until advanced life support arrives, the patient shows obvious signs of recovery, or you are unable to continue.
Public access AEDs are now found in airports, schools, gyms, casinos, sports venues, and many workplaces, and their widespread availability has measurably increased out-of-hospital cardiac arrest survival rates in communities with strong public access defibrillation programs. Knowing where the nearest AED is located before an emergency happens, and being mentally prepared to incorporate it into your cpr sequence, is one of the highest-impact skills a layperson can develop.
If you are alone with an adult in cardiac arrest, start chest compressions immediately and only stop to retrieve an AED if one is within sight or seconds away. Sending yourself across a building to find a device while the victim has no circulation is rarely the right choice. When in doubt, push on the chest first and assign AED retrieval to a bystander, even an untrained one who can simply bring the device to you.
Even with strong training, certain mistakes appear over and over again in real-world resuscitations and on certification exams like pals certification and BLS. The most common error is shallow compressions. Rescuers consistently underestimate how hard they need to push, and feedback devices in hospital codes routinely show average depths well below the 2-inch target. Practicing on a manikin with depth feedback, ideally at least once a year, is the single best antidote to this problem.
A second frequent mistake is incomplete chest recoil. Rescuers, especially fatigued ones, tend to lean on the chest between compressions to save energy. This leaning prevents the chest from fully recoiling, which prevents venous blood from returning to the heart, which reduces the volume available for the next compression to eject. The fix is conscious: lift the heel of your hand slightly off the sternum between compressions while maintaining hand position, and switch compressors every two minutes.
Excessive ventilation is another silent killer. In the heat of a code, rescuers often bag too fast and too hard, delivering 20 or 30 breaths per minute when 10 is the target during continuous compressions with an advanced airway. Each oversized breath raises intrathoracic pressure, reduces venous return, and lowers coronary perfusion pressure. Counting out loud and using a metronome or timer dramatically improves ventilation rate compliance.
Pauses in compressions for non-essential tasks are extremely common. Rescuers pause to check a pulse that is unlikely to be there, to look at a monitor, to discuss next steps, or to transfer the patient to a stretcher. Every one of these pauses chips away at the no-flow fraction. The discipline of every team leader should be to call out pause times verbally and to limit any pause for rhythm checks or pulse checks to under 10 seconds.
Misuse of the AED is another category of error. Rescuers sometimes apply pads over medication patches, jewelry, or wet skin, all of which can cause arcing or reduced shock delivery. Pads should be applied to bare, dry skin with hair removed if dense enough to interfere with adhesion. Most public AEDs include a razor and a towel in the kit for exactly this reason. Take ten seconds to prepare the chest properly; it will pay back in shock effectiveness.
Finally, many rescuers stop CPR too early. They see no immediate response after a few cycles and conclude that further effort is futile. In reality, return of spontaneous circulation can occur after 20, 30, or even 60 minutes of high-quality resuscitation, particularly in cases of hypothermia, drug overdose, or pediatric drowning. Continue the cpr sequence until advanced providers assume care, the patient shows clear signs of life, or you are physically unable to continue safely.
For anyone seeking deeper mastery, the path forward is clear: take a hands-on BLS course at minimum, and if your role demands it, pursue advanced certifications that cover the acls algorithm and pediatric protocols. The CPR - Cardiopulmonary Resuscitation: Complete Study Guide 2026 offers a comprehensive starting point that integrates the sequence into the broader framework of cardiopulmonary emergency response and life support fundamentals.
Translating textbook knowledge of the cpr sequence into reliable field performance requires deliberate practice, mental rehearsal, and ongoing skill maintenance. Research consistently shows that CPR skills decay within three to six months of certification, regardless of how well the rescuer performed on test day. Brief monthly self-practice sessions on a manikin or even on a firm pillow with a metronome app are dramatically more effective than a single intensive course every two years.
One of the most useful habits experienced rescuers develop is mental rehearsal. Before walking into a hospital shift, an EMS call, or even a public event, run through the first ten seconds of an arrest scenario in your head. Picture yourself confirming scene safety, tapping shoulders, listening for breathing, calling for help, and placing your hands on the chest. This kind of pre-arrest priming dramatically reduces freeze response when real emergencies occur, because the action plan is already cached in working memory.
Team communication is another underappreciated skill. The best resuscitation teams use closed-loop communication: the team leader gives a direct order to a specific person, that person repeats the order back, performs it, and reports completion. Saying You in the blue shirt, call 911 and come back to tell me what they said is far more effective than the diffuse Somebody call 911 that often results in no one acting. Practice these phrasings out loud so they feel natural under stress.
If you work in healthcare or public safety, regular code simulation is one of the highest-yield investments your team can make. Even a 15-minute mock code once a month, run by a senior nurse or paramedic, can reveal weak spots in role assignment, equipment placement, and sequence flow that would otherwise only surface during real arrests. Many institutions now use video review of actual codes to identify and correct recurring sequence errors in a blame-free quality improvement framework.
For laypeople, the most important skill development is overcoming the psychological barrier to acting. Many people who have completed CPR training never perform CPR in their lifetime, often because they freeze or doubt their skills when faced with a real arrest. Studies show that even imperfect CPR performed by an untrained bystander dramatically improves survival compared with no intervention at all. Give yourself permission to be imperfect. Action beats hesitation every single time.
Finally, integrate respiratory rate awareness into your everyday clinical or first-aid practice. Many cardiac arrests in adults are preceded by hours of subtle warning signs, including elevated respiratory rate, altered mental status, and rising heart rate. Recognizing a deteriorating patient before they arrest and escalating care early is a form of preemptive resuscitation that prevents the arrest from ever happening. The best cpr sequence is the one you never have to use because you intervened upstream.
Whether your goal is to pass a certification exam, support a loved one with cardiac risk factors, or fulfill professional requirements, the cpr sequence is a skill worth investing in deeply. The minutes you spend studying and practicing today could be the minutes that save a life tomorrow, and there is no other learnable skill with quite that ratio of effort to potential impact.
CPR Questions and Answers

CPR Card Lookup: How to Verify, Replace, and Access Your CPR Certification in 2026
AHA CPR: What It Is, Which Course You Need, and How to Get Certified
BLS CPR Course: Complete Guide to Basic Life Support Certification in 2026
Adult CPR: Complete Step-by-Step Guide to Hands-Only and Standard CPR in 2026

CPR - Cardiopulmonary Resuscitation: Complete Study Guide 2026
About the Author
Registered Nurse & Healthcare Educator
Johns Hopkins University School of NursingDr. Sarah Mitchell is a board-certified registered nurse with over 15 years of clinical and academic experience. She completed her PhD in Nursing Science at Johns Hopkins University and has taught NCLEX preparation and clinical skills courses for nursing students across the United States. Her research focuses on evidence-based exam preparation strategies for healthcare certification candidates.
Join the Discussion
Connect with other students preparing for this exam. Share tips, ask questions, and get advice from people who have been there.
View discussion (5 replies)