
CPR Positioning: Complete Guide to Body Position During Cardiopulmonary Resuscitation
Master CPR positioning for adults, children & infants. ACLS algorithm tips, recovery position & life support techniques. ✅ Free practice questions included.

Understanding proper cpr positioning is one of the most critical yet frequently overlooked aspects of effective cardiopulmonary resuscitation. Whether you are a healthcare professional following an acls algorithm or a bystander responding to a sudden cardiac emergency, placing both yourself and the victim in the correct position dramatically increases the odds of survival. Studies show that high-quality CPR with proper positioning can double or even triple a victim's chance of surviving cardiac arrest outside of a hospital setting.
The acls algorithm developed by the American Heart Association provides a clear framework for how rescuers should approach a cardiac arrest scenario, and body positioning is foundational to every step. From the moment you confirm unresponsiveness to the point where professional emergency services take over, the angle of the victim's head, the placement of your hands, the firmness of the surface beneath the patient, and your own body mechanics all contribute to how effectively blood circulates to the brain and vital organs during compressions.
Many people who complete a national cpr foundation course or earn a pals certification learn positioning in a classroom, but applying those skills under pressure during a real emergency requires deep familiarity with the principles. This article breaks down positioning for adult, child, and infant cpr, explains the recovery position, and addresses common mistakes that reduce compression effectiveness. We also cover what does aed stand for in terms of device placement relative to the patient's body position.
Life support outcomes are heavily influenced by technique, and technique begins with positioning. Research published in emergency medicine journals consistently demonstrates that even a few centimeters of deviation in hand placement, or a rescuer kneeling too far back from the victim, can reduce compression depth by 20 to 30 percent. That reduction translates directly into less blood flow to the brain — and every second of inadequate perfusion increases the risk of irreversible neurological damage.
Beyond the mechanics of compressions, positioning also matters for rescue breathing. The head-tilt chin-lift maneuver, used to open the airway before delivering ventilations, requires the victim to be on a flat, firm surface with the neck in a specific extension. If the surface is too soft — such as a mattress or thick carpet — the body sinks and the airway alignment becomes suboptimal, making it harder to deliver effective breaths and increasing the risk of gastric inflation.
Respiratory rate and the quality of each breath delivered during CPR depend on a patent airway, which in turn depends on correct head and neck positioning. For victims who are breathing but unconscious — such as those in a post-seizure state or recovering from a drug overdose — the position recovery technique (also called the lateral recumbent or recovery position) is used to keep the airway open and prevent aspiration of vomit. Knowing when to use compression-focused CPR versus the recovery position is a critical decision point covered in every serious life support curriculum.
This guide is designed to complement your hands-on training, not replace it. Whether you are preparing for a recertification exam, brushing up before a shift in a clinical setting, or simply a concerned citizen who wants to be ready for an emergency, understanding the science and practice of CPR positioning will make you a more confident and effective rescuer. Read on for the complete breakdown, and take advantage of our free practice questions to test your knowledge before your next certification exam.
CPR Positioning by the Numbers

CPR Positioning Fundamentals: Step-by-Step Body Mechanics
Confirm Scene Safety & Victim Unresponsiveness
Position Yourself Beside the Victim
Place Hands Correctly on the Chest
Position Arms & Shoulders Vertically
Open the Airway Using Head-Tilt Chin-Lift
Allow Full Chest Recoil Between Compressions
Adult CPR positioning follows the universal protocol outlined by the American Heart Association and reinforced by the acls algorithm: victim supine on a firm, flat surface, rescuer kneeling at the victim's side, hands stacked at the center of the chest. The depth target for adults is at least two inches — but no more than 2.4 inches — with full chest recoil between each compression. Achieving this depth consistently requires locking the elbows and using the weight of the upper body rather than relying on arm strength alone.
Child CPR positioning differs from adults in several important ways. For children between one year of age and puberty, the rescuer uses one or two hands depending on the child's size. The compression depth target is about two inches, or one-third the depth of the chest. The hand or heel-of-hand placement remains on the lower half of the sternum, and the same 30:2 ratio of compressions to breaths applies when a single rescuer is present. With two rescuers, pediatric guidelines recommend a 15:2 ratio, a key point tested on pals certification exams.
Infant cpr is the most technically demanding positioning scenario. For victims under one year of age, the rescuer uses two fingers — typically the middle and ring fingers — placed on the sternum just below the nipple line. The depth target is approximately 1.5 inches, or one-third of the infant's chest depth. When two rescuers are present, the two-thumb encircling technique is preferred: both thumbs are placed side by side on the sternum while the hands encircle the infant's torso. This method generates better hemodynamics and is the gold standard in hospital settings.
Surface selection is often underappreciated but enormously important across all age groups. Compressions performed on a soft surface — like a bed, couch, or padded floor mat — result in significant energy absorption by the surface rather than transmission into the chest. In hospital settings, a CPR backboard is placed under the patient to create a firm surface. In the field, victims should be moved to the floor or a hard surface whenever safely possible. If moving the victim is impossible, compressions must still be delivered, but rescuers should be aware that effectiveness may be reduced.
Rescuer positioning relative to their own body ergonomics also matters for sustaining CPR quality over time. The American Heart Association recommends switching rescuers every two minutes — aligned with the rhythm check interval — to prevent fatigue-related decline in compression depth and rate. Studies show that compression depth drops measurably after just 90 seconds of continuous compressions, even in physically fit rescuers. Rotating rescuers without interrupting compressions is a skill practiced during team-based CPR training, including courses aligned with the national cpr foundation curriculum.
The respiratory rate for rescue breathing in CPR is one breath every five to six seconds for adults — approximately 10 to 12 breaths per minute. Each breath should be delivered over one second and cause visible chest rise. Over-ventilation, which is common when rescuers are anxious, increases intrathoracic pressure and reduces venous return to the heart, actually worsening cardiac output. Correct positioning of the victim's head and the rescuer's mouth seal minimizes the risk of over-inflation and ensures breaths go into the lungs rather than the stomach.
For situations where mouth-to-mouth contact is not possible or desirable, compression-only CPR is a widely accepted alternative for adult victims of sudden cardiac arrest. In this protocol, rescuers deliver continuous chest compressions at a rate of 100 to 120 per minute without pausing for breaths. Positioning requirements remain identical — firm surface, correct hand placement, full recoil — but the focus shifts entirely to maintaining circulation through uninterrupted mechanical compression. Dispatcher-assisted CPR instructions, which are increasingly standard in 911 call centers across the United States, emphasize compression-only CPR for untrained bystanders.
ACLS Algorithm: Positioning Across Life Support Scenarios
The acls algorithm for adults in cardiac arrest requires the victim to be supine on a hard surface with the rescuer positioned at the victim's side. Team-based ACLS protocols assign roles specifically: one rescuer manages compressions, another manages the airway, and a third operates the defibrillator. Compressions must not be paused for more than ten seconds during rhythm analysis or defibrillation, and the team member performing compressions should kneel in a stable, locked-elbow position that allows sustained depth of at least two inches throughout each two-minute cycle.
When an advanced airway — such as an endotracheal tube or supraglottic device — is in place during ACLS, the compression-to-ventilation ratio changes from 30:2 to continuous compressions at 100 to 120 per minute with one breath delivered every six seconds. Rescuer positioning does not change in this scenario, but the absence of compression pauses for breaths demands even more precise hand placement and body alignment to maintain rhythm and depth. ACLS providers are expected to recognize position-related fatigue and rotate compressors every two minutes without delay.

Compression-Only CPR vs. Traditional CPR with Rescue Breaths: Positioning Considerations
- +Easier for untrained bystanders to perform without worrying about breath positioning
- +Eliminates interruptions to chest compressions during mouth seal placement
- +Dispatcher-assisted telephone CPR is simpler to coach without ventilation steps
- +Reduces rescuer hesitancy caused by concern about mouth-to-mouth contact
- +Effective for adults with cardiac arrest in the first few minutes before oxygen depletion
- +Allows consistent compression rate without pauses disrupting body mechanics
- −Less effective for pediatric victims whose arrests are often respiratory in origin
- −Does not address hypoxic cardiac arrest caused by drowning or airway obstruction
- −Oxygen stores in the blood are depleted after approximately four minutes without ventilation
- −Not recommended when an advanced airway or bag-mask device is immediately available
- −Rescuers may incorrectly apply compression-only technique to victims who need breaths
- −Ongoing chest-only compressions increase rescuer fatigue and position drift over time
CPR Positioning Checklist: Verify Before and During Resuscitation
- ✓Confirm the victim is on a firm, flat surface before beginning compressions.
- ✓Position yourself directly beside the victim's chest, not at the head or feet.
- ✓Place the heel of one hand on the center of the lower sternum — not on ribs.
- ✓Stack the second hand on top and interlace fingers, keeping them off the chest wall.
- ✓Lock elbows and align shoulders directly above your hands for vertical compression force.
- ✓Compress to at least two inches depth for adults and allow full chest recoil after each push.
- ✓Maintain a compression rate of 100 to 120 per minute — use a metronome app if needed.
- ✓Pause compressions for no more than ten seconds during rhythm checks or defibrillation.
- ✓Use the head-tilt chin-lift maneuver to open the airway before each set of rescue breaths.
- ✓Rotate rescuers every two minutes to prevent fatigue-related decline in compression quality.
The Surface Beneath the Victim Matters as Much as Your Hand Placement
CPR performed on a soft surface — a mattress, couch cushion, or padded stretcher without a backboard — can reduce effective compression depth by up to 50%. In hospital settings, always deploy a CPR backboard. In the field, move the victim to a hard floor whenever safely possible. If moving is not an option, tighten technique and rotate rescuers more frequently to compensate for reduced mechanical efficiency.
Understanding what does aed stand for is the first step in knowing how to integrate the device into the overall positioning framework of a cardiac arrest response. AED stands for Automated External Defibrillator — a portable device that analyzes the heart's rhythm and delivers an electric shock if a shockable rhythm such as ventricular fibrillation or pulseless ventricular tachycardia is detected. The AED is positioned beside the victim, ideally at their left side if a second rescuer is managing the airway at the head, so that pad placement does not require moving the victim from their supine position.
AED pad placement is itself a positioning task that must be performed correctly for the device to analyze rhythm and deliver an effective shock. One pad is placed on the victim's upper right chest, just below the collarbone, and the second is placed on the lower left side of the chest, below and to the left of the heart. The pads must have full contact with bare skin — clothing must be cut or torn away. If pads are placed incorrectly or overlap, the electrical vector does not pass optimally through the myocardium and defibrillation may be less effective.
During AED analysis and shock delivery, all rescuers must step away from the victim and ensure no one is touching the patient or any conductive surface connected to the patient. This brief pause is the only justified interruption of CPR aside from rhythm checks, and it should be minimized to under ten seconds. After the shock is delivered, CPR is immediately resumed — beginning with compressions — without waiting to reassess rhythm, as current guidelines favor immediate post-shock compressions over delayed checks.
For infant cpr and small children, standard AED pads may be too large and could overlap if placed on the chest simultaneously. In these cases, pediatric attenuator pads — which reduce the energy delivered — should be used if available. If only adult pads are present and no pediatric option exists, one pad may be placed on the front of the chest and one on the back, creating an anterior-posterior configuration. This alternative pad position is equally effective and is specifically taught in pals certification courses as the backup approach.
Life support training through organizations like the national cpr foundation and the American Heart Association consistently emphasizes that AED use and CPR are complementary — neither replaces the other. CPR maintains blood flow to the brain during the period before the heart can be shocked back into a normal rhythm, while the AED addresses the underlying electrical dysfunction. The positioning of the victim, the rescuer, and the AED device should allow seamless transitions between compressions and defibrillation without unnecessary pauses or physical awkwardness that could delay care.
Position recovery after return of spontaneous circulation — the moment when the heart begins beating effectively again — requires immediate reassessment of the victim. If the patient is breathing adequately and has a pulse but remains unconscious, placing them in the lateral recovery position prevents aspiration and keeps the airway open. If breathing is inadequate or the airway is compromised, rescue breathing must continue. The decision about which post-resuscitation position to use depends on the victim's respiratory rate and level of consciousness, and should be made quickly while awaiting advanced life support arrival.
Community training programs have expanded access to both CPR and AED skills significantly in recent years. Many employers now provide on-site AED units and require staff to complete basic life support training that includes device positioning. Schools, gyms, airports, and shopping centers in most US states are mandated to have AEDs available, and signage typically indicates device locations so that bystanders can retrieve one quickly. When an AED is fetched while a second bystander continues CPR, the overall survival chain functions as intended — compressions maintain perfusion while the defibrillator is prepared for use.

If you are the only rescuer on scene, call 911 first using speakerphone, then begin CPR immediately. Only leave the victim to retrieve a nearby AED if it can be done in under 30 seconds. Prolonged pauses in compressions — even to fetch a defibrillator — can reduce survival odds dramatically. Dispatcher-assisted CPR guidance can help you manage both tasks safely if you are alone.
Common positioning mistakes during CPR are surprisingly consistent across skill levels, from first-time bystanders to experienced healthcare providers under stress. The most frequent error is improper hand placement — specifically, placing hands too high on the sternum near the xiphoid process, or too far to one side over the ribs. Both errors reduce compression effectiveness and increase the risk of internal injuries. Proper hand placement targets the lower half of the sternum, and rescuers should verify position by feel rather than sight alone, especially in low-light emergency environments.
Bent elbows during compressions are another pervasive positioning mistake. When elbows are not locked, the mechanical advantage of body weight is lost and the rescuer relies entirely on arm and shoulder muscles, which fatigue within 60 to 90 seconds. Research using CPR manikins with depth-feedback technology shows that compression depth drops below the two-inch minimum within two minutes when elbows are allowed to flex. Instructors at every level — from community courses to acls algorithm training — emphasize locking elbows as a non-negotiable element of sustained, high-quality compressions.
Chest leaning — maintaining even slight downward pressure on the chest between compressions — is a subtle but significant error. Because leaning prevents full cardiac refilling between compressions, it reduces the volume of blood ejected with each subsequent push. Studies using invasive hemodynamic monitoring during CPR demonstrate that leaning reduces coronary perfusion pressure by 20 to 40 percent compared to CPR with full chest recoil. Many rescuers lean without awareness, particularly as fatigue sets in, which is one reason the two-minute rotation protocol is so strongly emphasized in current guidelines.
Hyperextending the neck during the head-tilt chin-lift can cause problems in both ends of the age spectrum. In infants, aggressive neck extension can kink the trachea and actually obstruct the airway instead of opening it. In elderly patients with cervical arthritis or previous neck surgeries, forceful extension carries a risk of injury.
For infant cpr, the correct head position is neutral to slight extension — the nose should point directly upward or at a very slight angle, not aggressively tilted back. For suspected trauma victims at any age, jaw thrust without head tilt is the safer alternative whenever cervical spine injury is possible.
Knee positioning relative to the victim is overlooked in many training programs but directly affects rescuer fatigue and compression consistency. Kneeling too far from the victim forces the rescuer to reach forward with arms extended beyond vertical, reducing use. Kneeling too close restricts the arc of motion. The optimal position places the rescuer's knees aligned with the victim's chest, with the torso positioned directly above the hands for a clean vertical force vector. This position should feel stable enough that the rescuer could maintain it for a full two-minute cycle without significant position drift.
Wrist position affects both safety and effectiveness. Rescuers who allow their wrists to flex during compressions transmit force through the fingers rather than the heel of the hand, increasing the likelihood of rib fractures and reducing depth consistency. Keeping the wrists neutral and the fingers raised off the chest wall directs all force through the heel of the hand onto the sternum. This technique protects the ribs while maximizing sternal depression — a balance that becomes especially important when performing infant cpr with two fingers, where the force differential between correct and incorrect technique is even more pronounced.
Finally, inadequate surface preparation accounts for a measurable proportion of CPR quality failures in both field and hospital settings. In homes, elderly patients often collapse near or in bed, and rescuers attempt compressions on mattresses without knowing to move the victim or request a backboard.
In hospitals, delays in backboard placement during codes are well documented and associated with reduced compression quality during the critical first minutes of resuscitation. Comprehensive life support training — including courses aligned with the acls algorithm and national cpr foundation standards — teaches rescuers to assess and optimize the environment as the very first step, before any clinical intervention begins.
Practical preparation for real-world CPR emergencies extends well beyond memorizing positioning rules. The most effective rescuers are those who have practiced their technique on high-fidelity manikins with feedback technology — devices that measure compression depth, rate, recoil, and hand position in real time and display the data on a connected screen or tablet. This kind of deliberate practice, available through courses offered by the American Heart Association, national cpr foundation, and Red Cross, builds muscle memory that persists under the stress and adrenaline surge of a genuine emergency.
Mental rehearsal is a powerful complement to physical practice. Athletes and military personnel use visualization to reinforce procedural skills under high-stress conditions, and emergency medicine research supports the same approach for CPR training. Before a shift, before a certification renewal, or simply as part of routine readiness, walking through the full CPR positioning sequence mentally — scene safety, victim supine, kneel beside chest, hands stacked on sternum, lock elbows, begin compressions — activates the same neural pathways as physical practice and helps reinforce the automatic response you want during a real event.
Knowing the local AED landscape in your workplace, school, or community is a practical positioning skill in its own right. If you know exactly where the nearest AED is stored and how to access it quickly, you can make faster decisions during an emergency about whether to leave the victim to retrieve it or send a bystander.
Many communities now have publicly searchable AED registries, and smartphone apps can direct bystanders to the nearest device using GPS. Some dispatch centers automatically alert nearby registered AED owners when a cardiac arrest call comes in, dramatically reducing time to defibrillation in high-density urban areas.
Team dynamics during multi-rescuer CPR require position coordination that is rarely practiced informally. Designating roles before beginning — who compresses, who manages the airway, who operates the AED, who leads — prevents the position collisions and hesitation that commonly occur when multiple bystanders respond simultaneously without coordination. In healthcare settings, this role assignment is a formal part of ACLS and PALS team training. In community settings, the first rescuer to initiate CPR typically assumes the role of team leader and directs arriving bystanders to specific tasks, including AED retrieval and compression rotation.
Children and adolescents who receive CPR training — increasingly common in US schools following legislative mandates in over 40 states — tend to be more confident and effective bystander responders than adults who learned CPR once and never practiced. Pediatric learners are also typically instructed in infant cpr techniques, which are more likely to be needed in family settings than in public spaces. Normalizing CPR education across age groups and reinforcing positioning skills through regular refreshers is widely regarded as the highest-impact public health intervention for reducing out-of-hospital cardiac arrest mortality.
For healthcare professionals, staying current with evolving CPR positioning guidelines is part of ongoing competency. The American Heart Association updates its guidelines on a rolling basis, with major comprehensive revisions every five years and interim focused updates as new evidence emerges.
Changes in recent years have refined recommendations on compression depth upper limits, discouraged excessive ventilation rates, endorsed real-time feedback devices as standard training tools, and updated the evidence base for mechanical CPR devices — automated chest compression machines that maintain consistent positioning and depth without rescuer fatigue. Healthcare providers who complete regular recertification through recognized programs are best positioned to apply the most current evidence.
Whether you are a healthcare professional deepening your life support skills, a newly certified layperson, or someone preparing for a CPR certification exam, building your knowledge from this foundation of positioning principles will serve you well. Combine this reading with hands-on practice, take advantage of the free practice questions available throughout this site, and commit the core positioning steps to memory. Cardiac arrest can happen to anyone, anywhere, at any time — and the rescuer with correct technique, starting from the very first compression, is the most powerful variable in the survival equation.
CPR Questions and Answers
How Long Does CPR Certification Last? 2026 Renewal Guide
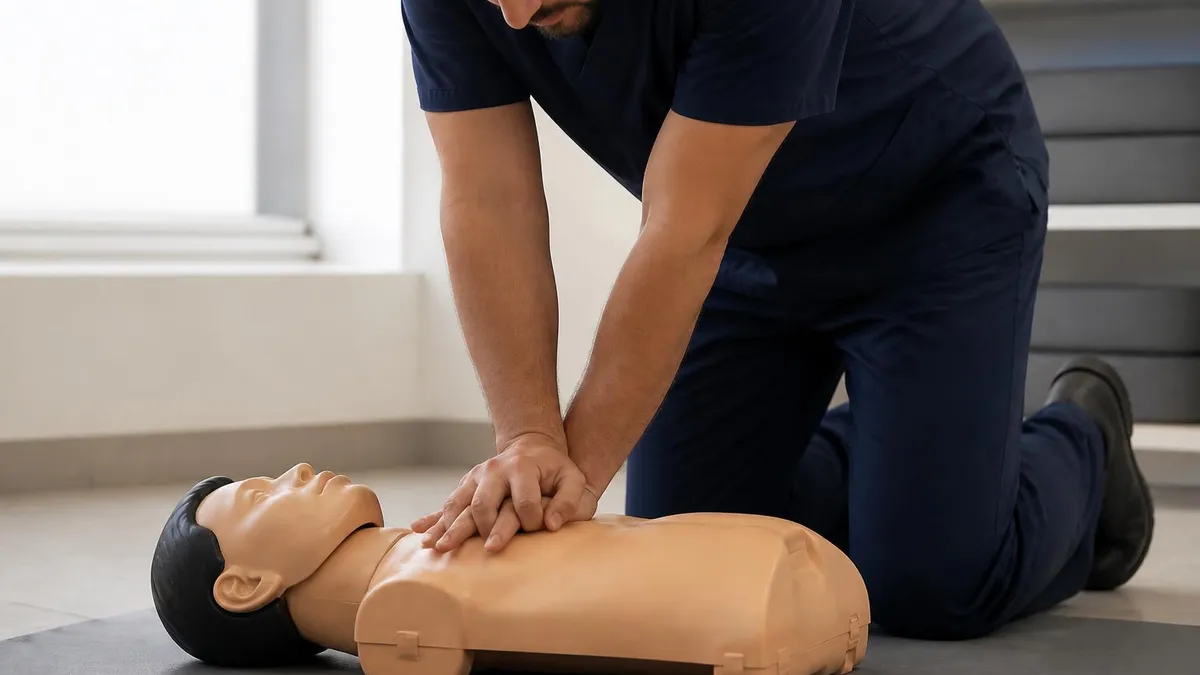
Extracorporeal CPR (ECPR): Complete Guide to Mechanical Circulatory Support During Cardiac Arrest in 2026
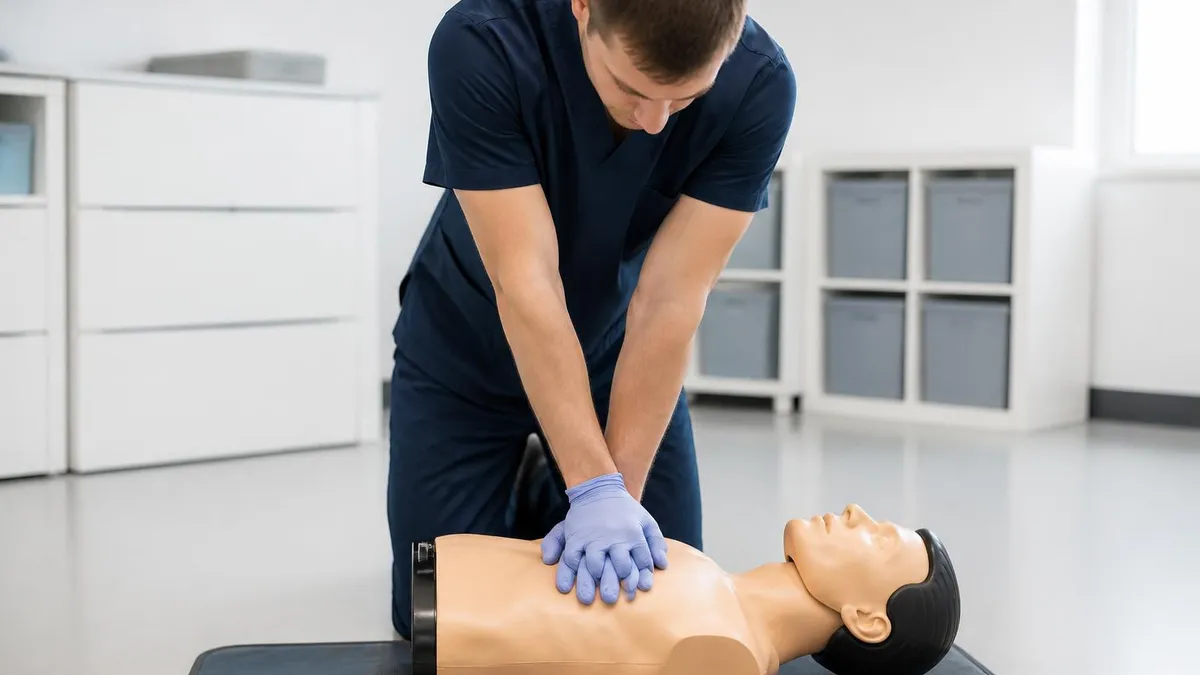
Free Online CPR Certification: Complete Guide to Legitimate Courses, Costs, and Workplace Acceptance in 2026
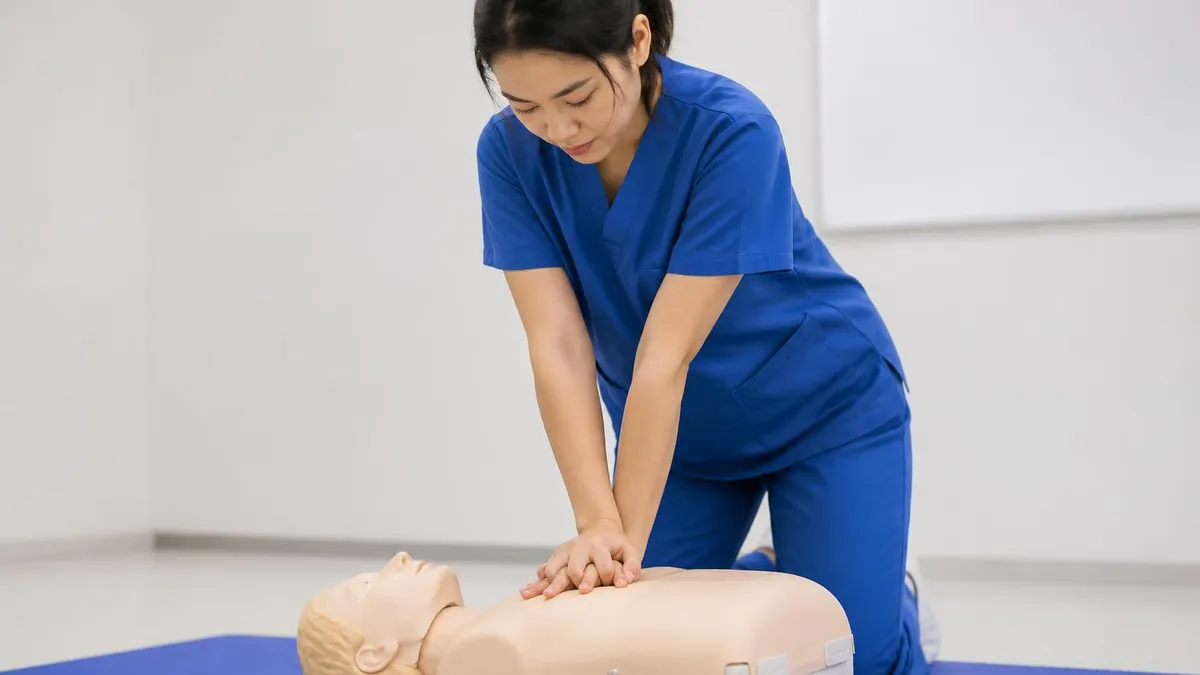
CPR Instructor Certification 2026: Complete Path to Teaching CPR
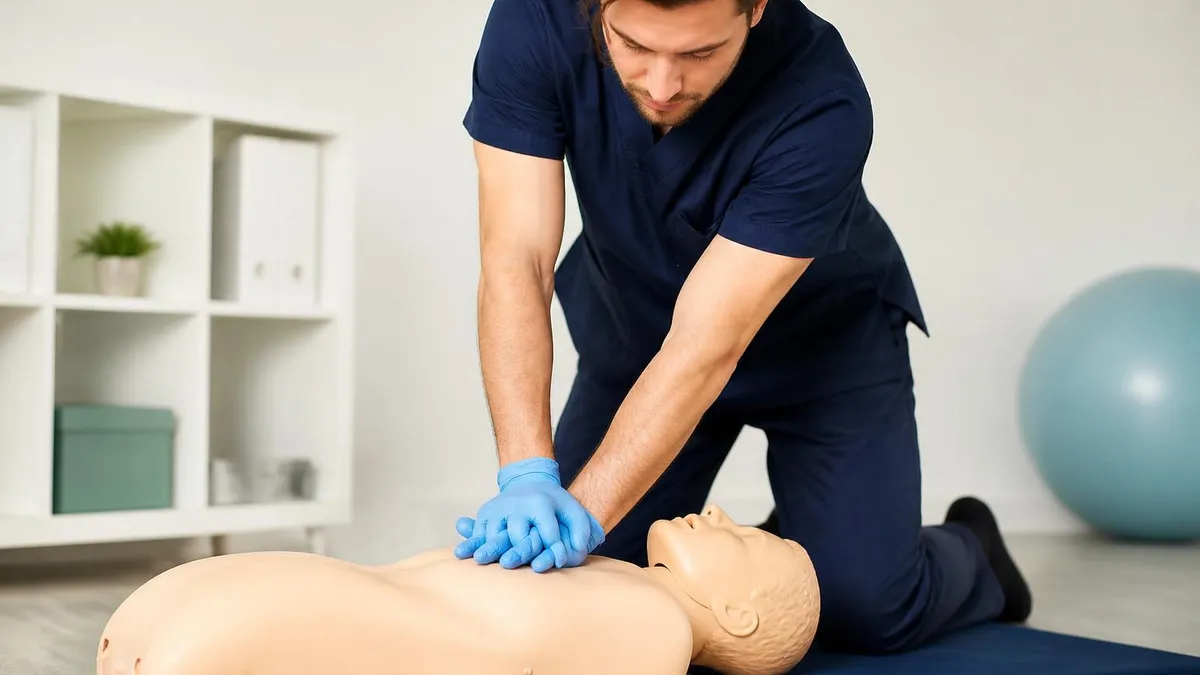
CPR Course: How to Choose the Right Training Program
About the Author

Registered Nurse & Healthcare Educator
Johns Hopkins University School of NursingDr. Sarah Mitchell is a board-certified registered nurse with over 15 years of clinical and academic experience. She completed her PhD in Nursing Science at Johns Hopkins University and has taught NCLEX preparation and clinical skills courses for nursing students across the United States. Her research focuses on evidence-based exam preparation strategies for healthcare certification candidates.
Join the Discussion
Connect with other students preparing for this exam. Share tips, ask questions, and get advice from people who have been there.
View discussion (5 replies)