MUA Makeup Brushes: The Complete Professional Guide to Every Brush You Need
Master mua makeup brushes with our pro guide. Learn every brush type, technique & kit essential for a makeup artist career. ✅ Updated 2026 June
Every professional makeup artist and aspiring MUA knows that the quality and variety of your brush collection can make or break your work. MUA makeup brushes are the most fundamental tools in any artist's kit — they determine how product is applied, how smoothly pigment blends, and ultimately how polished a finished look appears. Whether you are working on editorial shoots, bridal clients, or film sets, understanding each brush's purpose and how to use it with precision is what separates a competent technician from a truly skilled artist. This guide covers everything you need to know.
The world of makeup brushes can feel overwhelming when you first begin building your professional kit. Dozens of shapes, sizes, and bristle types line the shelves of beauty supply stores, and marketing language often makes it difficult to tell which tools are genuinely essential versus which are novelty items. For a working makeup artist, every brush in your bag should earn its place by serving a clear, specific function. Investing in the right brushes from the start means faster application, cleaner results, and a more confident workflow on set or at a salon chair.
Brush bristles fall into two broad categories: natural hair and synthetic fibers. Natural hair brushes — made from materials like squirrel, sable, goat, or kolinsky — were long considered the gold standard for powder products because they pick up and release pigment in a soft, diffused way. Synthetic brushes, made from nylon or taklon fibers, were historically reserved for liquid and cream products because they do not absorb product the way natural bristles do. Today, advanced synthetic technologies have produced bristles that perform exceptionally across all product types, making high-quality vegan brush sets a fully viable option for modern MUAs.
Understanding brush anatomy helps you make smarter purchasing decisions. The ferrule is the metal band that connects the bristles to the handle — a tightly crimped ferrule prevents shedding and extends brush life significantly. The handle length matters more than most beginners realize: longer handles offer better leverage and control when working at arm's length, while shorter handles suit precise work and travel kits.
The bristle density, shape, and degree of taper all affect how a brush deposits, blends, or diffuses product on the skin's surface, which is why you cannot simply swap one brush for another and expect the same result.
For those studying toward MUA certification, brush knowledge is frequently tested on exams. You may encounter questions about which brush is correct for contouring a specific face shape, how to sanitize tools between clients, or the difference between a fan brush and a highlighting brush.
Understanding not just what each brush looks like but why it is shaped that way — the biomechanics behind every tool — gives you the deeper comprehension that exam questions and real-world client work both demand. Resources like makeup artist makeup artists who have built iconic careers can offer inspiration on how elite professionals approach their toolkit.
This guide is organized to walk you through every major brush category: face brushes for foundation and concealer, eye brushes for shadow and liner, brow and lip tools, specialty brushes for contouring and highlighting, and finally the hygiene and maintenance practices that keep your kit in professional condition. By the end, you will have a clear picture of which brushes to prioritize when you are starting out, which ones to add as your budget grows, and how to use each one with intention and technique rather than guesswork.
Whether you are a student preparing for your certification exam, a freelancer building your first professional kit, or an experienced artist looking to audit and upgrade your tools, this comprehensive reference will serve you at every stage of your career. The right brushes, used with the right techniques, allow you to work faster, achieve cleaner results, and give every client the confidence that comes from sitting in the chair of a truly skilled makeup artist.
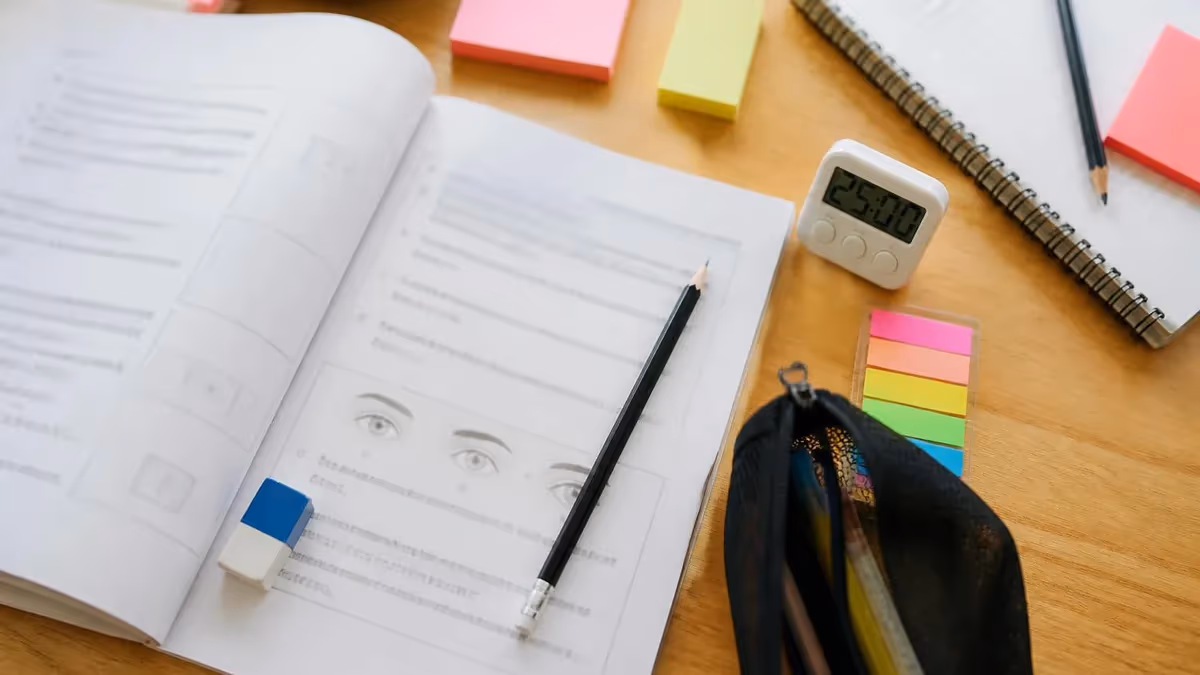
MUA Makeup Brushes by the Numbers
Essential Face Brush Categories Every MUA Must Own
Flat, dome, and stippling foundation brushes each deliver different finishes — from full-coverage buffing to a sheer, skin-like airbrushed result. A flat kabuki and a dense dome brush cover the core needs for most MUA clients across skin types.
Angled contour brushes carve shadow into the hollows of the face for definition, while a smaller tapered brush delivers precise product placement under the cheekbone. Choosing the right shape for each face type is a tested skill in MUA certification exams.
A dome-shaped blush brush deposits color across the apple and cheek, while a tapered fan or dome highlight brush places light on high points. Distinguishing these from each other by shape and density is fundamental to achieving dimension.
A large fluffy powder brush sets the face with loose powder evenly, preventing creasing. A smaller pressing brush packs product for baking and targeted setting under the eyes — a critical step for longevity in bridal and film makeup application.
A flat, slightly tapered concealer brush allows precise placement over blemishes, dark circles, and redness. Some MUAs prefer a pointed synthetic brush for spot correction and a wider flat brush for undereye coverage, giving maximum versatility in one kit.
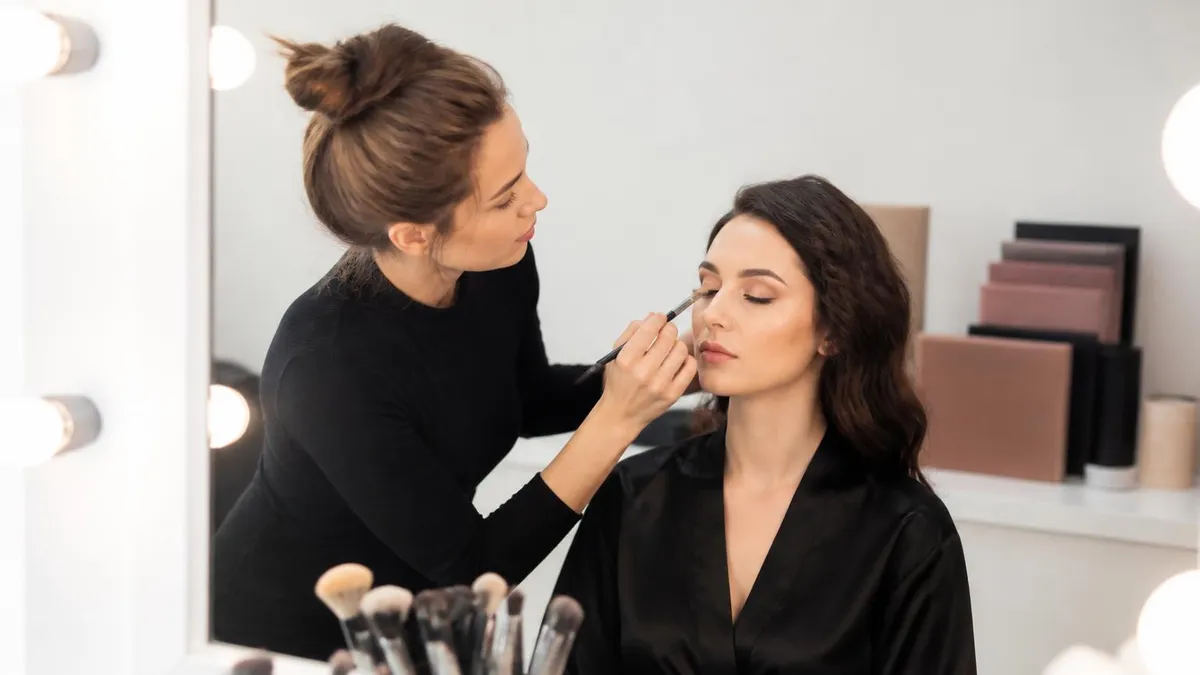
Eye brushes represent the largest and most varied subcategory in any professional MUA kit, and for good reason — the eye area demands the most precision, layering, and blending of any zone on the face. The variety of shapes available can feel daunting, but once you understand what each form is engineered to do, building a logical, efficient eye brush collection becomes straightforward. At minimum, every working makeup artist needs a flat shader brush, a blending brush, a pencil brush, a liner brush, and a brow brush to handle the full spectrum of eye looks from natural to dramatic.
The flat shader brush, also called a packing brush, is used to press shadow directly onto the lid with intensity. Because it is dense and flat, it deposits maximum pigment with minimal fallout — ideal for building a base color or placing a bold, saturated shade on the lid. This brush is your workhorse for initial color placement and should be cleaned or switched between colors when moving from a light base shade to a darker crease or cut-crease shade. Investing in two or three flat shaders lets you work through a full eye look without interruption.
The blending brush is arguably the most important eye brush in any kit. Its fluffy, dome-shaped head diffuses harsh edges and melds multiple shadow colors together seamlessly. A good blending brush should feel soft against the skin and have enough density to move product without simply wiping it away. Many professional MUAs own several in slightly different sizes — a larger one for windshield-wiper blending across the crease and a smaller tapered version for tighter blending in the outer corner or along the lower lash line.
Pencil brushes are narrow, tapered tools designed for precision work: packing shimmer onto the inner corner, smudging liner along the lash line, or placing pigment precisely in the outer V of a smoky eye. Their small footprint makes them ideal for detailed work where a larger brush would deposit color too broadly. A fine angled liner brush gives you control when working with gel or cake liner products, allowing you to create everything from a thin, precise wing to a thick graphic line depending on the pressure and angle of application.
Brow brushes come in two primary forms: a stiff angled brush that applies brow powder, pomade, or gel with accuracy along the brow arch, and a spoolie brush used to blend product and groom hairs into place. Most MUAs keep a dual-ended brow tool — angled brush on one end, spoolie on the other — for efficiency. Proper brow shaping is a skill tested in MUA certification programs because well-groomed brows frame the entire face and dramatically affect the balance of any finished makeup look.
Specialty eye brushes worth adding as your kit expands include a small flat concealer brush for cleaning up shadow fallout and sharpening liner edges, a smudge brush for diffusing liner into a soft smoky effect, and a fine highlighting brush for placing luminous product on the brow bone and inner corner.
Each of these tools gives you greater control over the finished result and allows you to tackle more complex editorial or special occasion looks. Professionals who specialize in drag artist makeup often maintain an even more extensive eye brush collection to accommodate the intense pigmentation and layering those looks demand.
When shopping for eye brushes, pay attention to bristle density and firmness. A brush that is too soft will not pick up enough pigment, while one that is too stiff may feel scratchy on the delicate eyelid skin and make blending difficult. Test brushes against the back of your hand before purchasing when possible, and note how the bristles spring back after pressure — good quality brushes return to their original shape quickly, a sign of well-made construction that will hold up through hundreds of uses and regular cleaning cycles.
Makeup Artist Brush Materials: Natural vs. Synthetic vs. Mixed
Natural hair brushes have been the traditional choice for makeup artists and professional MUAs for generations. Made from animal fibers such as goat, squirrel, sable, or pony hair, these brushes are prized for their ability to pick up finely milled powder pigments and release them onto the skin with exceptional softness and diffusion. The microscopic scales on natural hair fibers grip powder particles in a way that creates seamless, buildable coverage without harsh lines, making them especially valued for blush, bronzer, and eye shadow blending at the professional level.
The main drawbacks of natural hair brushes include their higher price point, the fact that they are not vegan-friendly, and their tendency to absorb too much product when used with liquid or cream formulas — making them less versatile than synthetics in a modern kit. They also require more careful cleaning and conditioning to prevent the natural fibers from drying out and becoming brittle over time. Despite these limitations, many experienced MUAs maintain a selection of natural hair brushes specifically for powder application, citing an unmatched softness and blending quality that is difficult to replicate even with today's best synthetic alternatives.

Investing in Quality MUA Makeup Brushes: Pros and Cons
- +High-quality brushes deliver superior blending and more professional, polished results that impress clients and build your reputation
- +Well-made brushes with tight ferrules shed far fewer bristles, reducing product contamination and the frustration of hairs on a finished face
- +Durable professional brushes last five to ten years with proper care, making the upfront investment cost-effective over time
- +Premium bristle quality — whether natural or synthetic — gives you finer control over product placement and blending on the skin
- +A well-curated brush kit streamlines your workflow, letting you work faster and more confidently during timed bridal or editorial jobs
- +Owning the correct brush for each task reduces product waste, as properly engineered bristles transfer product more efficiently to the skin
- −Professional-grade brush sets carry a significant upfront cost that can be a barrier for students and early-career MUAs on tight budgets
- −High-quality brushes require consistent cleaning, conditioning, and careful storage to maintain their performance and longevity
- −Natural hair brushes are not vegan or cruelty-free, which may conflict with the values of some MUAs and their client bases
- −A full professional kit with 20–30 specialty brushes adds considerable weight and volume to your kit bag, affecting portability
- −The market is flooded with mid-range brushes that look professional but perform poorly, making it difficult to assess quality without testing
- −Brushes can become damaged by improper drying — storing them bristle-down while wet loosens the ferrule and causes irreversible shedding
Professional MUA Makeup Brush Kit Checklist
- ✓Invest in at least one high-quality flat foundation brush and one stippling or dome brush to cover varied skin types and coverage levels
- ✓Include a large fluffy powder brush and a smaller pressing brush for both setting and baking techniques
- ✓Add a tapered contour brush and a fluffy blush brush — these should be clearly labeled or color-coded to prevent cross-contamination
- ✓Own at least two fan or highlight brushes in different sizes for versatile highlighting across different client face shapes
- ✓Stock a minimum of three eye shadow brushes: one flat shader, one large fluffy blending brush, and one smaller tapered blending brush
- ✓Include a pencil brush, a fine liner brush, and a smudge brush to cover all eyeliner and detail work efficiently
- ✓Keep a dual-ended brow brush with angled tip and spoolie for grooming and defining brows on every client
- ✓Maintain separate lip brushes — at least one flat and one pointed — for precise lipstick and gloss application
- ✓Store a concealer brush and a small flat brush specifically for under-eye work and blemish spot concealing
- ✓Pack both a brush cleanser spray for between-client quick cleans and a full liquid cleanser for weekly deep cleaning of all tools
Never Use the Same Brush on Two Clients Without Sanitizing
Professional hygiene standards require that every brush used on a client's skin is either sanitized with a 70% isopropyl alcohol spray or replaced with a freshly cleaned brush before use on the next client. Skipping this step is not only unsanitary — it can expose you to professional liability and violate the licensing requirements of many state cosmetology boards. Build sanitation habits into your workflow from day one.
Understanding how to use each brush correctly is just as important as owning the right tools. Technique is the bridge between a good brush and a great result, and professional makeup artists develop their application skills through deliberate practice across hundreds of client faces. The angle at which you hold a brush, the amount of pressure you apply, and whether you use circular, sweeping, or patting motions all determine the quality of the finish you achieve — and these nuances are what MUA certification programs test when they assess a candidate's practical application skills.
For foundation application with a flat or dome brush, the most effective technique is a combination of pressing and buffing. Begin by pressing the product into the skin with gentle downward strokes — this helps push foundation into pores and texture for a smoother, more even canvas. Then follow with small, circular buffing motions to blend any edges and work the product seamlessly into the hairline, jaw, and neck. Avoid dragging the skin, especially on mature clients, as this can disturb the natural architecture of the face and leave streaking or lines in the finished application.
Contouring requires a different technique depending on whether you are using powder or cream product. For powder contour, use a light hand and build gradually — hold your angled contour brush almost parallel to the face and sweep product into the hollow of the cheekbone with short, upward strokes. Cream contour requires even more restraint: stipple the product on lightly first, then blend with a damp sponge or a dense synthetic brush using dabbing motions. Blending cream products too aggressively with a dry brush can move the product entirely, leaving no definition behind.
Eye shadow application technique varies dramatically based on the look you are building. For a soft, wearable daytime eye, pack a light shimmer or matte shade across the lid with a flat shader brush using pressing motions, then blend the crease with a clean, fluffy brush using windshield-wiper motions back and forth across the socket line.
For a deeper, more dramatic look such as a smoky eye or a cut crease, precision is key — use a smaller, stiffer brush to place darker shades exactly where you want them before diffusing edges with a blending brush. The order of operations matters: always blend before you add more product to avoid muddying colors.
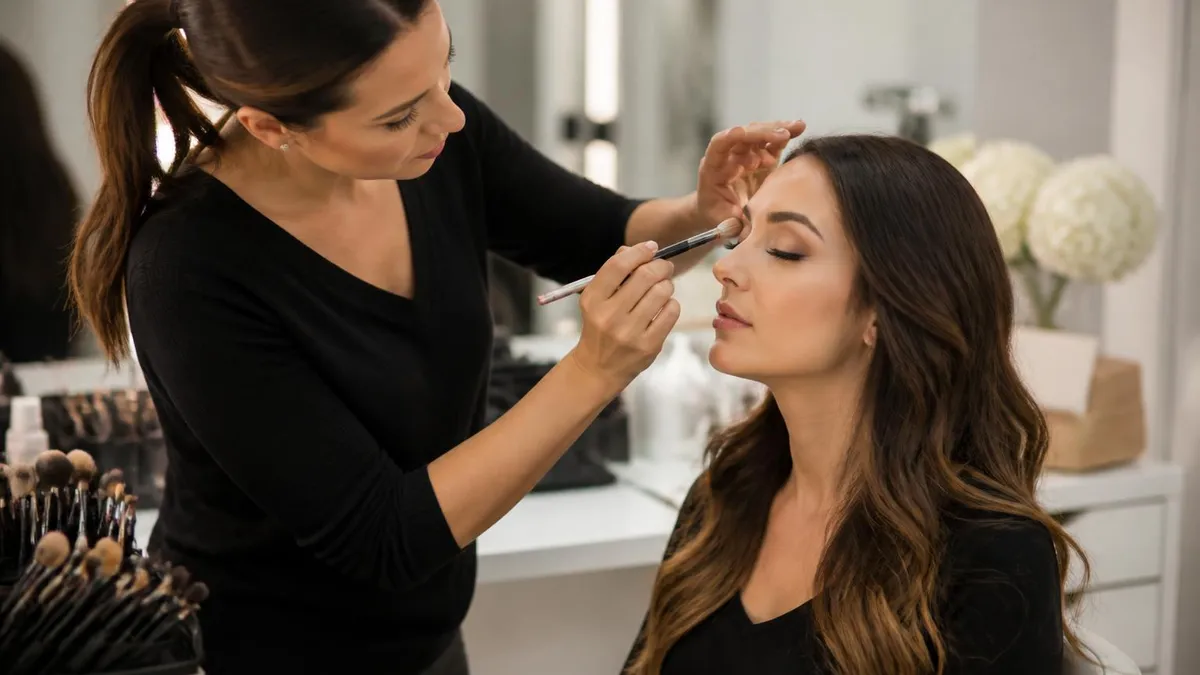
Highlighter application technique is where brush shape and size have the most visible impact on the final result. A small, tapered brush deposits an intense, focused stripe of highlight on the high point of the cheekbone for a bold, editorial glow — a finish often seen on dramatic red carpet and bridal looks.
A large, fluffy dome brush diffuses the same highlighter into a broader, more natural luminosity that reads beautifully in daylight and photography. Understanding which finish your client wants — and which brush creates it — is a fundamental professional skill that separates well-trained makeup artists from those who default to a single technique for every look and client.
Lip brush technique is an area many students overlook, but it makes an enormous difference in the precision and longevity of a lip application. Using a flat, slightly tapered lip brush, outline the lip perimeter first by pressing the edge of the brush against the natural lip line and drawing short, controlled strokes.
This creates a clean border that prevents lipstick from bleeding or feathering into the fine lines around the mouth. Fill in the center of the lip with the flat face of the brush using back-and-forth strokes, then press a clean tissue between the lips and apply a second coat for long-lasting, transfer-resistant color that holds through meals and extended wear.
Professionals who handle a wide variety of event types — from fashion-forward editorial to traditional makeup artists near me bridal work — must be fluent in multiple brush techniques because different settings demand different finishes. Editorial makeup often favors graphic precision and bold color placement where a heavy hand and a firm brush deliver impact.
Bridal makeup demands flawless blending, seamless transitions, and longevity above all else, requiring a lighter touch and softer brushes that build coverage gradually without looking overdone in photographs. Building fluency across these different technique modes is what makes a makeup artist truly versatile and consistently bookable.

Many MUA certification exams include multiple questions about brush sanitation, cross-contamination prevention, and state board hygiene regulations. Know the difference between disinfecting (killing pathogens with alcohol) and sterilizing (complete elimination of all microorganisms), and understand which standard applies to makeup tools in a professional salon or freelance setting. Failure to demonstrate proper hygiene knowledge is a common reason candidates lose points on practical and written exam sections.
Proper brush cleaning and maintenance is one of the most undervalued skills in professional makeup artistry, yet it directly affects the quality of your work, the longevity of your investment, and your compliance with professional hygiene standards. A dirty brush — one caked with old product — cannot blend cleanly, will deposit muddied color onto the skin, and may harbor bacteria that cause breakouts or infections for your clients. Establishing a consistent cleaning routine is not optional for any working MUA; it is a non-negotiable professional standard.
There are two distinct types of brush cleaning that every professional should practice: quick sanitation between clients and deep cleaning after each workday or work session. Between-client sanitation is accomplished with a spray or liquid instant brush cleanser, typically containing isopropyl alcohol as its active ingredient. Spritz the bristles lightly, then wipe them across a clean paper towel or a textured silicone brush cleaning pad, repeating until the towel shows no transfer of pigment. This process takes less than thirty seconds per brush and is sufficient for maintaining hygiene when moving between clients throughout a workday.
Deep cleaning requires washing brushes with a dedicated brush soap or gentle shampoo, working the product through the bristles under lukewarm water until the water runs completely clear. Never use hot water, as heat can loosen the adhesive inside the ferrule and cause bristles to shed prematurely.
Work the cleanser into the bristles by swirling them against your palm or a silicone scrubbing mat, taking care to avoid getting water above the ferrule where it can seep into the handle and cause the glue to degrade. Rinse thoroughly, reshape the bristle head gently with your fingers, and lay the brush flat or hang it bristle-down to dry.
Drying position is critically important and a detail many beginners get wrong. Never stand brushes upright in a cup while wet — gravity pulls water down into the ferrule, weakening the glue bond and causing bristles to loosen over time.
Instead, lay brushes flat on a clean towel, or use a brush drying rack that holds them at a slight downward angle so moisture drains away from the ferrule toward the bristle tips. Allow brushes to dry fully — typically eight to twelve hours for dense brushes — before using them again, as damp bristles will not blend or deposit product properly.
Brush storage between uses is another area where professional habits make a difference. Loose brushes rolling around in a bag develop bent bristles and damaged ferrules quickly. A quality brush roll, individual brush guards (thin mesh sleeves that maintain the bristle shape during storage and transport), or a hard-sided brush case all protect your investment and ensure your tools arrive at every job in perfect working condition.
Many MUAs also keep a small, separate pouch of travel-sized duplicates of their most-used brushes specifically for kit emergencies — a backup flat shader or blending brush can save an entire job if a primary brush is damaged or forgotten.
Knowing when to replace a brush is a skill that comes with experience. Signs that a brush has reached the end of its useful life include persistent shedding despite gentle cleaning, bristles that no longer return to their original shape after washing, a ferrule that spins or separates from the handle, and bristles that have become splayed or deformed in a way that prevents proper application. High-quality brushes maintained with diligent care can serve a working MUA for five to ten years, but budget-tier brushes purchased during training may need replacement within one to two years of regular professional use.
For those preparing for MUA exams or building their first professional kit, studying the brush hygiene and sanitation section of your course materials with as much focus as you bring to color theory and application technique is strongly advised. Exam boards take professional standards seriously, and hygiene knowledge reflects your preparedness to work on real clients in a professional setting. Well-known professionals like lori anne allison makeup artist have built careers on both exceptional artistry and impeccable professional standards — mastery of the tools of the trade, including how to maintain them, is where every great career begins.
Building your MUA brush kit strategically over time is far wiser than trying to purchase everything at once. Most professional makeup artists recommend starting with a core set of fifteen to twenty versatile brushes that cover the essential face and eye functions, then expanding into specialty tools as your client base and the complexity of your work grow.
A starter kit built around a quality foundation brush, powder brush, contour brush, blush brush, two or three eye shadow brushes, a blending brush, liner brush, and brow tool will carry you through ninety percent of client requests in the early stages of your career.
When evaluating brush brands, it helps to understand the market tiers. Entry-level brands like EcoTools and Real Techniques offer solid synthetic brushes at accessible price points — a great starting place for students who need to build a full kit without breaking the budget.
Mid-tier brands such as Sigma Beauty, Zoeva, and BH Cosmetics provide noticeably improved bristle quality, construction, and longevity at a moderate price increase. At the professional tier, brands like Hakuhodo, Wayne Goss, and Charlotte Tilbury craft brushes used by working MUAs on film sets and editorial shoots, offering the finest bristle quality and construction available in the consumer market.
Many experienced makeup artists develop strong brand loyalty through trial and error over years of professional work, eventually settling on a combination of brands that each excel in specific categories. You might find that one brand makes the most luxurious blending brush you have ever used, while another brand's contour brush outperforms everything else at that price. Approaching brush shopping with an experimental mindset — testing individual brushes before committing to full sets — leads to a more curated, high-performing kit than buying a complete set from a single brand simply because it is marketed as professional-grade.
Social media and the professional MUA community are rich resources for brush recommendations and reviews. Platforms like Instagram and YouTube host thousands of videos by working makeup artists demonstrating their brush collections, reviewing specific tools, and comparing brands head to head.
Following working professionals whose aesthetic and career path aligns with your own goals gives you practical, real-world guidance that cuts through marketing language and helps you make smarter purchasing decisions. Industry forums, beauty school communities, and MUA Facebook groups are also excellent places to ask questions and get honest feedback from artists who use these tools every day on paying clients.
When you attend MUA school or a professional training program, pay close attention to the brushes your instructors use and ask them directly about their recommendations. Instructors who are currently active working artists have current, practical knowledge about which brushes hold up in the field, which brands have improved or declined in quality over time, and what is worth the investment versus what is clever marketing aimed at hobbyist consumers. This kind of mentorship guidance is invaluable for accelerating your professional development beyond what any textbook or online resource can provide on its own.
Budget planning for your brush kit should be integrated into your overall startup cost planning as you launch your MUA career. A realistic initial investment for a solid, professional-grade starter set of fifteen to twenty brushes from mid-tier brands typically runs between two hundred and four hundred dollars. Over the first two to three years of building your career, most MUAs reinvest a portion of their earnings into upgrading their most frequently used tools — replacing the brushes that see the heaviest daily use with higher-quality versions that deliver better performance and last longer under professional workload conditions.
The satisfaction of working with tools that feel perfectly suited to your hands and your style of application is one of the quieter pleasures of a mature makeup artist career. Brushes become extensions of your creative intent — when you reach for the right tool without thinking, when every blend falls exactly where you wanted it, and when clients notice the precision and polish of your work, you are experiencing the payoff of the time and investment you put into understanding and curating your brush kit.
That mastery begins with knowledge, and knowledge begins with resources like this guide, your certification training, and the ongoing practice of working with your tools every single day.
MUA Questions and Answers
Celebrity Makeup Artist: How to Become One (2026 Career Guide)

Makeup Artist Names: Famous MUAs, Career Inspirations & How to Build Your Brand

Makeup Artist Portfolio: How to Build, Present, and Land Clients in 2026

Makeup Artist Courses: Complete Training Guide for Aspiring MUAs in 2026
Makeup Artist Tools: The Complete Pro Kit Guide for 2026
About the Author
Licensed Cosmetologist & Beauty Licensing Exam Specialist
Paul Mitchell SchoolsMichelle Santos is a licensed cosmetologist with a Bachelor of Science in Esthetics and Salon Management from Paul Mitchell School. She has 16 years of salon industry experience and 8 years preparing students for state cosmetology board exams in theory, practical skills, and sanitation. She specializes in licensure preparation for cosmetologists, estheticians, and nail technicians.
Join the Discussion
Connect with other students preparing for this exam. Share tips, ask questions, and get advice from people who have been there.
View discussion (4 replies)