Lancet Phlebotomy Equipment: Complete Guide to Tools, Tubes & Supplies for Blood Collection
🧠 Master lancet phlebotomy equipment: tubes, needles, tourniquets, holders. Complete tools guide for phlebotomy technician certification and practice.
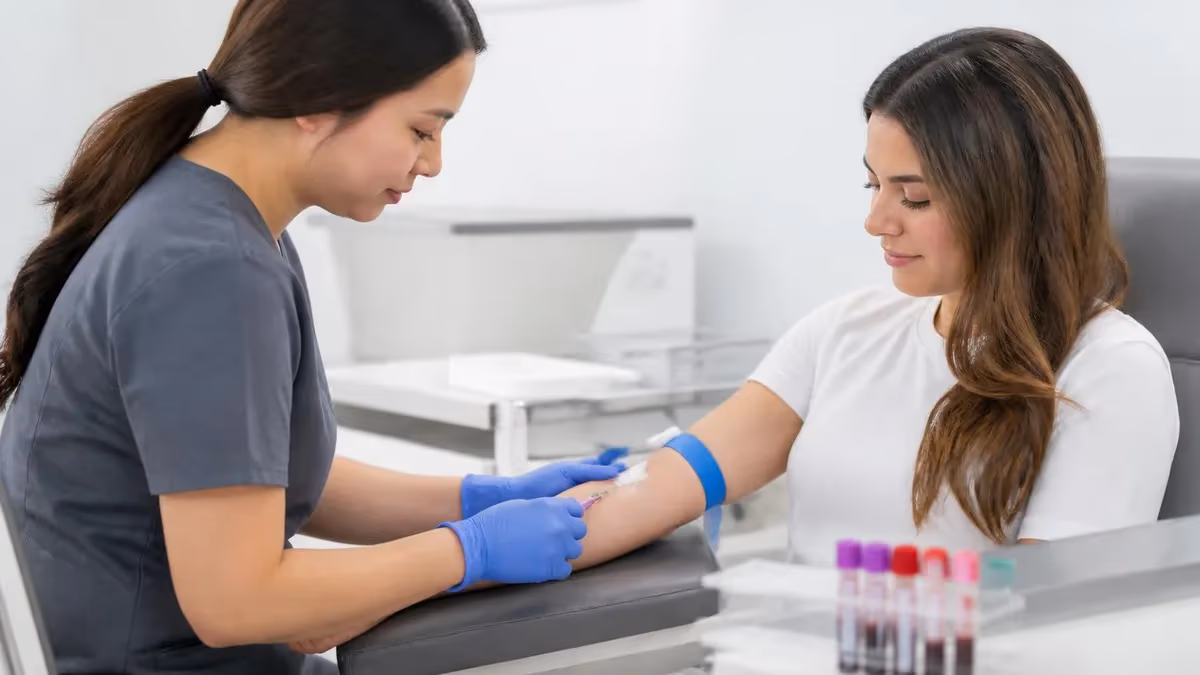
Understanding lancet phlebotomy equipment is one of the first practical skills any aspiring phlebotomy technician must master before drawing a single drop of blood. From color-coded evacuated tubes to safety-engineered lancets, butterfly needles, and tourniquets, each piece of equipment serves a specific clinical purpose that directly impacts specimen quality and patient safety. Students searching for phlebotomy classes near me quickly discover that classroom theory means little without hands-on familiarity with the tools you'll handle dozens of times each shift in a real laboratory setting.
This guide walks you through every category of phlebotomy equipment used in modern American clinical labs, hospitals, and outpatient draw stations. Whether you're studying for certification, comparing phlebotomy training specialists in your area, or refreshing your skills before recertification, you'll learn how each instrument works, when to use it, and the critical safety rules that govern its handling. Equipment knowledge appears on every major certification exam, often accounting for 15-20% of test questions.
Lancets are the smallest yet most frequently misunderstood tools in the phlebotomist's tray. A lancet is a sterile, single-use device designed to puncture capillaries for small-volume blood collection, typically from a fingertip or infant heel. Modern lancets are spring-loaded and depth-adjustable, with retractable blades that prevent accidental sticks. Selecting the correct lancet depth—usually 1.0 mm for newborns, 1.5-2.0 mm for adults—is essential to obtain adequate flow without striking bone or causing excessive tissue damage.
Beyond lancets, the standard equipment inventory includes evacuated collection tubes (Vacutainers), multi-sample needles in various gauges, winged infusion sets, holders, transfer devices, alcohol prep pads, gauze, adhesive bandages, and biohazard sharps containers. Each tube contains a specific additive—EDTA, sodium citrate, heparin, or clot activator—that preserves the specimen for particular laboratory tests. Drawing tubes in the wrong sequence can cause cross-contamination of additives, leading to inaccurate results and patient harm.
The order of draw phlebotomy sequence is one of the most heavily tested topics on every national certification exam, including the NHA CPT, ASCP PBT, and AMT RPT. It dictates the order in which color-coded tubes must be filled to prevent additive carryover. Memorizing this sequence and understanding why each tube falls where it does in the order is non-negotiable for any working phlebotomist.
Equipment competency is also a regulatory requirement. CLIA, OSHA, and CDC guidelines all specify how phlebotomy supplies must be stored, used, and disposed of. Safety-engineered devices have been mandated by federal law since the Needlestick Safety and Prevention Act of 2000, which drastically reduced occupational exposures to bloodborne pathogens like HIV, HBV, and HCV among healthcare workers.
By the end of this guide, you'll be able to identify every tool on a standard phlebotomy tray, explain its proper clinical use, troubleshoot common equipment failures, and answer the equipment-focused questions that appear on certification exams. Let's start with the numbers that define modern phlebotomy practice in the United States.
Phlebotomy Equipment by the Numbers
Core Categories of Phlebotomy Equipment
Sterile, single-use spring-loaded puncture devices for fingerstick and heelstick collection. Depth ranges from 0.85mm for premature infants to 2.2mm for adults. Used for glucose, hematocrit, and newborn screens.
Pre-vacuumed tubes with color-coded stoppers indicating additives. The Vacutainer system, invented by BD in 1947, remains the standard for venous blood collection in U.S. clinical labs today.
Multi-sample needles (21G-23G) for adult draws and butterfly sets (23G-25G) for fragile, pediatric, or hand veins. All must be safety-engineered with retractable or sheathing mechanisms per OSHA.
Latex-free elastic bands or Velcro cuffs apply 40-60 mmHg pressure to engorge veins. 70% isopropyl alcohol pads sanitize sites; chlorhexidine or povidone-iodine is used for blood cultures.
Puncture-resistant sharps containers, biohazard bags, and PPE including gloves, eye protection, and lab coats are required by OSHA Bloodborne Pathogens Standard for all phlebotomy procedures.
Evacuated blood collection tubes form the backbone of modern phlebotomy practice, and learning their color codes is one of the earliest milestones in any phlebotomy technician training program. Each tube color signals a specific additive that preserves the specimen for a particular laboratory test category. Mixing these up isn't a minor error—it can render results clinically useless and force a redraw, which delays diagnosis and erodes patient trust. Memorizing colors, additives, inversions, and uses is foundational.
Light blue tubes contain sodium citrate, a calcium binder used for coagulation studies including PT, PTT, INR, and D-dimer. They must be filled to exactly 90% of the indicated volume because the 9:1 blood-to-anticoagulant ratio is mathematically critical. Underfilled light blue tubes are the single most common cause of rejected coagulation specimens nationwide, accounting for roughly 35% of recollects in some reference labs.
Red tubes are either plain glass (no additive) or plastic with clot activator. They produce serum after clotting and centrifugation and are used for chemistry panels, drug levels, serology, and blood bank testing. Gold or tiger-top serum separator tubes (SSTs) contain both a clot activator and a thixotropic gel that creates a physical barrier between cells and serum during centrifugation, making them ideal for most routine chemistry workflows.
Green tubes contain heparin—either lithium or sodium—which inhibits thrombin and prevents clotting. They're used for STAT chemistries because plasma is available immediately after centrifugation without waiting for clot formation. Light green plasma separator tubes (PSTs) work like SSTs but yield plasma instead of serum. Lavender or purple tubes contain EDTA, the anticoagulant of choice for hematology tests including CBC, ESR, and HbA1c.
Gray tubes contain sodium fluoride and potassium oxalate, a combination that preserves glucose by inhibiting glycolysis. They're standard for glucose tolerance tests, lactate, and ethanol levels. Royal blue tubes are trace-element clean for heavy metal testing, while yellow tubes contain either SPS for blood cultures or ACD for HLA typing and paternity testing. Pink tubes use EDTA but are specifically labeled for blood bank crossmatches.
Searching for a phlebotomy program near me gives you access to hands-on tube identification drills that simulate the pressure of a real draw station. Most accredited programs require students to correctly identify all standard tube colors within 30 seconds during practical exams, because that's the realistic pace in a busy hospital morning round.
Tube inversions matter as much as tube selection. Anticoagulant tubes require gentle inversion immediately after filling—typically 3 to 10 times depending on the additive—to mix blood thoroughly with the additive and prevent micro-clots. Vigorous shaking causes hemolysis, while inadequate inversion causes clotting, and both result in specimen rejection. Modern training programs drill inversion technique alongside venipuncture itself.
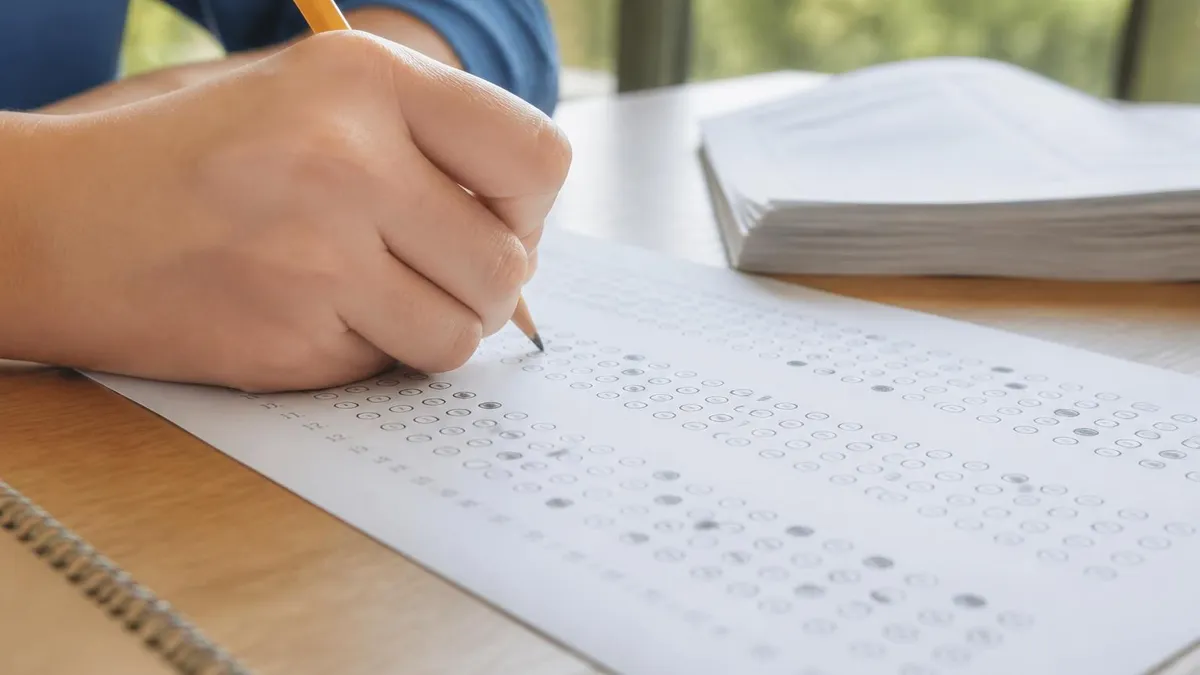
Phlebotomy Practice Test Questions
Prepare for the Phlebotomy Test exam with our free practice test modules. Each quiz covers key topics to help you pass on your first try.
Phlebotomy American Medical Certification ...
Phlebotomy Exam Questions covering American Medical Certification Association Phlebotomy. Master Phlebotomy Test concepts for certification prep.
Phlebotomy American Medical Technologists ...
Free Phlebotomy Practice Test featuring American Medical Technologists Phlebotomy. Improve your Phlebotomy Exam score with mock test prep.
Phlebotomy American Society for Clinical P...
Phlebotomy Mock Exam on American Society for Clinical Pathology Phlebotomy. Phlebotomy Study Guide questions to pass on your first try.
Phlebotomy Association of Phlebotomy Techn...
Phlebotomy Test Prep for Association of Phlebotomy Technicians. Practice Phlebotomy Quiz questions and boost your score.
Phlebotomy National Center for Competency ...
Phlebotomy Questions and Answers on National Center for Competency Testing Phlebotomy. Free Phlebotomy practice for exam readiness.
Phlebotomy National Healthcareer Associati...
Phlebotomy Mock Test covering National Healthcareer Association Phlebotomy. Online Phlebotomy Test practice with instant feedback.
Phlebotomy Order of Draw and Additives
Free Phlebotomy Quiz on Order of Draw and Additives. Phlebotomy Exam prep questions with detailed explanations.
Phlebotomy Legal and Ethics
Phlebotomy Practice Questions for Phlebotomy Legal and Ethics. Build confidence for your Phlebotomy certification exam.
Phlebotomy Safety and Infection Control
Phlebotomy Test Online for Safety and Infection Control. Free practice with instant results and feedback.
Phlebotomy Special Collection Procedures
Phlebotomy Study Material on Special Collection Procedures. Prepare effectively with real exam-style questions.
Phlebotomy Specimen Processing and Handling
Free Phlebotomy Test covering Specimen Processing and Handling. Practice and track your Phlebotomy exam readiness.
Phlebotomy Test Arterial Blood Gas Collection
Phlebotomy Exam Questions covering Test Arterial Blood Gas Collection. Master Phlebotomy Test concepts for certification prep.
Phlebotomy Test Capillary and Dermal Puncture
Free Phlebotomy Practice Test featuring Test Capillary and Dermal Puncture. Improve your Phlebotomy Exam score with mock test prep.
Phlebotomy Test Pediatric Blood Collection
Phlebotomy Mock Exam on Test Pediatric Blood Collection. Phlebotomy Study Guide questions to pass on your first try.
Phlebotomy Test Phlebotomy Anatomy and Phy...
Phlebotomy Test Prep for Test Phlebotomy Anatomy and Physiology. Practice Phlebotomy Quiz questions and boost your score.
Phlebotomy Test Phlebotomy Exam Simulation
Phlebotomy Questions and Answers on Test Phlebotomy Exam Simulation. Free Phlebotomy practice for exam readiness.
Phlebotomy Test Phlebotomy Patient Identif...
Phlebotomy Mock Test covering Test Phlebotomy Patient Identification and Communication. Online Phlebotomy Test practice with instant feedback.
Phlebotomy Test Point of Care Testing
Free Phlebotomy Quiz on Test Point of Care Testing. Phlebotomy Exam prep questions with detailed explanations.
Needles, Holders & Specialty Equipment for the Certified Phlebotomy Technician
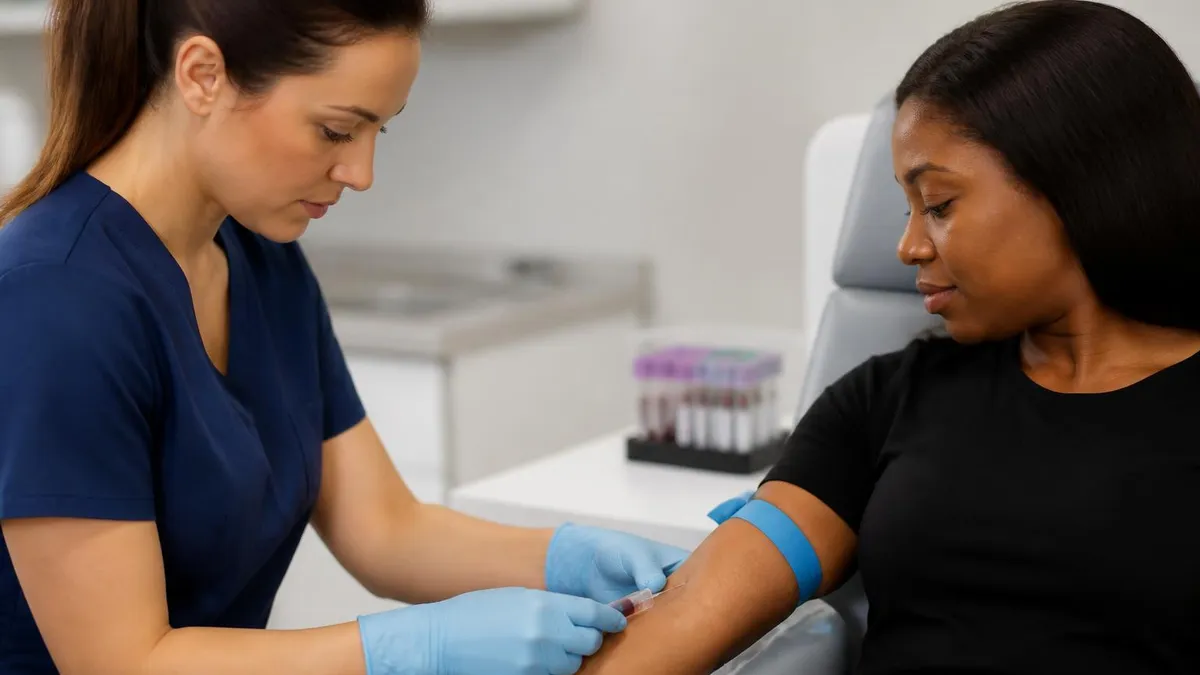
Standard multi-sample needles are the workhorse of adult venipuncture. They come in gauges from 20G (largest) to 23G (smallest), with 21G being the universal default for antecubital draws. The needle has two ends: a beveled point that enters the vein and a covered point that punctures the rubber stopper of each evacuated tube. A multi-sample sleeve seals between tubes to prevent blood leakage during tube changes.
Lower gauge numbers indicate larger bore diameters. A 21G needle balances flow rate against hemolysis risk—fast enough for most tubes but gentle enough to preserve cell integrity. Using a 25G needle on a routine adult draw causes hemolysis because red cells shear passing through the narrow lumen. All multi-sample needles must be safety-engineered with a one-handed activation shield post-draw, per OSHA mandate.

Lancet vs. Venipuncture: Which Collection Method?
- +Lancets cause minimal pain and anxiety, especially for pediatric patients
- +Capillary draws are ideal for point-of-care glucose, hematocrit, and newborn screens
- +Lancet devices are inexpensive, single-use, and easy to dispose
- +Fingerstick collection requires less training than venipuncture
- +Useful when veins are inaccessible, fragile, or repeatedly damaged
- +Safer for self-monitoring patients with diabetes at home
- +Lower risk of nerve injury compared to deep venous draws
- −Limited sample volume—typically under 500 microliters total
- −Capillary blood differs slightly from venous blood in some analyte values
- −Higher risk of hemolysis from squeezing or milking the puncture site
- −Cannot perform blood cultures or coagulation studies from capillary samples
- −Tissue fluid contamination is more common than with venipuncture
- −Repeated heelsticks on neonates can cause calcaneal osteomyelitis if too deep
- −Some chemistry results have different reference ranges for capillary specimens
Phlebotomy Equipment Pre-Draw Checklist
- ✓Verify patient identity using two unique identifiers before assembling equipment
- ✓Inspect each tube for expiration date and visible additive integrity
- ✓Confirm needle packaging is sealed and undamaged before opening
- ✓Select appropriate needle gauge based on vein size and tube requirements
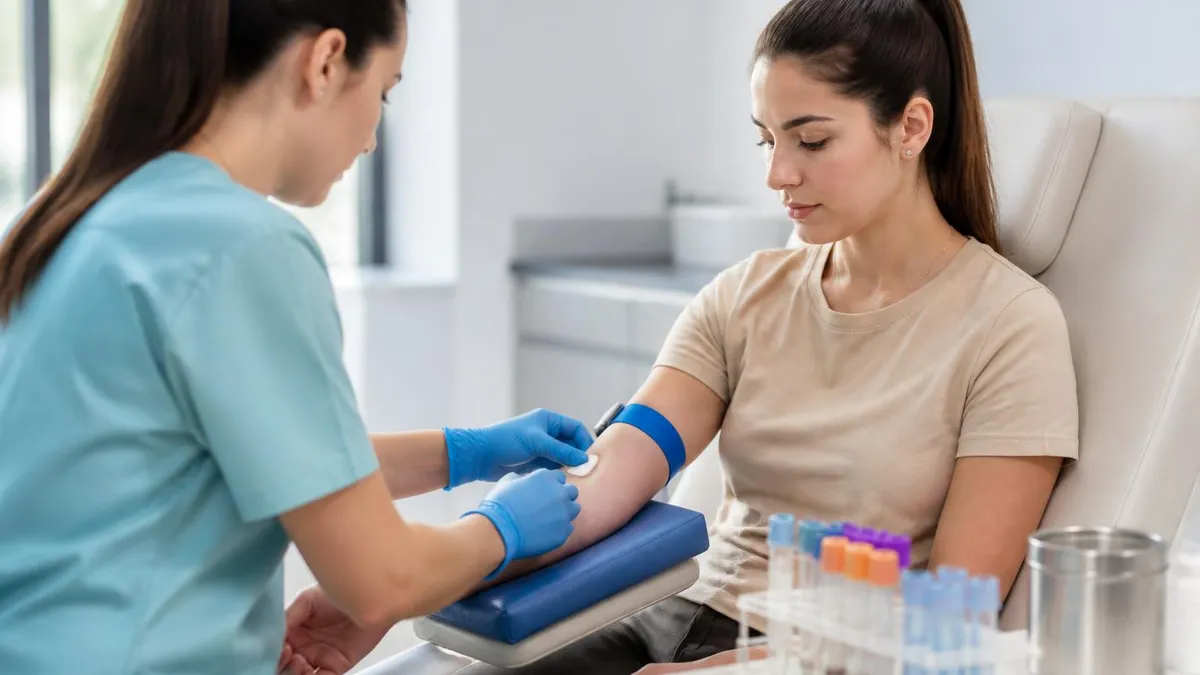
- ✓Apply tourniquet 3-4 inches above the intended puncture site
- ✓Clean the site with 70% isopropyl alcohol in concentric outward circles
- ✓Allow alcohol to air-dry completely to prevent hemolysis and patient discomfort
- ✓Engage needle safety device immediately after withdrawal from the vein
- ✓Invert tubes the exact number of times specified for each additive
- ✓Dispose of all sharps in an approved puncture-resistant container at the point of use
- ✓Label every tube at the bedside in the patient's presence, never before
- ✓Document collection time, site, and any complications in the patient record
Never recap a used needle—ever
The single most common cause of preventable needlestick injuries in U.S. clinical labs is two-handed recapping of contaminated needles. OSHA prohibits this practice except in extremely limited circumstances where a mechanical device performs the recap. Modern safety-engineered needles activate with a one-handed push or slide, locking the sheath permanently. Master this motion in training—it should be automatic before you ever touch a real patient.
The order of draw is the single most heavily tested equipment topic on every major phlebotomy certification exam in the United States. It exists because tiny amounts of additive carryover between tubes can dramatically skew test results. When a needle passes from one tube to the next, microscopic residue clings to the back-end needle and contaminates subsequent specimens. The standardized order, established by the Clinical and Laboratory Standards Institute (CLSI) in document GP41, prevents this contamination by sequencing tubes from least to most additive-sensitive.
The current CLSI order begins with blood culture bottles, which must be drawn first because they require absolute sterility and contain only minimal anticoagulant. Next come coagulation tubes—the light blue sodium citrate tubes—because any tissue thromboplastin or additive carryover from other tubes would invalidate clotting studies. If only a light blue is being drawn, a discard tube is no longer required by current CLSI guidelines for straight-needle draws, though butterfly draws still require one.
After light blue come serum tubes, including red plain tubes and gold or tiger-top SSTs. These tubes either have no additive or only clot activator, so they tolerate trace amounts of carryover from prior tubes. Following serum tubes are heparin tubes—dark green (sodium heparin) and light green (lithium heparin PSTs). Heparin contamination would affect coagulation and some chemistry tests, which is why these come after the serum tubes.
EDTA tubes—lavender, pink, and pearl-top—come next. EDTA is the most contaminating additive because it chelates calcium, magnesium, iron, and zinc, distorting electrolyte panels if it carries over into chemistry tubes. This is exactly why EDTA tubes appear near the end of the order. Finally, gray tubes containing sodium fluoride and potassium oxalate are drawn last, because oxalate is also a calcium chelator and fluoride distorts enzyme measurements.
A common memorization tool is the mnemonic Boys Love Ravishing Girls Like Pretty Girls, mapping to Blue cultures, Light blue, Red, Green, Lavender, Pink, Gray. Other phlebotomists prefer Stop Light Red Stay Put Green Light Go, or color-only chains. Whatever device you use, drilling it until automatic recall is essential. On certification exams you'll see scenarios where you must reorder a randomly listed set of tubes correctly within seconds.
Knowing your phlebotomy technician salary potential motivates many students to push through equipment memorization. The reality is that competent equipment handling—including flawless order of draw—is exactly what separates entry-level phlebotomists from those who advance into lead phlebotomist, plasma center supervisor, or medical laboratory technician roles where pay scales increase significantly.
Therapeutic phlebotomy uses different equipment entirely. Patients with hemochromatosis or polycythemia vera undergo scheduled blood removal of 500 mL using a 16G or 17G needle and a collection bag rather than evacuated tubes. The phlebotomist monitors flow, vital signs, and patient comfort throughout a 10-15 minute draw. Therapeutic phlebotomy certification is a specialized add-on credential many phlebotomists pursue for hospital-based hematology and oncology positions.

Leaving a tourniquet on for more than 60 seconds before drawing causes hemoconcentration, falsely elevating potassium, calcium, protein, and enzyme results. If you cannot locate a vein within one minute, release the tourniquet, wait two minutes, then reapply. This is tested on every major certification exam and is one of the most common pre-analytical errors in real practice. Always release the tourniquet before withdrawing the needle to prevent hematoma formation.
Phlebotomy is one of the fastest-growing healthcare careers in the United States, and equipment mastery is the foundation that opens every door in the field. The Bureau of Labor Statistics projects 8% growth for phlebotomists through 2032, faster than the national average for all occupations. Median phlebotomy salary in 2024 was approximately $41,810 annually, with top earners in hospital and reference lab settings exceeding $55,000 per year. Specialty roles in donor centers and therapeutic phlebotomy often pay even higher.
Becoming a certified phlebotomy technician begins with an accredited training program, typically lasting 4-12 weeks depending on full-time or part-time enrollment. Searching for phlebotomy courses near me or phlebotomy certification near me will surface community colleges, vocational schools, hospital-based programs, and increasingly, hybrid online-clinical programs. The classroom portion covers anatomy, equipment, infection control, and CLSI standards, while the clinical externship requires 100-120 successful live draws under supervision.
Five major U.S. certification bodies issue phlebotomy credentials: the National Healthcareer Association (NHA CPT), American Society for Clinical Pathology (ASCP PBT), American Medical Technologists (AMT RPT), National Center for Competency Testing (NCCT), and American Medical Certification Association (AMCA). Each exam includes a substantial equipment knowledge section covering tubes, needles, lancets, additives, and order of draw. Passing rates range from 65% to 80% depending on the credential and the candidate's preparation depth.
What is phlebotomy as a career, really? Beyond the technical skill of drawing blood, phlebotomy is a patient-facing role that requires composure, communication, and clinical judgment. You'll work with anxious patients, pediatric cases, geriatric veins, and occasionally critically ill patients. Equipment confidence directly translates to patient confidence—when you handle your supplies with competent ease, patients relax and the draw goes smoothly. When you fumble, they tense, veins constrict, and the procedure becomes harder.
Continuing education matters in phlebotomy as much as in any healthcare field. Every major credential requires renewal every 1-2 years, with continuing education units focused on new equipment, updated CLSI standards, and infection control. Safety-engineered devices have evolved dramatically since 2000, and what was standard practice five years ago may now be considered obsolete. Staying current keeps you employable and competitive in the job market.
Career advancement pathways from phlebotomy are diverse. Many phlebotomists progress into medical assisting, nursing, laboratory science, or healthcare administration. The hands-on patient experience and laboratory familiarity make phlebotomy an excellent stepping stone into clinical careers. Some hospitals even offer tuition reimbursement for phlebotomists pursuing nursing or laboratory science degrees, recognizing the value of their existing clinical exposure and patient handling skills.
For students still researching the field, the best advice is to shadow a working phlebotomist for a shift before committing to a program. Watching a skilled professional handle the equipment, manage difficult sticks, calm anxious patients, and maintain perfect documentation under real workflow pressure gives you a concrete sense of whether the role suits you. Most hospital labs welcome serious prospective students for observational shifts.
Practical equipment mastery comes from deliberate repetition, not memorization alone. Build a study routine that combines flashcards for tube colors with hands-on practice using training kits or program-provided supplies. Most accredited programs supply practice arms, mock tubes, and dummy needles for at-home review. Spending fifteen minutes a night arranging tubes in correct order of draw, identifying additives by color, and rehearsing safety device activation builds the muscle memory you'll rely on during your first live draws.
When you begin clinical externship, observe before doing. Watch your preceptor's hand position, how they stabilize the patient's arm, when exactly they release the tourniquet, how they activate the safety shield, and how they label tubes. Every experienced phlebotomist has small refinements to their technique that aren't in textbooks. Ask questions, take notes, and replicate what works. Equipment handling is half technique and half rhythm, and rhythm comes only from practice.
On exam day, equipment questions typically appear in three formats: identification (what is this tube used for?), sequencing (place these tubes in correct order of draw), and troubleshooting (this specimen was rejected—why?). Practice all three formats during your study period. Free practice tests from the certifying body or independent platforms provide realistic question samples. Aim to score 85% or better on equipment-focused practice exams before sitting for the real test.
Common equipment-related exam pitfalls include confusing light blue with light green tubes, forgetting that pink tubes are blood-bank EDTA, mixing up the additive in royal blue (trace element-free, not anticoagulant by default), and misremembering inversion counts. Build a personal cheat sheet of the items you most often miss, review it daily, and quiz yourself until your error rate hits zero. Equipment memorization rewards consistency more than cramming.
Real-world equipment failures happen, and how you handle them defines your professionalism. A tube that fails to fill may indicate vein collapse, an expired vacuum, or a needle bevel against the vein wall. A needle that bends during insertion must be discarded and replaced—never reused. A tourniquet that breaks mid-draw requires immediate removal and either continuation without it or a fresh tourniquet on the opposite arm. Training programs simulate these scenarios so you respond calmly rather than freezing.
Document everything. If a draw is difficult, if a tube hemolyzes, if a patient faints, or if you stick yourself, the incident must be recorded accurately in the patient chart and reported to your supervisor per facility policy. Documentation protects patients, protects you, and creates a learning record that improves future practice. Equipment-related incidents specifically must be reported through occupational health channels within 24 hours per OSHA Bloodborne Pathogens Standard.
Finally, treat your equipment with the respect it deserves. Every tube, needle, and lancet you handle is connected to a real patient waiting for a real result that may change their treatment. The seemingly mundane act of selecting the correct color tube and drawing it in correct order is, at its core, a clinical decision that affects patient care. Phlebotomists who internalize this perspective consistently outperform peers who view the work as routine, and they advance faster, earn more, and find deeper satisfaction in the role.
Phlebotomy Questions and Answers
Phlebotomy Exam 2026: Complete Certification Study Guide & Practice

Phlebotomy: Classes, Certification, Salary & Career Guide
Phlebotomy Certification Exam 2026: Complete Guide to NHA CPT, ASCP PBT, AMT, NCCT & ASPT
Phlebotomy Practice Exam: Free Questions, Format, and Scoring
Phlebotomy Test 2026: Complete Practice Exam Prep Guide
About the Author
Registered Nurse & Healthcare Educator
Johns Hopkins University School of NursingDr. Sarah Mitchell is a board-certified registered nurse with over 15 years of clinical and academic experience. She completed her PhD in Nursing Science at Johns Hopkins University and has taught NCLEX preparation and clinical skills courses for nursing students across the United States. Her research focuses on evidence-based exam preparation strategies for healthcare certification candidates.