
Knee MRI Pics: A Visual Guide to Reading Knee MRI Images 2026 September
Knee MRI pics explained: see meniscus tears, ACL injuries, cartilage damage, and bone bruises on sagittal, coronal, and axial knee MRI images. 🟢
Looking up knee MRI pics is one of the most common things patients and students do after a knee scan, and for good reason — a single set of images contains dozens of slices showing bone, cartilage, ligaments, tendons, menisci, fluid, and fat in stunning anatomic detail. Unlike X-rays that mostly reveal bone, MRI shows the soft tissue structures that actually cause most knee pain. Learning to recognize what is normal versus abnormal on these pictures takes practice, but the rewards are huge for technologists, students, and curious patients alike.
A typical knee MRI study includes 80 to 200 individual images, organized into series that scan the joint in three planes: sagittal (side view), coronal (front view), and axial (top-down view). Each series uses a different pulse sequence such as T1, T2, proton density, or fat-saturated sequences, and each one highlights different tissues. Fluid looks bright on T2, fat looks bright on T1, and pathology like edema or tears often stands out against the surrounding healthy anatomy when the right sequence is applied.
When you scroll through knee MRI pics online, you will see the femoral condyles at the top, the tibial plateau at the bottom, and the patella anteriorly. Between the femur and tibia sit the medial and lateral menisci — wedge-shaped cushions that show up as solid black triangles on most sequences. The anterior cruciate ligament (ACL) runs diagonally through the intercondylar notch, while the posterior cruciate ligament (PCL) curves behind it like a comma. The collateral ligaments hug the inner and outer sides of the joint.
Radiologists look for specific patterns when reviewing knee MRI images. A bright line cutting through the dark triangle of the meniscus suggests a tear. A discontinuous or wavy ACL fiber pattern points to a sprain or rupture. Bright signal within the bone marrow (called bone marrow edema or a bone bruise) often appears after impact injuries. Joint effusions show up as bright pools of fluid around the joint capsule. Each finding has a characteristic look that becomes recognizable with repetition.
Patients often request copies of their knee MRI pics so they can review them with their orthopedist, surgeon, or physical therapist. Most imaging centers provide a CD or secure online portal that includes a DICOM viewer, letting you scroll through every slice the radiologist saw. Free viewers like RadiAnt, Horos, or the hospital's own MyChart-style portal can open these files. Comparing your images to labeled normal anatomy makes it much easier to understand what your report describes.
For students preparing for the ARRT MRI registry or studying clinical anatomy, working through hundreds of knee MRI examples is one of the fastest ways to build pattern recognition. You can supplement image review with practice questions on protocols, sequences, and pathology to lock in the concepts. If you want to compare normal scans to pathology side by side, our guide on What a Normal MRI Looks Like: Brain, Spine & Knee is a useful starting point before you dive into abnormal cases.
This guide walks through what knee MRI pics show, how to identify the major structures, what common injuries look like, what protocols technologists use, and how to interpret what you see on your own scan. Whether you are a patient trying to understand a meniscus tear, a student learning sectional anatomy, or a tech refining protocol skills, the visual patterns explained here will sharpen your eye for knee imaging.
Knee MRI Pics by the Numbers
Standard Knee MRI Protocols and Sequences
The workhorse for meniscus and cartilage evaluation. Proton density with fat suppression makes fluid bright and highlights tears, edema, and joint effusions on side-view slices.
Front-view images that show collateral ligaments, meniscal roots, and bone marrow signal. T1 shows anatomy clearly while T2 reveals fluid and pathology around the joint line.
Top-down slices ideal for assessing patellar cartilage, retinacular ligaments, and the patellofemoral joint. Essential for diagnosing chondromalacia patella and tracking issues.
Provides anatomic detail of bone marrow, fat planes, and ligament structure. ACL and PCL evaluation often combines sagittal T1 with PD fat-sat for full pattern assessment.
Short Tau Inversion Recovery suppresses fat without relying on field uniformity. Excellent for detecting bone bruises, stress fractures, and subtle marrow edema patterns.
When you open a folder of knee MRI pics, the first thing to orient yourself with is anatomy. The femur sits on top, the tibia on bottom, and the patella floats in front. On sagittal slices (side view), you can trace the curved femoral condyle as it meets the flatter tibial plateau, with the meniscus visible as a dark triangle wedged between them. The patellar tendon runs vertically in front, connecting the kneecap to the tibial tubercle. The quadriceps tendon attaches above the patella.
The menisci are some of the most studied structures on knee MRI pics because tears are extraordinarily common. Each meniscus has an anterior horn, body, and posterior horn — and on sagittal slices, the anterior and posterior horns appear as two distinct black triangles pointing toward the center of the joint. When you see a bright white line cutting through either triangle, especially one that touches the meniscal surface, that is the classic sign of a tear. Radiologists grade meniscal signal from 1 (intrasubstance) to 3 (full tear).
Cruciate ligaments deserve close attention. The ACL runs from the back of the lateral femoral condyle down to the front of the tibial plateau, appearing as a dark, taut band on sagittal images. A healthy ACL has continuous fibers without bowing or interruption. The PCL, located behind the ACL, looks thicker and curves like a banana or comma. Loss of the normal ACL contour, a wavy appearance, or bright signal coursing through its fibers all suggest tears or sprains of varying severity.
Articular cartilage is one of the more challenging structures to evaluate on knee MRI pics. It appears as a thin, smooth gray-white layer covering the femoral condyles, tibial plateau, and underside of the patella. Modern cartilage-sensitive sequences like 3D fast spin echo or specialized T2 mapping can show subtle fissuring, thinning, or full-thickness defects. Cartilage loss is graded from Outerbridge 0 (normal) to grade 4 (exposed subchondral bone), and high-grade defects often appear bright with fluid filling the gap.
Bone marrow signal carries important diagnostic information. On T1 sequences, healthy marrow is bright due to its fatty content. On fat-suppressed T2 or STIR sequences, healthy marrow looks dark while edema, contusions, or fractures appear bright. Bone bruises after ACL injuries follow predictable patterns — most commonly affecting the lateral femoral condyle and posterolateral tibial plateau, a finding that strongly suggests a pivot-shift mechanism even before you confirm the ACL tear itself.
Surrounding soft tissues round out the picture. The medial collateral ligament (MCL) appears as a thin dark band on the inside of the joint on coronal images, while the lateral collateral ligament (LCL) runs along the outside. The popliteus tendon, iliotibial band, pes anserinus tendons, and Baker's cyst region (behind the joint) all show up in standard protocols. Looking systematically at each structure prevents missing findings tucked away in less obvious areas of the scan.
To understand the wider range of conditions an MRI scanner can pick up beyond the knee, see our overview of What MRI Can Detect: Conditions & Diagnostic Capabilities. Knee imaging is one slice of a much bigger diagnostic toolkit, and seeing how the principles apply to other joints and organs reinforces what you learn from knee MRI pics specifically.
MRI Practice Test Questions
Prepare for the MRI - Magnetic Resonance Imaging exam with our free practice test modules. Each quiz covers key topics to help you pass on your first try.
MRI Knowledge
MRI Exam Questions covering Knowledge. Master MRI Test concepts for certification prep.
MRI Physics
Free MRI Practice Test featuring Physics. Improve your MRI Exam score with mock test prep.
MRI Anatomy and Pathology
MRI Test Prep for MRI Anatomy and Pathology. Practice MRI Quiz questions and boost your score.
MRI Anatomy and Positioning
MRI Questions and Answers on MRI Anatomy and Positioning. Free MRI practice for exam readiness.
MRI Contrast Agents
Free MRI Quiz on MRI Contrast Agents. MRI Exam prep questions with detailed explanations.
MRI Patient Care and Positioning
MRI Practice Questions for MRI Patient Care and Positioning. Build confidence for your MRI certification exam.
Reading Knee MRI Pics in Each Plane
Sagittal knee MRI pics are slices taken from the side, scrolling from medial to lateral through the joint. This plane is the workhorse for evaluating menisci, cruciate ligaments, patellar tendon, quadriceps tendon, and articular cartilage on the femoral condyles. Each meniscus appears as multiple bowtie shapes that transition to two separate triangles as you scroll outward through the joint.
The ACL is best visualized on sagittal images, where it appears as a dark band running diagonally from the posterior femur to the anterior tibia. Look for fiber continuity, normal tension, and absence of bright signal within the ligament. Sagittal slices also showcase Hoffa's fat pad, the suprapatellar recess where joint effusions accumulate, and the popliteal fossa where Baker's cysts develop in chronic joint disease.
MRI vs Other Imaging for Knee Injuries
- +Shows soft tissue, cartilage, ligaments, and menisci with unmatched detail
- +No ionizing radiation makes repeat scans safe for younger patients
- +Detects bone bruises and marrow edema invisible on X-ray or CT
- +Diagnoses meniscus tears with about 95% sensitivity and specificity
- +Allows three-plane visualization for complete anatomic assessment
- +Can guide treatment decisions for surgery versus conservative care
- +Multi-sequence approach reveals both acute and chronic pathology
- −Significantly more expensive than X-ray or ultrasound options
- −Long scan times require patients to remain still for 30+ minutes
- −Claustrophobic patients may struggle inside traditional bore scanners
- −Metal implants can cause artifacts that obscure key structures
- −Wait times for non-urgent scans can stretch days or even weeks
- −Cannot reliably evaluate fine bony detail like CT scans can
Knee MRI Pics Interpretation Checklist
- ✓Confirm patient orientation, side marker, and correct anatomy displayed
- ✓Scroll through all three planes (sagittal, coronal, axial) systematically
- ✓Evaluate medial meniscus anterior horn, body, and posterior horn for tears
- ✓Evaluate lateral meniscus from anterior to posterior including the root
- ✓Trace the ACL from femoral origin to tibial insertion for fiber continuity
- ✓Check the PCL for normal curved appearance and uniform low signal
- ✓Examine medial and lateral collateral ligaments on coronal images
- ✓Assess articular cartilage thickness on femur, tibia, and patella
- ✓Look for bone marrow edema patterns suggesting bruise or fracture
- ✓Identify joint effusions, Baker's cysts, and bursal fluid collections
Always look for the 'pivot-shift' bone bruise pattern
When you see bone marrow edema on the lateral femoral condyle paired with edema on the posterolateral tibial plateau, the ACL is almost certainly torn — even before you confirm it directly. This 'kissing contusion' pattern occurs when the tibia translates forward and impacts the femur during the injury. Recognizing it on knee MRI pics is a high-yield diagnostic shortcut for both students and clinicians.
Common knee injuries each have characteristic appearances on knee MRI pics that become recognizable with practice. Meniscus tears are by far the most frequent finding, with patterns ranging from simple horizontal cleavage tears in older patients to complex bucket-handle tears in athletes. A bucket-handle tear shows the inner fragment of the meniscus displaced into the intercondylar notch, creating the classic 'double PCL sign' on sagittal images where the displaced fragment mimics a second posterior cruciate ligament.
ACL tears produce some of the most dramatic findings in knee imaging. A completely torn ACL may appear absent in the intercondylar notch, replaced by edema and disorganized fibers. Partial tears can be subtle, showing only a wavy contour or focal bright signal within otherwise intact ligament fibers. Associated findings include the classic bone bruise pattern, anterior translation of the tibia, and frequently a tear of the lateral meniscus or MCL — combinations known as the 'unhappy triad' or O'Donoghue triad.
MCL injuries appear on coronal knee MRI pics as thickening, bright signal, or frank disruption of the normally thin dark ligament running along the inner joint line. Grade 1 sprains show fluid alongside an intact ligament, grade 2 shows partial fiber tearing, and grade 3 shows complete disruption with retraction. LCL injuries are less common but can be devastating because the lateral side of the knee includes complex structures like the popliteus and biceps femoris that contribute to rotational stability.
Cartilage damage progresses through recognizable stages on MRI. Early chondromalacia shows softening with subtle signal change. Moderate damage produces fissures and partial-thickness defects, while severe disease shows full-thickness cartilage loss with subchondral bone exposure, cysts, and reactive marrow edema. Tracking these changes over time helps orthopedic surgeons decide between conservative management, cartilage restoration procedures, or joint replacement in advanced cases.
Patellar tendon injuries, including jumper's knee tendinosis and frank tears, appear as thickening and bright signal in the proximal tendon on sagittal images. Patellofemoral instability findings include lateral patellar tilt, trochlear dysplasia, elevated TT-TG distance, and retinacular tears. After patellar dislocations, you often see a 'kissing contusion' on the medial patella and lateral femoral condyle — another diagnostic shortcut similar to the ACL pattern but in a different location.
Other findings on routine knee MRI pics include Baker's cysts behind the knee, plica syndrome with thickened synovial bands, loose bodies in the joint, osteochondritis dissecans lesions in adolescents, and medical co with characteristic blooming on gradient echo sequences. Stress fractures appear as linear low-signal lines surrounded by edema, while complete fractures show fracture lines extending through cortex with displacement. Each pattern adds to the reader's mental library.
For a broader look at how these patterns compare across different body regions, our guide on Common MRI Findings: Brain, Spine and Joints Guide walks through the most frequently reported abnormalities in each anatomic area. Seeing how knee findings fit into the larger picture of musculoskeletal radiology helps cement the patterns in long-term memory.
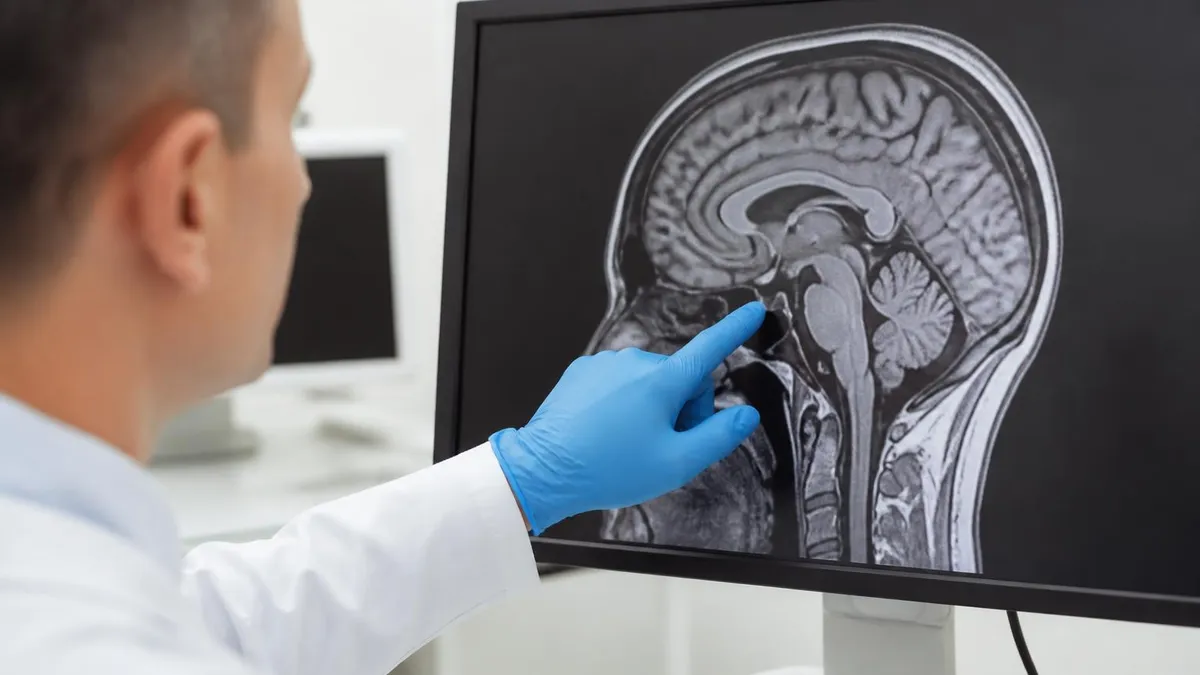
While reviewing your own knee MRI images is educational and empowering, formal interpretation requires a board-certified radiologist. Many findings that look alarming online are normal variants, while subtle but serious findings can be missed without specialized training. Always discuss your knee MRI pics with your physician before drawing conclusions or making treatment decisions based on what you see.
Reviewing your own knee MRI pics can be an empowering experience when approached the right way. Start by opening the DICOM files on the CD or USB drive you received from the imaging center, using free software like RadiAnt for Windows, Horos for Mac, or your hospital's online patient portal viewer. These tools let you scroll through each slice, adjust window and level settings, and compare different sequences side by side just like a radiologist does. Take your time — there is no rush to understand everything at once.
The first step is orientation. Identify which series you are looking at by checking the labels — sagittal, coronal, or axial — and which sequence type, such as T1, T2, PD fat-sat, or STIR. Each combination shows different aspects of your anatomy. The fat-saturated sequences with bright fluid signal are usually the most diagnostically useful for spotting tears, bruises, and inflammation. Compare your images to labeled anatomical references online or in textbooks to build your visual vocabulary.
Make a habit of scrolling slowly through every slice in each series rather than jumping to what you think is the problem area. Radiologists train themselves to look systematically at every structure on every slice, which is why they catch incidental findings that less experienced viewers miss. Look at bone marrow, cartilage, menisci, ligaments, tendons, muscle, and surrounding soft tissues in turn. Note anything that looks asymmetric, bright where it should be dark, or interrupted where it should be continuous.
Comparison is one of the most powerful tools in radiology. If you have a prior knee MRI, look at the old study alongside the new one to track changes over time. If only one knee was scanned, compare structures across the joint — the medial meniscus to the lateral meniscus, the femoral cartilage to the tibial cartilage. Asymmetry between sides or progressive changes from prior scans often reveal the most important diagnostic information about your specific case.
Read your radiology report carefully alongside the images. The report will use specific terminology to describe findings, and matching those words to what you see on the screen is one of the fastest ways to learn. Look up terms like 'intrasubstance signal,' 'horizontal cleavage,' 'subchondral edema,' or 'parameniscal cyst' as they come up. Many radiology websites and YouTube channels offer free tutorials that walk through real cases with annotations highlighting the findings described in reports.
For students preparing to become MRI technologists, hands-on image review is irreplaceable. Combine textbook study of anatomy and physics with daily practice scrolling through actual cases. If you are considering this career path, our guide on How to Become an MRI Technician: Schools, Certification, Salary walks through the training programs, certifications, and earning potential involved. Pair clinical reading with structured registry practice questions to build the depth you need for board exams.
Finally, do not be afraid to ask questions. Bring printouts or screenshots of your knee MRI pics to your orthopedic appointment and ask your physician to walk you through them. Most doctors appreciate engaged patients and will gladly explain what they see. Understanding your own scans makes you a more active participant in your care, leads to better treatment decisions, and gives you confidence whether you are facing surgery, rehab, or a watch-and-wait approach to your knee condition.
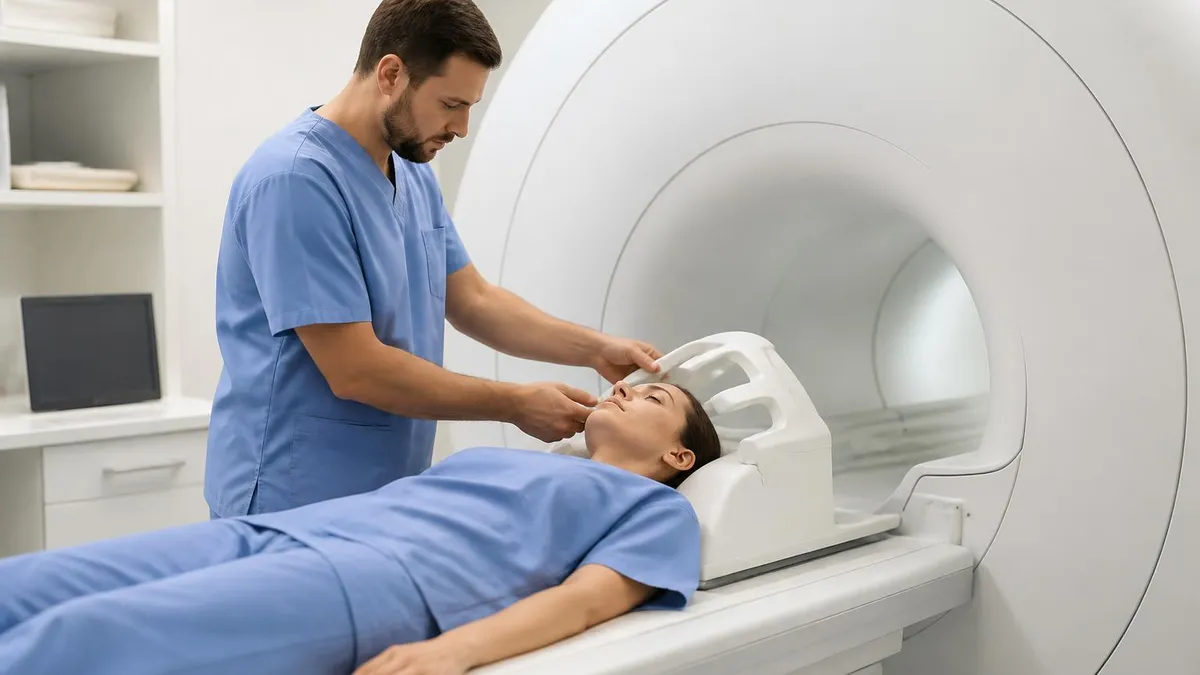
Practical tips for getting the most out of knee MRI pics start before the scan even happens. If you are scheduled for a knee MRI, tell the technologist about any prior knee surgery, hardware, or implants that could create artifacts. Bring previous imaging on a disc if you have it — comparison studies dramatically improve diagnostic accuracy. Wear loose clothing without metal zippers or snaps, remove all jewelry, and arrive a little early to complete the metal screening questionnaire without feeling rushed.
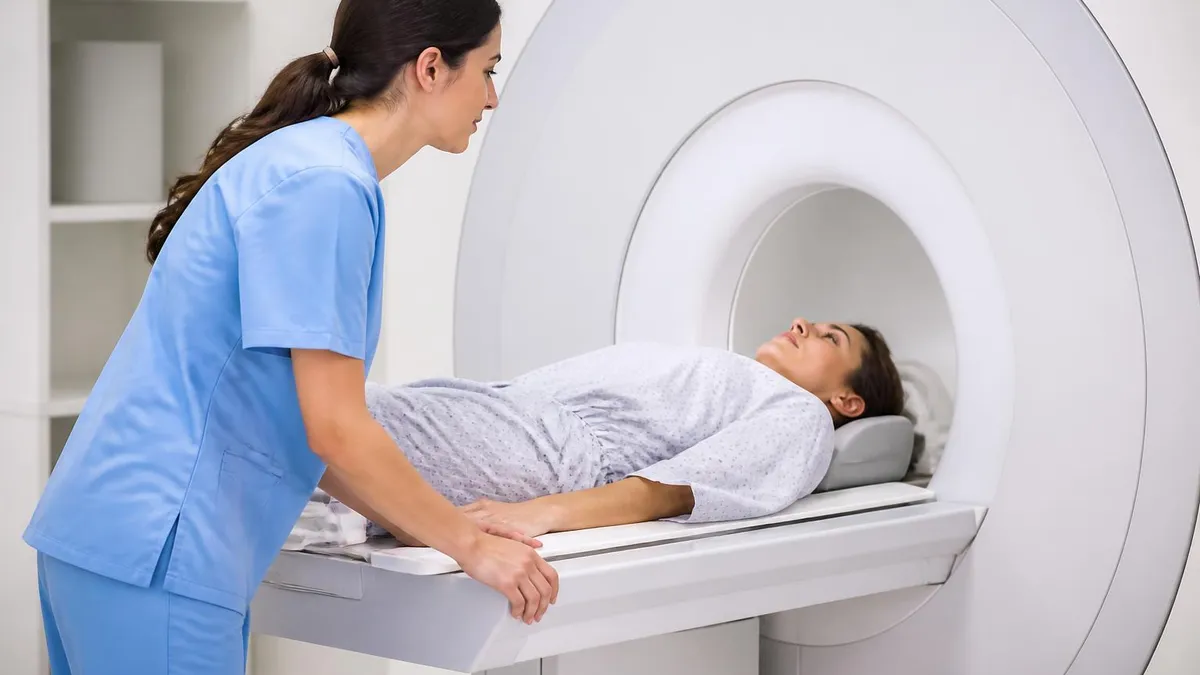
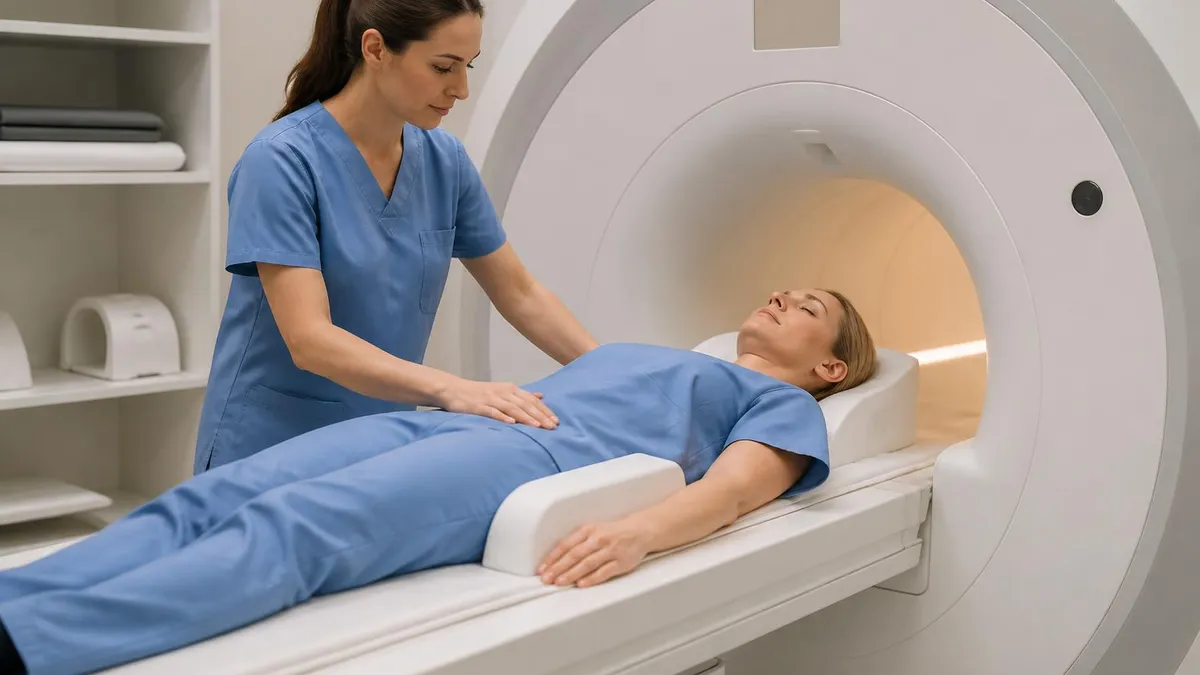
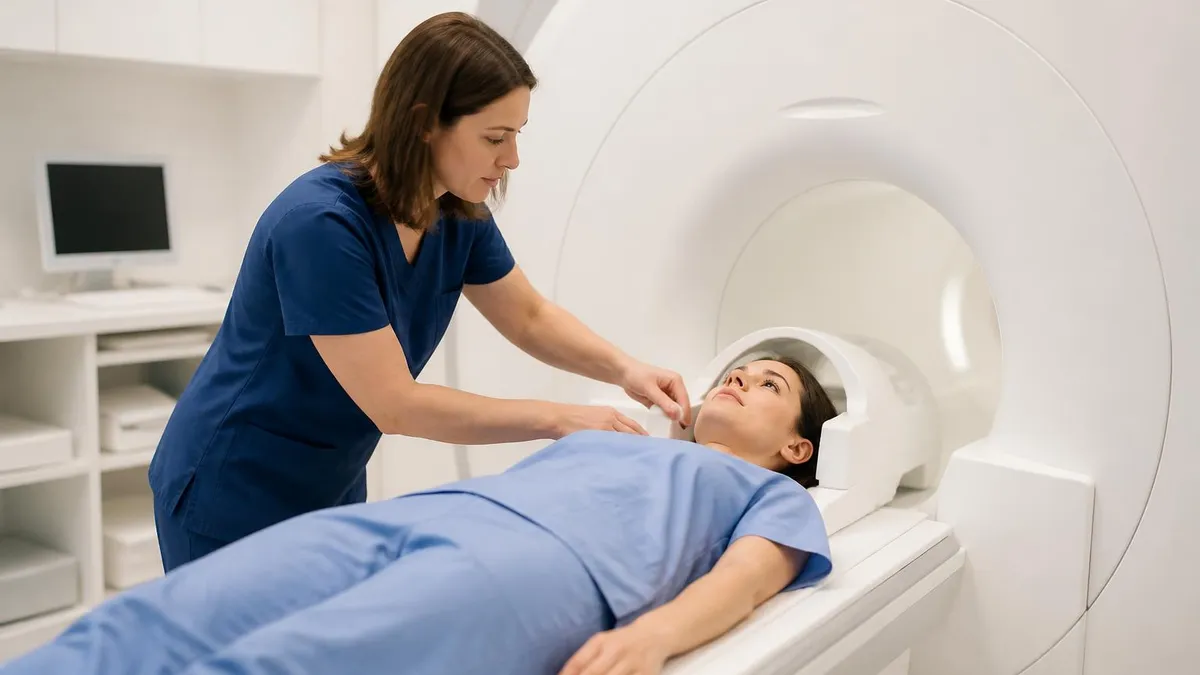
During the scan, holding still is the single most important thing you can do to ensure high-quality images. Even small movements blur the pictures and can hide subtle pathology. The MRI machine is loud, so accept the earplugs or headphones offered. The scan typically takes 25 to 45 minutes for a standard knee protocol. If you feel anxious or claustrophobic, talk to your provider beforehand — mild oral sedation, open MRI scanners, or extra reassurance from the tech can all help you complete the exam comfortably.
After the scan, request both the radiologist's report and a copy of your images. Most imaging centers provide a CD or access to a secure online portal where you can download DICOM files. Having the images means you can show them to specialists for second opinions, surgeons planning procedures, or physical therapists tracking progress. Some patients also keep their imaging history organized in a personal folder — useful for any future provider who wants context on your knee health.
When reviewing knee MRI pics at home, use a real monitor with good brightness rather than a phone screen if possible. Subtle signal changes that matter diagnostically may not be visible on small or low-quality displays. Adjust the window and level settings using the viewer controls to see different tissues better — bone, soft tissue, and fluid all have different optimal display settings. Spending 30 minutes learning your viewer software pays dividends every time you look at a scan.
For technologists working in MRI, knee protocols should be optimized for the specific clinical question. A routine knee study differs from a post-operative meniscus repair evaluation or a tumor workup with contrast. Coil selection matters — dedicated knee coils with good signal-to-noise produce dramatically better images than generic body coils. Positioning the knee in slight external rotation aligns the ACL with the sagittal plane and improves its visibility. Small details in technique make huge differences in image quality.
Students preparing for registry exams should practice identifying structures on hundreds of knee cases until pattern recognition becomes automatic. Make flashcards of sequences and their tissue contrast, memorize the relationship between findings and clinical mechanisms (like the pivot-shift bone bruise pattern for ACL tears), and quiz yourself on protocol parameters. Combine image review with structured question banks covering MRI physics, safety, and procedures. The more cases you see, the faster you will recognize abnormal patterns under exam pressure.
Finally, remember that knee MRI pics are just one piece of the diagnostic puzzle. They are most useful when interpreted in the context of patient history, physical exam findings, and other imaging like X-rays or ultrasound. A meniscus tear on MRI may or may not be the source of a patient's pain — many people have asymptomatic tears that incidentally show up on imaging. Always correlate imaging findings with clinical symptoms before recommending invasive treatments, and use MRI as a tool that supports rather than replaces good clinical judgment.
MRI Questions and Answers
About the Author

Medical Laboratory Scientist & Clinical Certification Expert
Johns Hopkins UniversityDr. Sandra Kim holds a PhD in Clinical Laboratory Science from Johns Hopkins University and is certified as a Medical Technologist (MT) and Medical Laboratory Scientist (MLS) through ASCP. With 16 years of clinical laboratory experience spanning hematology, microbiology, and molecular diagnostics, she prepares candidates for ASCP board exams, MLT, MLS, and specialist certification tests.
Join the Discussion
Connect with other students preparing for this exam. Share tips, ask questions, and get advice from people who have been there.
View discussion (8 replies)