
Ankle MRI: Complete Guide to the Procedure, Anatomy, Findings, and What to Expect
Complete guide to ankle MRI: what it shows, how to prepare, common findings, and how radiologists read ankle scans. Written for US patients and MRI students. 🟢

An ankle mri is one of the most requested musculoskeletal imaging studies in the United States, ordered when a physician needs detailed soft-tissue and bone information that X-ray simply cannot provide. The ankle is a mechanically complex joint involving the tibia, fibula, and talus, along with an intricate web of ligaments, tendons, and cartilage. Because these structures are invisible on plain radiographs, MRI has become the gold-standard tool for evaluating ankle pain, instability, and post-traumatic changes in patients of all ages.
When a radiologist or ordering clinician requests an ankle MRI, they are looking for evidence of ligament tears, tendon pathology, osteochondral defects, stress fractures, or soft-tissue masses. The imaging protocol is tailored to cover all three ankle compartments — medial, lateral, and posterior — so that no critical structure is overlooked during the diagnostic workup. Most ankle MRI examinations take between 30 and 45 minutes on a standard 1.5 Tesla or 3 Tesla scanner, though high-field systems can shorten acquisition times without sacrificing image quality.
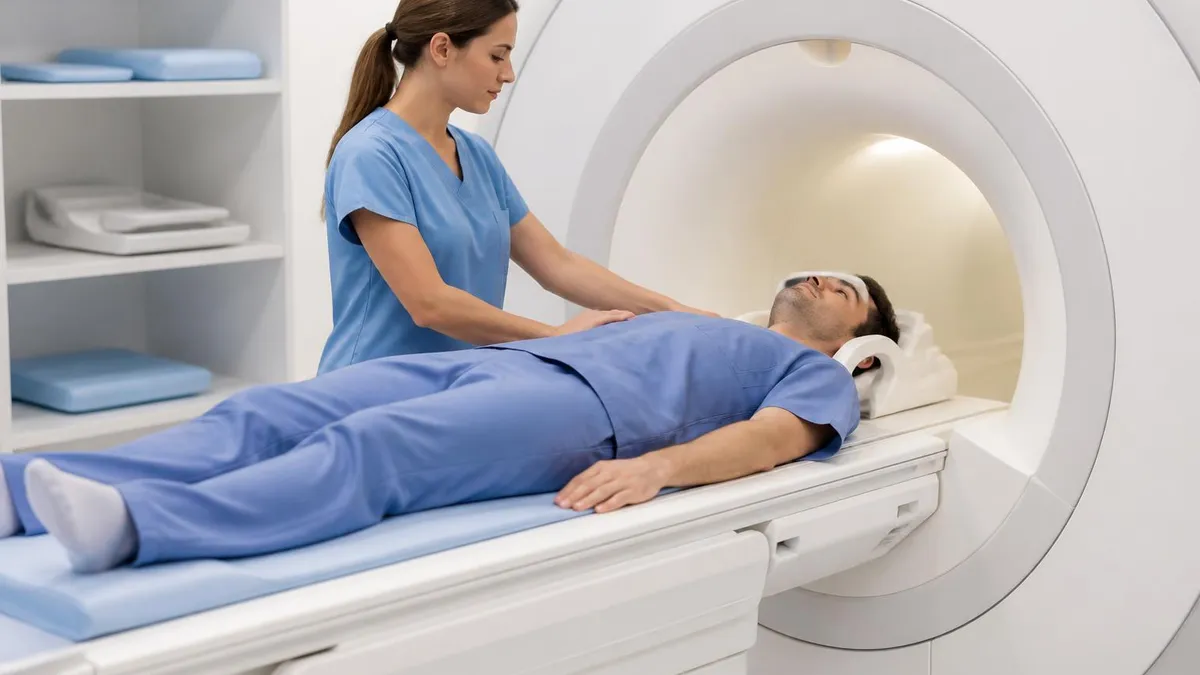
Patient preparation for an ankle MRI is relatively straightforward compared to abdominal or cardiac studies. The patient lies on the scanner table with the foot placed inside a dedicated extremity coil designed to maximize signal from the ankle region. Positioning is critical: the foot is typically placed in a neutral or slightly plantarflexed position depending on the structures of interest, and the technologist must ensure that the entire joint — from the distal tibia to the midfoot — is centered within the coil's field of view.
For MRI students and technologists preparing for registry or board examinations, understanding ankle MRI protocols, anatomy, and common pathology is an essential competency. Questions about ankle imaging appear on the ARRT MRI board exam, and a working knowledge of the sequences used, the anatomy displayed, and the artifacts that commonly affect extremity studies is necessary for passing with confidence. The sequences most often used include sagittal PD fat-sat, coronal T1, axial T2, and coronal STIR, each of which highlights different tissue characteristics.
Clinically, ankle MRI is ordered for a wide range of indications. Athletes who sustain inversion sprains may have more than a simple lateral ligament tear — MRI can reveal concomitant peroneal tendon tears, os trigonum pathology, or bone marrow edema that would change management. Older patients presenting with chronic ankle pain may have posterior tibial tendon dysfunction or sinus tarsi syndrome, both of which are exquisitely demonstrated on MRI. Even pediatric patients benefit from ankle MRI when growth plate injuries or juvenile osteochondritis dissecans are suspected.
Understanding the anatomy visible on an ankle MRI requires familiarity with both axial and coronal planes. In the axial plane, the peroneal tendons are seen lateral to the fibula, the Achilles tendon is visible posteriorly, and the flexor tendons course medially in their respective sheaths. In the coronal plane, the deltoid ligament complex on the medial side and the lateral collateral ligaments — anterior talofibular, calcaneofibular, and posterior talofibular — are best appreciated. The sagittal plane provides the clearest view of the Achilles tendon, sinus tarsi, and tibiotalar cartilage.
This comprehensive guide covers everything MRI students, radiologic technologists, and curious patients need to know about ankle MRI: the imaging sequences and protocols, the anatomy on each plane, the most common pathological findings, how to prepare for the exam, and how results are interpreted and communicated. Whether you are studying for your boards or preparing for a clinical ankle MRI, the information in this article will help you approach the topic with confidence and precision.
Ankle MRI by the Numbers
Ankle MRI Protocols and Sequences
Proton density fat-saturated images in the sagittal plane are the workhorse sequence for ankle MRI. They suppress background fat signal while preserving fluid conspicuity, making them ideal for evaluating the Achilles tendon, tibiotalar cartilage, and bone marrow edema patterns throughout the hindfoot.
Coronal T1 sequences provide excellent anatomic detail of the ankle's ligamentous and osseous structures. High signal from fatty marrow and clear delineation of cortical bone make T1 the best sequence for identifying osteochondral lesions, bony avulsions, and subtle cortical disruptions in the distal tibia and talus.
Axial imaging is essential for evaluating the peroneal tendons lateral to the fibula, the flexor digitorum longus and flexor hallucis longus medially, and the anterior ankle joint. Fat-saturation improves detection of tendon sheath fluid, partial-thickness tears, and peritendinous edema that would otherwise blend with surrounding fat.
Short-tau inversion recovery sequences are highly sensitive to fluid and edema anywhere in the ankle and hindfoot. STIR is the preferred sequence for detecting bone marrow edema syndrome, stress reactions, osteomyelitis, and subtle ligament injuries that might be underappreciated on T2-weighted images with conventional fat saturation.
Three-dimensional gradient-echo sequences with thin slices (under 1 mm) allow multiplanar reformats and are increasingly used for cartilage mapping in patients with osteochondral defects or early arthritis. These sequences are time-intensive but provide isotropic resolution that standard two-dimensional acquisitions cannot match.
Understanding ankle anatomy on MRI begins with recognizing that the ankle is not a single joint but a functional unit comprising three articulations: the tibiotalar (talocrural) joint, the subtalar (talocalcaneal) joint, and the distal tibiofibular syndesmosis. Each of these articulations has its own set of supporting ligaments and capsular structures, and disease or trauma in one compartment frequently affects adjacent compartments. A comprehensive ankle MRI protocol must cover all three to avoid missing pathology that drives clinical symptoms.
On axial MRI slices, the peroneal tendons are among the most consistently evaluated structures. The peroneus brevis tendon sits directly posterior to the fibula and is the more commonly injured of the two. It may appear split or flattened against the fibula in cases of longitudinal tear, a finding that is best appreciated on axial PD fat-saturated images through the retromalleolar groove. The peroneus longus tendon lies posterior to the brevis and curves around the lateral plantar foot; its distal course requires imaging through the midfoot, which is sometimes added as a supplemental series when clinically indicated.
The medial ankle is dominated by the deltoid ligament complex, which consists of superficial and deep components. The deep deltoid — specifically the tibiotalar portion — is the primary restraint against valgus stress and external rotation of the talus. On coronal MRI, the deep deltoid appears as a compact band of low signal intensity spanning from the medial malleolus to the medial body of the talus. Tears of the deep deltoid are commonly associated with high-grade lateral ligament injuries and syndesmotic disruptions in the setting of pronation-external rotation ankle fractures.
The lateral collateral ligament complex consists of three distinct bands. The anterior talofibular ligament (ATFL) is the weakest and most frequently torn ligament in the ankle, typically injured during plantarflexion-inversion mechanisms such as a classic basketball or soccer sprain. The calcaneofibular ligament (CFL) is the second most commonly injured lateral ligament, and its tear often accompanies ATFL disruption in higher-grade sprains. The posterior talofibular ligament (PTFL) is the strongest of the three and is rarely torn in isolation — its injury typically signals a severe, high-energy mechanism.
The Achilles tendon is the largest and strongest tendon in the human body, and its MRI appearance is characteristic. On sagittal sequences, a normal Achilles tendon is uniformly low signal intensity throughout its length, with a slightly concave anterior border and a convex posterior contour. The critical zone of relative avascularity lies approximately 2 to 6 centimeters proximal to the calcaneal insertion — this is precisely where most degenerative tears and complete ruptures occur. Increased T2 signal within the tendon body indicates tendinosis, while a focal gap with surrounding high-signal edema indicates partial or complete rupture.
Sinus tarsi syndrome is a frequently underdiagnosed source of lateral hindfoot pain that is elegantly demonstrated on MRI. The sinus tarsi is a tunnel running between the calcaneus and talus, filled with fat, neurovascular structures, and the interosseous talocalcaneal ligament. On coronal and sagittal STIR sequences, loss of the normal fat signal within the sinus tarsi — replaced by intermediate or high signal — indicates synovitis, scarring, or ligamentous disruption within this space. This finding is highly correlated with chronic lateral ankle instability and subtalar joint dysfunction.
Osteochondral lesions of the talus (OLTs) represent another critical category of ankle MRI findings. These lesions, which involve injury to the talar articular cartilage and underlying subchondral bone, appear most commonly on the medial and lateral shoulders of the talar dome. The classic MRI staging system for OLTs evaluates whether the cartilage cap is intact, whether the fragment is unstable, and whether subchondral cyst formation has occurred — each of which has direct treatment implications. Medial lesions tend to be deeper and cup-shaped, while lateral lesions are more wafer-shaped and associated with traumatic mechanisms.
MRI Practice Test Questions
Prepare for the MRI - Magnetic Resonance Imaging exam with our free practice test modules. Each quiz covers key topics to help you pass on your first try.
MRI Knowledge
MRI Exam Questions covering Knowledge. Master MRI Test concepts for certification prep.
MRI Physics
Free MRI Practice Test featuring Physics. Improve your MRI Exam score with mock test prep.
MRI Anatomy and Pathology
MRI Test Prep for MRI Anatomy and Pathology. Practice MRI Quiz questions and boost your score.
MRI Anatomy and Positioning
MRI Questions and Answers on MRI Anatomy and Positioning. Free MRI practice for exam readiness.
MRI Contrast Agents
Free MRI Quiz on MRI Contrast Agents. MRI Exam prep questions with detailed explanations.
MRI Patient Care and Positioning
MRI Practice Questions for MRI Patient Care and Positioning. Build confidence for your MRI certification exam.
Common Ankle MRI Findings Explained
Lateral ligament complex injuries are the most common ankle MRI finding in active patients. The anterior talofibular ligament (ATFL) appears thickened, wavy, or absent in the setting of acute or chronic tears. On axial PD fat-saturated images, a complete ATFL tear shows discontinuity of the normally taut, low-signal band with surrounding high-signal edema and joint effusion filling the gap. Grading ligament tears — Grade I (sprain), Grade II (partial tear), Grade III (complete rupture) — guides decisions about conservative management versus surgical reconstruction.
Medial deltoid injuries are less common but clinically significant, particularly when associated with ankle fractures or syndesmotic disruptions. The deep deltoid component is best evaluated on coronal T1 and PD fat-sat sequences. Chronic deltoid insufficiency leads to progressive valgus deformity of the hindfoot, which MRI can document through sequential changes in the subtalar joint alignment. When both lateral and medial ligaments are compromised, the ankle is considered globally unstable and surgical stabilization is typically recommended for high-demand patients.

Ankle MRI vs. Other Ankle Imaging Modalities
- +Excellent soft-tissue contrast reveals ligaments, tendons, and cartilage in detail unavailable on X-ray or CT
- +No ionizing radiation — safe for repeated imaging in young athletes, pregnant patients (second/third trimester), and pediatric populations
- +Multiplanar capability allows axial, coronal, and sagittal views without repositioning the patient or the scanner
- +Bone marrow edema detection on STIR sequences identifies stress reactions weeks before fracture lines appear on radiographs
- +Contrast-enhanced MRI can characterize soft-tissue masses, synovitis, and osteomyelitis with high specificity
- +3D sequences allow isotropic reformats for surgical planning of osteochondral autograft or ligament reconstruction procedures
- −Longer scan time (30–45 minutes) compared to CT (under 5 minutes) or X-ray (under 1 minute), limiting use in acute trauma
- −Higher cost than X-ray or ultrasound; prior authorization often required by insurance carriers, delaying diagnosis
- −Claustrophobia affects approximately 5–10% of patients; open-bore or extremity MRI units may reduce image quality
- −Metal implants — surgical hardware, screws, staples — can cause susceptibility artifact that obscures adjacent structures
- −Motion artifact from involuntary foot movement degrades image quality, particularly in pediatric or anxious patients
- −Gadolinium contrast carries a small risk of nephrogenic systemic fibrosis in patients with severe renal impairment
Ankle MRI Patient Preparation Checklist
- ✓Remove all metallic jewelry, piercings, and anklets before entering the MRI suite.
- ✓Complete the MRI safety screening form honestly, disclosing all prior surgeries and implanted devices.
- ✓Inform the technologist of any surgical hardware in your ankle, foot, or lower leg before scanning begins.
- ✓Wear comfortable, loose-fitting clothing without metal snaps, zippers, or underwire that would require changing.
- ✓Arrive 15–20 minutes early to complete paperwork, change into a gown if needed, and discuss any claustrophobia concerns.
- ✓Avoid applying lotions or moisturizers to your foot and ankle on the day of the scan, as some contain metallic particles.
- ✓Inform your ordering physician of any kidney disease before contrast-enhanced MRI is scheduled.
- ✓Plan to remain completely still for the duration of the scan — even small movements blur the fine anatomic detail needed for diagnosis.
- ✓Ask your technologist about earplugs or headphones to reduce noise discomfort during the acquisition.
- ✓Confirm your insurance authorization and bring your referral or prescription if required by your imaging center.
The ATFL Is Injured in 70% of All Ankle Sprains
The anterior talofibular ligament (ATFL) is involved in approximately 70% of all ankle sprains, making it the most commonly torn ligament in the human body. MRI identifies ATFL tears with greater than 90% sensitivity, allowing clinicians to differentiate simple sprains from higher-grade injuries that require imaging-guided rehabilitation or surgical reconstruction — a distinction that plain X-ray cannot make.
Interpreting an ankle MRI report requires familiarity with both the radiologist's language and the clinical context of the referring physician. When a radiologist describes a structure as showing "increased T2 signal," they mean that structure contains more water than normal — which in musculoskeletal MRI most commonly represents edema, inflammation, fluid, or degeneration. Conversely, "low T1 signal replacing normal marrow fat" indicates a pathological process replacing the fatty marrow, such as tumor, edema, or avascular necrosis.
Radiologists use standardized terminology when describing tendon pathology. Tendinosis refers to intratendinous degeneration with increased signal on intermediate-weighted sequences but no complete disruption — this is the MRI correlate of overuse injury and microscopic collagen failure. A partial-thickness tear shows a focal area of high T2 signal within the tendon substance, with some intact tendon fibers remaining. A full-thickness tear shows complete signal discontinuity on at least one sequence, often with retraction of the tendon ends and a fluid-filled gap between them.
Bone marrow edema is one of the most common and clinically important findings on ankle MRI. It appears as low signal on T1 and high signal on STIR or fat-saturated T2 sequences, reflecting the replacement of normal fatty marrow by edema fluid and reactive hyperemia. Edema may be subchondral — directly beneath the articular surface — which suggests osteochondral injury or early avascular necrosis. Diffuse marrow edema encompassing an entire bone may indicate a bone contusion, stress fracture, or insufficiency fracture in osteoporotic patients.
Joint effusions are a sensitive but nonspecific indicator of intra-articular pathology. A small tibiotalar effusion is normal — up to 1 to 2 milliliters of fluid is physiologically present to lubricate the joint. Moderate or large effusions distend the anterior ankle recess and are consistently associated with internal derangement, ligamentous injury, synovitis, or fracture. Importantly, the presence of hemarthrosis — blood within the joint — can be inferred from the MRI signal characteristics of the fluid, with blood products appearing bright on T1 due to methemoglobin formation in subacute hemorrhage.
Synovitis and impingement syndromes are increasingly recognized as sources of chronic ankle pain in athletes. Anterolateral ankle impingement occurs when the anterior tibiofibular ligament or hypertrophic synovial scar tissue becomes trapped between the talus and the tibiofibular gutter during dorsiflexion. On MRI, this appears as intermediate-signal soft tissue in the anterolateral gutter, often with adjacent bone marrow edema. Posterior ankle impingement is associated with the os trigonum — an accessory ossicle posterior to the talus — which is compressed between the posterior tibia and calcaneus during plantarflexion in ballet dancers and soccer players.
Ganglion cysts, plantar fascia tears, and Morton's neuroma are soft-tissue findings that may be incidentally discovered on ankle MRI or specifically sought when clinical suspicion warrants. Ganglion cysts appear as well-defined, multilobulated structures with uniformly high T2 signal, arising from the joint capsule or tendon sheaths. Plantar fasciitis is seen as thickening and signal change at the proximal plantar fascia origin on the calcaneus. Although ankle MRI does not extend to the forefoot in a standard protocol, supplemental sequences can be added when distal pathology is clinically suspected.
Avascular necrosis (AVN) of the talus is a potentially devastating diagnosis that MRI detects earlier than any other imaging modality. The blood supply to the talar body enters predominantly through the sinus tarsi and is vulnerable to disruption in the setting of talar neck fractures, prolonged corticosteroid use, or alcohol-related vascular disease. Early AVN appears as a geographic area of low T1 signal in the talar body with a surrounding reactive zone. If untreated, progressive collapse of the talar dome leads to severe post-traumatic arthritis, making early MRI diagnosis critically important for surgical planning and outcome optimization.
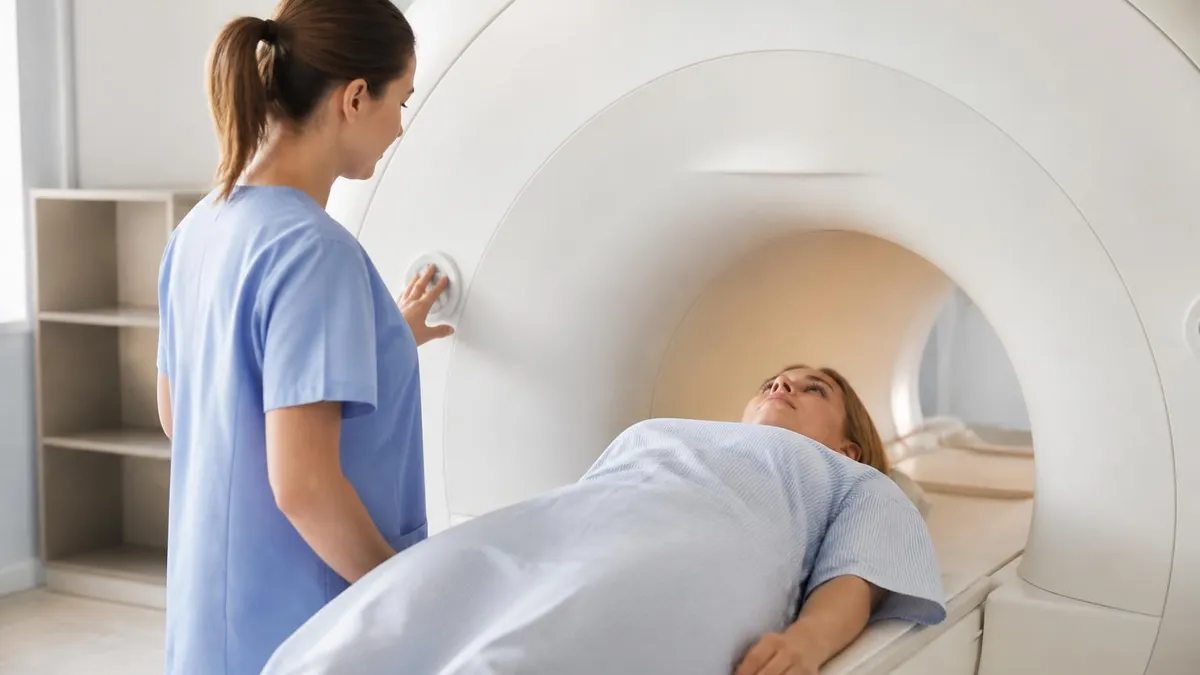
Gadolinium-based contrast agents (GBCAs) used in enhanced ankle MRI carry a risk of nephrogenic systemic fibrosis (NSF) in patients with an estimated glomerular filtration rate (eGFR) below 30 mL/min/1.73 m². Before ordering a contrast-enhanced ankle MRI, ensure recent renal function labs are on file. Patients on dialysis or with acute kidney injury should not receive Group I macrocyclic GBCAs without documented risk-benefit discussion and nephrology consultation.
For MRI technologists and students preparing for board and registry examinations, ankle MRI is a high-yield topic that spans multiple domains: patient safety, coil selection, sequence parameters, artifact recognition, and cross-sectional anatomy. The ARRT MRI certification examination tests candidates on these competencies, and dedicated preparation using practice questions and detailed anatomical review is essential to perform well. Understanding which sequences are most sensitive for specific ankle pathologies is a common examination question category.
Coil selection significantly affects image quality in ankle MRI. The extremity or dedicated ankle coil provides the highest signal-to-noise ratio (SNR) for ankle imaging because it closely conforms to the anatomy and eliminates signal dilution from surrounding tissue. On large-bore systems, candidates must understand that a knee coil can substitute for an ankle coil in most patients — the ankle fits within the knee coil with adequate coverage of the tibiotalar and subtalar joints. Surface coils, phased-array coils, and volume coils each have different SNR and coverage characteristics that appear on registry examinations.
Field of view (FOV) selection is another registry examination topic relevant to ankle MRI. A standard ankle MRI uses a FOV of 12 to 16 centimeters, which provides sufficient coverage from the distal tibia to the calcaneus while maintaining adequate spatial resolution. Reducing the FOV below 12 centimeters increases spatial resolution but introduces wrap (aliasing) artifact if the phase-encoding direction is not chosen carefully. Oversampling in the phase direction or using saturation bands can eliminate wrap artifact without increasing scan time significantly.
Slice thickness and matrix selection directly affect the ability to visualize fine ligamentous and cartilaginous structures. Most ankle MRI protocols use 3-millimeter slices with no gap for two-dimensional sequences, allowing detection of small ligament fibers and thin cartilage layers. Three-dimensional isotropic sequences use sub-millimeter voxels, enabling reformation in any plane without loss of resolution. The trade-off is increased scan time, susceptibility to motion artifact, and greater demands on post-processing by the technologist or radiologist.
Gradient echo sequences are particularly prone to susceptibility artifact near metallic implants, a topic that frequently appears on registry examinations. In patients with ankle hardware — syndesmotic screws, fibular plates, or calcaneal fixation devices — the artifact from ferromagnetic or paramagnetic metal can obscure adjacent anatomy. Technologists should be familiar with metal artifact reduction sequences (MARS), including view-angle tilting (VAT) and slice-encoding for metal artifact correction (SEMAC), which are increasingly available on modern MRI platforms and dramatically improve diagnostic quality near implants.
Parallel imaging techniques such as GRAPPA and SENSE are used in ankle MRI to reduce scan time without proportionally degrading SNR. These techniques underample k-space and reconstruct missing data using multi-channel coil information. Registry candidates should understand that the acceleration factor directly impacts SNR: an acceleration factor of 2 reduces SNR by approximately the square root of 2, or about 30%. This trade-off must be balanced against the clinical benefit of faster acquisitions that reduce motion artifact in an uncooperative patient.
MRI students who dedicate time to understanding ankle protocols, anatomy, and pathology will find that the knowledge transfers broadly across musculoskeletal MRI. The principles of fat suppression, fluid sensitivity, and ligament evaluation apply equally to the knee, shoulder, and wrist. Building a strong mental model of ankle anatomy also supports clinical rotations in sports medicine, orthopedic surgery, and podiatry, where MRI findings drive diagnostic and therapeutic decisions every day. Consistent practice with registry-style questions and cross-sectional image interpretation is the most efficient path to examination success.
Practical preparation tips for both patients and MRI students begin with building a systematic approach to ankle MRI review. For technologists, the best practice is to review each sequence immediately after acquisition before releasing the patient from the scanner — this allows for detection of motion artifact, incomplete coverage, or inadequate fat suppression that can be corrected with a repeat acquisition while the patient is still positioned. Never assume that blurry or incomplete images are acceptable without consulting the supervising radiologist or senior technologist.
For patients who are anxious about the MRI environment, preparation starts before the appointment. Many imaging centers offer virtual tours or preparatory videos that familiarize patients with the sounds and sensations of MRI scanning. Guided breathing exercises and communication with the technologist through the intercom system can significantly reduce anxiety and improve cooperation throughout the scan. In cases of severe claustrophobia, the ordering physician may prescribe a mild anxiolytic — typically oral lorazepam or diazepam — to be taken one hour before the appointment.
Athletes and active individuals who undergo ankle MRI for sports injuries should bring any prior imaging studies to the appointment, including previous MRI, CT, or X-ray reports. Comparing current and prior imaging allows the radiologist to determine whether a finding is new, healing, or chronic — a distinction that dramatically affects treatment planning. A tendon that showed signal change two years ago and appears unchanged today may represent stable tendinosis rather than an acute injury, which would change the rehabilitation timeline significantly.
Understanding the MRI report format helps patients and referring clinicians extract actionable information efficiently. A standard musculoskeletal MRI report includes a clinical history section, a description of imaging technique and sequences performed, findings organized by anatomic structure, and a summary impression. The impression section synthesizes the most clinically relevant findings in order of importance. When an unexpected or incidental finding appears — such as a soft-tissue mass or aggressive-appearing bone lesion — the radiologist will typically recommend additional imaging or correlation, which the ordering clinician should act upon promptly.
Follow-up MRI is commonly performed after ankle surgery or conservative treatment to assess healing. After ligament reconstruction, the neograft typically appears larger and higher signal than a native ligament for the first 12 to 18 months due to a process called ligamentization, during which the graft matures and its collagen architecture remodels. After osteochondral autograft transplantation, the MRI appearance of the graft evolves over 12 months, and interval imaging is used to confirm incorporation, assess cartilage surface congruity, and detect subchondral cyst formation that might indicate graft failure.
For MRI registry candidates, the most productive study strategy combines reading foundational MRI physics and anatomy texts with targeted practice using examination-style questions. Focus specifically on the sequences used in ankle MRI, why each sequence is selected, what artifacts affect extremity imaging, and what the common pathologies look like on each sequence. Reviewing actual MRI cases — available through radiology teaching files, RadiologyAssistant.nl, and similar educational platforms — builds the visual pattern recognition that written descriptions alone cannot develop.
Finally, remember that ankle MRI is part of a broader clinical workup — it is most powerful when the radiologist and ordering clinician communicate about the specific clinical question being asked. A well-worded clinical history on the requisition dramatically improves report quality and ensures that the radiologist tailors the protocol and report to the patient's actual symptoms. For MRI technologists, reading the clinical indication before positioning the patient helps ensure the correct coil, FOV, and supplemental sequences are used to answer the diagnostic question as completely as possible.
MRI Questions and Answers
MRI of Cervical Spine: Complete Guide to Imaging, Anatomy, Pathology, and Patient Preparation
Knee MRI Images: A Complete Guide to Reading, Understanding, and Interpreting Knee Scans

Ace Your Exam with MRI Practice Test 2026 Prep

MRI Tech School 2026 — Programs, Requirements, and What to Expect
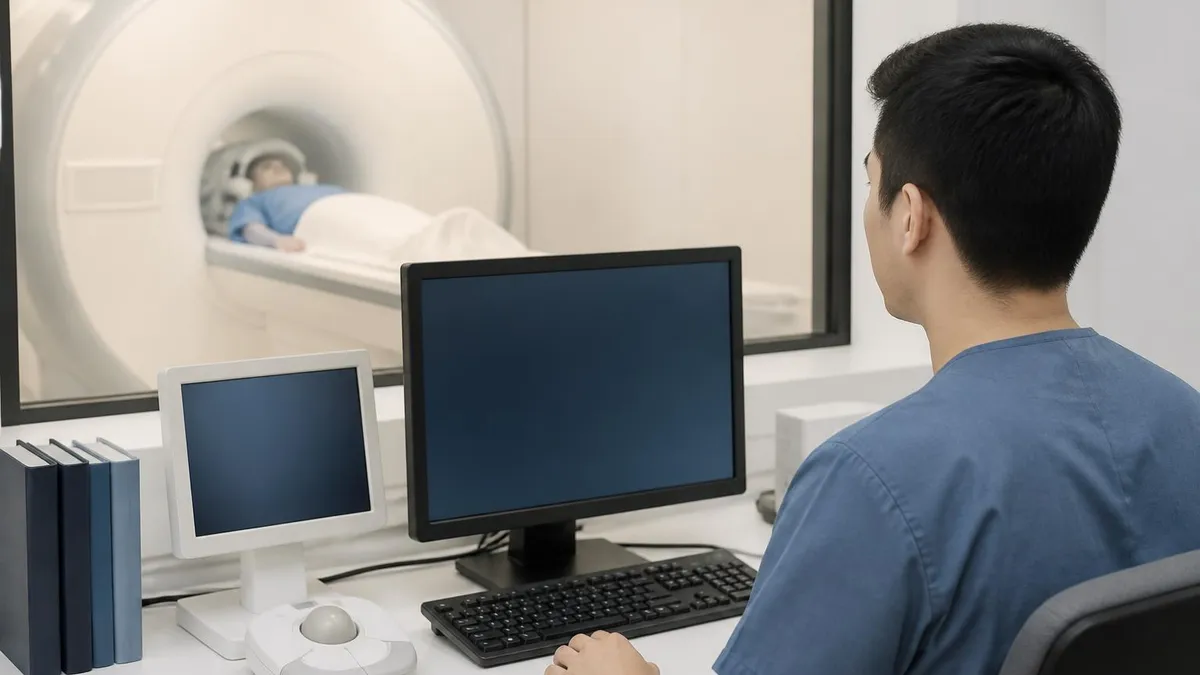
MRI Procedure: What to Expect Before, During and After Your Scan
About the Author

Medical Laboratory Scientist & Clinical Certification Expert
Johns Hopkins UniversityDr. Sandra Kim holds a PhD in Clinical Laboratory Science from Johns Hopkins University and is certified as a Medical Technologist (MT) and Medical Laboratory Scientist (MLS) through ASCP. With 16 years of clinical laboratory experience spanning hematology, microbiology, and molecular diagnostics, she prepares candidates for ASCP board exams, MLT, MLS, and specialist certification tests.
Join the Discussion
Connect with other students preparing for this exam. Share tips, ask questions, and get advice from people who have been there.
View discussion (8 replies)