
MRI Prep Instructions: Complete Patient Guide to Preparing for Your MRI Scan
MRI prep instructions explained step by step. What to wear, eat, bring, and avoid before your scan. 🧠 Full US patient guide.
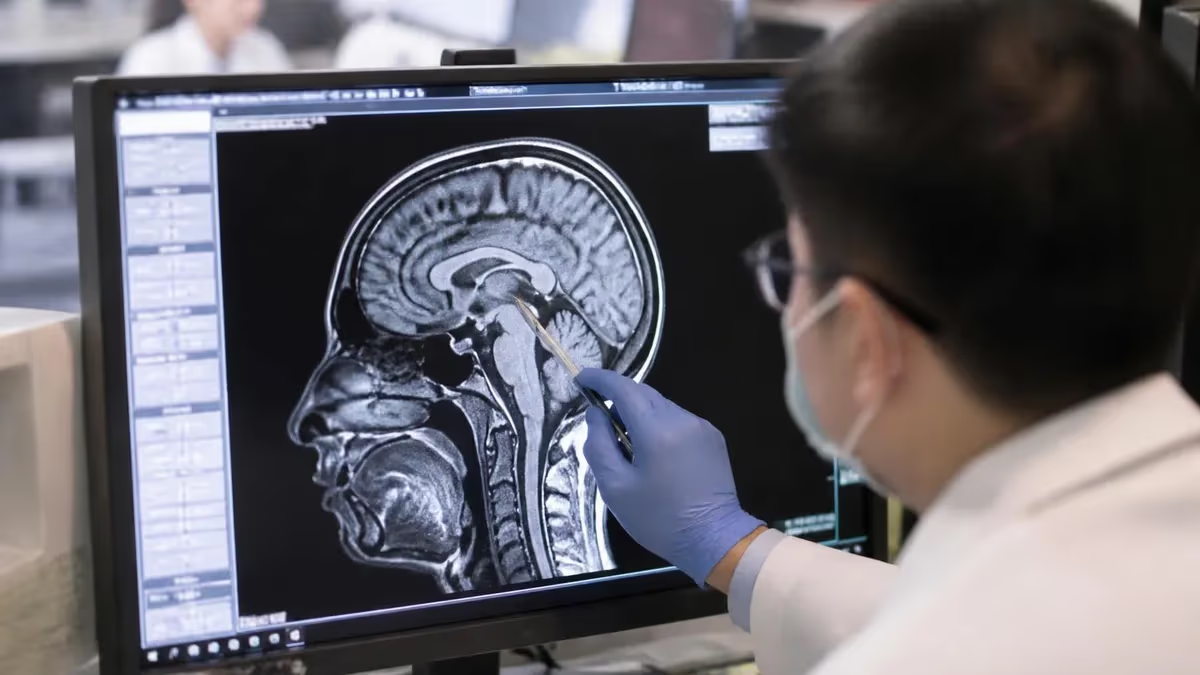
Following your mri prep instructions correctly can mean the difference between a clear, diagnostic-quality scan and a repeat appointment. MRI machines use powerful magnetic fields and radio waves to generate detailed images of soft tissues, organs, and structures inside the body — and because the technology is highly sensitive, even small preparation mistakes can degrade image quality or, in some cases, create genuine safety risks. Understanding what to do before you arrive at the imaging center puts you in control of your experience and helps the radiology team do their best work on your behalf.
The preparation process for an MRI begins well before you walk through the door of the imaging facility. Most patients receive a preparation sheet from their ordering physician or the imaging center itself, and that document is your primary guide. However, preparation instructions vary depending on the body part being imaged, whether contrast dye will be used, and your individual medical history. This article walks you through every major category of prep — from dietary guidelines and clothing to metal screening and medication management — so you arrive confident and ready.
One of the most common questions patients ask is whether they need to fast before an MRI. The answer depends heavily on the specific exam. For brain, spine, and extremity MRIs performed without contrast, most facilities allow you to eat and drink normally. However, abdominal, pelvic, or MRCP (magnetic resonance cholangiopancreatography) scans often require a four- to six-hour fast to minimize bowel motion artifacts and gas that can blur the images. Always confirm fasting requirements with your specific imaging center at least 24 hours before your appointment.
Metal screening is a non-negotiable part of every MRI visit, and it is more detailed than most patients expect. The MRI magnet is always on — it does not switch off between patients — and it is extraordinarily strong, typically between 1.5 and 3 Tesla in clinical settings. Ferromagnetic objects pulled into the bore can become dangerous projectiles, and some implanted electronic devices can malfunction or heat dangerously in the field. You will be asked to complete a thorough screening questionnaire covering surgical implants, pacemakers, cochlear implants, aneurysm clips, shrapnel, and even tattoos, which may contain metallic pigments.
Clothing preparation is simpler but still important. Wear comfortable, loose-fitting clothes with no metal hardware — no underwire bras, no jeans with metal rivets or zippers, no belts, and no shirts with decorative metal buttons or snaps. Many facilities will provide a gown regardless, but arriving in metal-free clothing saves time and reduces the number of items you need to secure in a locker. Leave jewelry, watches, body piercings, and hair accessories at home whenever possible, as these all need to be removed before you enter the scan room.
Patients who experience claustrophobia face a particular challenge with MRI, since the bore of a standard scanner is a narrow tube roughly 60 to 70 centimeters in diameter, and scans can last anywhere from 20 minutes to well over an hour depending on the exam. If you have previously experienced anxiety in enclosed spaces, notify your referring physician well in advance.
Options include oral anxiolytic medication prescribed before the scan, open MRI configurations (which use a lower field strength but are less confining), and sedation administered under supervision at the imaging facility. Do not wait until the day of the exam to raise this concern.
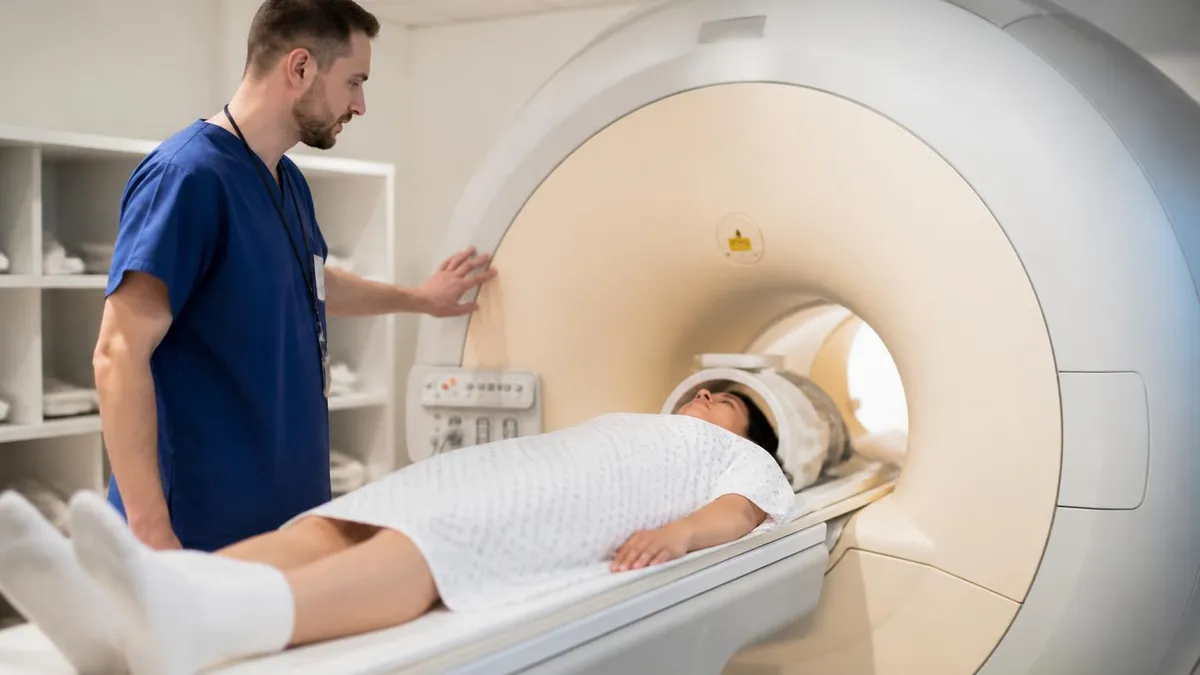
Finally, plan your logistics carefully. Most MRI exams require you to lie completely still for extended periods, and some contrast-enhanced studies involve an intravenous injection of gadolinium-based contrast agent administered by the technologist during the scan. You will need to allow extra time for check-in paperwork, the metal screening questionnaire, and any IV placement that may be required. If you are receiving sedation, you must arrange for a responsible adult to drive you home. Arriving 15 to 20 minutes early allows the team to address any last-minute questions before your scan time begins.
MRI Preparation by the Numbers
Step-by-Step MRI Preparation Timeline
1 Week Before — Confirm Exam Details
24 Hours Before — Review Fasting and Medication Rules
Night Before — Prepare Logistics
Morning Of — Final Preparations
At the Facility — Check-In and Screening
After the Scan — Recovery and Next Steps
Dietary preparation for an MRI is not one-size-fits-all, and getting it right requires understanding what kind of exam you are having. Brain MRIs, spine MRIs, and musculoskeletal exams of the knee, shoulder, or wrist almost never require fasting. You can eat a normal breakfast, lunch, or dinner before these scans because the digestive system does not appear in the field of view, and food intake does not significantly affect image quality for these regions. However, abdominal MRIs, pelvic MRIs, liver and pancreatic MRIs, and any MRCP study require strict fasting, typically for four to six hours before the appointment.
The reason fasting matters for abdominal and pelvic imaging is physiological. Food triggers peristalsis — the rhythmic muscular contractions that move food through the digestive tract — and even subtle bowel motion during a long MRI acquisition can create blurring artifacts that obscure pathology. A distended or gas-filled bowel similarly degrades image quality. When the stomach and intestines are empty and relatively quiescent, the radiologist can visualize structures like the liver parenchyma, pancreatic duct, gallbladder, kidneys, uterus, ovaries, prostate, and lymph nodes with much greater precision.
Medications require individual consideration. The general rule endorsed by most major imaging centers is to continue taking all routine daily medications — antihypertensives, thyroid medications, psychiatric medications, seizure medications — with a small sip of water even when fasting is required. The volume of water needed to swallow a pill is negligible and does not interfere with the scan.
The critical exception involves medications that stimulate bowel motility or affect renal function, and contrast-specific concerns apply to patients taking metformin, a diabetes medication. Metformin should be withheld starting the day of a contrast-enhanced MRI and for 48 hours afterward if renal function is normal, because gadolinium contrast can theoretically impair kidney clearance of the drug in susceptible patients.
Caffeine consumption is a subtle but frequently overlooked preparation detail. Some facilities recommend avoiding caffeine for several hours before an MRI because caffeine can slightly increase heart rate and vascular tone, which may affect perfusion-weighted imaging or cardiac MRI protocols. If you are scheduled for a cardiac MRI or a brain perfusion study, ask specifically whether caffeine restriction is advised. For most routine exams, a morning cup of coffee will not compromise your results, but confirming with the scheduling staff costs nothing and eliminates any ambiguity.
Hydration deserves special emphasis for patients receiving gadolinium-based contrast agents. Gadolinium is eliminated by the kidneys, and adequate hydration ensures efficient renal clearance. Patients with normal kidney function are encouraged to drink at least 32 ounces of water in the hours leading up to a contrast exam and to continue drinking water liberally afterward.
For patients with pre-existing kidney disease or a single functioning kidney, additional precautions apply — the radiologist or referring physician may order a recent serum creatinine or glomerular filtration rate (GFR) test before approving the use of contrast. Patients with a GFR below 30 mL/min/1.73 m² are generally not candidates for standard gadolinium contrast.
Alcohol should be avoided in the 24 hours before any MRI exam that includes sedation, because alcohol interacts unpredictably with benzodiazepines and other anxiolytics commonly used for MRI-related anxiety. Even without sedation, alcohol-related dehydration can make IV placement more difficult if contrast is planned. Smoking is not contraindicated but is best avoided in the hours before the scan, as nicotine can affect vascular tone and heart rate, potentially impacting certain specialized imaging sequences.
Supplements and herbal products are frequently forgotten during medication reviews, but several are clinically relevant. Blood-thinning supplements like fish oil, vitamin E, and ginkgo biloba increase bleeding risk if a biopsy or intervention is performed following the diagnostic MRI. Some herbal teas contain compounds that affect kidney function. When in doubt, bring a complete list of everything you take — prescription drugs, over-the-counter medications, vitamins, and supplements — to your pre-screening call and to your appointment. The MRI technologist and the radiologist can then make informed decisions about how to proceed safely.
MRI Safety Screening: Metal, Implants, and Special Populations
Every patient entering an MRI suite must complete a comprehensive metal screening questionnaire, and the answers must be accurate and complete. The screening covers surgical implants (joint replacements, spinal hardware, stents, heart valves), electronic devices (pacemakers, defibrillators, cochlear implants, neurostimulators, insulin pumps), vascular clips, shrapnel, bullets, and even metallic foreign bodies in the eyes from occupational exposure. Many modern implants are MRI-conditional — meaning they are safe under specific field strength, gradient, and SAR (specific absorption rate) conditions — but confirming compatibility requires the manufacturer's name, model number, and implant date.
Patients with cardiac implantable electronic devices (CIEDs) such as pacemakers or ICDs require special protocols and must be scanned in facilities with MRI-conditional CIED programs, where a cardiologist or device representative can interrogate and reprogram the device immediately before and after the scan. Cochlear implant patients follow similar protocols, typically requiring the implant to be deactivated by an audiologist prior to imaging. If you have any surgically implanted device, contact your implanting physician and the imaging center at least one week before your appointment to allow time for documentation and programming arrangements.
Pros and Cons of Thorough MRI Preparation
- +Reduces the likelihood of image artifacts caused by motion or metal, resulting in clearer diagnostic images
- +Decreases the risk of safety incidents by ensuring all implants and metal objects are identified and managed before the exam
- +Minimizes the chance of the scan being halted, repeated, or rescheduled due to preparation errors
- +Improves patient comfort by addressing anxiety, dietary needs, and logistical concerns in advance
- +Allows the radiology team to tailor contrast protocols, sequences, and positioning to your specific clinical needs
- +Supports faster gadolinium clearance through kidneys when hydration instructions are followed
- −Fasting for abdominal or pelvic MRI can be uncomfortable, especially for patients with diabetes or metabolic conditions
- −Gathering implant documentation from surgeons or device manufacturers can require multiple calls and takes time
- −Premedication protocols for contrast allergies require planning days in advance and add medication burden
- −Oral sedation for claustrophobia means you cannot drive yourself home, requiring a companion
- −Removing all metal accessories and jewelry can be inconvenient and requires secure storage at the facility
- −Strict preparation requirements can feel overwhelming for patients who are already anxious about the underlying diagnosis
Pros and Cons at a Glance
| Pros | Cons |
|---|---|
| Reduces the likelihood of image artifacts caused by motion or metal, resulting in clearer diagnostic images | Fasting for abdominal or pelvic MRI can be uncomfortable, especially for patients with diabetes or metabolic conditions |
| Decreases the risk of safety incidents by ensuring all implants and metal objects are identified and managed before the exam | Gathering implant documentation from surgeons or device manufacturers can require multiple calls and takes time |
| Minimizes the chance of the scan being halted, repeated, or rescheduled due to preparation errors | Premedication protocols for contrast allergies require planning days in advance and add medication burden |
| Improves patient comfort by addressing anxiety, dietary needs, and logistical concerns in advance | Oral sedation for claustrophobia means you cannot drive yourself home, requiring a companion |
| Allows the radiology team to tailor contrast protocols, sequences, and positioning to your specific clinical needs | Removing all metal accessories and jewelry can be inconvenient and requires secure storage at the facility |
| Supports faster gadolinium clearance through kidneys when hydration instructions are followed | Strict preparation requirements can feel overwhelming for patients who are already anxious about the underlying diagnosis |
Day-of MRI Preparation Checklist
- ✓Wear loose, comfortable clothing with absolutely no metal hardware, underwire, or metallic decorations.
- ✓Leave all jewelry, watches, rings, earrings, and body piercings at home rather than removing them at the facility.
- ✓Bring your photo ID, insurance card, and any prior imaging studies (CDs, films, or digital records) for comparison.
- ✓Bring a complete written list of all medications, supplements, and vitamins you currently take.
- ✓Confirm your fasting status the night before — eat or skip breakfast according to your exam-specific instructions.
- ✓Take routine medications with a small sip of water unless your physician has specifically instructed otherwise.
- ✓If receiving contrast, drink at least 32 ounces of water before arriving to support kidney function.
- ✓Arrange a driver in advance if you will be receiving oral sedation or IV anxiolytic medication.
- ✓Arrive at least 15 to 20 minutes early to allow time for check-in paperwork and the safety screening questionnaire.
- ✓Notify the technologist immediately of any anxiety, claustrophobia, or unexpected symptoms before entering the scan room.
The MRI Magnet Is Always On — Even Between Patients
Unlike CT or X-ray machines that can be powered off, superconducting MRI magnets operate continuously. There is no safe window to enter the scan room with metal objects. Even small ferromagnetic items like a forgotten paper clip in a pocket or a metal pen can accelerate toward the bore with dangerous force. Always complete the full safety questionnaire and confirm with staff before entering.
Certain patient populations require customized preparation approaches that go beyond the standard instructions. Pregnant patients represent one of the most frequently discussed special cases. MRI is generally considered safe during pregnancy because it does not use ionizing radiation, making it preferable to CT for many diagnostic questions.
However, most facilities avoid scanning during the first trimester unless there is a compelling clinical need, as a precautionary measure based on the theoretical concern about RF energy deposition during rapid fetal development. For second and third trimester patients, brain, spine, and extremity MRIs are routinely performed without hesitation. Gadolinium contrast is deferred unless absolutely necessary.
Pediatric patients present their own set of preparation challenges. Infants and young children cannot hold still for the duration of an MRI exam, so many pediatric MRIs are performed under general anesthesia or deep sedation administered by a pediatric anesthesiologist.
Parents or guardians must follow strict nil-by-mouth (NPO) instructions for their child, which are typically stricter than adult fasting guidelines — clear liquids may be prohibited for two to four hours before anesthesia, and solid food or formula for six to eight hours. Parents should bring comfort items like a favorite stuffed animal (which the technologist will screen for metal) to ease the child's anxiety during the pre-anesthesia period.
Patients with kidney disease require careful evaluation before contrast-enhanced MRI is ordered. The primary concern is nephrogenic systemic fibrosis (NSF), a rare but serious fibrosing condition associated with gadolinium deposition in patients with severely impaired renal clearance. Facilities managing these patients typically require a serum creatinine and calculated GFR within 30 days of the exam.
If contrast is deemed medically necessary in a patient with GFR between 15 and 30 mL/min/1.73 m², the radiologist may choose a macrocyclic GBCA (such as gadobutrol or gadoteridol), which has a lower risk profile than linear agents, and document a formal risk-benefit discussion in the medical record.
Diabetic patients who fast before abdominal or pelvic MRI must receive specific guidance about managing blood glucose during the NPO period. Insulin-dependent diabetic patients should not take their full morning insulin dose without eating, as this creates a serious hypoglycemia risk. Typically, the physician will advise holding rapid-acting insulin entirely and reducing the basal insulin dose. Patients on oral hypoglycemics, particularly metformin, must withhold the drug on the day of a contrast study as described in the dietary section. Bringing a glucose meter and a small emergency snack to the facility is prudent.
Patients with severe anxiety disorders or post-traumatic stress disorder may experience significant distress that standard claustrophobia protocols do not adequately address. For these individuals, open MRI — while offering lower field strength and potentially reduced image quality — may be the only viable option without general anesthesia. Some academic medical centers offer MRI-compatible virtual reality headsets that immerse the patient in a calming environment during the scan, reducing reported anxiety scores substantially. Early communication with both the referring physician and the imaging facility allows these accommodations to be arranged before the appointment day.
Patients with tattoos should inform the MRI technologist, particularly if the tattoo is large or was applied using older inks. Some vintage tattoo pigments contained iron oxide or other metallic compounds that can cause localized heating or tingling during the scan. Modern professional tattoo inks are generally much lower in metallic content, and significant reactions are rare, but the technologist should be aware so they can monitor for discomfort during the exam and terminate the sequence if needed. Permanent makeup (cosmetic tattooing of eyebrows, eyeliner, or lip liner) presents the same theoretical concern and should always be disclosed.
Older adults and patients with mobility limitations may need additional positioning support during the scan. MRI tables are narrow and firm, and lying flat for an extended period can be painful for patients with arthritis, hip replacements, or degenerative spine disease. Technologists are trained to use cushions, wedges, and bolsters to optimize patient positioning and comfort.
Patients who cannot lie flat due to severe kyphosis, congestive heart failure, or respiratory compromise should discuss alternative positioning options with the imaging center in advance, as some exams can be performed with the patient in a semi-recumbent position using creative coil placement and modified sequences.
You can continue preparing with the mri abdomen and pelvis cpt code, which includes answer explanations for every question.
You can continue preparing with the open mri near me, which includes answer explanations for every question.
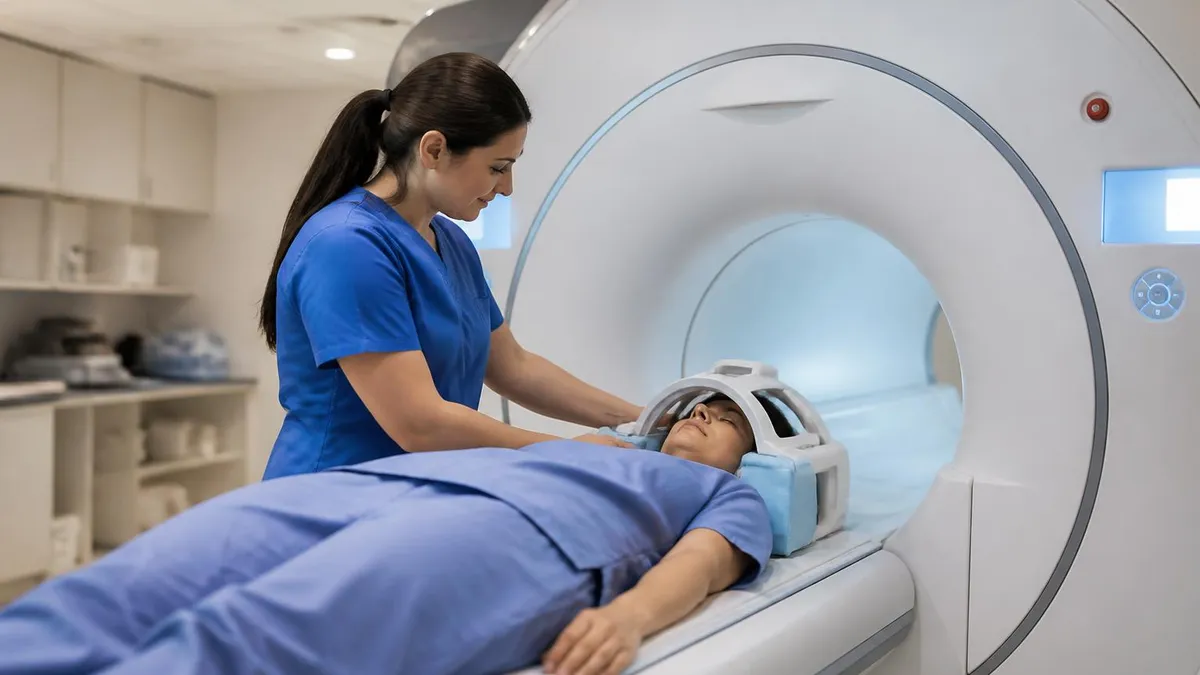
Never bring the following items into the MRI scan room: pacemakers or defibrillators (unless confirmed MRI-conditional and pre-programmed), ferromagnetic aneurysm clips, cochlear implants (unless confirmed MRI-compatible), metallic foreign bodies in the eyes, and any item that has not been explicitly cleared by the MRI technologist. Ignoring these restrictions can result in serious injury or death. When in doubt, always ask staff before proceeding.
After your MRI scan is completed, the experience does not simply end when you step off the table. Understanding the post-scan period helps you manage expectations, recognize symptoms that warrant follow-up, and support your body's recovery — particularly if contrast was administered. The majority of patients feel entirely normal immediately after an MRI without contrast and can resume all regular activities, including driving, eating, and working, without restriction. The examination itself causes no radiation exposure and has no known lasting biological effects when conducted with appropriate safety protocols.
For patients who received gadolinium-based contrast, hydration in the hours following the scan is the most important self-care step. Gadolinium is cleared through the kidneys, and drinking two to three liters of water over the course of the afternoon and evening after a morning scan accelerates this clearance. Most gadolinium is eliminated within 24 hours in patients with normal renal function. Mild symptoms like a lingering metallic taste, slight headache, or nausea that developed during or immediately after contrast injection typically resolve within an hour or two. Cold or warm compresses can alleviate any discomfort at the IV insertion site.
Patients who received oral sedation or IV anxiolytics for claustrophobia must adhere strictly to post-sedation instructions. Do not drive, operate heavy machinery, make significant financial or legal decisions, or consume alcohol for the remainder of the day following sedation. The sedative effects may persist longer than you feel them subjectively — impairment can be subtle but real. Have your designated driver take you home directly, rest for the afternoon, and eat a light meal when your appetite returns. Notify the prescribing physician if sedation effects seem prolonged or if you feel unusually drowsy the following morning.
Results timelines vary by facility, exam type, and radiologist availability. Routine outpatient MRIs are typically read by a radiologist within 24 to 48 business hours, and the report is sent electronically to your ordering physician, who then contacts you to discuss the findings.
Some facilities offer patient portal access where you can read the radiologist's report directly before speaking with your physician — if you choose to read your report this way, keep in mind that radiology reports use technical language and may describe incidental findings that require clinical context to interpret accurately. Do not self-diagnose based on a radiology report alone.
If your MRI was performed on an emergency or urgent basis — for example, to evaluate stroke, spinal cord compression, or acute joint injury — the radiologist communicates directly with the treating physician by phone or secure message in real time, and you will receive information much more quickly. In true emergencies, preliminary verbal reads occur while the patient is still in the department. For scheduled outpatient studies, patience is required, but most referring physicians make it a priority to contact patients within one to two business days of receiving results, especially when the findings are significant.
Follow-up imaging is a normal part of many MRI pathways. If the radiologist identifies a finding that cannot be fully characterized on a single exam — such as a liver lesion that is indeterminate on unenhanced imaging, a breast lesion that requires additional views, or a brain abnormality that needs comparison to a prior study — a follow-up MRI or complementary imaging modality like ultrasound or PET-CT may be recommended. This does not necessarily indicate a serious diagnosis; many follow-up recommendations are made simply because additional information would help avoid unnecessary intervention or confirm benignity with greater confidence.
Preparing for a potential follow-up at the time of your initial MRI is a practical strategy. Before you leave the imaging facility, ask the technologist or front desk staff how to obtain a copy of your images on CD or through a digital sharing platform.
Having your images readily available saves significant time if you seek a second opinion, see a specialist, or need to transfer care to a different health system. Most facilities are legally required to provide patients with copies of their images and reports upon request, often within 30 days, and many now offer instant digital download through patient portals.
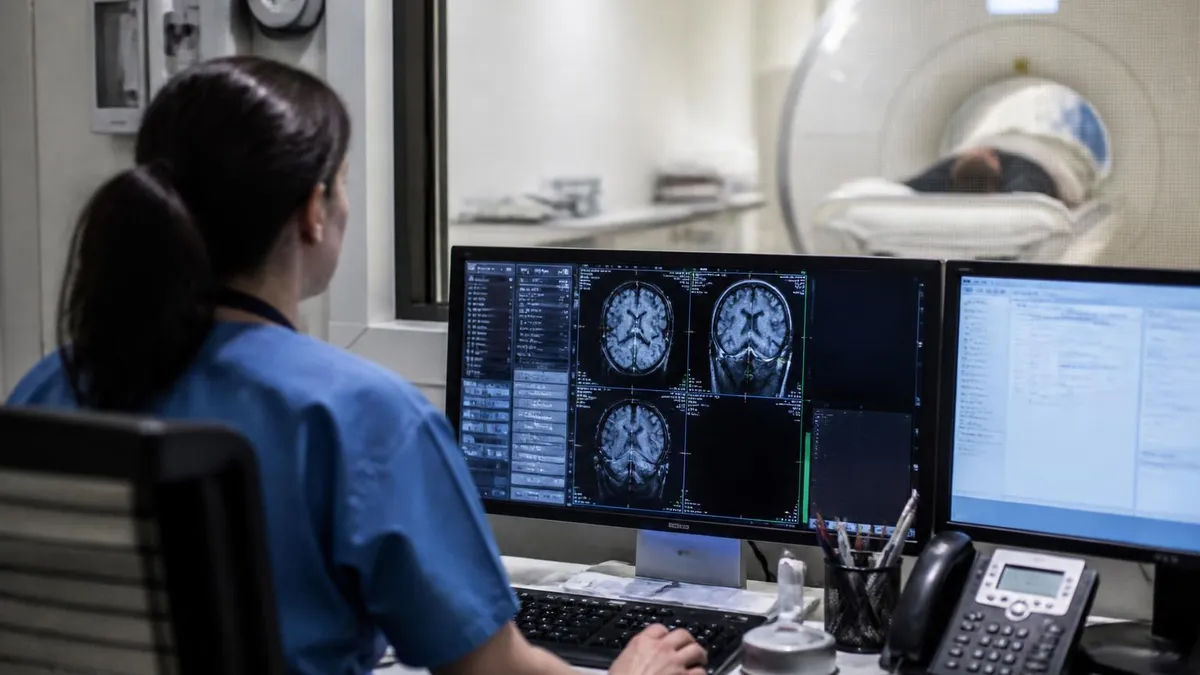
Practical tips from experienced MRI technologists can make your preparation significantly smoother. One of the most useful habits is to read your preparation instructions the moment you receive them — not the night before your scan. This gives you time to clarify ambiguities, contact your prescribing physician about medication management, gather implant documentation, and arrange transportation if needed. Last-minute preparation is the primary source of avoidable delays and rescheduled appointments, and most of the issues that arise can be solved in minutes if addressed a week in advance.
Listening to the technologist's coaching during the exam makes a measurable difference in image quality. When the technologist asks you to hold your breath for 15 to 20 seconds during an abdominal acquisition, doing so consistently and fully eliminates respiratory motion from the image.
When asked to remain completely still during a brain or spine sequence, even small head movements — nodding in response to instructions, swallowing, or blinking rapidly — can smear the image in ways that mimic or obscure pathology. Discuss any physical limitations that might affect your ability to comply (such as a tic disorder, involuntary tremor, or chronic cough) with the technologist before the exam begins so sequences can be adjusted accordingly.
Wearing a sleep mask during the exam is a surprisingly effective tip for patients who experience anxiety in the MRI bore. By blocking visual awareness of the confined space, a sleep mask can reduce claustrophobic sensations significantly without requiring medication. Combined with noise-reducing headphones and calming music, this low-tech approach works well for patients with mild to moderate claustrophobia who prefer to avoid pharmacological sedation. Many facilities provide these items on request; calling ahead to confirm availability allows you to ask the technologist to have them ready when you arrive.
If you are a healthcare provider, radiographer, or MRI student studying for a certification exam, understanding patient preparation from the clinical side adds depth to your technical knowledge. Being able to explain to a patient exactly why they must fast, why the magnet is always on, and how gadolinium is eliminated transforms preparation instructions from arbitrary rules into a coherent clinical protocol. This kind of patient education competency is tested in MRI registry and board examinations, and practicing articulating these explanations helps solidify the underlying principles in your own understanding.
Patients who have had previous MRIs often feel they do not need to complete the safety screening questionnaire because nothing has changed. This assumption is risky. Medical status changes between exams — a patient who had no implants two years ago may have since received a spinal cord stimulator, a coronary stent, or even a permanent dental implant.
Screening is required at every visit without exception, and experienced MRI technologists do not allow familiarity to become a shortcut. If you have had a prior MRI at the same facility, expect to complete the form again, and complete it carefully regardless of how repetitive it feels.
For patients preparing for their very first MRI, the most important psychological preparation is understanding what to expect acoustically. The sounds produced by MRI scanners — rapid rhythmic banging, loud thumping, high-pitched whirring — are a direct result of the gradient coils rapidly switching on and off to localize the MR signal spatially.
These sounds are entirely normal and expected; they do not indicate malfunction. Peak noise levels during certain fast-gradient echo sequences can exceed 110 decibels, roughly comparable to standing near a jackhammer. Hearing protection in the form of earplugs is not optional; it is provided at every facility and should always be worn throughout the exam.
Finally, consider documenting your MRI preparation experience for your own medical records. A simple note noting the facility, date, exam type, whether contrast was used, the contrast agent name and lot number if provided, and whether any unusual symptoms occurred gives you a reference for future exams. This information is particularly valuable if you are monitoring a known condition with serial imaging over years, need to confirm which contrast agents you have previously tolerated, or are asked by a new physician to summarize your imaging history. Personal health record-keeping is a simple habit with outsized long-term value.
Sample MRI - Magnetic Resonance Imaging Practice Questions
Try these questions from our free MRI - Magnetic Resonance Imaging practice tests. The correct answer and an explanation follow each question.
A patient reports a prior allergic-like reaction to a GBCA. Which of the following is the recommended premedication protocol?
- A. Antihistamine only, 1 hour before
- B. Corticosteroid + antihistamine, with the first steroid dose 13 hours before injection
- C. Aspirin 24 hours before
- D. No premedication is effective for GBCA reactions
Answer: B. Corticosteroid + antihistamine, with the first steroid dose 13 hours before injection
The ACR-recommended premedication protocol for prior GBCA reactions includes corticosteroids given 13, 7, and 1 hour before contrast, combined with an antihistamine 1 hour before.
Which of the following is the correct management for a patient who experiences an acute severe allergic-like reaction (anaphylaxis) following GBCA injection?
- A. Administer oral Benadryl and observe for 15 minutes
- B. Stop contrast injection, call code team, administer epinephrine 0.3 mg IM (1:1000)
- C. Administer 50 mg IV diphenhydramine and continue scan
- D. Administer IV saline bolus only
Answer: B. Stop contrast injection, call code team, administer epinephrine 0.3 mg IM (1:1000)
Anaphylaxis requires immediate cessation of injection, emergency team activation, and epinephrine 0.3 mg IM (1:1000 concentration) in the lateral thigh as first-line treatment.
When positioning a patient for a lumbar spine MRI, the technologist should place the patient in which position to reduce lumbar lordosis and improve image quality?
- A. Prone with legs flat
- B. Supine with knees flexed and supported by a foam wedge
- C. Lateral decubitus position
- D. Seated upright
Answer: B. Supine with knees flexed and supported by a foam wedge
Flexing the knees with a foam wedge support flattens lumbar lordosis, reducing the curvature and aligning disc spaces parallel to axial slices for optimal visualization.
Zipper artifact on an MRI image appears as a line of alternating bright and dark pixels across the image, most often caused by:
- A. Patient movement
- B. External RF interference from inadequate shielding or open RF cage door
- C. Gradient switching noise
- D. Coil coupling artifact
Answer: B. External RF interference from inadequate shielding or open RF cage door
Zipper artifact is caused by external radiofrequency interference entering the scan room, typically due to an open waveguide, broken shielding, or improperly closed scanner room door.
Take the full MRI - Magnetic Resonance Imaging practice test
MRI Questions and Answers
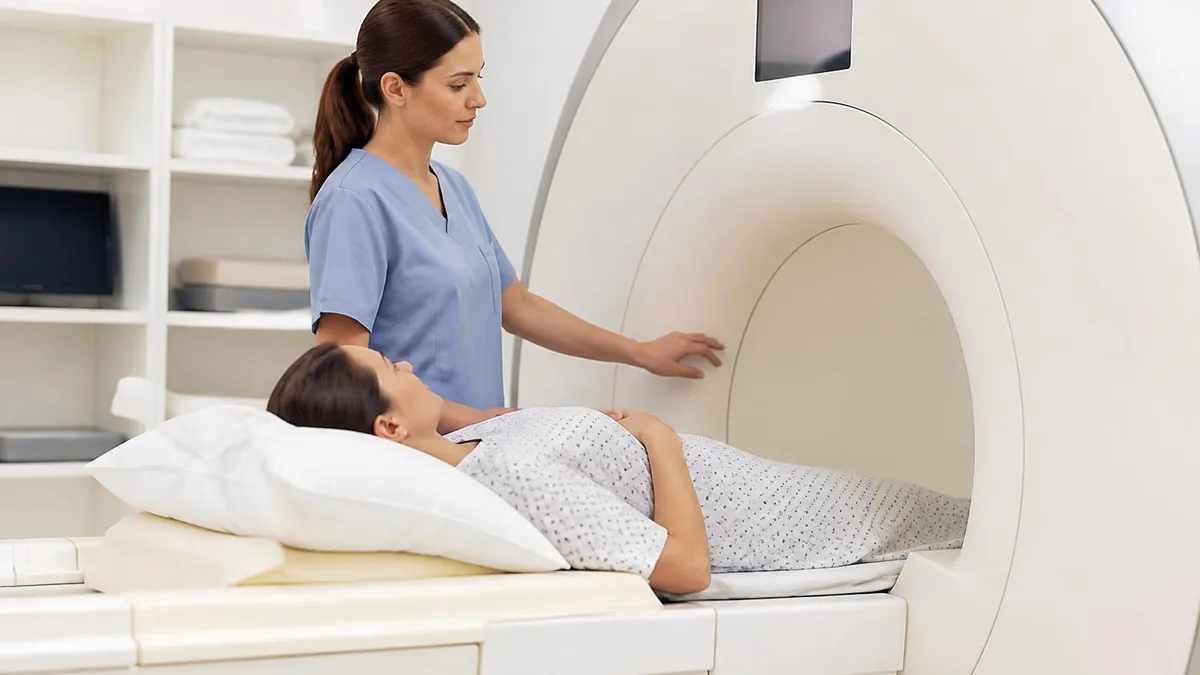
DWI MRI: Diffusion-Weighted Imaging Explained (2026 Guide)
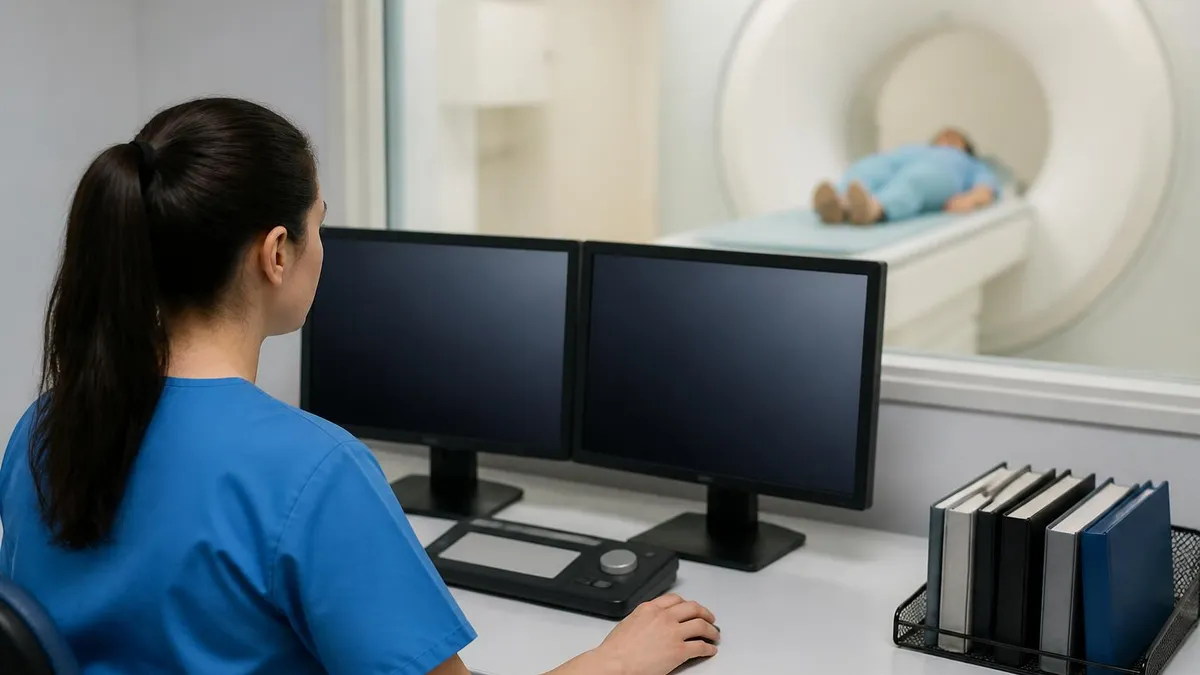
MRI Lumbar Spine Without Contrast: Complete Guide to the Scan, What It Shows, and How to Prepare

MRI Dye Contrast: Complete Guide to Gadolinium, Safety, and When It's Used
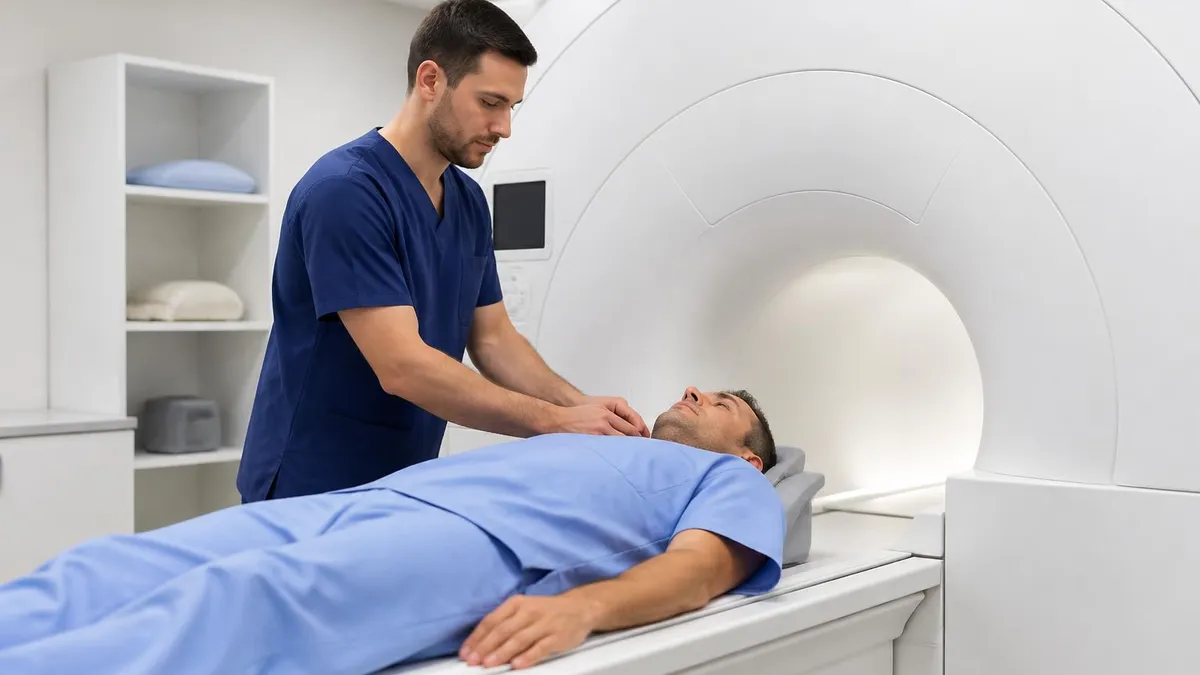
MRI History: From Nuclear Resonance to Modern Scanners
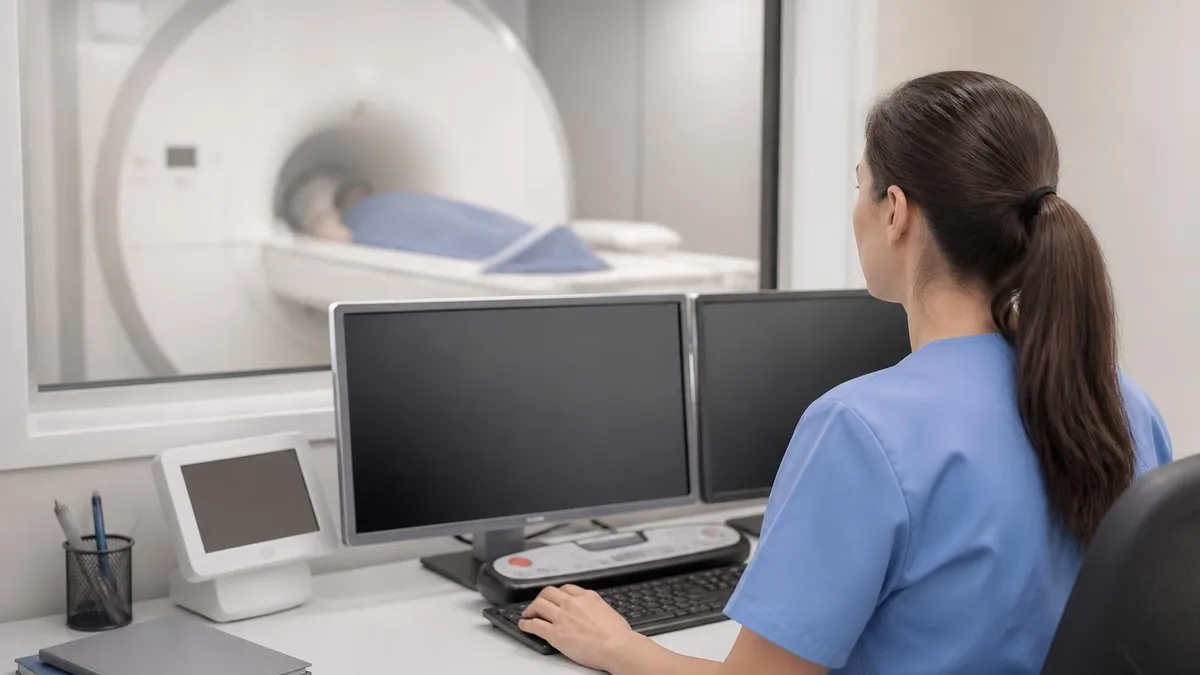
MRI of Cervical Spine: Complete Guide to Imaging, Anatomy, Pathology, and Patient Preparation
About the Author

Medical Laboratory Scientist & Clinical Certification Expert
Johns Hopkins UniversityDr. Sandra Kim holds a PhD in Clinical Laboratory Science from Johns Hopkins University and is certified as a Medical Technologist (MT) and Medical Laboratory Scientist (MLS) through ASCP. With 16 years of clinical laboratory experience spanning hematology, microbiology, and molecular diagnostics, she prepares candidates for ASCP board exams, MLT, MLS, and specialist certification tests.
Join the Discussion
Connect with other students preparing for this exam. Share tips, ask questions, and get advice from people who have been there.
View discussion (8 replies)