
MRI Lumbar Spine Without Contrast: Complete Guide to the Scan, What It Shows, and How to Prepare
Learn what an MRI lumbar spine without contrast shows, how to prepare, what to expect, and when contrast is needed. Complete 2026 guide. 🎯
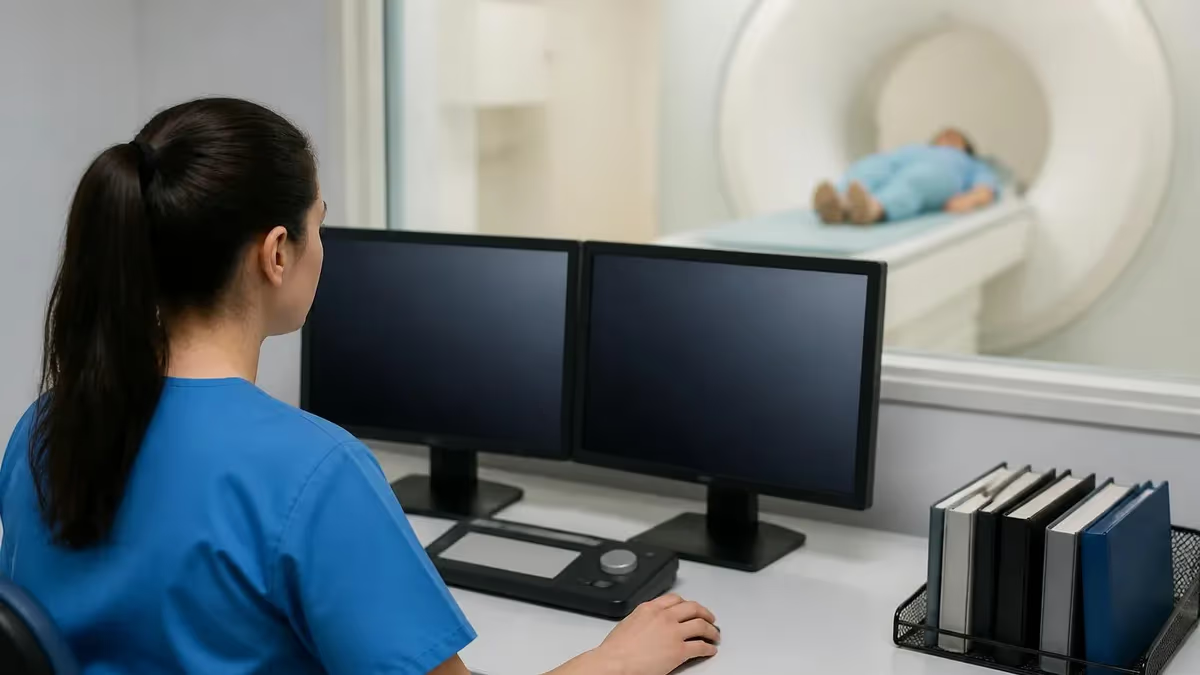
An MRI lumbar spine without contrast is one of the most frequently ordered imaging studies in modern medicine, giving clinicians a detailed, non-invasive look at the bones, discs, nerves, ligaments, and soft tissues of the lower back without exposing the patient to ionizing radiation. Unlike X-rays or CT scans, MRI uses powerful magnetic fields and radiofrequency pulses to generate high-resolution cross-sectional images, making it especially valuable for identifying disc herniations, spinal stenosis, nerve root compression, and early degenerative changes that other modalities simply cannot detect with the same clarity.
The term "without contrast" means the scan is performed without injecting gadolinium-based contrast agent into the patient's bloodstream. For the majority of routine lumbar spine evaluations — including lower back pain, sciatica, radiculopathy, and suspected degenerative disc disease — contrast is not required because the unenhanced images provide sufficient diagnostic information. Non-contrast studies are also preferred for patients with kidney disease, gadolinium hypersensitivity, or pregnancy, since they eliminate any risk associated with contrast administration.
Understanding the difference between a contrast and non-contrast lumbar MRI helps patients and clinicians choose the right study at the right time. A lumbar mri without contrast is the standard first-line imaging approach for most lower back complaints, while contrast is typically reserved for post-surgical evaluation, suspected infection, tumor workup, or cases where inflammatory conditions need to be characterized more precisely. The decision is always made by the ordering physician based on clinical presentation.
From a technical standpoint, a lumbar spine MRI without contrast typically takes between 30 and 50 minutes in the scanner. The patient lies supine on the MRI table, a surface coil is placed over the lower back to improve signal quality, and several different pulse sequences are acquired in axial, sagittal, and coronal planes. Common sequences include T1-weighted, T2-weighted, STIR (Short Tau Inversion Recovery), and sometimes proton-density weighted imaging, each of which highlights different tissue characteristics and pathological processes.
For MRI students and technologists preparing for registry exams, lumbar spine protocols are a core competency area. Knowing which sequences to run, how to position the patient, what landmarks to use for slice planning, and how to recognize common artifacts is essential both in clinical practice and on ARRT or ARMRIT board examinations. The lumbar spine is a high-yield topic that appears repeatedly across physics, anatomy, and pathology sections of the MRI registry.
This guide covers everything you need to know about lumbar MRI without contrast: the clinical indications, technical parameters, normal anatomy visible on the scan, common pathology identified, patient preparation steps, and what the radiologist's report is likely to contain. Whether you are a patient preparing for your first scan, a technologist brushing up on protocol, or a student studying for the MRI registry, this resource provides comprehensive, accurate, and up-to-date information across every dimension of this important imaging examination.
Throughout this article, you will also find practice quiz links, structured study tools, and expert insights drawn from real clinical MRI practice. The goal is not only to explain the science but to help you apply this knowledge confidently — whether that means walking into the MRI suite with less anxiety as a patient, executing a clean protocol as a technologist, or selecting the correct answer on a board exam under pressure.
Free MRI - Magnetic Resonance Imaging Study Tools
Interactive MRI - Magnetic Resonance Imaging resources on PracticeTestGeeks, free to start:
- MRI - Magnetic Resonance Imaging practice test — 200+ questions with instant scoring and answer explanations
- MRI - Magnetic Resonance Imaging flashcards — review key terms and concepts card by card
- MRI - Magnetic Resonance Imaging study guide — topic-by-topic overview of what the exam covers
- MRI - Magnetic Resonance Imaging cheat sheet — one-page printable summary for last-minute review
Lumbar MRI Without Contrast by the Numbers
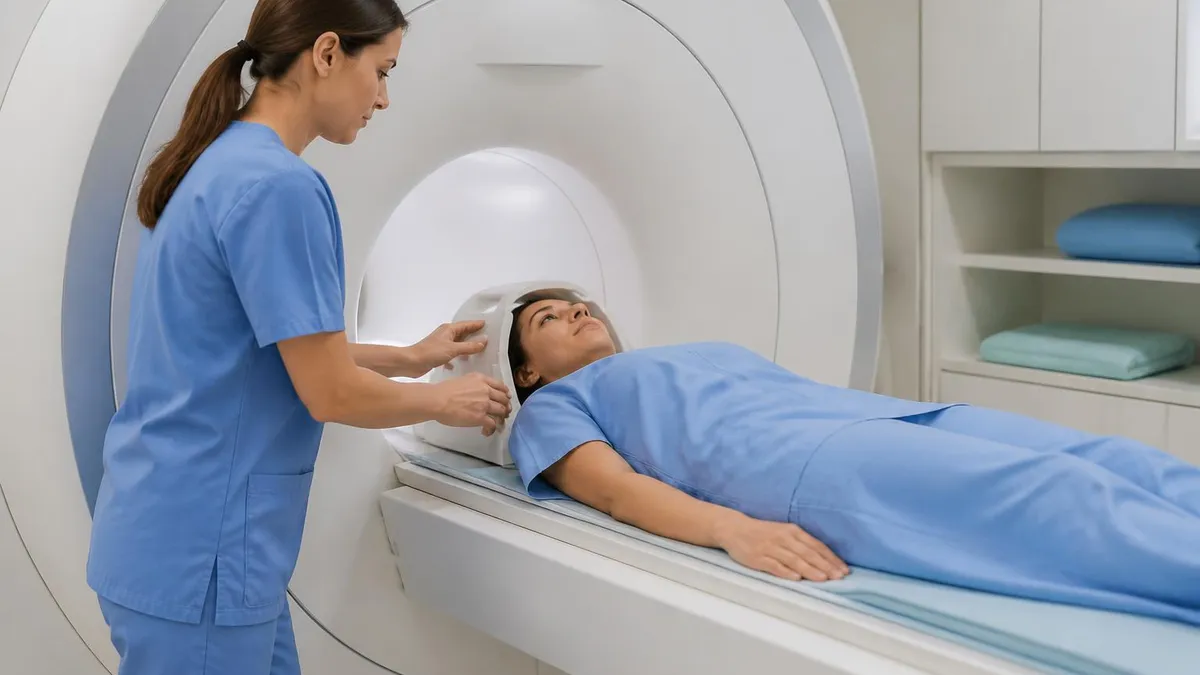
Standard Lumbar MRI Without Contrast Protocol: Step-by-Step
Patient Screening and Safety Check
Positioning and Coil Placement
Localizer Sequence Acquisition
Diagnostic Sequence Acquisition
Image Review and Quality Check
Report Transmission and Follow-Up
The pulse sequences selected for a lumbar MRI without contrast each serve a distinct diagnostic purpose, and understanding the signal characteristics of normal and abnormal tissue on each sequence is fundamental to both technologist competency and radiologist interpretation. T1-weighted sequences produce images where fat appears bright (hyperintense) and fluid appears dark (hypointense), making them ideal for evaluating bone marrow signal, identifying fat-containing lesions, and assessing overall spinal alignment. On a normal T1 lumbar study, the vertebral bodies exhibit uniform bright marrow signal, and the intervertebral discs appear uniformly darker than the adjacent endplates.
T2-weighted sequences are the workhorse of lumbar spine MRI because water — including the nucleus pulposus of a healthy disc — appears bright on T2. A young, well-hydrated disc has a classic "hamburger bun" appearance: a central bright nucleus pulposus surrounded by a darker fibrous annulus.
As discs degenerate, they lose water content and the nucleus pulposus signal darkens progressively on T2 — a finding described as disc desiccation, which represents the earliest MRI-detectable sign of degenerative disc disease. Grading systems such as the Pfirrmann Classification use T2 signal to systematically categorize disc degeneration from Grade I (normal, bright nucleus) to Grade V (complete loss of disc height and signal).
The STIR (Short Tau Inversion Recovery) sequence suppresses fat signal and is exquisitely sensitive to edema and inflammation within the vertebral bodies. Bone marrow edema — which appears as high signal on STIR — can indicate acute compression fractures, infectious spondylodiscitis, or active inflammatory spondyloarthropathy even when T1 and T2 images appear relatively normal. This makes STIR an essential sequence for detecting subtle pathology that might otherwise be missed on standard T1/T2 imaging alone, particularly in patients presenting with acute-onset severe back pain or suspected vertebral stress fractures.
Axial T2 sequences are planned perpendicular to each disc level, typically one axial stack per disc space from L1-L2 through L5-S1. These images provide a cross-sectional view of the spinal canal and neural foramina at each level, allowing direct visualization of disc herniations impinging on nerve roots, assessment of the anteroposterior canal diameter in spinal stenosis, and evaluation of the facet joints for hypertrophy or synovial cysts. The axial plane is where most clinically relevant nerve root compression findings are confirmed and characterized for surgical planning.
Slice thickness for lumbar spine sequences typically ranges from 3 to 4 mm on sagittal planes and 3 to 5 mm on axial planes, with a field of view of approximately 24 to 32 cm. Higher-field-strength magnets (3.0 Tesla) allow thinner slices and higher spatial resolution compared to 1.5 Tesla systems, though both field strengths are diagnostically adequate for routine lumbar spine evaluation. Some institutions add a coronal sequence — particularly useful for evaluating scoliosis, paraspinal musculature asymmetry, or multilevel pathology extending into the thoracolumbar junction.
Diffusion-weighted imaging (DWI) is not a standard component of routine lumbar spine protocols but may be added when spinal cord or conus medullaris pathology is suspected, or when the referring clinician needs to differentiate a benign osteoporotic compression fracture from a pathological fracture caused by malignant infiltration. On DWI, pathological fractures from metastatic disease characteristically show restricted diffusion (bright DWI, dark ADC map), whereas benign osteoporotic fractures typically do not restrict diffusion. This distinction can significantly alter the clinical workup and management pathway.
For MRI registry candidates, pulse sequence parameters are a frequent exam topic. Expect to be tested on the relationship between TR (repetition time), TE (echo time), and image contrast: long TR/long TE produces T2 weighting; short TR/short TE produces T1 weighting. STIR uses a specific TI (inversion time) of approximately 150–170 ms at 1.5T and 210–230 ms at 3.0T to null the fat signal. These numerical relationships, combined with knowledge of how tissue contrast changes with field strength and sequence parameters, are high-yield areas for the ARRT MRI registry examination.
MRI Practice Test Questions
Prepare for the MRI - Magnetic Resonance Imaging exam with our free practice test modules. Each quiz covers key topics to help you pass on your first try.
MRI Knowledge
MRI Exam Questions covering Knowledge. Master MRI Test concepts for certification prep.
MRI Physics
Free MRI Practice Test featuring Physics. Improve your MRI Exam score with mock test prep.
MRI Anatomy and Pathology
MRI Test Prep for MRI Anatomy and Pathology. Practice MRI Quiz questions and boost your score.
MRI Anatomy and Positioning
MRI Questions and Answers on MRI Anatomy and Positioning. Free MRI practice for exam readiness.
MRI Contrast Agents
Free MRI Quiz on MRI Contrast Agents. MRI Exam prep questions with detailed explanations.
MRI Patient Care and Positioning
MRI Practice Questions for MRI Patient Care and Positioning. Build confidence for your MRI certification exam.
Lumbar MRI Anatomy, Pathology, and Variants
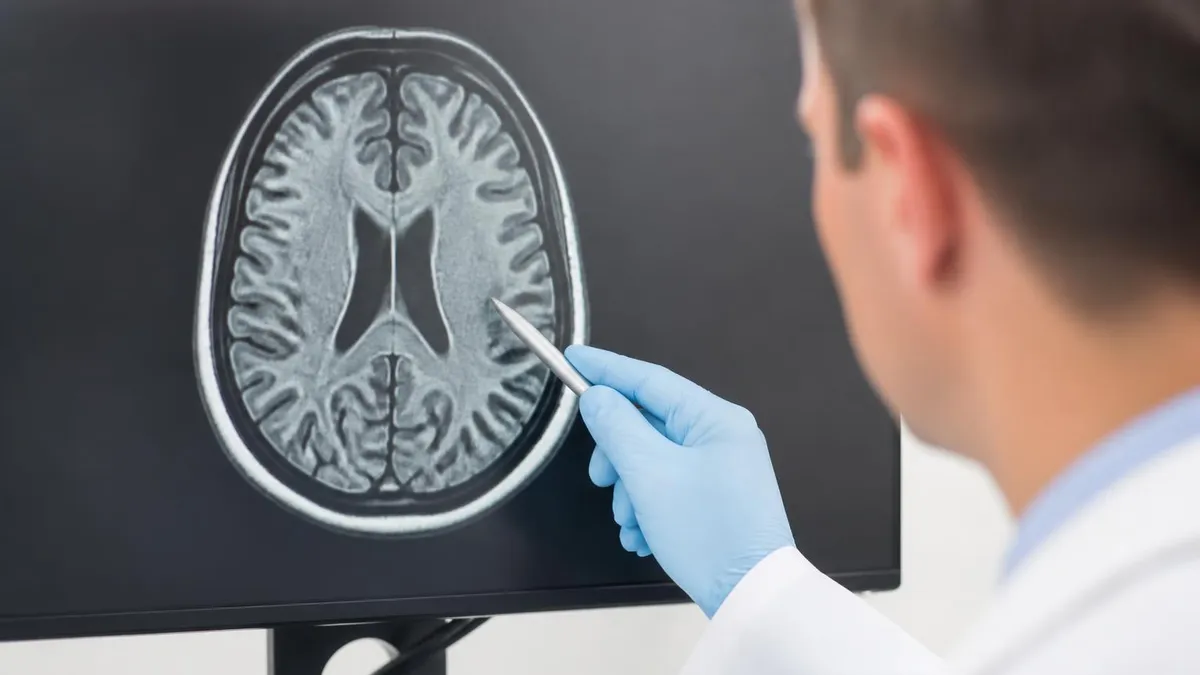
On a normal lumbar MRI without contrast, the five lumbar vertebral bodies (L1–L5) appear uniformly bright on T1 due to fatty marrow, with smooth cortical endplates and no signal abnormality. The intervertebral discs from L1-L2 through L4-L5 are well-hydrated, showing central T2 hyperintensity in the nucleus pulposus. The L5-S1 disc is frequently the largest and most susceptible to early degeneration. The thecal sac contains cerebrospinal fluid, which is bright on T2, and the cauda equina nerve roots are visible as parallel dark linear structures coursing through the CSF.
The conus medullaris — the terminal end of the spinal cord — normally terminates at or above the L1-L2 disc level in adults. A conus ending below L2 is termed a low-lying conus and may indicate tethered cord syndrome. The ligamentum flavum, posterior longitudinal ligament, and anterior longitudinal ligament are all visible on sagittal sequences and should appear thin and uniform without hypertrophy or calcification. The paraspinal musculature, including the erector spinae and multifidus, is assessed for asymmetry, atrophy, or fatty infiltration, which can correlate with chronic pain and functional impairment.
Lumbar MRI Without Contrast vs. With Contrast: Key Differences
- +No gadolinium injection required — eliminates risk of contrast reactions or nephrogenic systemic fibrosis in at-risk patients
- +Fully sufficient for diagnosing disc herniation, spinal stenosis, degenerative disease, and nerve root compression
- +Safe for patients with chronic kidney disease (eGFR < 30) who cannot tolerate gadolinium-based agents
- +Shorter appointment time since no IV placement, contrast injection, or post-contrast imaging delay is required
- +Lower overall scan cost compared to contrast-enhanced studies, reducing out-of-pocket expense for patients
- +Preferred approach for pregnant patients where gadolinium is contraindicated due to uncertain fetal effects
- −Cannot reliably differentiate postoperative scar tissue from recurrent disc herniation without contrast enhancement
- −Less sensitive for detecting early meningeal metastases, spinal cord tumors, or leptomeningeal disease
- −Epidural abscess and osteomyelitis may be undercharacterized without contrast to delineate extent of infection
- −Intradural extramedullary tumors such as meningiomas and schwannomas enhance avidly and may be harder to detect without contrast
- −Vascular malformations and dural arteriovenous fistulas are better characterized with contrast-enhanced sequences
- −Cannot assess blood-brain barrier breakdown or active demyelinating lesions in patients with suspected multiple sclerosis affecting the lumbar cord
Pros and Cons at a Glance
| Pros | Cons |
|---|---|
| No gadolinium injection required — eliminates risk of contrast reactions or nephrogenic systemic fibrosis in at-risk patients | Cannot reliably differentiate postoperative scar tissue from recurrent disc herniation without contrast enhancement |
| Fully sufficient for diagnosing disc herniation, spinal stenosis, degenerative disease, and nerve root compression | Less sensitive for detecting early meningeal metastases, spinal cord tumors, or leptomeningeal disease |
| Shorter appointment time since no IV placement, contrast injection, or post-contrast imaging delay is required | Epidural abscess and osteomyelitis may be undercharacterized without contrast to delineate extent of infection |
| Lower overall scan cost compared to contrast-enhanced studies, reducing out-of-pocket expense for patients | Intradural extramedullary tumors such as meningiomas and schwannomas enhance avidly and may be harder to detect without contrast |
| Preferred approach for pregnant patients where gadolinium is contraindicated due to uncertain fetal effects | Vascular malformations and dural arteriovenous fistulas are better characterized with contrast-enhanced sequences |
Lumbar MRI Without Contrast: Patient Preparation Checklist
- ✓Complete the MRI safety questionnaire honestly, listing all implants, surgical history, and metallic foreign bodies.
- ✓Remove all jewelry, piercings, hair accessories, and clothing with metallic components before entering the MRI suite.
- ✓Inform the technologist about any pacemakers, neurostimulators, cochlear implants, or insulin pumps before scanning.
- ✓Notify staff if you are pregnant or may be pregnant — MRI is generally considered safe but should be discussed with your physician.
- ✓Arrive 15 to 20 minutes early to complete paperwork and change into a patient gown provided by the facility.
- ✓No fasting is required for a lumbar MRI without contrast — eat and drink normally before your appointment.
- ✓Bring your photo ID, insurance card, and any prior lumbar imaging (CDs or radiology reports) for comparison.
- ✓Inform the technologist if you experience claustrophobia — anxiolytic medication can often be prescribed in advance by your physician.
- ✓Plan to lie still on your back for 30 to 50 minutes; use the restroom before the scan begins to maximize comfort.
- ✓Ask your ordering physician whether any medications should be taken or withheld on the day of the scan.
When Non-Contrast Is Enough: The 90% Rule
Studies show that more than 90% of lumbar spine MRI referrals can be fully evaluated without contrast. For the vast majority of patients with back pain, sciatica, or suspected disc herniation, a non-contrast protocol yields a complete and clinically actionable diagnosis. Contrast should be reserved for specific indications — postoperative evaluation, infection, tumor, or inflammatory conditions — and should not be added routinely, as it increases cost, exam time, and patient risk without improving diagnostic yield in standard cases.
When the radiologist dictates a lumbar spine MRI report, they systematically evaluate every anatomical structure visible on the images and generate a structured written document that the referring physician uses to guide clinical management. Understanding the typical structure and language of a lumbar MRI report helps patients interpret their results, helps clinicians extract actionable findings efficiently, and helps MRI students recognize the clinical relevance of the imaging features they are learning to identify. Most reports follow a standard format: clinical indication, technique, findings (organized by vertebral level), and impression.
The findings section of a lumbar MRI report typically begins with vertebral alignment — noting whether the lumbar lordosis is maintained, preserved, or straightened, and whether any spondylolisthesis or retrolisthesis is present. Vertebral body heights are assessed for compression or collapse, and bone marrow signal is described on T1 and STIR sequences. Normal marrow is described as homogeneous or symmetric; abnormal marrow may show focal or diffuse signal changes suggesting metastatic disease, hematopoietic reconversion, or Modic endplate changes associated with degenerative disc disease.
Each intervertebral disc level from L1-L2 through L5-S1 receives its own description. The radiologist notes disc height (normal, mildly/moderately/severely reduced), T2 signal of the nucleus pulposus (bright/intermediate/dark, corresponding to Pfirrmann grades), and any disc contour abnormality (bulge, protrusion, extrusion, or sequestration). The direction and degree of neural element impingement is specified — for example, "right paracentral disc extrusion at L4-L5 contacting and mildly displacing the traversing right L5 nerve root." This level of specificity guides surgical planning and correlates directly with the patient's radicular symptoms.
Spinal canal and foraminal dimensions are assessed at each level. Radiologists may describe central canal stenosis using the three-grade classification: mild (canal narrowed but CSF present around cauda equina), moderate (CSF partially effaced), or severe (CSF completely effaced with nerve root crowding). Foraminal stenosis is graded similarly and is particularly important at L4-L5 and L5-S1 where the exiting L4 and L5 nerve roots are most commonly compressed by disc-osteophyte complexes, hypertrophied facets, or foraminal disc herniations.
Facet joint degeneration is a common and important finding on lumbar MRI. Facet arthropathy is graded from 0 to 3 based on the presence of joint space narrowing, osteophytes, subchondral cyst formation, and cartilage loss. Hypertrophied facets may contribute significantly to lateral recess or central canal stenosis, and synovial cysts arising from degenerated facets can cause acute nerve root compression. The ligamentum flavum is also assessed for thickening — values greater than 4 mm are generally considered pathological and contribute to posterior canal narrowing, particularly in the context of degenerative spondylolisthesis.
Paraspinal and intraspinal soft tissues round out the findings section. The psoas muscles, erector spinae, and multifidus are evaluated for atrophy, asymmetry, or fatty infiltration. The conus medullaris and cauda equina are assessed for intrinsic signal abnormality, mass, or tethering. The impression section at the end of the report synthesizes all findings into a prioritized list of the most clinically significant diagnoses, typically numbered in order of relevance. The most important finding is listed first, followed by supporting or incidental findings, and the radiologist may suggest correlation with clinical findings or recommend additional imaging when indicated.
For patients reading their own reports, certain terms commonly cause unnecessary anxiety. "Degenerative disc disease" is a near-universal finding in adults over 40 and does not necessarily cause pain. "Disc bulge" refers to a broad-based extension of disc material beyond the vertebral endplates and is extremely common — studies show disc bulges on MRI in more than 50% of asymptomatic individuals over age 50. The critical question is not whether a finding is present on MRI, but whether it correlates anatomically and clinically with the patient's symptoms. This correlation between imaging and clinical findings is what guides treatment decisions.
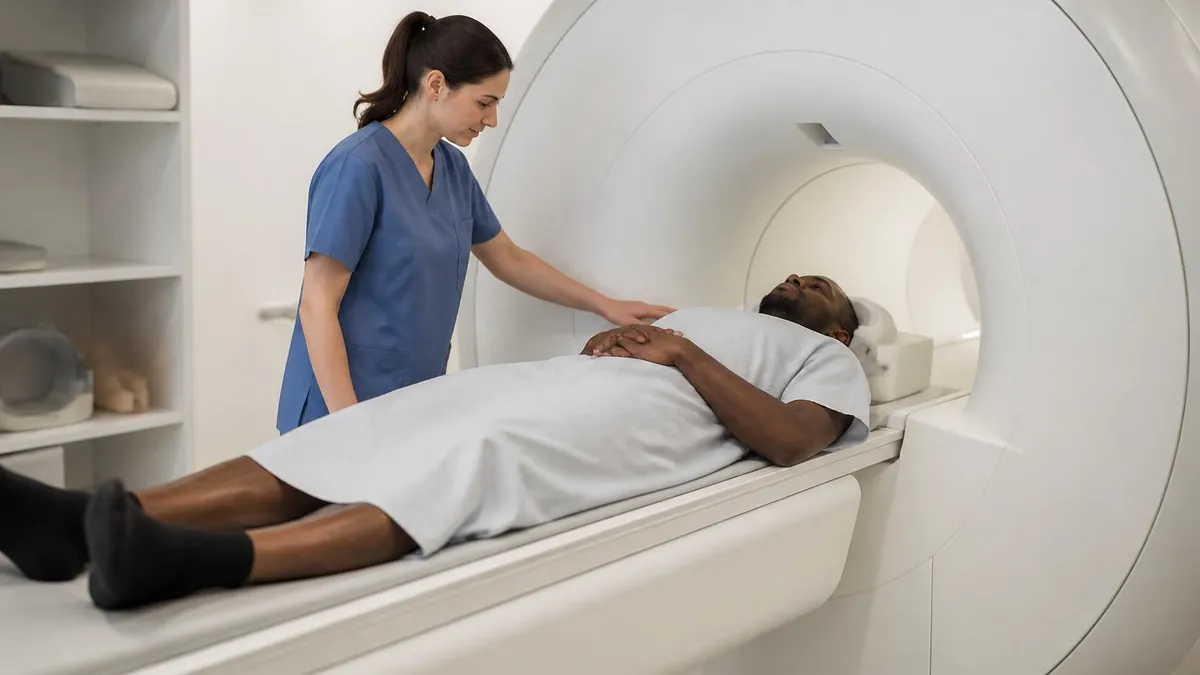
Research consistently shows that MRI findings like disc bulges, mild stenosis, and minor degenerative changes are present in a high percentage of pain-free adults. A 2015 study published in the American Journal of Neuroradiology found that 87% of asymptomatic adults over age 60 had disc degeneration on lumbar MRI. If your report mentions these findings, discuss them with your physician in the context of your specific symptoms — an MRI finding alone is rarely the whole clinical picture and should not be the sole basis for surgery or invasive treatment.
Preparing for the MRI registry examination requires a deep and applied understanding of lumbar spine imaging — not just memorizing anatomy labels, but knowing how to think like a technologist in a real clinical scenario. The ARRT MRI registry exam contains approximately 200 questions across three primary content areas: patient care (25%), image production (50%), and procedures (25%). The procedures section is where lumbar spine protocol knowledge is most directly tested, and it encompasses positioning, sequence selection, scan plane orientation, and image quality assessment.
One of the most commonly tested lumbar spine concepts on the registry is the proper orientation of axial slices for disc level evaluation. The correct approach is to angle each axial stack parallel to the disc space — not horizontal to the patient — because the lumbar discs are naturally tilted anteriorly due to lumbar lordosis.
Failing to angle the axial slices appropriately results in a partial volume effect that can obscure disc herniations or make normal discs appear abnormal. This is a practical point that directly affects diagnostic image quality and is a favorite topic for both written questions and image-based registry test items.
The MRI registry also tests knowledge of how to troubleshoot common artifacts encountered during lumbar spine scanning. Phase-encoding direction artifacts (ghosting from aortic pulsation or bowel motion) can be minimized by swapping the phase-encoding direction from anterior-posterior to right-left, or by applying saturation bands over the aorta and anterior abdominal structures. Chemical shift artifact at fat-water interfaces — such as the disc-vertebral endplate junction — is reduced by increasing receiver bandwidth, though this comes at the cost of a slight reduction in signal-to-noise ratio. Understanding these trade-offs is essential for selecting optimal acquisition parameters in clinical practice.
MRI safety is a major component of the registry exam and is directly relevant to lumbar spine imaging. Patients with lumbar spinal fusion hardware represent a particularly important safety category. Most modern titanium spinal implants are MR conditional — meaning they can be safely scanned under specific conditions (field strength ≤ 1.5T or 3.0T, specific SAR limits, and particular sequence restrictions). However, older stainless steel hardware may be ferromagnetic and could experience torque or heating in the magnetic field. The technologist must obtain implant identification information and verify conditional labeling before scanning any patient with spinal instrumentation.
Regarding field strength considerations for lumbar spine MRI, 3.0 Tesla systems offer superior signal-to-noise ratio, allowing thinner slices, higher spatial resolution, and faster acquisition times compared to 1.5 Tesla. However, 3.0T systems also produce greater susceptibility artifact from metallic implants, higher specific absorption rate (SAR) leading to greater tissue heating, and more pronounced chemical shift artifact. For postoperative lumbar spine patients with metallic instrumentation, many radiologists prefer 1.5T imaging or use metal artifact reduction sequences (MARS) such as SEMAC (Slice Encoding for Metal Artifact Correction) or MAVRIC (Multi-Acquisition Variable-Resonance Image Combination) to improve image quality around the hardware.
The study of coil selection and placement is another registry-relevant technical topic for lumbar spine MRI. Modern scanners use phased-array surface coils composed of multiple independent receiver elements that are combined electronically to provide both high signal-to-noise ratio and large field of view coverage.
For lumbar spine imaging, a spine phased-array coil is standard, positioned beneath the patient to receive signal from the posterior elements and disc spaces. Some institutions combine the spine coil with an anterior body coil element to provide wraparound signal coverage that improves visualization of the anterior soft tissues and prevertebral space — useful when evaluating for lymphadenopathy or anterior pathology in addition to the disc levels.
Practice tests and question banks remain among the most effective study tools for the MRI registry, particularly for high-yield procedural topics like lumbar spine protocols. Working through image-based questions that require you to identify disc herniation type, recognize Modic endplate changes, or spot a low-lying conus builds both knowledge and the pattern-recognition speed needed to perform well under exam time pressure. Combining question practice with systematic review of normal MRI anatomy is the optimal evidence-based approach to registry preparation, and the resources available on PracticeTestGeeks.com are specifically designed to reinforce these exact competencies.
You can continue preparing with the open mri machine near me, which includes answer explanations for every question.
Beyond understanding the scan itself, practical preparation for a lumbar MRI without contrast makes a significant difference in both image quality and patient experience. The single most important thing a patient can do to ensure a diagnostic-quality scan is to remain as still as possible throughout the entire examination.
Even small movements — shifting weight, swallowing forcefully, or breathing too deeply — can introduce motion artifact that degrades image sharpness and may require sequences to be repeated, lengthening the total examination time. Technologists often instruct patients to breathe normally and shallowly during the scan and to hold completely still during each individual sequence acquisition.
Claustrophobia is a real barrier for a significant subset of patients referred for lumbar MRI. Studies suggest that approximately 5 to 10 percent of patients experience significant anxiety or claustrophobia during MRI scanning, and up to 2 percent require sedation or cannot complete the examination. If you know from past experience that confined spaces cause anxiety, speak with your ordering physician well before your appointment date. A short-acting anxiolytic medication such as lorazepam can often be prescribed to take 30 to 60 minutes before the scan, dramatically reducing anxiety and improving the likelihood of successfully completing the examination without interruption.
Open MRI systems — which use either a wide-bore 70 cm bore design or a true open magnet with no enclosed tube — are an alternative for severely claustrophobic patients. Wide-bore 1.5T and 3.0T systems offer nearly the same image quality as standard-bore units with significantly more room around the patient.
True open MRI systems using 0.3T to 1.0T magnets sacrifice signal-to-noise ratio compared to high-field closed systems, but for patients who cannot tolerate any enclosed environment, they provide a viable diagnostic alternative for routine lumbar spine evaluation. Discuss open MRI availability with your referring physician or imaging facility before your appointment.
Noise is another aspect of MRI that surprises many first-time patients. The rapid switching of gradient coils during pulse sequence acquisition produces loud knocking, banging, and buzzing sounds that can exceed 100 decibels in some sequences. All MRI facilities provide earplugs or headphones to protect hearing and reduce perceived noise levels. Many modern scanners also offer music playback through MRI-compatible headphones, which many patients find helps pass the time and reduces anxiety during longer examinations. Do not hesitate to ask the technologist for noise protection before the scan begins.
For MRI students and technologists, developing efficient scan planning habits for lumbar spine studies saves time and reduces the need for sequence repeats. Always verify on the localizer that all five lumbar levels and the lumbosacral junction are included before starting the diagnostic sequences. When planning axial slices, carefully check that each stack is individually angled to the corresponding disc space, particularly at L4-L5 and L5-S1 where lordosis is greatest and the disc angle is most pronounced. Using the midline sagittal T2 image as your planning reference ensures consistent, reproducible slice placement across all patient studies.
Communication with the patient throughout the scan is an underappreciated but critical component of a successful lumbar MRI examination. Speak clearly and calmly through the intercom system before each new sequence to let the patient know approximately how long the next acquisition will take and to remind them to remain still.
After each sequence, reassure the patient that the images look good (when they do) and give them a realistic update on how much time remains. Patients who feel informed and supported are significantly less likely to move during sequences, and this directly translates to higher image quality and fewer repeat acquisitions.
Finally, for those studying for the MRI registry or preparing for a lumbar spine rotation in clinical training, invest time in systematically reviewing normal lumbar MRI anatomy on actual clinical images before attempting pathology identification. The ability to confidently distinguish the L4 nerve root from the L5 nerve root on an axial image, to trace the exiting root through the neural foramen, and to recognize the normal appearance of the posterior elements, facets, and ligaments establishes the visual baseline necessary to recognize when something is abnormal.
Pathology recognition is only possible after normal anatomy is deeply internalized, and that process accelerates dramatically when combined with hands-on clinical scanning experience and targeted registry-style practice questions.
Sample MRI - Magnetic Resonance Imaging Practice Questions
Try these questions from our free MRI - Magnetic Resonance Imaging practice tests. The correct answer and an explanation follow each question.
For a contrast-enhanced MRA of the aorta, the bolus tracking technique monitors contrast arrival in which vessel to trigger the 3D acquisition?
- A. Superior mesenteric artery
- B. Abdominal aorta or descending thoracic aorta at the level of interest
- C. Right atrium
- D. Femoral artery
Answer: B. Abdominal aorta or descending thoracic aorta at the level of interest
A monitoring slice is placed at the aorta at the target level; when the contrast bolus arrives (signal threshold), the 3D acquisition is automatically triggered.
Which MRI pulse sequence is most commonly used to perform MR angiography without contrast injection?
- A. Time-of-flight (TOF) angiography
- B. Inversion recovery with fat suppression
- C. Echo planar imaging (EPI)
- D. Spin echo with long TR/TE
Answer: A. Time-of-flight (TOF) angiography
TOF MRA relies on flow-related enhancement: unsaturated blood flowing into a saturated imaging slice produces high signal relative to stationary tissue.
When imaging the lumbar spine, which position best opens the intervertebral foramina and reduces lumbar lordosis for improved visualization?
- A. Prone with legs extended
- B. Supine with legs elevated on a cushion (knees and hips flexed)
- C. Lateral decubitus
- D. Prone with pillow under abdomen
Answer: B. Supine with legs elevated on a cushion (knees and hips flexed)
Flexing the hips and knees while supine flattens lumbar lordosis, opens intervertebral foramina, and improves disc and nerve root visualization.
When positioning a patient for a lumbar spine MRI, the technologist should place the patient in which position to reduce lumbar lordosis and improve image quality?
- A. Prone with legs flat
- B. Supine with knees flexed and supported by a foam wedge
- C. Lateral decubitus position
- D. Seated upright
Answer: B. Supine with knees flexed and supported by a foam wedge
Flexing the knees with a foam wedge support flattens lumbar lordosis, reducing the curvature and aligning disc spaces parallel to axial slices for optimal visualization.
Take the full MRI - Magnetic Resonance Imaging practice test
MRI Questions and Answers
MRI of Cervical Spine: Complete Guide to Imaging, Anatomy, Pathology, and Patient Preparation
Knee MRI Images: A Complete Guide to Reading, Understanding, and Interpreting Knee Scans
Ace Your Exam with MRI Practice Test 2026 Prep

MRI Tech School 2026 — Programs, Requirements, and What to Expect
MRI Procedure: What to Expect Before, During and After Your Scan
About the Author

Medical Laboratory Scientist & Clinical Certification Expert
Johns Hopkins UniversityDr. Sandra Kim holds a PhD in Clinical Laboratory Science from Johns Hopkins University and is certified as a Medical Technologist (MT) and Medical Laboratory Scientist (MLS) through ASCP. With 16 years of clinical laboratory experience spanning hematology, microbiology, and molecular diagnostics, she prepares candidates for ASCP board exams, MLT, MLS, and specialist certification tests.
Join the Discussion
Connect with other students preparing for this exam. Share tips, ask questions, and get advice from people who have been there.
View discussion (8 replies)