HVAC System Components: The Complete Guide to Every Part 2026 July
HVAC system components explained: compressor, condenser, evaporator, blower, thermostat, ductwork. Learn what each part does, costs, and failure signs. ✅
Understanding hvac system components is the foundation of every successful career in heating, ventilation, and air conditioning. Whether you are studying for the EPA 608 exam, training as an apprentice, or simply trying to maintain your home system, knowing what each part does and how it interacts with the rest of the unit will save you time, money, and frustration. A modern split system contains more than two dozen mechanical, electrical, and electronic parts working in precise coordination to move heat, moisture, and air through your home.
At its core, an HVAC system performs four jobs: it generates heating or cooling, it moves conditioned air, it filters and dehumidifies that air, and it controls the entire process through sensors and switches. Each of these jobs is handled by a specific group of components. The refrigerant circuit handles heat transfer, the air handler moves the air, the filter and coil manage moisture and particulates, and the thermostat plus control board orchestrate every cycle from start to finish.
Most residential systems in the United States are split systems, meaning the condenser unit lives outside and the evaporator and air handler live inside, typically in a closet, attic, or basement. Commercial systems often use packaged hvac rtu 3d cad york variable refrigerant flow setups, or chilled-water plants, but the fundamental components remain remarkably similar in function. A compressor still compresses, a coil still transfers heat, and a fan still moves air, regardless of how big or small the equipment is.
Technicians who can name every part, explain its role, and diagnose its failure mode command higher wages and finish service calls faster. Homeowners who understand the basics avoid being upsold on unnecessary repairs and can have informed conversations with contractors. This guide walks through every major component you will encounter in residential and light commercial work, from the obvious ones like the thermostat to the often-forgotten contactor, capacitor, and reversing valve.
We will also cover failure symptoms, typical lifespans, replacement costs, and the diagnostic logic that connects a customer complaint to a specific component. By the end you will be able to look at any HVAC schematic and trace the path of refrigerant, air, and electricity from start to finish. That mental map is the single biggest difference between a parts-changer and a real diagnostician.
The components fall into four broad categories: refrigeration, air distribution, electrical and controls, and accessories like filters, humidifiers, and UV lights. Each category has its own failure patterns, maintenance requirements, and code considerations. Some components last the life of the equipment, while others are wear items that need attention every few years. Knowing which is which is part of building professional judgment.
This article is structured so you can read it straight through or jump to specific sections using the table of contents. We have included practice quizzes throughout, real-world cost ranges, and a frequently asked questions section at the end. If you are preparing for licensing or certification, treat this as a study companion rather than a replacement for hands-on training.
HVAC Components by the Numbers
Major HVAC Component Categories
The sealed loop that moves heat. Includes the compressor, condenser coil, metering device, evaporator coil, and the copper or aluminum tubing that connects them. This circuit is pressurized with refrigerant.
Components that move and direct air through the home. Includes the blower motor, blower wheel, ductwork, registers, return grilles, and dampers. Static pressure and CFM are key measurements here.
Wiring, transformers, contactors, capacitors, relays, control boards, and the thermostat. These parts call for cooling or heating and protect the system from electrical faults during operation.
Air filters, UV lights, electronic air cleaners, humidifiers, dehumidifiers, and fresh-air ventilators. These components manage particulates, microbes, and moisture levels for indoor air quality.
High and low pressure switches, limit switches, flame sensors, rollout switches, float switches, and freeze stats. They shut the system down before damage occurs when something goes wrong.
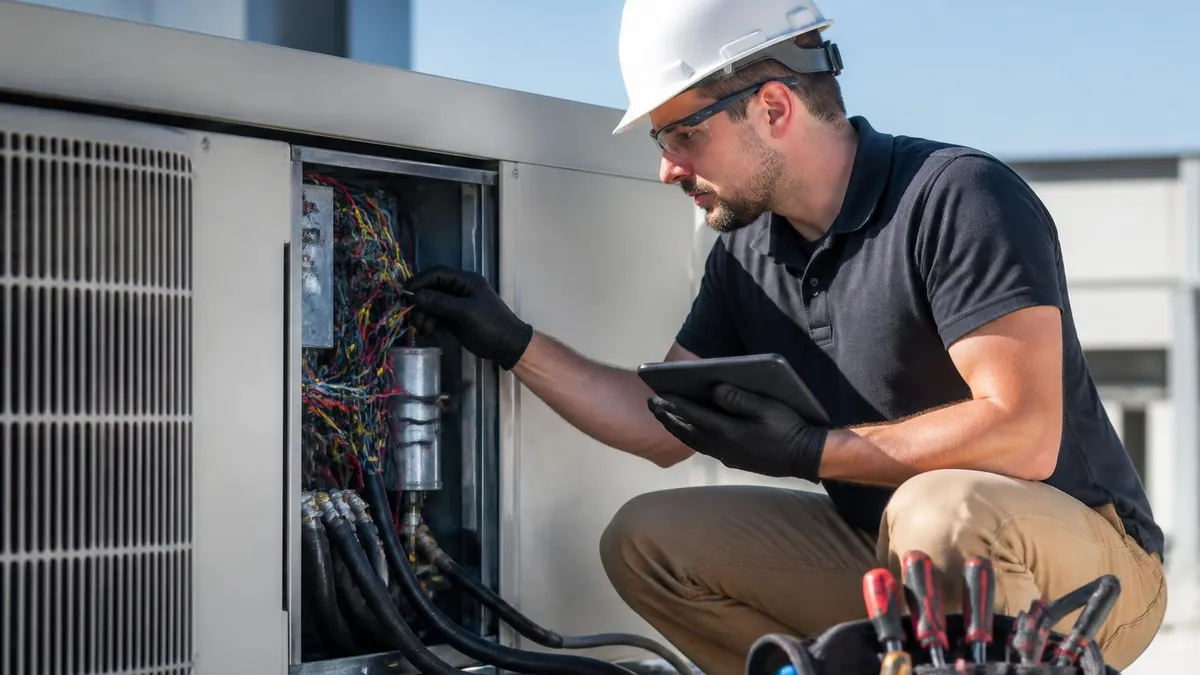
The refrigeration circuit is the heart of any cooling or heat pump system, and it contains four primary hvac system components: the compressor, the condenser, the metering device, and the evaporator. These four work together to absorb heat from one location and release it at another. Refrigerant changes state from liquid to vapor and back again as it cycles through, and each component is engineered specifically for one phase of that journey.
The compressor is the most expensive single part in the system and the one technicians fear losing most. It pumps low-pressure vapor refrigerant up to high pressure, which raises its temperature well above outdoor ambient. Common types include scroll, reciprocating, rotary, and screw compressors. Scrolls dominate modern residential equipment because they are quiet, efficient, and tolerant of liquid slugging better than older designs. A failed compressor typically costs between $1,200 and $2,800 installed.
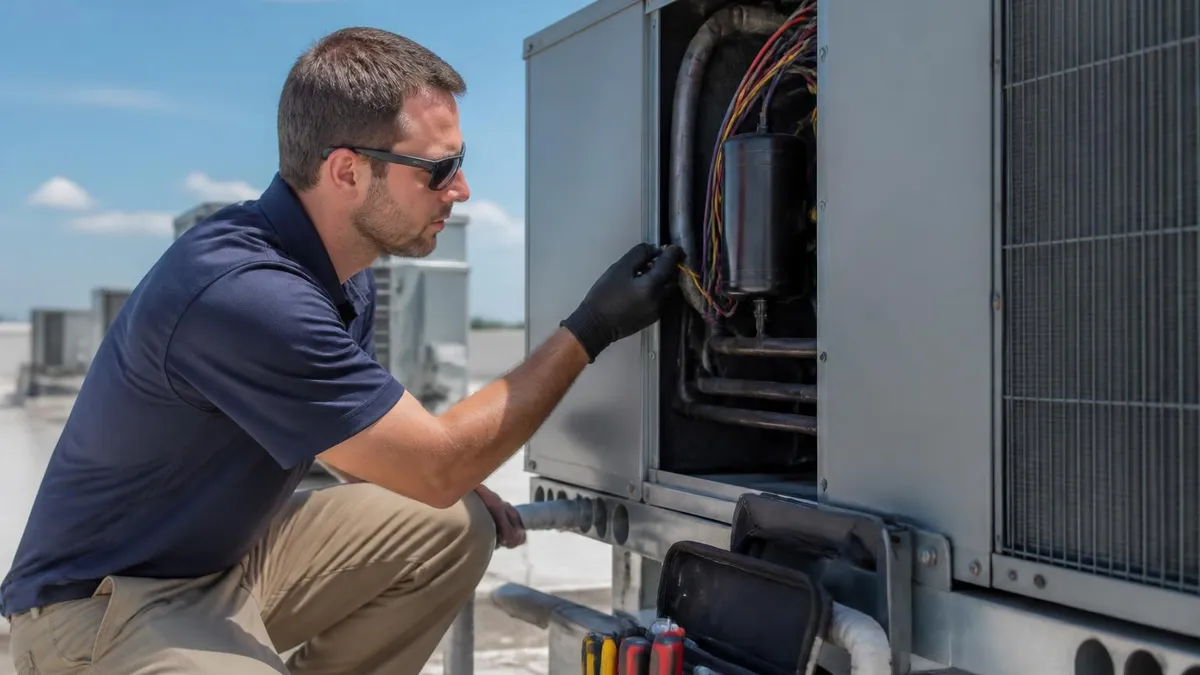
From the compressor, hot high-pressure vapor flows into the condenser coil, which is the finned tubing inside the outdoor unit. A condenser fan pulls outdoor air across the coil, and as the refrigerant releases heat to the air, it condenses into a high-pressure liquid. Dirty condenser coils are the single most common cause of summer no-cool calls. A coil packed with cottonwood seeds or grass clippings can cut capacity by twenty percent and force the compressor to work in dangerous temperature ranges.
The liquid refrigerant then travels through the liquid line to the metering device, which is either a thermostatic expansion valve, an electronic expansion valve, or a fixed orifice piston. The metering device creates a pressure drop that flashes some of the liquid into vapor, dropping its temperature dramatically. This is where the refrigerant transitions from the high side of the system to the low side. TXVs and EEVs modulate based on superheat readings, while piston systems rely on a fixed bore.
Inside the evaporator coil, the cold low-pressure refrigerant absorbs heat from the indoor air being blown across it. As it absorbs heat, it boils back into a vapor, which is the entire reason refrigerants are designed with specific boiling points. The vapor returns to the compressor through the suction line, and the cycle repeats. Condensate from humidity removal collects in a drain pan and exits through a PVC line that must be cleaned regularly to prevent backups.
Heat pumps add one critical component to this circuit: the reversing valve. This four-way valve swaps the direction of refrigerant flow so the outdoor coil becomes the evaporator and the indoor coil becomes the condenser during heating mode. A stuck reversing valve is a classic heat pump complaint and can be diagnosed by feeling the temperature of the four refrigerant lines connected to it. Defrost boards and outdoor sensors round out the heat pump controls.
If you want to dive deeper into specific equipment choices, our guide to HVAC Units: Types, Sizing, Costs, and How to Choose breaks down the differences between split systems, packaged units, mini-splits, and geothermal in plain language. Understanding equipment options helps you make sense of how components are arranged differently across system types.
HVAC Practice Test Questions
Prepare for the HVAC - Heating Ventilation and Air Conditioning exam with our free practice test modules. Each quiz covers key topics to help you pass on your first try.
HVAC Air Conditioning
HVAC Exam Questions covering Air Conditioning. Master HVAC Test concepts for certification prep.
HVAC Code Compliance
Free HVAC Practice Test featuring Code Compliance. Improve your HVAC Exam score with mock test prep.
HVAC Electrical Controls
HVAC Test Prep for Electrical Controls. Practice HVAC Quiz questions and boost your score.
HVAC Energy Efficiency
HVAC Questions and Answers on Energy Efficiency. Free HVAC practice for exam readiness.
HVAC Heating Systems
HVAC Mock Test covering Heating Systems. Online HVAC Test practice with instant feedback.
HVAC Load Calculations
Free HVAC Quiz on HVAC Load Calculations. HVAC Exam prep questions with detailed explanations.
HVAC Tools and Equipment
HVAC Practice Questions for HVAC Tools and Equipment. Build confidence for your HVAC certification exam.
HVAC Refrigeration
HVAC Test Online for Refrigeration. Free practice with instant results and feedback.
HVAC Safety Practices
HVAC Study Material on Safety Practices. Prepare effectively with real exam-style questions.
HVAC System Design
Free HVAC Test covering System Design. Practice and track your HVAC exam readiness.
HVAC Thermodynamics
HVAC Exam Questions covering Thermodynamics. Master HVAC Test concepts for certification prep.
Air Distribution Components in Detail
The blower assembly moves conditioned air through the duct system and back to the equipment. It consists of a motor, a squirrel-cage blower wheel, and a housing that directs airflow toward the supply plenum. Modern systems use ECM variable-speed motors that ramp up and down based on demand, while older PSC motors run at a fixed speed selected by tap.
A failing blower motor often hums but does not spin, runs hot to the touch, or trips its internal thermal overload. Replacement ECM motors run $400 to $900 with labor. Blower wheels themselves rarely fail mechanically but accumulate dust that throws them out of balance, causing vibration and reduced airflow. Cleaning a blower wheel restores efficiency dramatically and is part of every premium maintenance visit.
Repairing vs Replacing Individual Components
- +Targeted repairs are far cheaper than full system replacement
- +Most components can be swapped without touching the refrigerant circuit
- +Capacitors, contactors, and motors are commonly stocked on service trucks
- +Repairs preserve the original installation and avoid permit complications
- +Manufacturer warranties often cover parts for the first five to ten years
- +Skilled diagnosis prevents replacing parts that are not actually failed
- −Repairing one part on an aging system often leads to another failure soon after
- −Older equipment may use R-22 refrigerant that is expensive and being phased out
- −Mismatched components after repair can reduce overall system efficiency
- −Some parts like sealed-system compressors require EPA 608 certification to service
- −Labor on remote or rooftop equipment adds significant cost regardless of part price
- −Repeated repairs can exceed the cost of a new high-efficiency system within a few years
Seasonal Component Inspection Checklist
- ✓Check thermostat calibration and replace batteries in battery-powered models
- ✓Inspect and replace the air filter following manufacturer pressure-drop specs
- ✓Wash the outdoor condenser coil with low-pressure water from the inside out
- ✓Verify capacitor microfarad readings against the rating stamped on the case
- ✓Test contactor contacts for pitting and burn marks under operating load
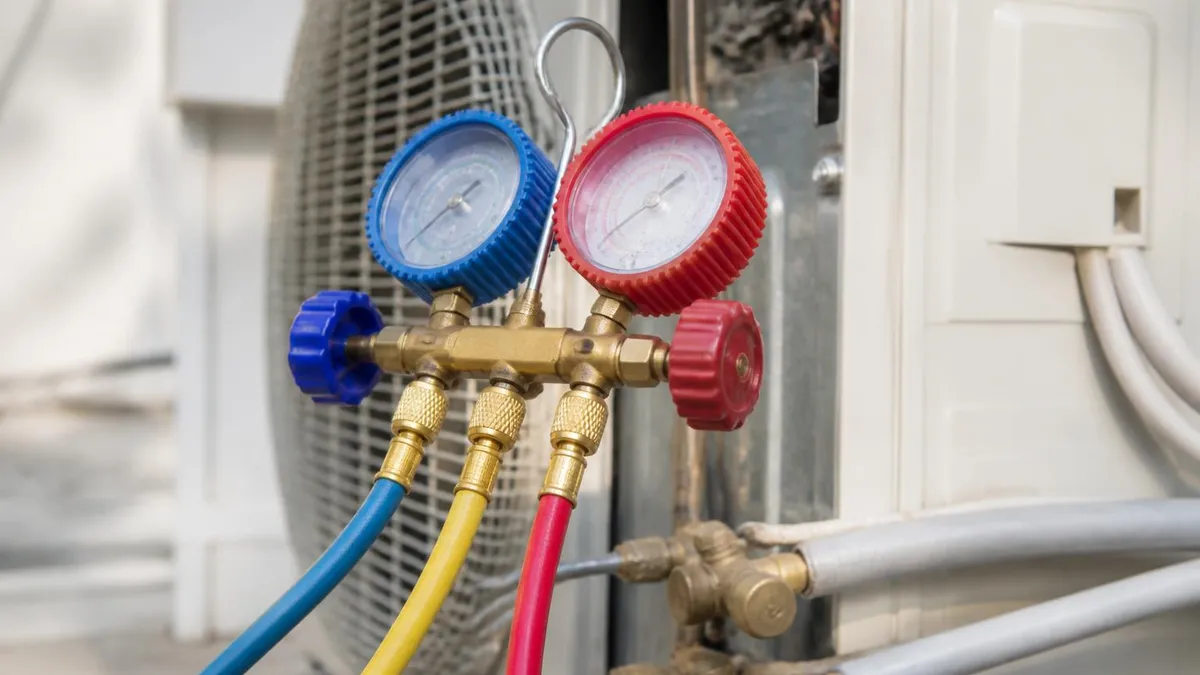
- ✓Measure refrigerant superheat and subcooling to confirm proper charge
- ✓Clear the condensate drain line and treat with approved algaecide tablets
- ✓Inspect blower wheel for dust buildup and clean if blades are coated
- ✓Tighten all electrical lug connections and check for discoloration from heat
- ✓Lubricate motor bearings on older equipment that has oil ports installed
- ✓Test safety switches including high-pressure, low-pressure, and float switches
- ✓Confirm proper temperature split between return and supply air at the registers
Why technicians always check capacitors first
The dual-run capacitor is roughly the size of a soup can and costs under thirty dollars at supply houses, yet it accounts for an estimated forty percent of all summer no-cool service calls. When a capacitor weakens, the compressor and condenser fan motor struggle to start, draw excessive amperage, and overheat. Checking microfarad values with a meter is a thirty-second test that can save a homeowner thousands in unnecessary compressor replacement.
Electrical controls are where most service calls begin and end. The thermostat sends a low-voltage signal, typically 24 volts AC, down a multi-conductor cable to the indoor unit. The control board receives that signal, energizes the appropriate relays, and sequences the equipment on safely. Understanding the low-voltage call is the starting point for every electrical diagnosis, because if the call never reaches the equipment, nothing downstream will operate no matter how healthy it is.
The transformer steps line voltage of 120 or 240 volts down to the 24-volt control voltage that thermostats and gas valves use. Transformers are rated in VA, with most residential units sized at 40 VA. Adding accessories like humidifiers, communicating thermostats, or zone panels can overload a small transformer and cause it to burn out repeatedly. When you see a transformer fail twice in a season, look for shorts in the low-voltage wiring or excessive accessory load rather than just swapping in another transformer.
The contactor is a heavy-duty relay that switches line voltage to the outdoor unit when cooling is called. Its silver contacts are designed to handle the inrush current of the compressor and fan motor, but over time they pit, corrode, and stick. A stuck contactor will run your outdoor unit even when the thermostat is off, sometimes freezing the evaporator solid. Pitted contacts cause low voltage at the compressor terminals, which leads to overheating and shortened compressor life.
Capacitors come in two main flavors: start capacitors that briefly boost torque during startup, and run capacitors that improve motor efficiency during normal operation. Most residential split systems use a single dual-run capacitor that serves both the compressor and the condenser fan motor. Capacitors degrade gradually, and many techs replace any capacitor reading more than ten percent below its labeled microfarad value, even if the equipment is still running.
The control board is the brain of modern furnaces and air handlers. It monitors safety switches, sequences the inducer, igniter, gas valve, and blower in the correct order, and flashes diagnostic codes through an LED when something goes wrong. Boards have become more reliable but also more expensive, with replacement costs ranging from $250 to over $800. Always check the board manual for the specific flash code before condemning the board, because the code usually points to an external component failure.
Safety switches protect the equipment and the home. The high-limit switch shuts off the gas valve if the heat exchanger overheats. The rollout switch trips if flames roll out of the burner box. The pressure switch confirms the inducer is pulling proper draft. The flame sensor proves the burner is lit before the control board opens the gas valve fully. Each of these switches has a specific role, and bypassing any of them is both dangerous and a code violation.
Thermostats have evolved from simple mercury bulb mechanical units to communicating Wi-Fi smart devices that learn occupancy patterns. Communicating systems use proprietary data protocols on a small number of wires, while traditional 24-volt thermostats use one wire per function: R, G, Y, W, C, and sometimes O or B for heat pumps. The common wire C is required for any thermostat that needs constant power, including most smart models.
Federal law under Section 608 of the Clean Air Act requires technicians to be certified before purchasing, handling, or servicing equipment containing refrigerant. Working on sealed-system components like compressors, coils, metering devices, or refrigerant lines without certification can result in fines up to $44,539 per violation. Always verify your certification level matches the work being performed.
Maintenance directly determines how long each component will last. A well-maintained split system can run reliably for fifteen to twenty years, while a neglected one may need major repairs within eight. The goal of routine service is not just cleaning, it is catching small problems before they cascade into bigger ones. A weak capacitor caught in spring is a thirty-dollar fix; the same capacitor that fails in August and takes the compressor with it is a two-thousand-dollar event.
Filters are the single most important homeowner-controlled component. A dirty filter restricts airflow, raises static pressure, and forces the blower motor to work harder. In cooling mode, restricted airflow drops coil temperature below freezing and ices the evaporator. In heating mode, restricted airflow lets the heat exchanger overheat and crack. A cracked heat exchanger means carbon monoxide can enter the home, which is why furnace technicians always inspect the exchanger during annual service.
Coil cleaning is the most underrated maintenance task. Outdoor condenser coils accumulate dirt, pollen, and grass clippings that insulate the fins and reduce heat rejection. Indoor evaporator coils develop biofilm in their wet, dark environment, which restricts airflow and grows mold that travels through the duct system. Annual coil cleaning with approved no-rinse cleaners on the evaporator and a thorough back-flush on the condenser keeps both coils performing near factory specs.
Refrigerant charge should be verified annually using superheat for fixed-orifice systems and subcooling for TXV systems. Modern equipment is engineered to operate within a narrow charge window, and being even half a pound off can cut efficiency by ten percent. Refrigerant does not get consumed during normal operation, so if a system needs refrigerant added, there is a leak that must be found and repaired. Adding refrigerant without fixing the leak is a code violation in many jurisdictions.
For homeowners who want to extend equipment life, scheduling regular HVAC Servicing: What's Included, Schedule and Cost Guide twice a year, once in spring before cooling season and once in fall before heating season, captures most preventable failures. Service agreements with reputable contractors typically include both visits plus priority scheduling and discounts on repairs, which usually pays for itself within a single significant repair event.
Component lifespans vary widely. Capacitors typically last three to five years, contactors five to ten, blower motors ten to fifteen, compressors twelve to twenty, and heat exchangers fifteen to thirty. The ductwork itself can last fifty years if properly installed in a clean attic, though insulation and seals degrade much faster. Knowing these timelines helps homeowners budget for replacement and helps technicians spot components that are statistically due for failure.
When components are replaced, always match the original specifications or upgrade to a manufacturer-approved alternative. Mismatched parts can void warranties, create capacity imbalances, and cause premature failure of related components. Generic parts from online retailers are tempting because of price, but the small savings rarely justify the reliability risk when a properly specified OEM part is available at a local supply house for ten or fifteen dollars more.
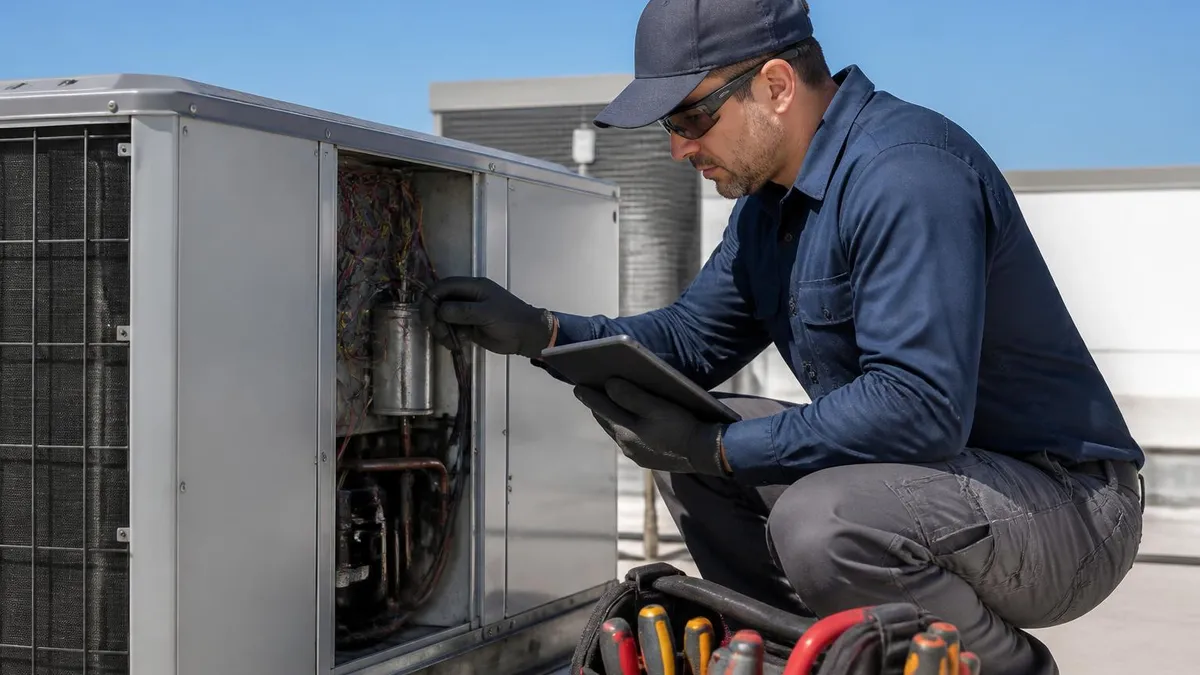
Practical diagnosis ties all of this knowledge together. When a customer calls and says the system is not cooling, the path from complaint to solution follows a predictable pattern. First, confirm the thermostat is calling for cooling and the indoor blower is running. If the blower is silent, the problem is upstream of the equipment, likely at the thermostat, the transformer, or a tripped breaker. If the blower runs but no cool air comes out, the issue lies in the refrigeration circuit or the outdoor unit.
At the outdoor unit, check whether the contactor is pulled in and whether the compressor and fan motor are both running. A humming compressor that will not start is almost always a failed capacitor or a seized compressor; the difference is a thirty-second meter test. A running fan without a running compressor points to an internal compressor overload, a failed start component, or low voltage at the compressor terminals. Each scenario has a specific test sequence that confirms the diagnosis before any part is replaced.
If everything appears to run but the system still does not cool, the refrigeration circuit needs evaluation. Connect manifold gauges, take pressure readings, calculate superheat and subcooling, and compare against the manufacturer charging chart for the current outdoor temperature. Low pressures with high superheat suggest undercharge or a restriction. High pressures with low subcooling suggest overcharge or non-condensables in the system. Each pattern points to a different root cause and a different fix.
Heating diagnosis follows similar logic but with different components. A furnace that does not light goes through a sequence: thermostat calls for heat, control board powers the inducer, pressure switch closes, igniter glows, gas valve opens, flame sensor proves flame, board energizes blower after a delay. Any break in that sequence triggers a specific flash code, which the technician decodes using the legend on the inside of the cabinet door. Following the sequence narrows the diagnosis quickly.
Documentation matters more than most apprentices realize. Recording pressures, temperatures, capacitor readings, and amp draws during every service visit creates a baseline. When the equipment fails next year, comparing current readings against last year's baseline often reveals the failed component immediately. Modern service software makes this trivial, but even handwritten notes on the inside of the access panel give the next technician a huge head start.
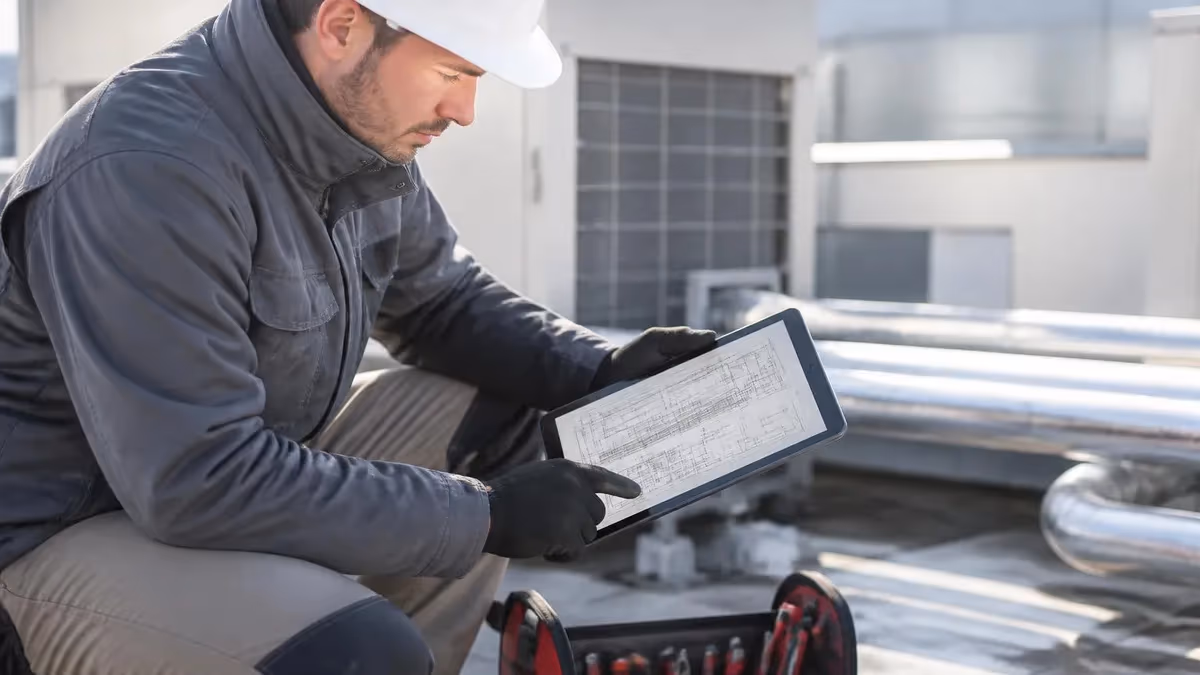
Finally, customer communication is part of the job. Most homeowners do not understand how their system works, and they rely on the technician to explain why a repair is needed, what it costs, and what their options are. Drawing a simple diagram of the refrigerant circuit on a piece of paper or using a tablet to show a video of how the failed part operates builds trust and reduces callbacks. Customers who understand the diagnosis are far more likely to approve necessary repairs.
If you are pursuing your career in this field, exploring HVAC Certification Online options can supplement hands-on training and prepare you for the EPA 608, NATE, and state licensing exams that recognize component-level expertise. Combining classroom theory with field experience is the proven path to becoming a journeyman or master technician.
HVAC Questions and Answers


About the Author

NATE Certified HVAC Technician & Licensing Exam Trainer
Universal Technical InstituteMike Johnson is a NATE-certified HVAC technician and EPA 608 universal-certified refrigerant handler with a Bachelor of Science in HVAC/R Technology. He has 19 years of commercial and residential HVAC installation and service experience and specializes in preparing technicians for NATE certification, EPA 608, A2L refrigerant safety, and state HVAC contractor licensing examinations.