Delta T HVAC: The Complete Guide to Temperature Differential, Measurement, and Diagnosis for Heating and Cooling Systems
Delta T HVAC explained — learn how to measure, interpret, and troubleshoot temperature differential across coils and ducts for peak system performance. ⏳

Delta T HVAC is one of the most powerful diagnostic concepts a technician, contractor, or even an informed homeowner can master. At its core, delta T (often written as ΔT) simply means the temperature difference between two points in a heating or cooling system — most commonly the air entering the evaporator coil versus the air leaving it. That single number tells you whether the system is moving the right amount of heat, whether airflow is correct, and whether the refrigerant charge is in range, all without opening the refrigerant circuit.
For air conditioning systems in cooling mode, the industry rule of thumb is a supply-to-return delta T of roughly 16 to 22 degrees Fahrenheit under normal indoor conditions of 75°F and 50 percent relative humidity. For furnaces in heating mode, expected delta T ranges are stamped on the equipment nameplate, typically 40 to 70°F depending on the model. Heat pumps, hydronic boilers, and chilled water systems each have their own targets, but the underlying physics is the same: heat capacity equals mass flow times specific heat times delta T.
Why does this matter so much in the field? Because delta T is the first measurement that tells you where to look. A low delta T means too much air, too little refrigerant, a dirty coil, or compressor problems. A high delta T means too little air, restricted ducts, a dirty filter, or an oversized system short cycling. Without delta T, you are guessing. With it, you have a roadmap.
This guide walks through everything you need to know about delta T HVAC: what it measures, how to take readings properly, what the numbers mean for split systems, packaged units, gas furnaces, heat pumps, and hydronic loops, and how to use the value to diagnose airflow, charge, and ductwork problems before pulling out gauges. We will cover the math, the tools, the common mistakes, and the field shortcuts seasoned techs use every day.
Whether you are studying for the EPA 608 exam, prepping for NATE certification, working toward your journeyman license, or just trying to figure out why your house is not cooling well, understanding delta T puts you ahead of ninety percent of people who touch HVAC equipment. The concept is simple, the application is rich, and the payoff is fewer callbacks, better comfort, and lower energy bills for the end customer.
By the end of this article, you will know how to grab a digital thermometer, take a clean measurement, interpret it against load conditions and humidity, and decide whether the next step is changing a filter, adjusting a blower tap, weighing in refrigerant, or running a static pressure test on the duct system. That diagnostic discipline is what separates parts changers from real troubleshooters in this trade.
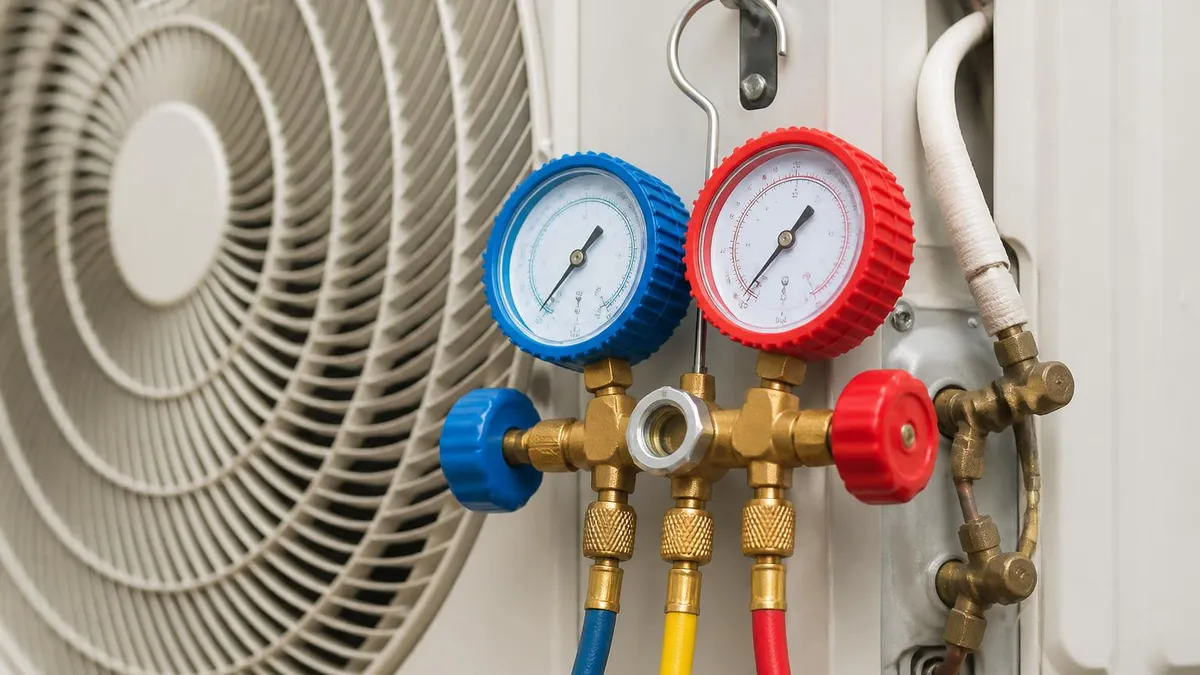
One last note before we dive in: delta T is a snapshot, not a verdict. Indoor humidity, outdoor temperature, return air conditions, and even how long the system has been running all skew the reading. Smart techs always cross-check delta T with static pressure, superheat, subcooling, and amp draw before condemning a part. Used that way, it is the single most valuable measurement in the trade.
Delta T HVAC by the Numbers
Delta T Fundamentals and Target Values
For residential split-system air conditioners, expect a supply-to-return temperature drop of 16 to 22°F at standard 75°F indoor with 50 percent relative humidity. Higher humidity loads pull the number down because latent heat removal absorbs sensible capacity.
Gas furnaces operate with a temperature rise stamped on the data plate, typically 40 to 70°F. Running below the minimum risks heat exchanger condensation; running above the maximum risks cracked exchangers and limit switch trips.
Air-source heat pumps in heating mode produce a smaller rise than fossil-fuel furnaces — usually 15 to 30°F — because they deliver lower supply temperatures around 95 to 110°F. This is normal, not a malfunction.
Boiler loops are typically designed for a 20°F delta T between supply and return water, while chilled water systems target 10 to 12°F. Lower-than-design delta T in hydronics signals excess flow or fouled coils.
Taking an accurate delta T reading sounds simple — measure return air temperature, measure supply air temperature, subtract — but the details matter enormously. The single biggest source of bad readings in the field is poor probe placement, followed by failing to let the system stabilize before taking the measurement. Get those two things right and your numbers will start to mean something.
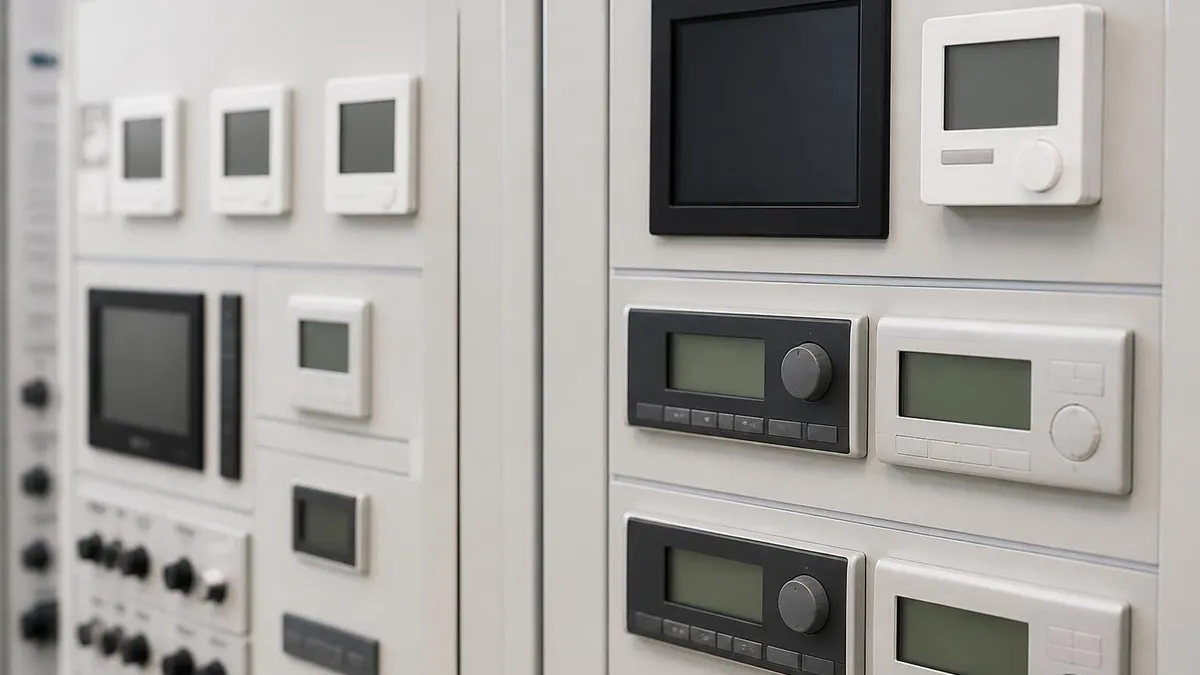
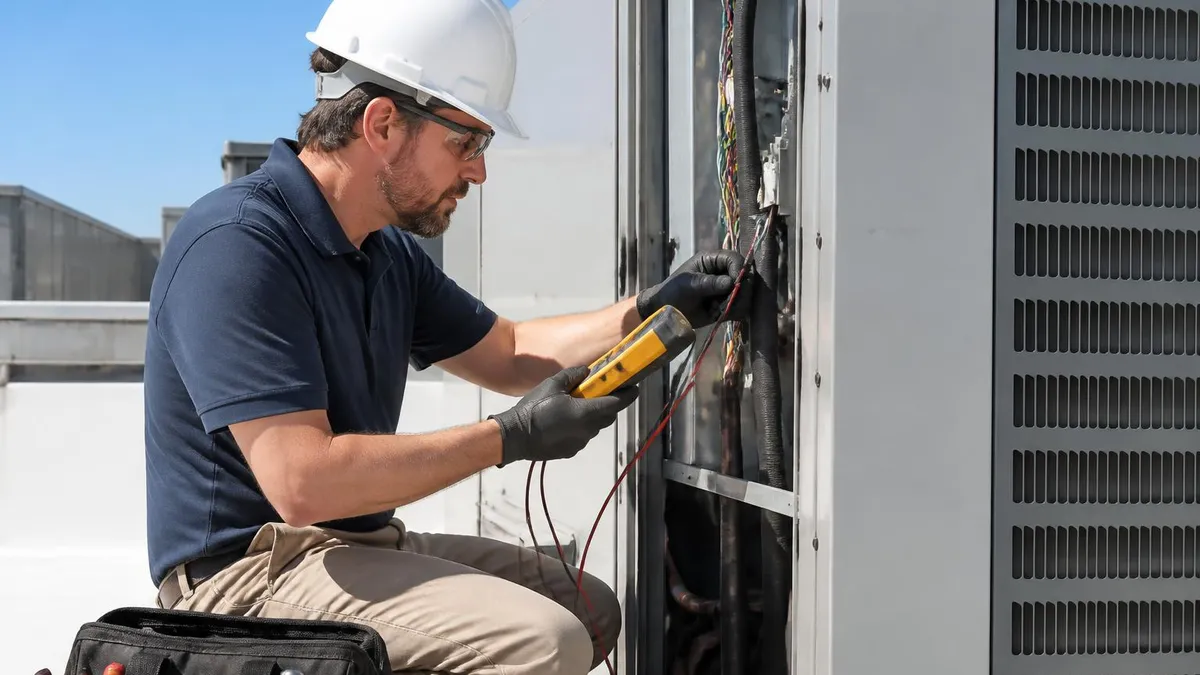
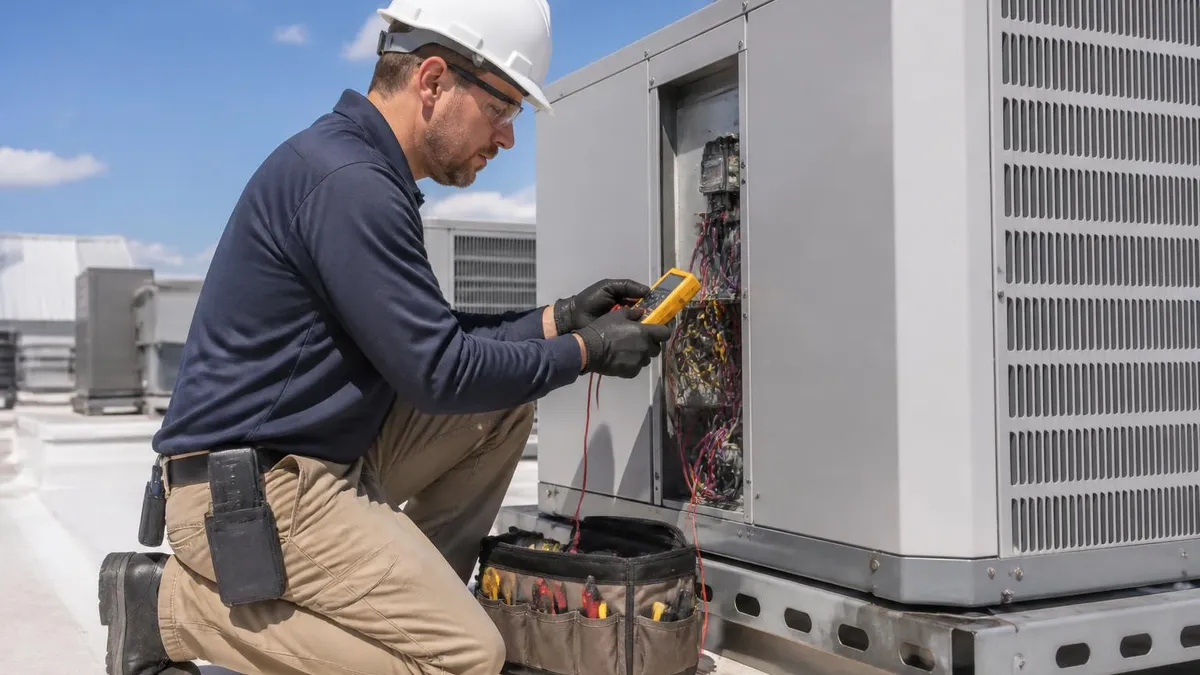
Start with the right tool. A quality digital thermometer with a fast-response thermistor probe is the gold standard. Infrared thermometers read surface temperatures, not air temperatures, and will give you misleading numbers off shiny duct metal. Glass mercury thermometers respond too slowly to capture true conditions. The best field tools are dual-probe digital meters with magnetic mounts so both probes can sit in place simultaneously while you watch the readings settle.
For the return air reading, insert the probe into the return air stream as close to the air handler as possible — typically through the filter rack or a small drilled and plugged hole upstream of the coil. Do not measure at the return grille in a wall, because the air there has already mixed with room air and any room loads near the grille will skew the reading. You want the actual air temperature entering the equipment.
For the supply air reading, position the probe in the supply plenum about 18 to 24 inches downstream of the coil or heat exchanger. Getting too close to the coil can pick up radiant heat or cold spots from the coil itself rather than true mixed air temperature. Getting too far downstream introduces duct losses that throw off the system delta T. The 18 to 24 inch sweet spot gives clean, mixed, representative air.
Let the system run for at least 15 minutes before recording a reading. Compressors take time to pump down the suction line, evaporator coils take time to flood properly, and indoor temperatures take time to stabilize. Taking a delta T thirty seconds after the system kicks on will give you wildly optimistic numbers that do not reflect steady-state operation. Patience pays here.
Document the conditions when you take the reading: outdoor temperature, indoor temperature, indoor relative humidity, and runtime. Without those inputs, the delta T number floats in space. A 14°F drop is alarming at 75°F and 50 percent RH but completely normal at 80°F and 70 percent RH because the system is doing more latent work. Context turns a number into a diagnosis. Cross-check your numbers against the manufacturer's expanded performance data tables when you are working on a high-end system or a stubborn callback.
Finally, take the reading on a thermostat call for full-stage operation. Two-stage and variable-speed equipment will produce different delta T values on low stage, medium stage, and high stage. Force the system to high stage at the thermostat or at the control board so you are comparing apples to apples against the published specs.
HVAC Practice Test Questions
Prepare for the HVAC - Heating Ventilation and Air Conditioning exam with our free practice test modules. Each quiz covers key topics to help you pass on your first try.
HVAC Air Conditioning
HVAC Exam Questions covering Air Conditioning. Master HVAC Test concepts for certification prep.
HVAC Code Compliance
Free HVAC Practice Test featuring Code Compliance. Improve your HVAC Exam score with mock test prep.
HVAC Electrical Controls
HVAC Test Prep for Electrical Controls. Practice HVAC Quiz questions and boost your score.
HVAC Energy Efficiency
HVAC Questions and Answers on Energy Efficiency. Free HVAC practice for exam readiness.
HVAC Heating Systems
HVAC Mock Test covering Heating Systems. Online HVAC Test practice with instant feedback.
HVAC Load Calculations
Free HVAC Quiz on HVAC Load Calculations. HVAC Exam prep questions with detailed explanations.
HVAC Tools and Equipment
HVAC Practice Questions for HVAC Tools and Equipment. Build confidence for your HVAC certification exam.
HVAC Refrigeration
HVAC Test Online for Refrigeration. Free practice with instant results and feedback.
HVAC Safety Practices
HVAC Study Material on Safety Practices. Prepare effectively with real exam-style questions.
HVAC System Design
Free HVAC Test covering System Design. Practice and track your HVAC exam readiness.
HVAC Thermodynamics
HVAC Exam Questions covering Thermodynamics. Master HVAC Test concepts for certification prep.
Delta T Across HVAC Modes and Equipment
Air conditioners and heat pumps in cooling mode should produce a supply-to-return temperature drop of 16 to 22°F at standard 75°F indoor air and 50 percent relative humidity. The exact target shifts with humidity: subtract roughly 1°F from the expected delta T for every 10 percent increase in relative humidity above 50 percent because more energy goes into removing moisture rather than dropping sensible temperature.
A reading below 14°F in normal conditions usually points to low refrigerant charge, excessive airflow, or a failing compressor. Above 24°F often means restricted airflow from a dirty filter, dirty evaporator coil, undersized return ductwork, or a slipping blower belt. Always cross-check with static pressure and refrigerant superheat and subcooling before condemning a major component or weighing in refrigerant from a half-empty jug.
Is Delta T the Best HVAC Diagnostic Tool?
- +Requires only an inexpensive dual-probe digital thermometer to perform
- +Non-invasive — no need to attach gauges or break into the refrigerant circuit
- +Reveals airflow, charge, and capacity issues in a single measurement
- +Works on every type of forced-air HVAC system including gas, oil, and heat pumps
- +Provides a fast first-pass diagnostic before opening service ports
- +Documents system performance for warranty claims and customer reports
- +Easy to teach apprentices and new technicians in the first week of training
- −Heavily influenced by indoor humidity and outdoor conditions
- −Requires 15-plus minutes of stabilization for accurate readings
- −Cannot distinguish low charge from dirty coil without further testing
- −Variable-speed equipment produces different values at different stages
- −Probe placement errors can invalidate the entire measurement
- −Does not replace gauges for confirming refrigerant charge precisely
- −Useless without knowing the equipment's design specifications
Delta T HVAC Field Diagnostic Checklist
- ✓Verify equipment nameplate data for expected temperature rise or drop
- ✓Replace or confirm a clean air filter is in place before measuring
- ✓Run the system on the highest stage for at least 15 minutes before reading
- ✓Insert return probe upstream of the coil, not at the wall grille
- ✓Position supply probe 18 to 24 inches downstream of the coil
- ✓Record indoor temperature and relative humidity at the time of reading
- ✓Note outdoor temperature and current weather conditions
- ✓Compare reading against manufacturer expanded performance data when available
- ✓Cross-check delta T against static pressure across the coil and filter
- ✓Confirm findings with superheat, subcooling, and amp draw measurements
Adjust expected cooling delta T by humidity
For every 10 percent increase in indoor relative humidity above 50 percent, subtract approximately 1°F from your expected delta T. A 14°F drop at 70 percent RH is normal performance, but the same reading at 40 percent RH signals a real problem. Always measure RH before condemning a system.
Once you understand normal delta T targets and how to measure them correctly, the next skill is interpreting abnormal readings and walking them back to root causes. Most delta T problems fall into one of four buckets: airflow issues, refrigerant charge issues, coil or heat exchanger fouling, and equipment sizing or staging mismatches. Recognizing the pattern saves enormous diagnostic time and prevents the dreaded shotgun approach of replacing parts hoping one of them works.
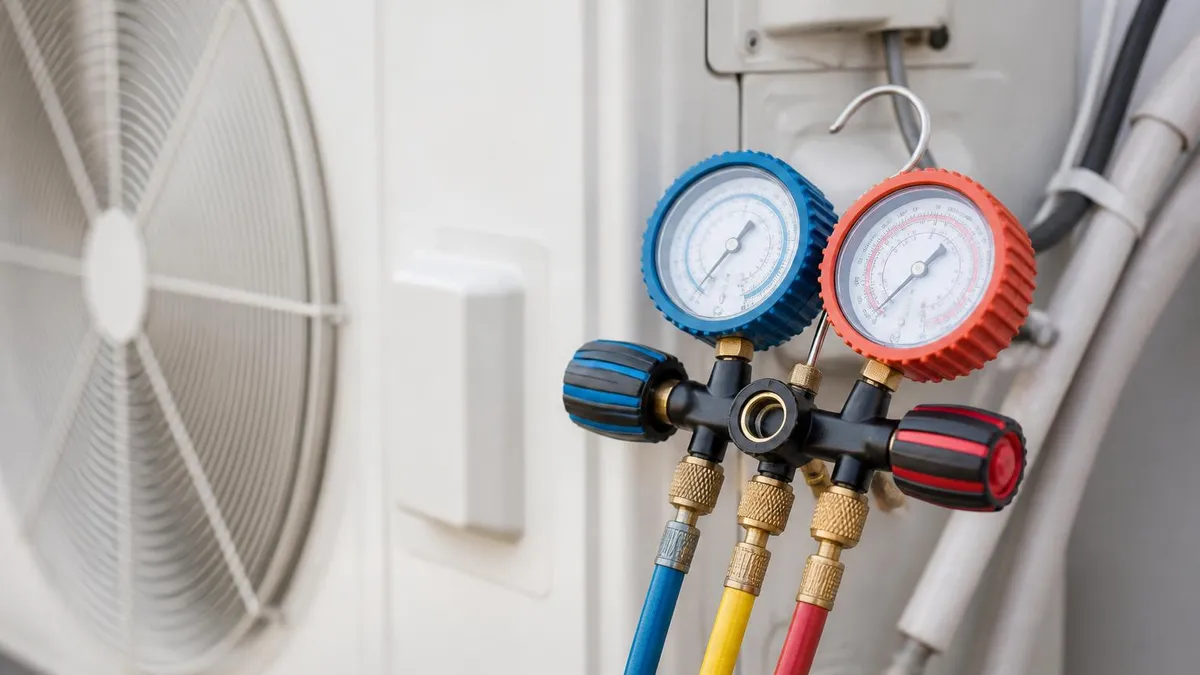
Low delta T in cooling mode is the most common complaint that brings techs to a job. The classic causes are low refrigerant charge from a slow leak, oversized blower or wrong blower tap pushing too much air across the coil, a frozen evaporator that just thawed and is now flooding, or a tired compressor that has lost pumping efficiency. Each of these has a fingerprint when you check superheat and subcooling alongside the delta T reading, so always pull gauges before condemning parts.
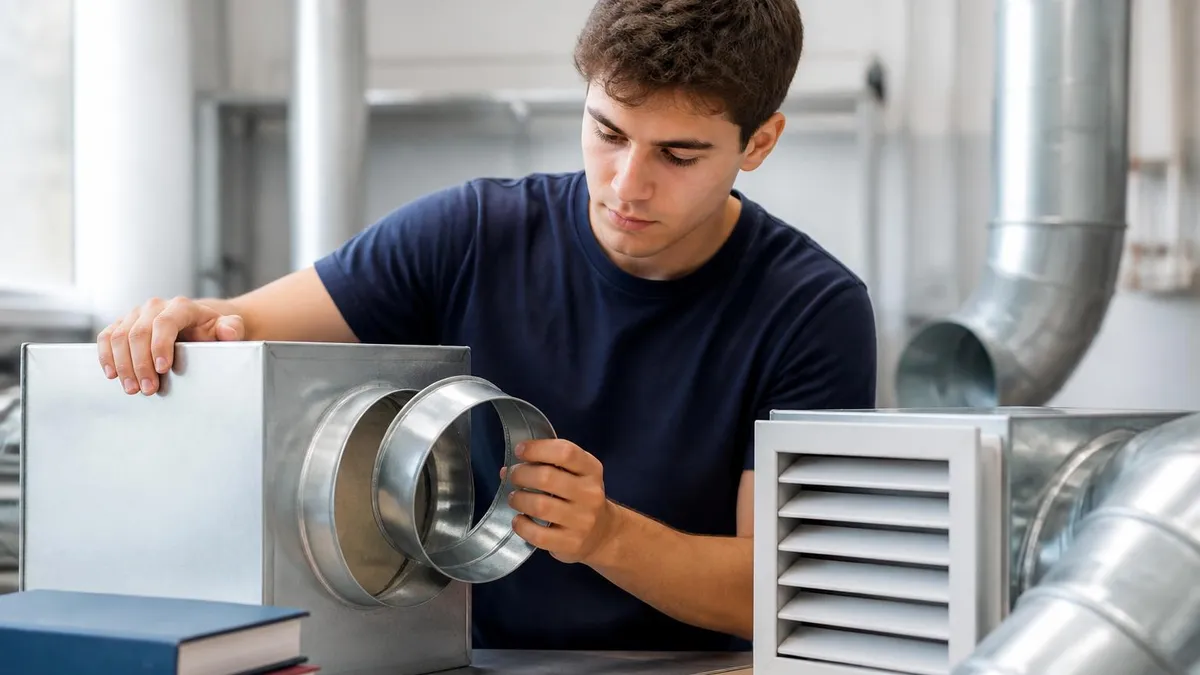
High delta T in cooling mode points almost universally to airflow problems. A dirty filter is the number-one offender, followed by a dirty evaporator coil that has gone years without cleaning, collapsed flex duct in an attic, undersized return ductwork from an addition or remodel, or a failing blower motor unable to maintain CFM under load. Static pressure measurements at the filter, coil, and supply plenum will identify the restriction within minutes.
On the heating side, low temperature rise often means oversized equipment, blower speed set too high, or short cycling from an undersized duct system that cannot reject the heat the furnace is producing. High temperature rise indicates restricted airflow exactly as in cooling — dirty filter, blocked coil, closed dampers, or a failing blower. Furnaces with chronic high rise crack heat exchangers and become carbon monoxide hazards over time.
Heat pumps in heating mode show their own quirks. A low delta T can be normal during defrost recovery, or it can indicate the auxiliary electric strips are not energizing on call. A high delta T might mean a stuck reversing valve sending hot gas the wrong direction, or it might mean a stuck thermostatic expansion valve starving the indoor coil. Cross-reference with outdoor unit operation and compressor amperage to nail down the cause.
Hydronic systems use delta T just as aggressively. A boiler loop designed for 20°F delta T that is actually running at 8°F has way too much flow and is short-circuiting energy delivery; the fix is balancing valves or a variable-speed pump. A chilled water coil running at 4°F delta T instead of 12°F is starving — usually fouled or air-bound — and capacity is collapsing even though water is moving through it. Same physics, different fluid.
The trade has been pushing toward delta T-aware controls and commissioning for two decades, and modern variable-capacity equipment increasingly uses delta T sensors as part of its self-diagnostic logic. Knowing how to read, interpret, and apply delta T puts you in step with where the industry is headed rather than where it has been.
Delta T is a starting point, not a verdict. A low reading could mean low refrigerant, high airflow, or a failing compressor — three completely different repairs. Always confirm with static pressure, superheat, subcooling, and amp draw before quoting parts or labor. Condemning equipment on delta T alone leads to expensive callbacks and warranty disputes.
Advanced applications of delta T extend well beyond the basic supply-versus-return reading most apprentices learn first. Experienced commissioning agents, energy auditors, and service managers use delta T across the entire system — at each diffuser, across the coil itself, across the heat exchanger, and across each branch of a zoned duct system — to map performance and find hidden problems that a single measurement cannot reveal.
Coil delta T, measured immediately at the inlet and outlet of the indoor coil rather than across the full air handler, isolates the coil's contribution from blower heat gain and duct losses. A clean evaporator running with proper airflow and charge will produce nearly the entire system delta T at the coil itself. If your full delta T is 18°F but the coil-only delta T is only 12°F, you have either bypass air around the coil, a partially clogged coil face, or a refrigerant distribution problem in the metering device.
Branch-by-branch delta T measurements in zoned or multi-room systems reveal balancing issues that customers experience as hot rooms or cold rooms. If the master bedroom branch is delivering air at 62°F while the living room branch delivers at 58°F, you have either duct leakage, kinked flex, or a damper problem on the warmer branch. Balancing dampers can correct minor differences; major differences usually need duct rework.
Static pressure paired with delta T tells a complete airflow story. High static plus high delta T equals restricted airflow — fix the restriction. Low static plus low delta T equals excessive airflow — adjust the blower tap down. High static plus low delta T equals a coil so dirty it is both blocking air and insulating the refrigerant from the air that does get through. These pattern-matches resolve callbacks in minutes once you internalize them.
Commissioning new construction and major retrofit jobs should always include a delta T verification at startup, documented in the project closeout package. Many states and energy codes now require it, and ENERGY STAR Certified Homes and DOE Zero Energy Ready Home programs both reference delta T in their verification protocols. Hand the customer a printed report showing the system met design conditions and you build trust and reduce warranty calls.
For service contractors looking to differentiate, consider offering a paid annual performance verification that goes beyond a typical tune-up. Measure delta T, static pressure, and amp draw, trend them year over year, and show the customer how their system is aging. This kind of data-driven service relationship justifies premium pricing and dramatically reduces no-heat and no-cool emergency calls because problems show up in the trends before they show up in failures.
Finally, every tech should keep a personal log of delta T readings across jobs — the brand, the tonnage, the conditions, the result. Over a few hundred jobs, patterns emerge: certain brands tend to run hot, certain duct configurations consistently restrict airflow, certain refrigerants behave differently at altitude. That field-built knowledge is what separates a five-year tech from a fifteen-year master, and it all starts with the simple discipline of writing down the delta T on every call you run.
Putting delta T HVAC theory into practical daily use is where new technicians grow into seasoned troubleshooters. The next several paragraphs cover the field habits and small disciplines that turn delta T from a textbook concept into a money-saving, callback-killing weapon in your toolkit. None of these tips cost anything but attention and repetition.
First, calibrate your probes at least twice a year. Drop both thermistor probes into an ice bath of crushed ice and distilled water and verify they read within half a degree of 32°F. Drop them into boiling water at sea level and verify 212°F (adjust for altitude if you are on the Front Range or higher). Probes drift over time, and an uncalibrated probe will quietly cost you accurate diagnoses for months before you notice the pattern of bad readings.
Second, build a habit of taking delta T on every single service call regardless of the customer complaint. Even when the customer called for a thermostat replacement or a condensate clog, taking a delta T reading takes 90 seconds and gives you a baseline for next year. Over time, you accumulate a database of how the system behaves under different conditions, and that data is invaluable when something does go wrong and the customer wants to know what changed.
Third, photograph your delta T readings along with the indoor temperature and humidity displayed on the thermostat. A digital record beats a memory every time, and most hvac scheduling software software now allows photo attachments to work orders. When a warranty dispute or a manufacturer callback comes up, you have documentation showing the system was running within spec at the time of service.
Fourth, teach delta T to your customers in plain English. Explain that the system should drop the air by about 18 degrees, that humidity affects the reading, and that they can check it themselves with a $20 meat thermometer at the supply and return grilles. Empowered customers call less often for non-issues and trust you more when you tell them something needs work. Education is the cheapest marketing in the trade.
Fifth, when training new techs, make delta T the first measurement they take on every call, before they even open the panels. The reading forces them to think about how the system is performing as a whole before they zero in on a specific part. This systems-level thinking is what most apprentices lack, and there is no faster way to develop it than mandatory delta T discipline on day one.
Sixth, integrate delta T into your tune-up and maintenance agreement deliverables. A tune-up report that documents starting and ending delta T, static pressure, and amp draw is dramatically more valuable to the customer than a generic checklist of tasks performed. It also justifies the price of the maintenance agreement and gives the customer something tangible to compare against next year.
Seventh and finally, never stop learning the equipment-specific quirks. Two-stage furnaces, modulating gas valves, variable-capacity heat pumps, dual-fuel systems, and ductless mini-splits all have their own delta T behaviors. The manufacturer training portals from Trane, Carrier, Lennox, Goodman, Daikin, and Mitsubishi all have free or low-cost courses covering performance specs. Stay current, stay curious, and your delta T diagnostics will keep getting sharper every year you work the trade.
HVAC Questions and Answers
HVAC Repair Portland: The Complete 2026 Homeowner's Guide to Furnace, AC, and Heat Pump Service in the Rose City
HVAC Tune Up Service: The Complete Guide to Professional HVAC Maintenance and Why It Pays for Itself
HVAC Solutions: The Complete Guide to Heating, Cooling, and Indoor Air Quality Systems for Homes and Buildings
Certified HVAC Contractors: How to Find, Vet, and Hire the Right Professional for Your Home or Business