MRI Testing Near Me: How to Find, Schedule, and Prepare for a Local MRI Scan in 2026 June
MRI testing near me: how to find local scanners, compare costs, schedule fast, and prepare for an MRI. Updated 2026 June guide for US patients.
Searching for mri testing near me can feel overwhelming when you are already worried about a symptom, an injury, or a follow-up your doctor ordered last week. In 2026, the US has more than 12,000 outpatient MRI sites, hospital imaging departments, mobile units, and standalone diagnostic centers, which means most patients live within a 25-mile radius of at least three facilities. The challenge is no longer access, it is choosing the right scanner, the right protocol, and the right price point for your specific clinical question.
The phrase mri testing near me usually triggers a Google Maps pack with hospital systems on top, but the closest facility is not always the best fit. A 1.5 Tesla scanner at a community imaging center may produce excellent images of a knee or a lumbar spine, while a brain MRI for multiple sclerosis often benefits from a 3 Tesla magnet with specialized neuroimaging coils. Understanding scanner strength, coil availability, and radiologist subspecialty is the first step toward an informed local choice.
Cost variation between two facilities on the same street can exceed 400 percent. A self-pay lumbar MRI without contrast might cost $375 at an independent outpatient center and $1,650 at a hospital outpatient department three miles away. Insurance plays a role, but high-deductible plans, HSA holders, and uninsured patients should always request a written estimate before scheduling. Transparent pricing rules from the No Surprises Act make this easier than it was just a few years ago.
mri results wait times also vary widely. Urban markets like Dallas, Atlanta, and Phoenix often offer next-day MRI slots at independent centers, while rural counties may push routine scans out four to six weeks. If your physician marks the order as urgent or STAT, most facilities can accommodate same-day or next-morning imaging, particularly mobile MRI units that rotate through smaller hospitals. Knowing how to communicate clinical urgency dramatically shortens your scheduling window.
This guide walks through every step of the local MRI search, from interpreting your order to comparing facilities, verifying credentials, preparing your body for the magnet, and understanding what happens after the scan. It also covers safety screening, contrast considerations, claustrophobia management, and what to expect from the radiology report. Whether you need a brain, spine, joint, abdomen, or cardiac MRI, the principles for finding a quality local provider remain consistent.
If you are also learning about how the technology itself works, the companion piece on What Is an MRI Test? How Magnetic Resonance Imaging Scans Diagnose Disease in 2026 explains the physics, the role of hydrogen protons, and how radiologists translate signal into diagnosis. Combining clinical understanding with practical scheduling skills puts you in the strongest position to advocate for the right scan at the right place.
By the end of this article you will know exactly how to evaluate accreditation, decode CPT codes on your order, ask the right scheduling questions, prepare for screening, and avoid the most common pitfalls that delay results. The local MRI landscape is more competitive and more transparent than ever, and patients who understand the system get faster scans, lower bills, and clearer answers.
MRI Testing Near Me by the Numbers
How to Find MRI Testing Near You
Use Google Maps, Yelp, or insurer directories with your ZIP and the phrase mri imaging center. Filter by ratings above 4.0 stars and at least 50 reviews to surface trusted local providers.
The American College of Radiology maintains a free public database of accredited MRI facilities. Accreditation signals technologist training, scanner QA, and radiologist board certification standards.
Log into your insurer portal and search in-network imaging. This filters out facilities that would trigger surprise bills and often surfaces preferred low-cost partners your plan steers patients toward.
Primary care physicians and specialists work with imaging centers daily. They know which radiologists return reports fastest, which scanners run on time, and which centers handle complex cases well.
Hospital pricing transparency rules require posted rates. Tools like Healthcare Bluebook, FAIR Health Consumer, and Turquoise Health let you compare cash prices across local facilities in minutes.
Cost is often the single biggest variable when searching for mri testing near me. The same lumbar spine MRI without contrast, billed under CPT code 72148, can range from roughly $375 at a freestanding outpatient imaging center to more than $2,800 at a major academic hospital. Neither price tag automatically reflects quality. Hospital systems carry higher overhead, employ more subspecialty radiologists, and bundle facility fees, while independent centers focus on volume efficiency and competitive cash pricing.
Insurance coverage shapes your out-of-pocket cost more than the sticker price. With a typical PPO plan, you may owe 20 percent coinsurance after your deductible is met, capped by your out-of-pocket maximum. High-deductible health plan members frequently pay the full negotiated rate until they hit their deductible, which makes shopping critically important. Many insurers now offer site-of-service incentives, waiving or reducing your share if you choose a freestanding center over a hospital outpatient department.
Self-pay and uninsured patients have remarkable leverage. Independent imaging centers routinely advertise transparent cash rates for brain, spine, knee, shoulder, abdomen, and pelvis MRI exams. Calling three to five local facilities and asking for the cash price, plus the radiologist read fee if billed separately, typically reveals savings of $500 to $1,500. Always confirm whether the quoted price includes the technical scan, the professional interpretation, and the digital images on disc or portal.
Medicare and Medicaid patients see less variation because federal fee schedules cap reimbursement, but the choice between hospital outpatient and a freestanding center still matters. Medicare Part B beneficiaries generally pay 20 percent of the approved amount after the deductible, and Medigap plans absorb most of that. Medicaid coverage and prior authorization rules vary by state, so confirming approval before the appointment prevents denial and out-of-pocket exposure.
Prior authorization is the silent killer of MRI scheduling. Most commercial insurers route MRI orders through a radiology benefits manager such as eviCore, Carelon, or AIM, which reviews medical necessity before approving the scan. The process usually takes one to five business days. Asking your referring provider to submit detailed clinical notes, prior conservative treatments, and exam findings upfront avoids the denial loop that delays imaging by a week or more.
For background on the technology you are paying for, the article on The History of MRI: From Discovery to Modern Medicine explains how decades of innovation shaped today's pricing structure, from the first whole-body scanners of the 1980s to the ultra-high-field 7T research magnets now entering clinical use. Understanding the engineering helps justify why a 3T contrast-enhanced study costs more than a basic 1.5T scan.
Finally, never forget the contrast question. Gadolinium-based contrast agents add cost, time, and a small additional safety screening step. If your order specifies with and without contrast, confirm the indication with your provider, because not every clinical question requires contrast. Trimming an unnecessary contrast component can reduce both your bill and your in-room time by 15 to 25 minutes.
MRI Practice Test Questions
Prepare for the MRI - Magnetic Resonance Imaging exam with our free practice test modules. Each quiz covers key topics to help you pass on your first try.
MRI Knowledge
MRI Exam Questions covering Knowledge. Master MRI Test concepts for certification prep.
MRI Physics
Free MRI Practice Test featuring Physics. Improve your MRI Exam score with mock test prep.
MRI Anatomy and Pathology
MRI Test Prep for MRI Anatomy and Pathology. Practice MRI Quiz questions and boost your score.
MRI Anatomy and Positioning
MRI Questions and Answers on MRI Anatomy and Positioning. Free MRI practice for exam readiness.
MRI Contrast Agents
Free MRI Quiz on MRI Contrast Agents. MRI Exam prep questions with detailed explanations.
MRI Patient Care and Positioning
MRI Practice Questions for MRI Patient Care and Positioning. Build confidence for your MRI certification exam.
Hospital vs Outpatient vs Mobile MRI Testing Near Me
Hospital-based MRI departments offer the broadest range of protocols, including cardiac, fetal, breast, and high-field neurovascular imaging. They handle inpatients, emergency cases, and patients with complex comorbidities who may need sedation, anesthesia support, or rapid escalation if a complication arises. Subspecialty fellowship-trained radiologists frequently read studies in-house, which improves diagnostic accuracy for unusual findings.
The trade-off is cost and access. Hospital outpatient departments often charge two to four times the rate of an independent center for an identical exam because of facility fees. Scheduling windows are longer, and parking, registration, and check-in friction can add 30 to 60 minutes to your visit. For routine musculoskeletal or spine imaging without complications, a hospital is rarely the most efficient choice for the local consumer.
Choosing Local MRI: Pros and Cons of Nearby Imaging Centers
- +Shorter travel time reduces stress before a long scan
- +Local centers often offer same-week or next-day scheduling
- +Cash prices at independent centers can be 60–80% lower than hospitals
- +Most accredited outpatient sites use modern 1.5T or 3T scanners
- +Reports typically reach your portal within 24–48 hours
- +Online booking and digital intake save time on scan day
- +Familiar local radiologists improve communication with your physician
- −Smaller centers may lack subspecialty cardiac or breast MRI capability
- −Sedation and anesthesia services usually unavailable outside hospitals
- −Mobile MRI units operate on limited weekly schedules
- −Image library handoffs between local and academic centers can lag
- −Self-pay quotes occasionally exclude the radiologist read fee
- −Some local centers still rely on CDs instead of portal image sharing
Before Your Local MRI Appointment: A 10-Step Checklist
- ✓Confirm your prior authorization is approved in writing
- ✓Verify the facility is in-network with your insurance plan
- ✓Request a written cost estimate including facility and radiologist fees
- ✓Complete the MRI safety screening form honestly and completely
- ✓List all surgeries, implants, pacemakers, and metal exposure on the form
- ✓Arrange transportation if you will receive sedation for claustrophobia
- ✓Wear loose clothing without metal zippers, snaps, or underwire bras
- ✓Remove jewelry, watches, hearing aids, and dentures before entering the scanner
- ✓Bring a photo ID, insurance card, and a copy of your physician's order
- ✓Ask how and when your results will be released to you and your doctor
Call between 7 and 9 a.m. for same-day cancellations
Imaging centers receive most of their daily cancellations in the early morning as patients reschedule conflicts. Calling the scheduling desk first thing and asking to be added to the same-day waitlist can shave one to three weeks off your scan date, especially for outpatient knee, spine, and brain MRI slots.
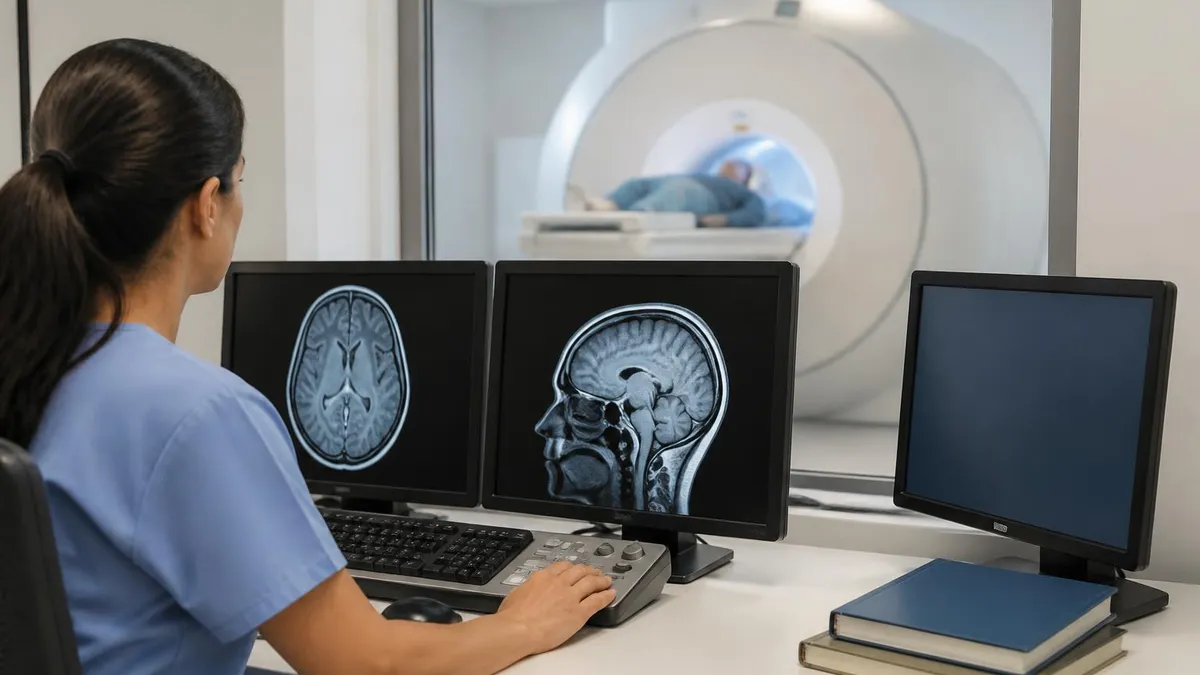
Scanner quality matters more than most patients realize when comparing mri testing near me options. The two most common clinical field strengths are 1.5 Tesla and 3 Tesla. A 3T magnet produces roughly twice the signal-to-noise ratio of a 1.5T system, which translates into sharper images, thinner slices, and shorter scan times for the same anatomy. For brain, spine, prostate, and small-joint imaging, a 3T scanner often makes subtle pathology visible that a lower-field magnet could miss.
Field strength is not everything. A modern 1.5T scanner with current software, advanced coils, and a skilled technologist can outperform an older poorly maintained 3T unit on routine musculoskeletal exams. Ask the facility what year their scanner was installed or last upgraded, and whether they offer wide-bore or open configurations for larger patients or those with severe claustrophobia. A 70-centimeter wide-bore opening dramatically improves patient tolerance without sacrificing image quality.
Coil selection is a quiet quality marker. High-channel-count coils, such as 32-channel head coils or dedicated cardiac and breast arrays, gather signal more efficiently and enable parallel imaging techniques that shorten breath holds and reduce motion artifact. When you call to schedule, asking whether the facility uses dedicated coils for your body part signals that you are an informed consumer and often surfaces useful detail about the protocol they plan to run.
Accreditation by the American College of Radiology, the Intersocietal Accreditation Commission, or The Joint Commission imposes standards on equipment performance, technologist credentials, radiologist board certification, and quality control. Centers must repeatedly demonstrate that phantom images meet resolution benchmarks and that policies cover MRI safety, contrast reactions, and emergency response. Choosing an accredited facility is one of the simplest ways to reduce diagnostic risk in your local search.
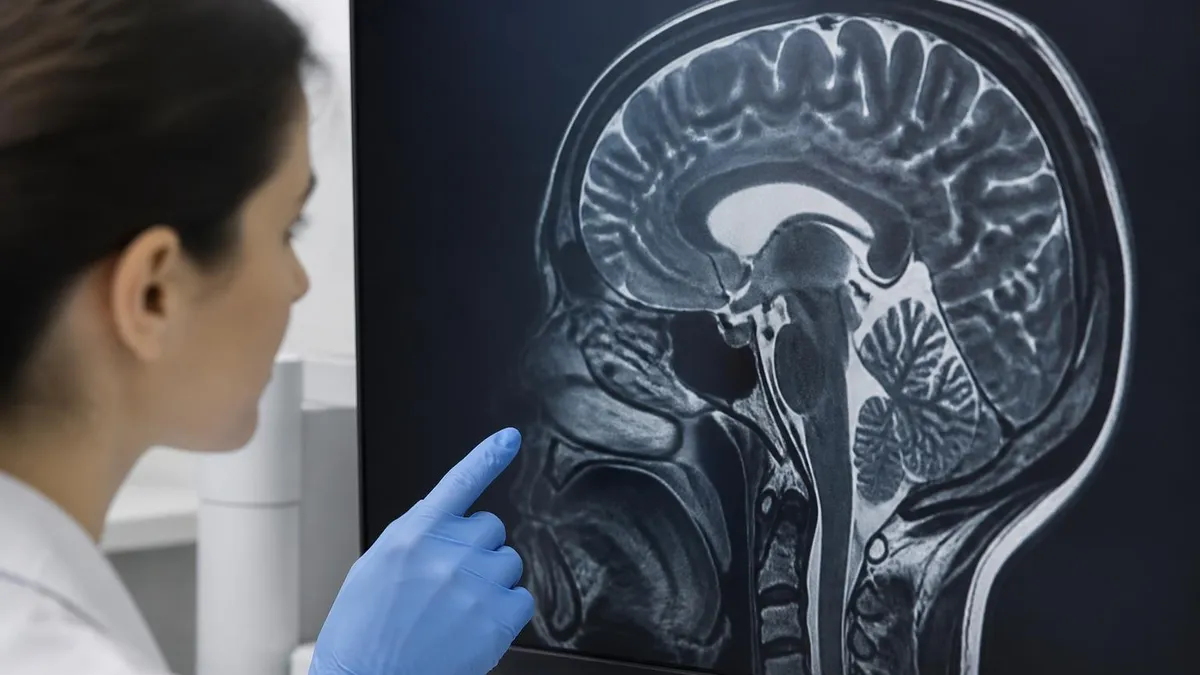
Radiologist subspecialty drives the value of the final report. A neuroradiologist reads brain and spine MRI with deeper sensitivity to demyelinating disease, vascular malformations, and small tumors. A musculoskeletal radiologist sees more rotator cuff and meniscal tears in a month than a general radiologist sees in a year. Many outpatient centers partner with teleradiology groups that route studies to the appropriate subspecialist, even at midnight, which raises the diagnostic ceiling for community imaging.
To understand what radiologists are looking for on a specific exam, the article on Knee MRI Images: A Complete Guide to Reading, Understanding, and Interpreting Knee Scans walks through how meniscal tears, ligament injuries, cartilage defects, and bone edema appear on T1, T2, and proton density sequences. Patients who understand the basic vocabulary of their report have far more productive follow-up conversations with their orthopedic surgeon.
Finally, do not underestimate the technologist. The MRI technologist runs the scan, positions you in the coil, monitors your tolerance, and decides in real time whether to repeat a sequence that came out blurry. ARRT-certified technologists with the MRI advanced certification have completed clinical hours and a national exam. A great technologist is the difference between a diagnostic-quality study and a non-diagnostic one that you have to repeat at another facility.
If you have a pacemaker, cochlear implant, deep brain stimulator, aneurysm clip, insulin pump, or any retained metal from prior injury or surgery, you must disclose it before entering the magnet room. Some implants are MR Conditional and can be safely scanned under specific protocols, others are MR Unsafe and absolutely contraindicated. Never assume your device is compatible without written documentation from the manufacturer or the radiologist.
Scheduling your local MRI starts the moment your physician hands you an order or sends it electronically. Read the order carefully and note the body part, whether contrast is required, the CPT code, and any clinical indication notes. These details determine which facilities in your area are equipped to perform the study, how long the appointment will be, and what prior authorization documentation your insurer needs. A clear order shortens your scheduling phone call from twenty minutes to five.
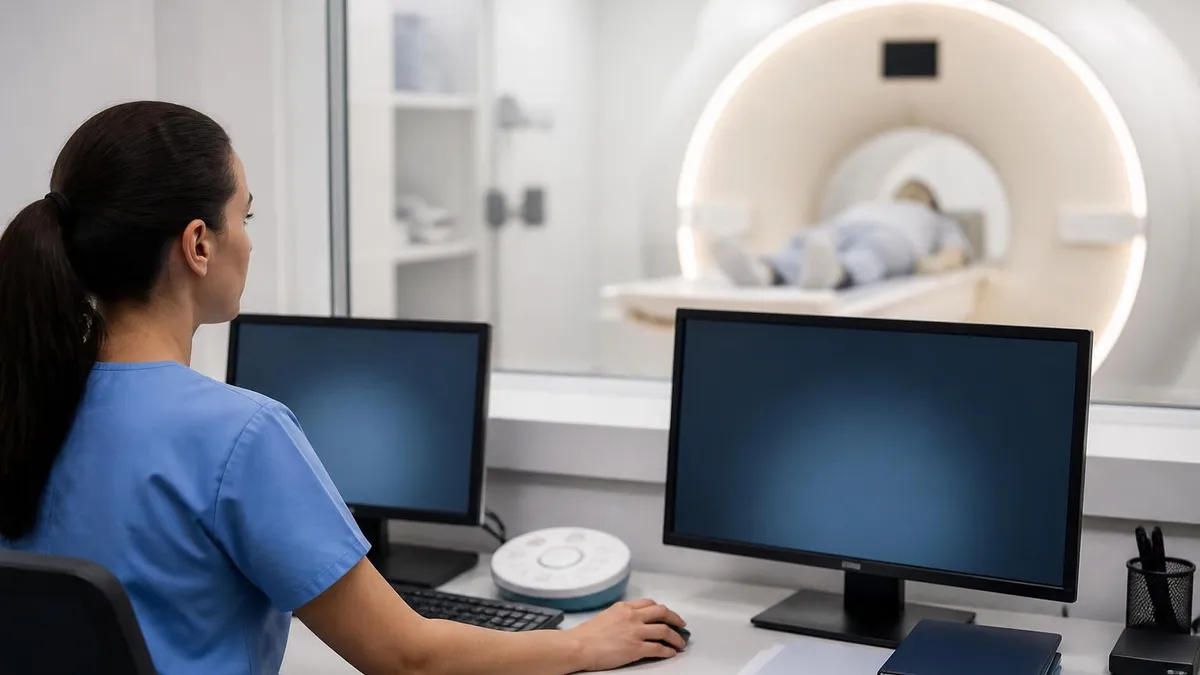
When you call the imaging center, ask three core questions: when is the next available slot for this specific CPT code, what is the total estimated cost including the radiologist read fee, and how will the report be delivered. Confirm that the facility participates with your insurance plan and ask whether they handle prior authorization in-house or expect your referring physician's office to manage it. Centers that handle authorization themselves typically scan patients one to two weeks faster.
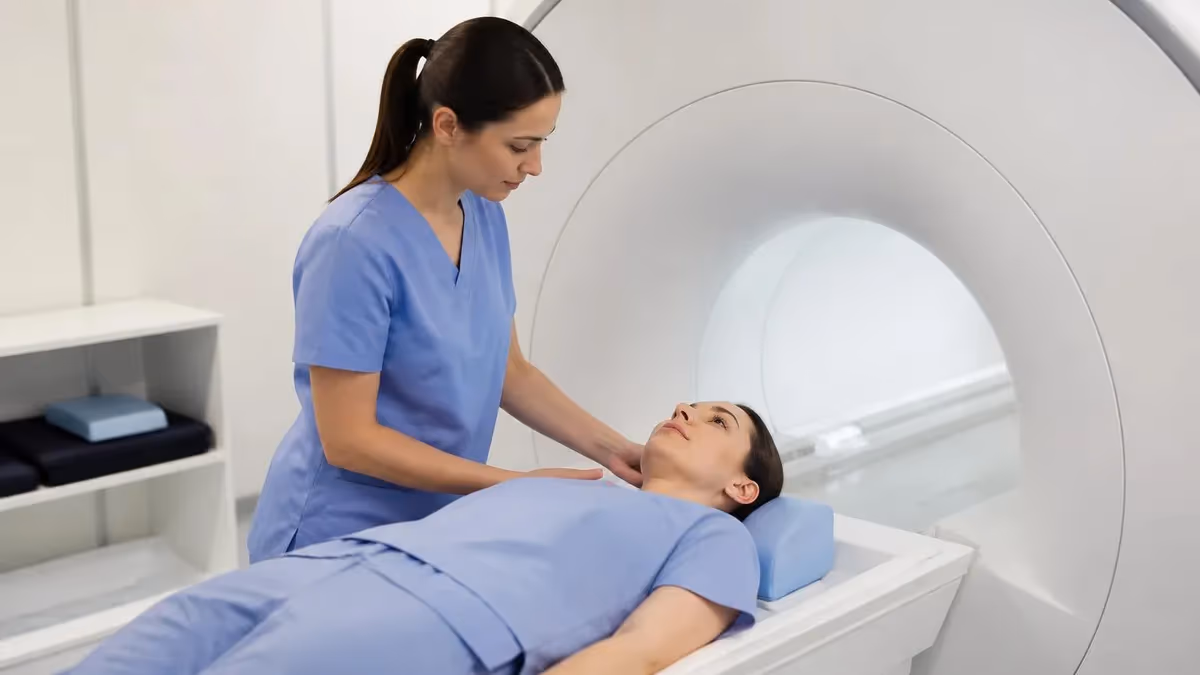
On the day of your appointment, arrive 20 to 30 minutes early to complete the safety screening, change into a gown if required, and use the restroom before the scan begins. Most exams last 20 to 60 minutes, and you must remain very still inside the bore. The scanner produces loud knocking and buzzing sounds that can reach 100 decibels, so the technologist will provide ear protection and often offer music through MR-safe headphones. Many centers now stream a podcast or movie during longer studies.
If you struggle with claustrophobia, request an open or wide-bore scanner and discuss oral anxiolytic options with your referring physician before the appointment. A small dose of lorazepam taken 30 to 60 minutes before the scan is a common solution. You will need a driver if you take any sedating medication. Newer scanners also include in-bore mirrors, ventilation, and lighting that significantly reduce claustrophobia for most patients without medication.
For contrast-enhanced studies, the technologist will place an IV in your arm before the scan begins and inject gadolinium partway through the exam. You may feel a brief cool sensation traveling up your arm. Reactions to modern macrocyclic gadolinium agents are rare, with severe reactions occurring in fewer than one in ten thousand injections. Patients with significantly reduced kidney function may be screened for risk of nephrogenic systemic fibrosis, which is now an exceedingly rare complication.
Results typically post to the radiologist within hours of the scan and to your referring physician within one to two business days. Most centers also push the report to a patient portal so you can read it yourself, sometimes before your doctor calls. Reading your own report can be empowering, but always discuss findings with your physician before drawing conclusions. Incidental findings are common and frequently benign, requiring no further action.
If a finding requires follow-up, you have full control over where the next study takes place. You can request your images on disc, download them from the portal, or have them digitally transferred to a specialist's office. Owning your imaging history matters, especially if you move, change insurance, or seek a second opinion. Building a personal archive of your scans is one of the smartest long-term health habits a patient can develop.
Practical preparation in the 24 hours before your local MRI makes the difference between a smooth experience and a frustrating one. Eat normally unless your order specifies fasting for an abdominal or pelvic study, drink water to stay hydrated for contrast administration if applicable, and avoid heavy caffeine that can amplify anxiety inside the bore. Get a full night of sleep so that lying still for 30 to 60 minutes feels restful rather than restless. Small choices the night before pay dividends on the table.
Choose your clothing strategically. Many outpatient centers allow you to remain in your own clothes if they have no metal, which speeds up your visit and protects your dignity. Athletic wear, soft cotton sweatpants, and a sports bra without underwire usually pass screening. Leave jewelry, smartwatches, hair accessories with metal, and underwire garments at home. If you wear a wig, hairpiece, or extensions secured with metal clips, mention it during screening because some products contain ferromagnetic material.
Bring documentation in a folder, including your physician's order, insurance card, photo ID, prior imaging reports, and a written list of medications, allergies, and implants. If you have had previous MRI, CT, or surgical procedures, knowing approximate dates helps the technologist confirm safety. Many patients keep a small medical binder updated annually. It is one of the most underrated tools for getting fast, accurate care during any imaging visit.
Mentally rehearse the experience before you arrive. Visualize lying flat on the padded table, feeling the gentle motion as the table slides into the magnet, and hearing the rhythmic knocking sounds. Practice slow nasal breathing for four to six counts in and six to eight counts out. Patients who arrive with a calm breathing pattern tolerate the scan with far less distress, and the resulting images contain less motion artifact, reducing the chance of needing to repeat sequences.
If your scan involves a long protocol such as cardiac MRI, MR enterography, or whole-lumbosacral mri cpt code plan your day around the appointment rather than squeezing it between meetings. Block 90 minutes for arrival, screening, the scan itself, IV removal, and checkout. Avoid scheduling stressful obligations immediately after. Some patients report mild fatigue or a sense of disorientation after long exams, particularly if they received sedation, so an easy afternoon supports a smoother recovery.
For background on why MRI scanners make such distinctive sounds, the article on Noise of MRI Machine: Why MRI Scanners Are So Loud and What to Expect explains the gradient coils and the rapid switching that produces the knocking, beeping, and thumping you will hear. Understanding the physics often makes the sounds feel less alarming and more like a normal part of the technology working as designed.
After your scan, hydrate well for the rest of the day, especially if you received contrast. Most patients resume normal activity immediately. Watch your patient portal for the report and message your referring provider with any questions. The local MRI experience does not end when you leave the building, it ends when the findings have been explained, the next step is clear, and your imaging is archived for future comparison. A well-managed scan becomes a useful baseline for years to come.
MRI Questions and Answers
What Is an MRI Test? How Magnetic Resonance Imaging Scans Diagnose Disease in 2026
MRI Medical Abbreviation: What MRI Stands For and Why It Matters
The History of MRI: From Discovery to Modern Medicine
Knee MRI Images: A Complete Guide to Reading, Understanding, and Interpreting Knee Scans

Noise of MRI Machine: Why MRI Scanners Are So Loud and What to Expect
About the Author
Medical Laboratory Scientist & Clinical Certification Expert
Johns Hopkins UniversityDr. Sandra Kim holds a PhD in Clinical Laboratory Science from Johns Hopkins University and is certified as a Medical Technologist (MT) and Medical Laboratory Scientist (MLS) through ASCP. With 16 years of clinical laboratory experience spanning hematology, microbiology, and molecular diagnostics, she prepares candidates for ASCP board exams, MLT, MLS, and specialist certification tests.
Join the Discussion
Connect with other students preparing for this exam. Share tips, ask questions, and get advice from people who have been there.
View discussion (4 replies)