MRI Machine Image: How MRI Scanners Create Detailed Internal Images 2026 July
🧠 Learn how MRI machine images are created, what they show, and how technologists produce diagnostic-quality scans. Full guide for patients and students.
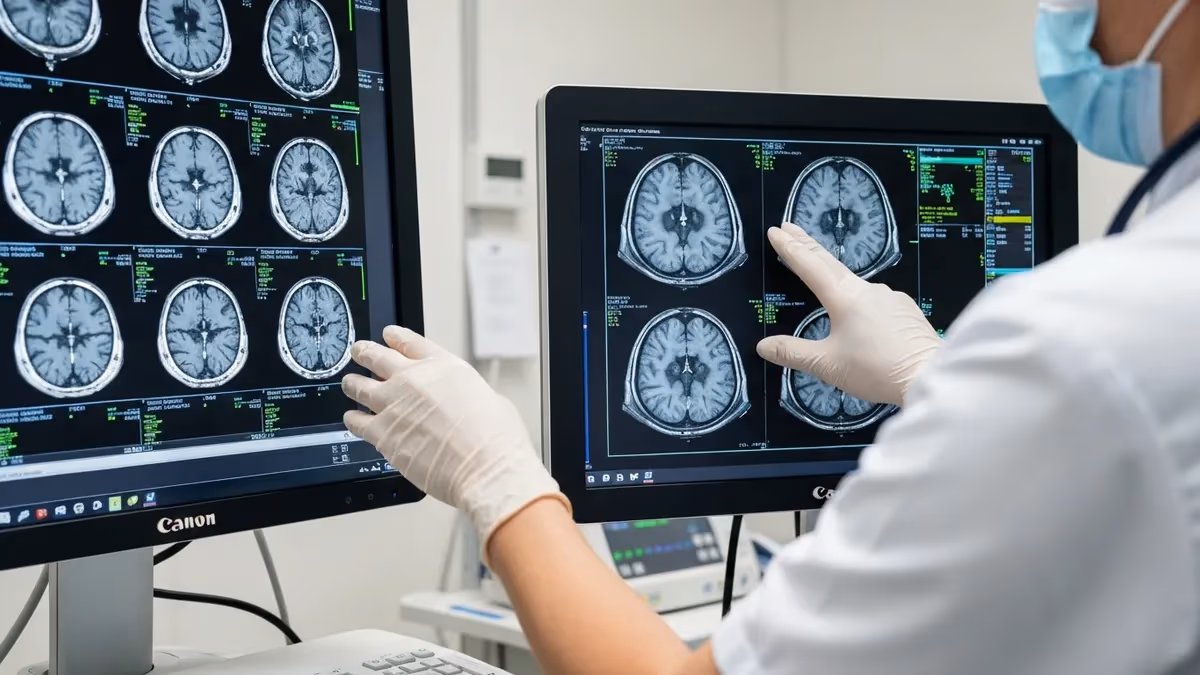
An mri machine image is the product of one of the most sophisticated diagnostic tools in modern medicine, capable of revealing soft tissue structures, neurological conditions, joint injuries, and organ abnormalities with extraordinary clarity. Unlike X-ray or CT scanning, MRI does not rely on ionizing radiation. Instead, it uses powerful magnetic fields and radiofrequency pulses to cause hydrogen atoms inside the body to emit signals that a computer reconstructs into detailed cross-sectional images.
At its core, the MRI machine is built around a superconducting magnet that generates a field measured in Tesla units — clinical scanners typically operate at 1.5T or 3T, while research and specialized systems can reach 7T or higher. This magnetic field aligns the hydrogen protons in the body's water molecules in a consistent direction. When radiofrequency pulses are applied, the protons are temporarily knocked out of alignment. As they return to their equilibrium state in a process called relaxation, they release energy that the scanner's receiver coils detect.
The resulting raw data is stored in a mathematical domain called k-space. Through a mathematical process known as the Fourier transform, this frequency and phase information is converted into the familiar grayscale images that radiologists interpret. Every voxel — a three-dimensional pixel — in the final image corresponds to a specific location in the patient's body, with its brightness determined by the local tissue's magnetic properties, water content, and the specific imaging sequence used.
Understanding how an MRI machine produces images is essential knowledge for MRI technologists, radiology students preparing for board examinations, and patients who want to make sense of their own diagnostic reports. The image formation process involves careful manipulation of multiple parameters, including repetition time (TR), echo time (TE), flip angle, and field of view, each of which can be adjusted to emphasize different tissue characteristics and highlight particular types of pathology.
Modern MRI scanners produce several different image contrasts — T1-weighted, T2-weighted, proton density, and diffusion-weighted, among others — because each type of tissue responds differently depending on how quickly its protons relax. Fat, for example, appears bright on T1-weighted images, making it easy to identify lipomas or fatty marrow. Cerebrospinal fluid appears bright on T2-weighted images, which helps clinicians identify demyelinating lesions or edema around injured tissue.
The clinical applications of MRI imaging span virtually every organ system. Neurologists order brain MRIs to detect strokes, tumors, and multiple sclerosis plaques. Orthopedic surgeons rely on musculoskeletal MRI to evaluate torn ligaments, herniated discs, and cartilage damage. Cardiologists use cardiac MRI to assess myocardial function and detect infarction. Oncologists depend on MRI to stage tumors and monitor treatment response. This breadth makes MRI one of the most versatile and indispensable imaging modalities in the modern hospital.
This comprehensive guide explains the physics behind MRI image formation, the components of the MRI machine, how different pulse sequences generate different contrasts, how technologists optimize image quality, and what patients and students need to know before entering the MRI suite. Whether you are studying for the ARRT registry examination or preparing for your first scan, a firm grasp of how MRI machines create images will serve you at every stage of your career or patient journey.
MRI Machine Image by the Numbers
Core Components of an MRI Machine
The primary magnet is cooled with liquid helium to near absolute zero, allowing it to carry large electrical currents without resistance. It generates the static magnetic field (B0) that aligns protons in the body — the essential first step in producing any MRI image.
Three sets of gradient coils — X, Y, and Z — superimpose small, controlled variations on the main magnetic field. These spatial gradients allow the scanner to select a specific imaging slice and encode location information into the MRI signal, making spatial image reconstruction possible.
The RF transmitter coil delivers short electromagnetic pulses at the Larmor frequency to tip protons out of equilibrium. Receiver coils — which may be the same coil or dedicated surface coils — detect the returning signal. Coil design directly affects signal-to-noise ratio and image clarity.
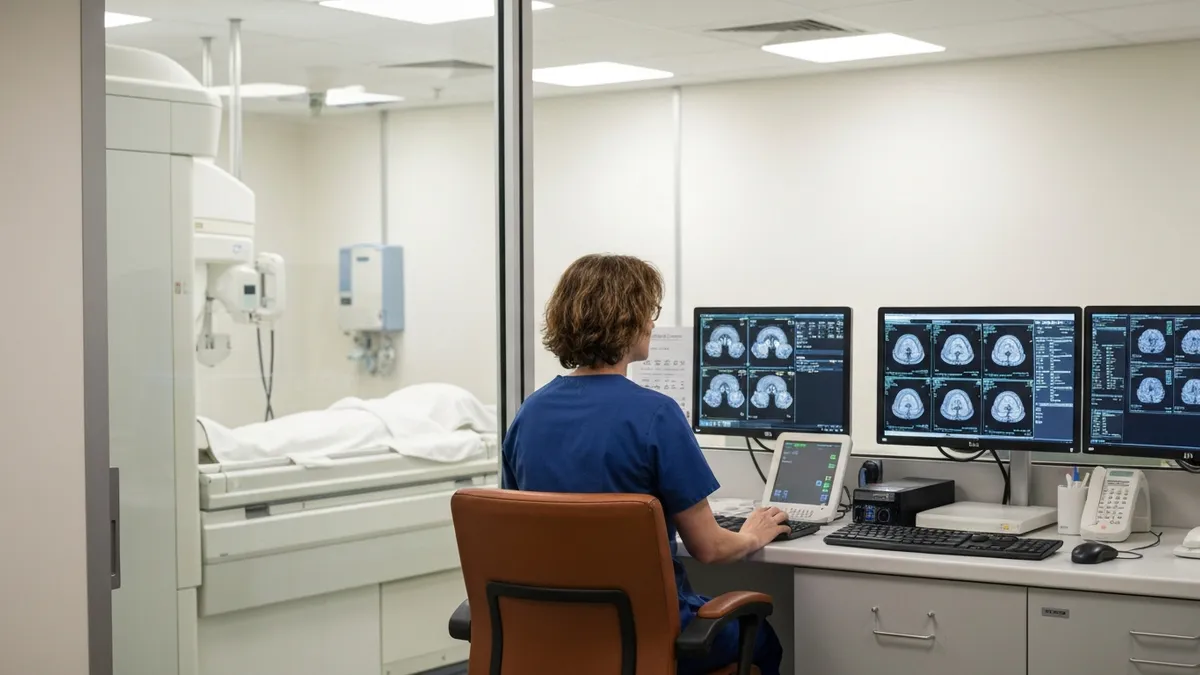
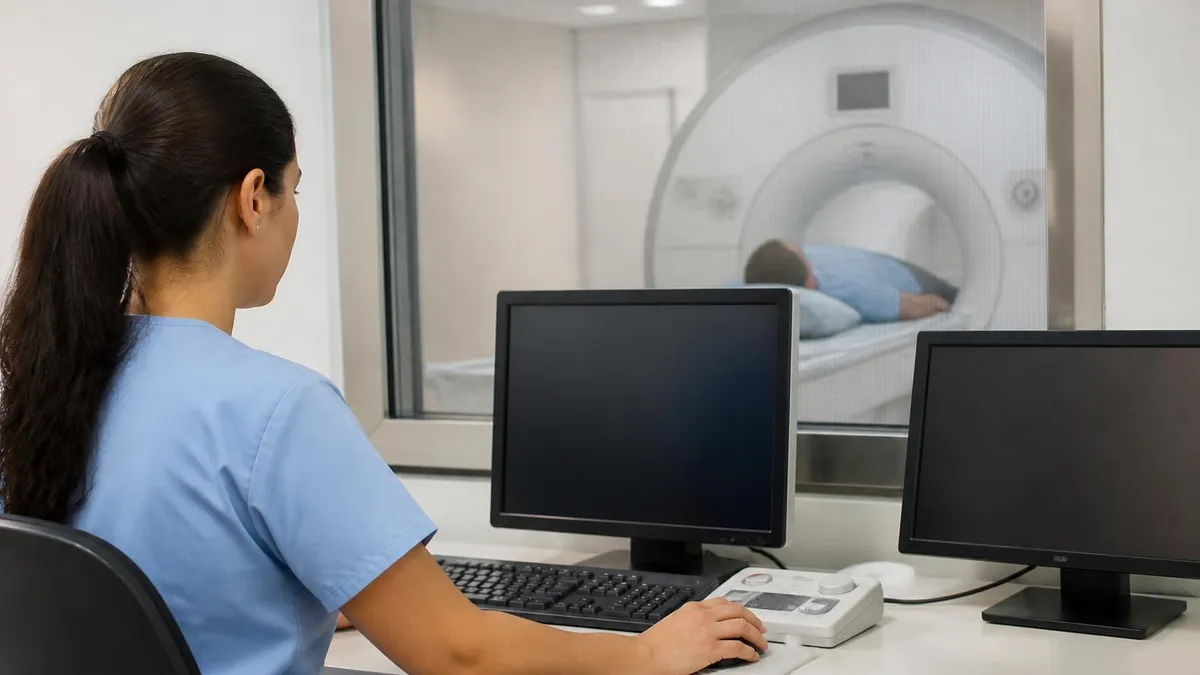
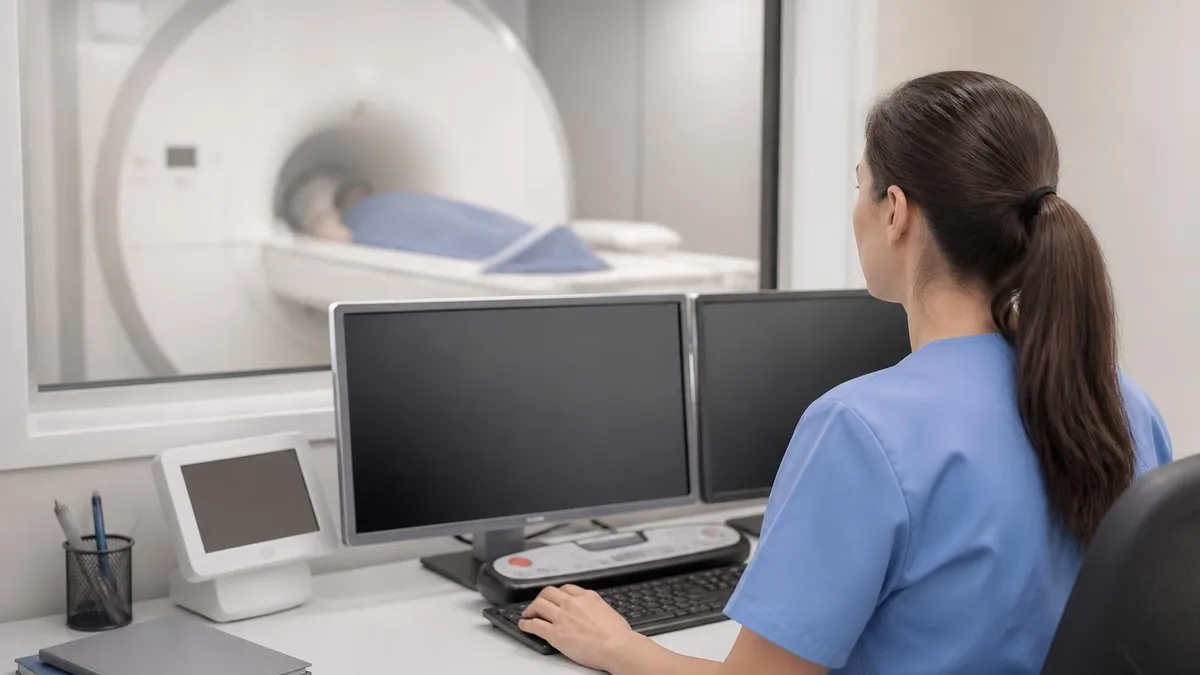
A powerful computer collects raw signal data in k-space and applies the Fourier transform to generate the final image matrix. Modern systems perform this reconstruction in seconds and can produce multi-planar reformats, maximum intensity projections, and three-dimensional volume renders from the same data set.
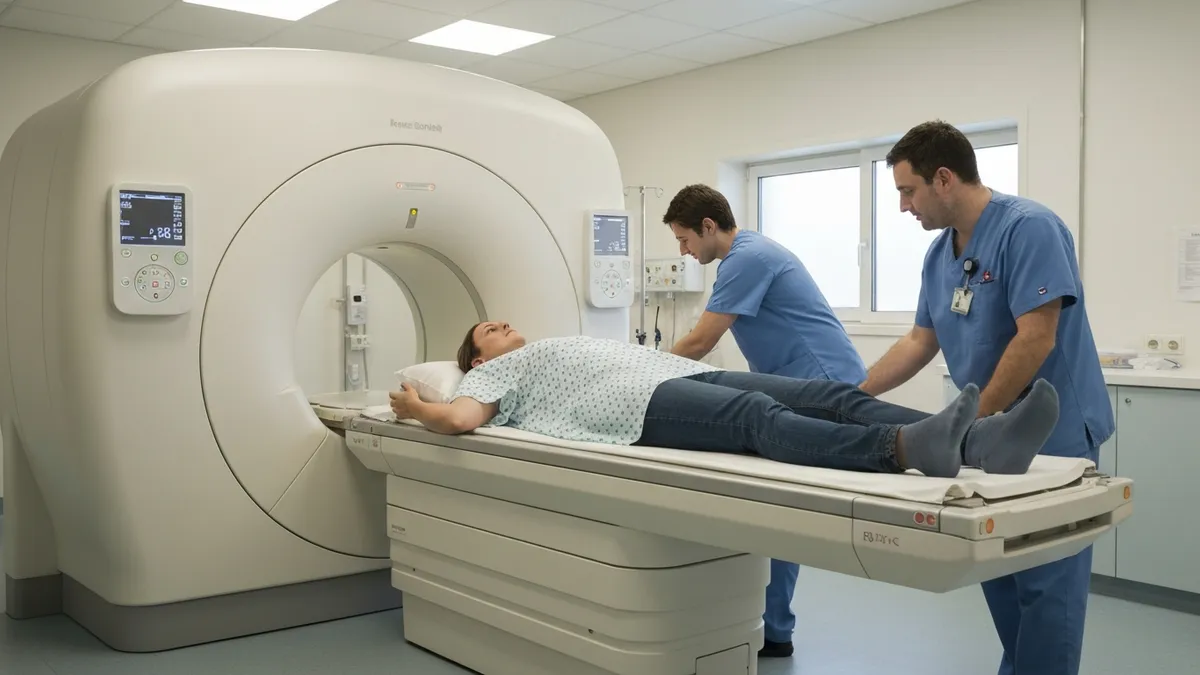
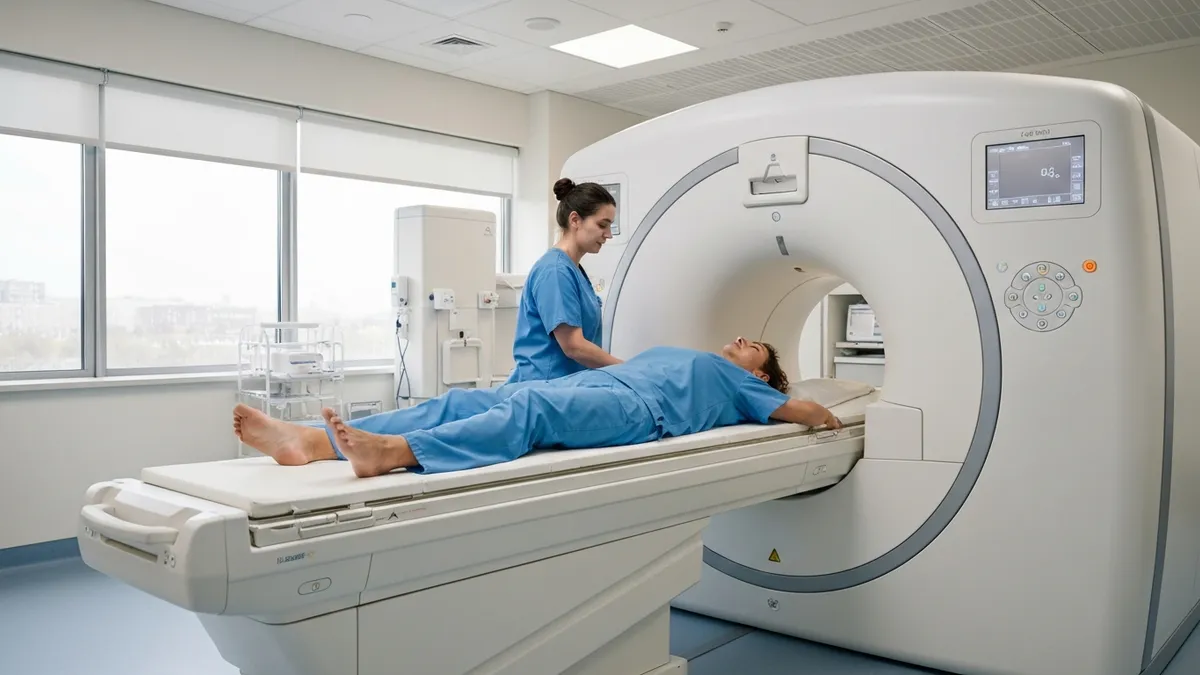
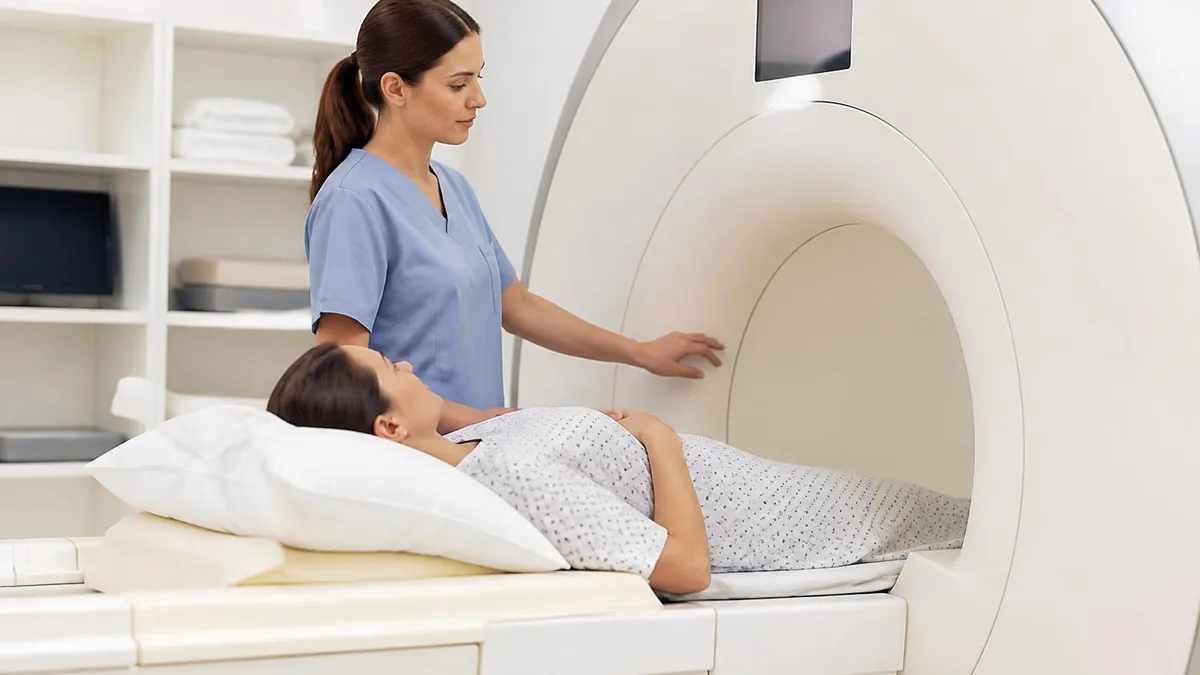
The patient lies on a motorized table that advances into the scanner bore — typically 60–70 cm in diameter for standard systems. Wide-bore and open MRI designs accommodate claustrophobic or larger patients, though open systems generally offer lower field strength and somewhat reduced image resolution.
The process of forming an MRI image begins the moment the patient enters the bore and their hydrogen protons align with the static magnetic field. Under normal circumstances, protons spin randomly. Inside the MRI scanner, the majority align either parallel or anti-parallel to B0, creating a net magnetization vector pointing along the direction of the main field. This net magnetization is what the scanner manipulates to extract diagnostic information from the body's tissues.
When the RF coil transmits a pulse at the resonant Larmor frequency — approximately 63.9 MHz for hydrogen in a 1.5T scanner — the net magnetization tips away from B0, often by 90 degrees for a standard spin-echo acquisition. The tipped magnetization then precesses around the main field axis, much like a spinning top wobbling around gravity, and this precessing motion induces a detectable electrical current in the receiver coil. This current is the raw MRI signal.
As soon as the RF pulse ends, the protons begin to relax back toward their equilibrium alignment through two independent processes. T1 relaxation, also called longitudinal or spin-lattice relaxation, describes how quickly the longitudinal magnetization recovers. T2 relaxation, also called transverse or spin-spin relaxation, describes how quickly the transverse signal decays due to local magnetic field inhomogeneities between neighboring protons. Different tissues have distinct T1 and T2 values, and by choosing TR and TE appropriately, technologists exploit these differences to create image contrast.
Spatial encoding is achieved using the three gradient coils. Slice selection gradients are applied simultaneously with the RF pulse so that only protons in a thin slab of tissue — defined by the gradient strength and the RF pulse bandwidth — experience the exact resonant frequency and are excited. Phase-encoding gradients applied along one in-plane direction assign a different phase angle to protons at each position along that axis. Frequency-encoding gradients applied perpendicular to the phase axis cause protons to precess at slightly different rates depending on their location, encoding their position as a unique frequency in the received signal.
The combination of slice selection, phase encoding, and frequency encoding fills k-space line by line with each TR period. Once enough k-space lines are acquired to meet the desired resolution, the Fourier transform converts this frequency-domain data into an image in pixel space. The outer regions of k-space contain high-spatial-frequency information that defines fine detail and sharp edges, while the central region of k-space contains low-frequency information responsible for overall image contrast and tissue brightness differences.
Modern MRI systems use multiple signal averages (NSA or NEX) to improve signal-to-noise ratio at the cost of longer scan times, or parallel imaging techniques that use arrays of receiver coils to simultaneously acquire data and reconstruct images from fewer phase-encoding steps, substantially reducing scan duration. Techniques like GRAPPA and SENSE are now standard in clinical practice and allow whole-brain imaging in minutes rather than the hour-long acquisitions required by older scanners.
Artifacts — unwanted features in MRI images — arise from many sources and represent one of the most challenging aspects of clinical MRI. Motion artifacts from patient breathing or cardiac pulsation blur images and can mimic pathology. Susceptibility artifacts occur near metallic implants or air-tissue interfaces where local magnetic field distortions cause signal loss and geometric distortion. Chemical shift artifacts arise from the frequency difference between fat and water protons and manifest as bright or dark bands at fat-water boundaries. Recognizing and minimizing these artifacts is a critical skill tested on the ARRT MRI registry examination.
MRI Pulse Sequences and Image Contrast
T1-weighted images are produced by using a short TR (typically 400–700 ms) and a short TE (10–20 ms), which allows tissues with fast T1 recovery — such as fat and proteinaceous fluid — to appear bright, while tissues with slow T1 recovery such as cerebrospinal fluid appear dark. T1 weighting is ideal for anatomical surveys because the contrast between gray matter, white matter, and CSF is crisp and familiar to radiologists trained on neurological imaging.
Gadolinium-based contrast agents dramatically enhance T1-weighted images by shortening T1 relaxation times in tissues where the contrast agent accumulates. Areas of blood-brain barrier breakdown, tumor vascularity, and active inflammation enhance brightly on post-contrast T1 images, allowing clinicians to identify malignancies, abscesses, and demyelinating lesions that may be invisible on pre-contrast scans. Timing of the post-contrast acquisition is important because the enhancement pattern changes as the agent distributes and washes out over time.
Advantages and Limitations of MRI Machine Imaging
- +No ionizing radiation — safe for repeated imaging and pediatric patients
- +Superior soft tissue contrast compared to CT or X-ray
- +Multi-planar capability — axial, sagittal, coronal, and oblique images from one acquisition
- +Functional imaging available — DWI, fMRI, MR spectroscopy, perfusion
- +Gadolinium contrast agents generally safer than iodinated CT contrast for kidneys
- +Excellent for neurological, musculoskeletal, and pelvic pathology
- −Long scan times increase motion artifact risk and patient discomfort
- −Claustrophobia affects approximately 5–10% of patients in closed-bore systems
- −Contraindicated for patients with certain metallic implants or pacemakers
- −Loud acoustic noise from gradient switching requires hearing protection
- −Expensive — both machine cost and per-scan reimbursement are high
- −Poor visualization of cortical bone and calcifications compared to CT
MRI Image Quality Optimization Checklist
- ✓Select the appropriate coil for the body region being imaged and verify it is properly connected.
- ✓Position the patient so the area of interest is at isocenter — the geometric center of the magnet bore.
- ✓Choose a field of view that encompasses the entire region of clinical interest without excessive dead space.
- ✓Set slice thickness and gap appropriate to the anatomy — thinner slices for small structures, thicker for surveys.
- ✓Adjust TR and TE to achieve the desired T1 or T2 weighting based on the clinical question.
- ✓Apply saturation bands to suppress signal from moving structures such as the anterior abdominal wall or vessels.
- ✓Use fat suppression (STIR or chemical shift fat sat) when edema or contrast enhancement needs to stand out.
- ✓Instruct the patient to remain still and provide earplugs or headphones to improve compliance.
- ✓Review the localizer images to confirm correct slice prescription before running diagnostic sequences.
- ✓Check each completed sequence for motion, susceptibility, and wraparound artifacts before releasing the patient.
- ✓Document contrast agent lot number, dose, and injection site if gadolinium was administered.
The Center of K-Space Controls Contrast — Not Detail
Many students are surprised to learn that the central lines of k-space — not the outer lines — determine the overall brightness and contrast in an MRI image. Outer k-space lines encode fine detail and edges. Techniques like keyhole imaging and elliptic centric ordering exploit this by filling the center of k-space at peak contrast enhancement, dramatically improving dynamic contrast studies without lengthening scan time.
The clinical breadth of MRI machine imaging means that technologists must understand not just physics but also the anatomy and pathology relevant to each body region they image. Neurological MRI remains the single largest application area. Brain protocols routinely include T1, T2, FLAIR, DWI, and gradient echo sequences, each contributing unique diagnostic information. A patient presenting with acute neurological symptoms will receive DWI first because it detects cytotoxic edema within minutes of arterial occlusion, long before T2 changes become visible on conventional sequences.
Musculoskeletal MRI is the second major application domain and places particularly high demands on coil technology and spatial resolution. Imaging the anterior cruciate ligament of the knee requires thin slices — often 3 mm or less — in multiple planes to detect partial tears and associated bone bruising that accompanies ligament injuries in athletes. The shoulder requires dedicated surface coils and oblique plane prescriptions aligned to the rotator cuff tendons to visualize supraspinatus tears accurately. Hip MRI for femoroacetabular impingement requires radial sequences fanned around the femoral neck.
Abdominal and pelvic MRI has expanded rapidly with the development of faster sequences that can freeze respiratory motion. Liver MRI using dynamic gadolinium enhancement and hepatobiliary-specific agents such as gadoxetate disodium (Eovist) characterizes focal liver lesions with a specificity that rivals surgical pathology in experienced centers. Pelvic MRI for prostate cancer staging uses multiparametric protocols that combine T2 weighting, DWI, and dynamic contrast enhancement to produce a PI-RADS score that guides biopsy decisions.
Cardiac MRI has evolved from a research tool into a clinical mainstay for assessing myocardial viability, cardiomyopathy, and congenital heart disease. Cine bSSFP sequences acquire multiple phases of the cardiac cycle in a single breath-hold, producing movies of ventricular function with frame rates sufficient to measure ejection fraction, wall motion, and valve dynamics. Late gadolinium enhancement imaging identifies scar tissue in ischemic and non-ischemic cardiomyopathy with histopathological accuracy, guiding decisions about implantable defibrillator placement and surgical candidacy.
Breast MRI is now guideline-recommended annual screening for women with greater than 20% lifetime risk of breast cancer, in addition to its established role in preoperative staging. Breast MRI requires dedicated bilateral breast coils, prone patient positioning, and dynamic contrast-enhanced protocols that capture multiple time points after gadolinium injection to characterize enhancement kinetics. Malignant lesions typically show rapid initial enhancement followed by washout, while benign lesions tend to show persistent or plateau enhancement patterns, though overlap between categories necessitates experienced radiological interpretation.
Whole-body MRI is emerging as a powerful staging tool for multiple myeloma and metastatic disease. By combining DWIBS (diffusion-weighted imaging with background body signal suppression) across the entire axial skeleton and organ parenchyma in a single session, whole-body MRI provides functional information about tumor activity comparable to PET-CT without radiation exposure. This capability is particularly valuable in pediatric oncology, where minimizing cumulative radiation dose across repeated staging examinations is a major clinical priority.
Interventional MRI represents the frontier of image-guided therapy. MRI-guided focused ultrasound can ablate uterine fibroids and is being studied for essential tremor, Parkinson's disease, and brain tumor treatment. MRI-guided biopsy allows targeting of lesions visible only on MRI that cannot be identified by ultrasound or CT, expanding access to tissue diagnosis for previously inaccessible lesions. Real-time MRI fluoroscopy, though still emerging, promises to guide catheter-based cardiac interventions without the radiation burden of conventional X-ray fluoroscopy suites.
Every patient must complete thorough metal screening before entering the MRI suite. Ferromagnetic implants, pacemakers, cochlear implants, and certain aneurysm clips can become projectiles or malfunction in the magnetic field. The FDA and ACR publish regularly updated guidance on implant safety — always verify device compatibility using the MRISafety.com database or the manufacturer's documentation before scanning any patient with an implant history.
Preparing for the ARRT MRI registry examination requires a systematic approach to the physics, instrumentation, patient care, and imaging procedures domains that the exam covers. Physics questions frequently address relaxation times, the relationship between field strength and Larmor frequency, gradient functions, k-space structure, and the origin of common artifacts. Students who struggle with physics should build understanding from first principles — starting with the behavior of protons in a magnetic field — rather than memorizing formulas without conceptual grounding.
Instrumentation questions test knowledge of magnet types (superconducting, resistive, permanent), shimming techniques, gradient specifications (maximum amplitude and slew rate), and RF coil categories (volume coils versus surface coils, quadrature versus phased array). Understanding why superconducting magnets require liquid helium, how active and passive shielding reduce fringe field hazards, and how phased-array coils improve SNR compared to single-element coils will prepare candidates for both the exam and real-world clinical practice.
Patient care competencies on the registry examination cover contrast agent pharmacology, nephrogenic systemic fibrosis risk stratification, gadolinium retention concerns, claustrophobia management, sedation monitoring responsibilities, and emergency procedures in the MRI suite. Candidates must know which gadolinium agents are classified as group I versus group II risk for NSF, the current ACR guidance on gadolinium use in patients with reduced GFR, and how to respond if a patient loses consciousness during scanning or a projectile event occurs.
Imaging procedures questions test protocol selection, plane prescription, sequence parameter choices, and artifact recognition. Candidates should be able to look at an image and identify whether an artifact is due to motion, susceptibility, chemical shift, aliasing (wraparound), or zipper artifact from RF interference. They should know the corrective actions — increasing bandwidth to reduce chemical shift, applying saturation bands to reduce aliasing, repositioning the FOV, or removing the source of RF contamination from the room.
Practice examinations are one of the most effective preparation tools because they expose candidates to the style, wording, and level of detail expected by the ARRT. Working through large banks of registry-style questions helps identify knowledge gaps, builds familiarity with exam format, and reduces test-day anxiety through repeated exposure to the question types that will appear. Reviewing rationales for both correct and incorrect answers is equally important because understanding why a wrong answer is wrong solidifies understanding more durably than simply memorizing the right answer.
Time management during the exam is a skill that must be practiced deliberately. The ARRT MRI registry examination allows sufficient time for most candidates to answer all questions if they work efficiently, but spending too long on any single question can create time pressure near the end. A useful strategy is to answer all questions you are confident about first, flag uncertain questions for review, and return to flagged items with remaining time rather than dwelling on difficult questions out of sequence.
Study groups, online forums, and textbook review are valuable supplements to practice questions. Standard references for MRI examination preparation include Westbrook's "Handbook of MRI Technique," Woodward and Freimarck's "MRI for Technologists," and the ACR's published practice parameters for MRI. Reading these alongside a question bank and working through the physics derivations by hand — even once — dramatically improves retention compared to passive reading alone.
Practical success in clinical MRI begins well before the patient enters the room. A skilled technologist reviews the order and clinical indication before designing the protocol, because the optimal imaging strategy for a post-operative ACL repair differs significantly from a first-time presentation with knee pain in a young athlete. Tailoring sequences to the clinical question — rather than running a default knee protocol for every patient — is what separates competent technologists from truly excellent ones and is the standard held up by ACR accreditation programs.
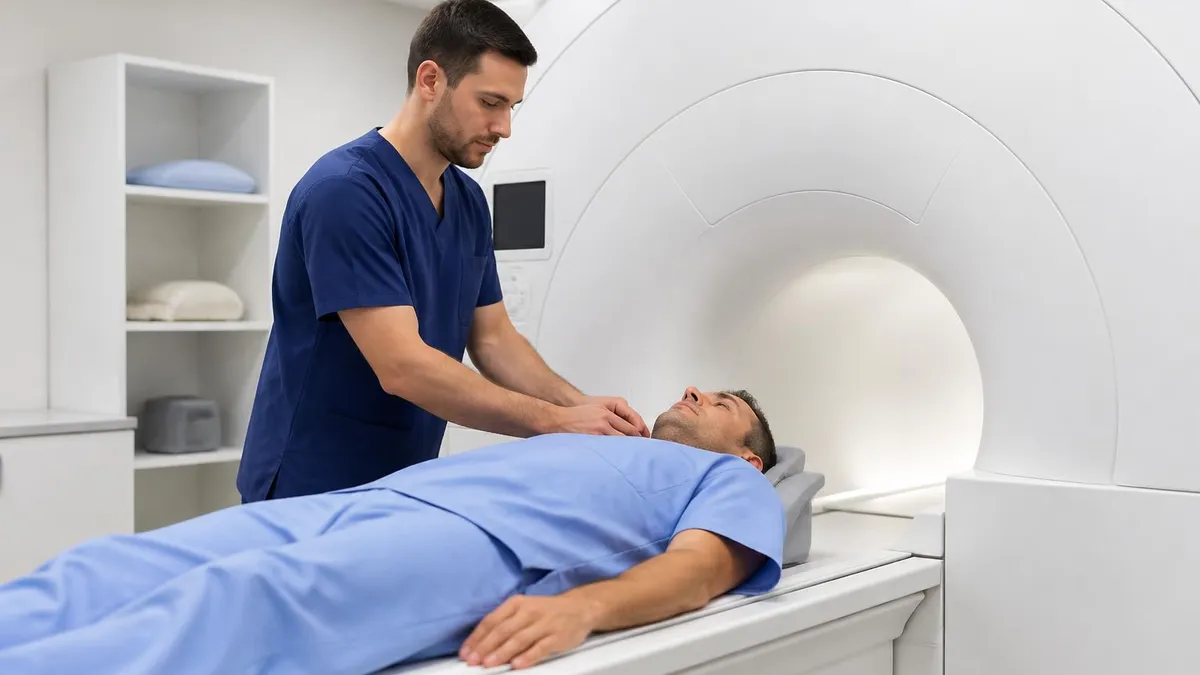
Communication with the patient during setup is essential for obtaining diagnostic-quality images. Explaining the duration of each sequence, the acoustic noise to expect, and the importance of remaining still during acquisition significantly reduces motion artifact. For breath-hold abdominal sequences, coaching the patient through practice breath-holds before scanning ensures they understand what is expected and can reliably suspend respiration for the 15–25 seconds required. Pediatric patients, elderly patients, and those in pain may need additional time and reassurance during positioning.
Intravenous contrast administration requires a secure IV line, typically in the antecubital fossa, with adequate flow rate confirmed before injecting. Power injectors deliver gadolinium at programmable rates — usually 2 mL/s for standard doses — and allow precise timing of the dynamic contrast phases critical for liver, breast, and vascular studies. Manual injection is acceptable for some studies but introduces variability in bolus timing that can degrade dynamic enhancement curves in time-sensitive protocols.
Post-processing is an increasingly important component of the MRI workflow. Technologists are routinely expected to generate multiplanar reformats, maximum intensity projections for MR angiography studies, and diffusion-weighted maps including apparent diffusion coefficient (ADC) maps to accompany raw DWI images. Familiarity with the workstation software used at your institution — whether Syngo, Centricity, or IntelliSpace — and the ability to perform these reconstructions efficiently is an expected clinical competency for entry-level MRI positions.
Documentation requirements for MRI examinations include recording the magnet field strength, coils used, sequences acquired, contrast agent administered (dose, lot number, expiration date, injection site, any adverse reactions), patient screening form completion, and any deviations from standard protocol. Accurate documentation protects the patient, the technologist, and the facility in the event of a clinical complication or regulatory audit. Most institutions use electronic health record systems that prompt for this information, but the technologist remains responsible for accuracy.
Continuing education in MRI is both a professional obligation and a practical necessity given the pace of technological change. The ARRT requires 24 continuing education credits every two years for MRI certificate holders, with specific requirements for safety-related content. Attending vendor-sponsored application training, professional conferences such as ISMRM or AHRA, and reviewing peer-reviewed journals keeps technologists current with advances in artificial intelligence-assisted reconstruction, compressed sensing, photon-counting detector integration, and ultra-high-field clinical imaging that will define the next decade of the specialty.
The career trajectory for MRI technologists offers substantial opportunity for advancement. Lead technologist, clinical applications specialist, MRI educator, and research MRI technologist roles all build on clinical expertise and offer increasing responsibility and compensation. Board certification in MRI through the ARRT, combined with experience on multiple scanner platforms and proficiency in advanced protocols, positions technologists well for leadership roles in large academic medical centers, outpatient imaging centers, and the medical device industry alike.
MRI Questions and Answers
DWI MRI: Diffusion-Weighted Imaging Explained (2026 Guide)
Side Effects of Brain MRI: Understanding Risks, Safety, and What Every Patient Should Know

MRI Lumbar Spine Without Contrast: Complete Guide to the Scan, What It Shows, and How to Prepare
MRI History: From Nuclear Resonance to Modern Scanners
MRI of Cervical Spine: Complete Guide to Imaging, Anatomy, Pathology, and Patient Preparation
About the Author
Medical Laboratory Scientist & Clinical Certification Expert
Johns Hopkins UniversityDr. Sandra Kim holds a PhD in Clinical Laboratory Science from Johns Hopkins University and is certified as a Medical Technologist (MT) and Medical Laboratory Scientist (MLS) through ASCP. With 16 years of clinical laboratory experience spanning hematology, microbiology, and molecular diagnostics, she prepares candidates for ASCP board exams, MLT, MLS, and specialist certification tests.
Join the Discussion
Connect with other students preparing for this exam. Share tips, ask questions, and get advice from people who have been there.
View discussion (6 replies)