Herniated Disc MRI: What the Scan Shows, How to Read It, and What Comes Next
🟢 Learn what a herniated disc MRI reveals, how radiologists read spine images, and what your results mean for treatment. Complete 2026 June guide.
A herniated disc MRI is the gold-standard imaging study for diagnosing disc disease in the cervical, thoracic, and lumbar spine. When a disc's soft inner nucleus pulposus breaks through the tougher outer annulus fibrosus, the resulting herniation can compress nerve roots or the spinal cord itself, producing pain, numbness, and weakness that radiates into the arms or legs. MRI captures this soft-tissue pathology with extraordinary clarity because it uses magnetic fields and radiofrequency pulses rather than ionizing radiation, making it safe for most patients and repeatable when follow-up imaging is clinically warranted.
Understanding what appears on a herniated disc MRI begins with recognizing the normal disc architecture. On a T2-weighted sagittal sequence, healthy lumbar discs appear bright white because of their high water content. As discs degenerate, they lose hydration and turn progressively darker — a phenomenon radiologists call disc desiccation. A herniation is then classified by its shape and extent: a bulge involves a smooth, symmetric extension of disc material beyond the vertebral end plates, while a true herniation is focal and asymmetric, often subdivided into protrusion, extrusion, or sequestration depending on how far the disc material has migrated.
The clinical importance of this distinction cannot be overstated. A broad-based bulge affecting more than 25 percent of the disc circumference typically produces different symptoms than a focal extrusion that has migrated caudally into the lateral recess. Radiologists annotate these findings systematically so that spine surgeons and pain management specialists can correlate the imaging anatomy with the patient's dermatomal pain pattern, muscle weakness, and reflex changes. Accurate interpretation therefore requires both knowledge of MRI physics and a firm grasp of spinal anatomy — precisely the kind of integrated knowledge tested on MRI registry and board examinations.
The lumbar spine accounts for the majority of clinically significant herniations, with L4-L5 and L5-S1 being the most frequently affected levels. These levels bear the greatest mechanical load during lifting, twisting, and prolonged sitting, making them vulnerable to cumulative micro-trauma over time. A well-executed lumbar MRI protocol will typically include T1-weighted and T2-weighted sequences in both the sagittal and axial planes, with optional STIR or fat-suppressed sequences when bone marrow edema or inflammatory changes are suspected. Contrast-enhanced studies with gadolinium are reserved for distinguishing recurrent disc herniation from post-surgical scar tissue, a distinction that is clinically critical for surgical planning.
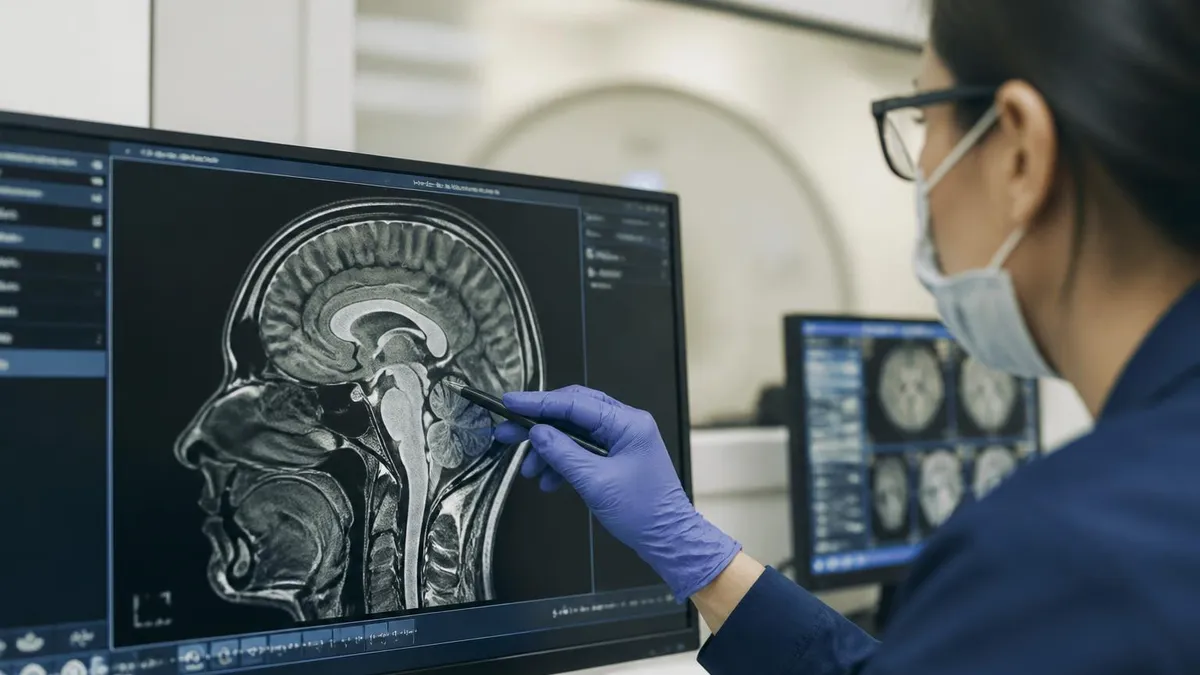
Cervical herniations at C5-C6 and C6-C7 are the next most common, producing radiculopathy patterns that radiate into the shoulder, arm, and specific fingers. The cervical spinal canal is narrower than the lumbar canal, so even a moderate herniation can cause myelopathic signs if it compresses the cord. MRI is uniquely capable of demonstrating intrinsic cord signal changes — high T2 signal within the cord substance that indicates edema or myelomalacia — changes that would be invisible on CT or plain radiography. These cord signal abnormalities significantly influence the urgency of surgical referral.
For students and technologists preparing for credentialing exams, herniated disc imaging sits at the intersection of MRI physics, anatomy, and pathology — three domains that the ARRT MRI examination tests in depth. Recognizing the appearance of an extrusion versus a sequestrated fragment, understanding why certain sequences highlight disc material differently, and knowing how field strength affects image contrast are all concepts that appear regularly on practice questions.
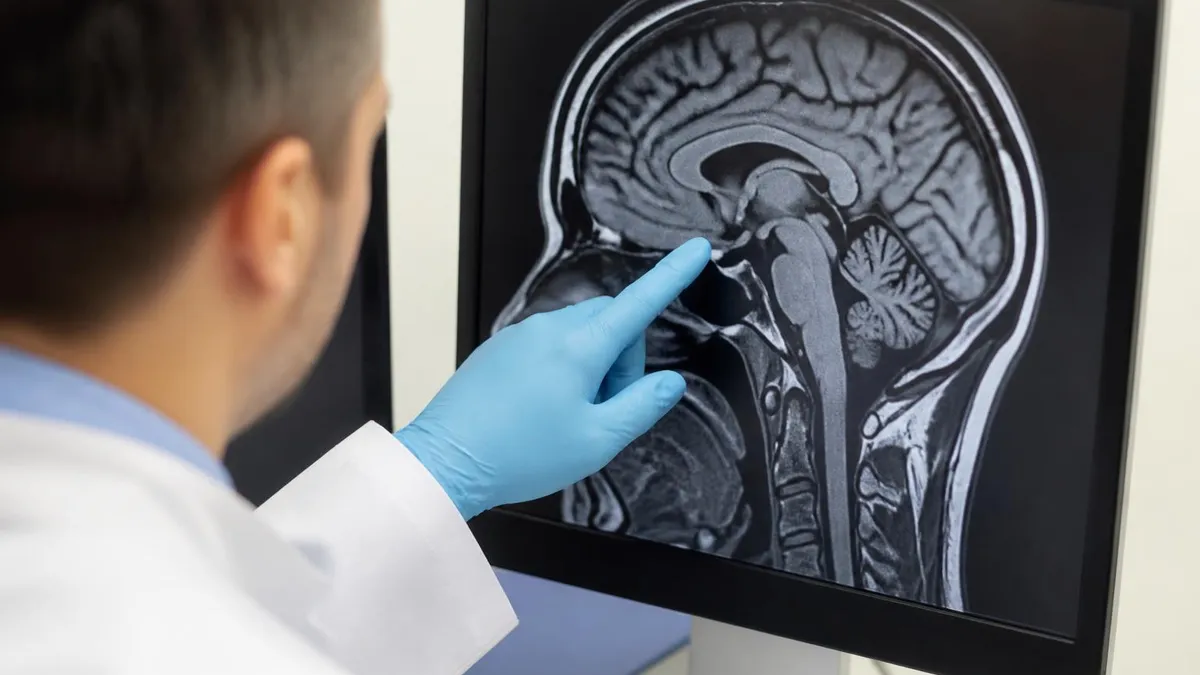
Just as understanding what a herniated disc mri looks like in the normal brain helps you recognize pathology, building a mental library of normal versus abnormal spine anatomy is essential before sitting for credentialing exams.
This guide walks through every facet of herniated disc MRI interpretation: the imaging sequences used, the grading terminology radiologists employ, the specific appearances at each spinal level, the clinical correlation between imaging findings and patient symptoms, and the practical steps patients and technologists take before and after the scan. Whether you are a patient trying to understand your radiology report, a student studying for board exams, or a technologist refining your positioning protocols, this comprehensive resource provides the depth and accuracy you need.
Herniated Disc MRI by the Numbers
Disc Herniation Types and Grading Terminology
Symmetric extension of disc material beyond the vertebral end plates involving more than 25% of the circumference. On axial T2, the disc contour remains smooth and convex. Bulges are often degenerative rather than traumatic and may not correlate with radicular symptoms.
Focal herniation where the base in contact with the parent disc is wider than any other dimension of the displaced material. The annulus fibrosus remains intact. Protrusions are the most common true herniation subtype and frequently cause nerve root contact or displacement.
Disc material displaced beyond the disc space where any one dimension of the herniated fragment is greater than the base width. The posterior longitudinal ligament may be disrupted. Extrusions can migrate superiorly or inferiorly within the epidural space.
A free fragment of disc material that has completely separated from the parent disc and migrated into the epidural space. These fragments may travel several levels from the disc of origin and can be particularly difficult to identify without careful review of axial images.
Vertebral end-plate signal changes adjacent to degenerated discs, graded Type I (edema, low T1/high T2), Type II (fatty infiltration, high T1/high T2), and Type III (sclerosis, low T1/low T2). Modic changes indicate active disc-vertebral pathology and influence treatment decisions.
The MRI sequences used for a spine herniation study are carefully selected to highlight different tissue properties, and understanding their roles is fundamental for both radiologists reading the images and technologists acquiring them. T1-weighted sequences provide excellent anatomic detail and are particularly useful for identifying fat, which appears bright. On T1 sagittal images, the vertebral body marrow appears hyperintense, creating a high-contrast background against which disc herniations — which appear relatively dark — stand out sharply. T1 images are also the baseline sequence used after gadolinium administration because enhancing structures such as scar tissue and tumor become conspicuous.
T2-weighted sequences are arguably the workhorse of spine MRI because fluid, including the nucleus pulposus and cerebrospinal fluid, appears bright white. A normal, well-hydrated disc glows brightly on T2 sagittal images, and the loss of this signal — disc desiccation — is one of the earliest and most reliable indicators of disc degeneration.
Radiologists stage disc degeneration using the Pfirrmann grading scale, which ranges from Grade I (homogeneous white nucleus) to Grade V (collapsed disc with no distinction between nucleus and annulus). A herniation in the context of a Grade IV or V disc carries different prognostic implications than a herniation arising from an otherwise healthy disc in a younger patient.
Axial T2-weighted images through the disc levels are indispensable for localizing herniations within the spinal canal. Radiologists divide the axial cross-section into zones: the central canal, the right and left subarticular zones (also called the lateral recess), the right and left foraminal zones, and the right and left extraforaminal (far lateral) zones. A central herniation may compress the thecal sac and both nerve roots simultaneously, while a far lateral herniation at L4-L5 will compress the exiting L4 nerve root rather than the traversing L5 root — a detail that has direct implications for which surgical approach is appropriate.
STIR (Short Tau Inversion Recovery) sequences suppress fat signal throughout the image, making them sensitive to bone marrow edema, inflammatory processes, and acute injury. When a herniation occurs in the setting of acute trauma, STIR sequences can reveal end-plate fractures, ligamentous injury, and cord contusion that might be subtle or invisible on standard T1 and T2 sequences. Similarly, fat-suppressed T2 sequences are useful for detecting nerve root inflammation — the nerve root sleeve may appear swollen and hyperintense in the setting of acute radiculopathy, a finding that helps radiologists confirm the clinical level of pathology.
Gradient echo sequences play a specialized role in cervical spine imaging. Because gradient echo acquisitions are sensitive to magnetic susceptibility effects, they are excellent for detecting calcified disc material or ossification of the posterior longitudinal ligament, conditions that can mimic soft disc herniations but require different surgical management. Three-dimensional gradient echo acquisitions can also generate isotropic datasets that are reformatted in any plane, allowing radiologists to view the foramina in oblique orientations that are not possible with standard two-dimensional spin echo techniques.
Field strength matters substantially for spine herniation imaging. A 3 Tesla scanner provides approximately double the signal-to-noise ratio of a 1.5 Tesla unit, which translates to higher spatial resolution, thinner slices, and better visualization of small disc fragments and nerve root anatomy. However, 3T imaging also introduces increased susceptibility artifacts from surgical hardware, which can obscure postoperative anatomy. For post-surgical patients, 1.5T or dedicated metal-artifact reduction sequences (MARS) may actually yield better diagnostic images at the operative level than a standard 3T protocol.
Diffusion tensor imaging (DTI) and MR neurography represent emerging advanced techniques for spine imaging. DTI can detect microstructural changes in compressed nerve roots before gross anatomic displacement is visible on conventional sequences. MR neurography using heavily T2-weighted fat-suppressed sequences can trace individual nerve roots from their origin to the peripheral target, providing roadmaps that are invaluable for complex cases involving lumbosacral plexopathy or multilevel foraminal stenosis. While these techniques are not yet part of routine clinical protocols, they appear with increasing frequency in radiology literature and on advanced credentialing examinations.
Reading Herniated Disc MRI Results by Spinal Level
The lumbar spine is the most frequently imaged region for disc herniation. On sagittal T2, radiologists scan each disc from L1-L2 through L5-S1, noting signal intensity, disc height, end-plate contour, and posterior margin. L4-L5 and L5-S1 discs bear the highest load and fail most often. A posterior L4-L5 herniation typically compresses the traversing L5 nerve root in the lateral recess, causing pain and weakness in the big toe extensors and dorsiflexion of the foot — the classic L5 radiculopathy pattern.
Axial images at each disc level confirm the zone of herniation and quantify canal compromise. Radiologists measure the anteroposterior diameter of the thecal sac and compare it to the disc level above and below. Severe central herniations causing more than 50% canal compromise or obliteration of cerebrospinal fluid around the cauda equina nerve roots are flagged as surgically urgent, particularly if the clinical picture includes bilateral leg weakness or bowel and bladder dysfunction consistent with cauda equina syndrome, a true neurologic emergency.
MRI vs. CT for Disc Herniation Diagnosis: Key Tradeoffs
- +Superior soft-tissue contrast reveals disc material, nerve root compression, and cord signal changes
- +No ionizing radiation — safe for repeated studies and young patients
- +Multiplanar capability without repositioning the patient or reconstructing from axial data
- +Detects intrinsic cord signal changes invisible to CT, influencing surgical urgency
- +Better characterizes ligamentous injury, epidural hematoma, and inflammatory changes
- +STIR and fat-suppressed sequences detect bone marrow edema and acute end-plate injury
- −Contraindicated in patients with most non-MRI-conditional cardiac pacemakers or cochlear implants
- −Longer scan time (30–60 minutes) compared to CT (minutes), increasing motion artifact risk
- −Higher cost — lumbar MRI averages $1,000–$2,500 without insurance in the US
- −Claustrophobia affects approximately 5–10% of patients requiring open MRI or sedation
- −Poor visualization of calcified disc fragments and ossification of the posterior longitudinal ligament
- −Metal implants near the spine create susceptibility artifacts that obscure postoperative anatomy
What to Do After Your Herniated Disc MRI: Action Checklist
- ✓Request a copy of the radiology report and your actual DICOM images on a CD or through the patient portal.
- ✓Read the Impression section of your report first — it summarizes the radiologist's key findings in plain language.
- ✓Look up the specific level and zone of your herniation (e.g., L4-L5 left paracentral) to understand which nerve root may be affected.
- ✓Compare imaging findings to your symptoms — if the herniation is on the opposite side from your pain, discuss this discrepancy with your physician.
- ✓Ask your ordering physician whether the MRI findings are consistent with your clinical examination and nerve conduction study results.
- ✓Inquire about Modic changes, foraminal stenosis, and facet arthropathy — these may contribute to pain independent of the disc herniation.
- ✓Ask whether a follow-up MRI is needed and, if so, whether a contrast-enhanced study is appropriate to distinguish scar from recurrent herniation.
- ✓Discuss conservative treatment options — physical therapy, epidural steroid injections, and activity modification — before agreeing to surgical intervention.
- ✓Seek a second radiologic opinion if your symptoms are severe but the report describes only mild or moderate pathology.
- ✓Keep a dated copy of every MRI report to track changes in disc morphology over time and compare pre- and post-treatment images.
MRI Findings Must Correlate with Symptoms
Studies consistently show that 20–30% of asymptomatic adults over age 40 have disc herniations visible on MRI. A positive MRI finding does not automatically mean surgery is required — the imaging must match the clinical presentation, including pain distribution, neurological deficits, and response to conservative care. Radiologists and clinicians are trained to treat patients, not images.
When comparing herniated disc MRI to other spine imaging modalities, it is important to understand what each technology can and cannot reveal. Plain radiographs (X-rays) remain useful for assessing vertebral alignment, disc height loss, and gross bony abnormalities such as spondylolisthesis, fractures, or severe scoliosis. However, X-rays cannot visualize disc material, nerve roots, or the spinal cord directly. They are typically the first imaging obtained because of their low cost, wide availability, and ability to assess load-bearing alignment in both supine and upright positions. A standing AP and lateral lumbar X-ray series can detect instability that supine MRI misses entirely.
CT scanning excels at characterizing bony anatomy with far greater resolution than MRI. In the spine, CT is the preferred modality for evaluating fracture patterns, facet joint disease, pedicle dimensions for surgical planning, and the presence of calcification or ossification within disc herniations or posterior longitudinal ligament.
Modern multi-detector CT scanners acquire isotropic voxels that can be reformatted in any plane, providing detailed three-dimensional maps of the bony spinal canal. When a patient has a contraindication to MRI — such as a non-MRI-conditional device — CT myelography is the next best option, involving intrathecal injection of iodinated contrast followed by CT acquisition.
CT myelography provides indirect visualization of disc herniations by demonstrating filling defects within the contrast-opacified thecal sac. It has slightly lower sensitivity than MRI for identifying small disc fragments but superior sensitivity for detecting ossified or calcified herniations that appear isodense to disc material on standard MRI sequences. CT myelography is also preferred at cervical levels in postoperative patients with significant metal artifact from anterior cervical hardware. The procedure does involve radiation exposure and the small but real risks associated with lumbar puncture, including post-dural puncture headache.
Ultrasound has limited utility in the lumbar spine due to the bony posterior elements preventing acoustic transmission, but it plays an emerging role in nerve root assessment. High-frequency ultrasound can visualize the brachial plexus and lumbosacral plexus, and dynamic ultrasound during provocative maneuvers can occasionally demonstrate nerve root tethering at foraminal levels that appear equivocal on static MRI. Diagnostic nerve root blocks performed under fluoroscopic or CT guidance serve a dual role: they confirm that a specific level is the pain generator and provide temporary therapeutic relief.
Electrodiagnostic testing — electromyography (EMG) and nerve conduction studies (NCS) — provides physiologic rather than anatomic information. While MRI reveals what the disc looks like, EMG tells you whether the nerve root is actually functionally compromised. A patient with a large L5-S1 extrusion on MRI but a normal EMG may have less radiculopathy than a patient with a moderate herniation and marked denervation changes in the tibialis anterior muscle. Combining MRI with electrodiagnostic data gives the most complete picture of both structural and functional nerve involvement, and this combination is frequently tested on ARRT registry examinations.
Positron emission tomography (PET) scanning has no established role in herniated disc evaluation, but PET-CT is occasionally used when spinal metastatic disease enters the differential diagnosis. An elderly patient presenting with new-onset back pain and radiculopathy deserves careful scrutiny to exclude pathological vertebral fracture from malignancy before attributing symptoms to disc disease. MRI with gadolinium is the preferred study in this setting because enhancement patterns reliably distinguish osteoporotic compression fractures from metastatic lesions, and dedicated spine MRI protocols can survey the entire spinal axis when widespread metastatic involvement is suspected.
Functional MRI of the spine — measuring cord perfusion or metabolic activity — remains investigational. Similarly, sodium MRI, which directly quantifies proteoglycan content within the nucleus pulposus, shows promise as a biomarker for early disc degeneration before morphologic changes are visible on conventional sequences. Delayed gadolinium-enhanced MRI of cartilage (dGEMRIC) is being adapted for disc applications. These advanced techniques are likely to appear on future registry examinations as they transition from research into clinical practice, making it worthwhile for credentialing candidates to follow MRI literature beyond standard protocols.
A massive central disc herniation — most often at L4-L5 — can compress the cauda equina nerve bundle, causing bilateral leg weakness, saddle anesthesia (numbness in the groin and inner thighs), and loss of bowel or bladder control. This is a true surgical emergency requiring MRI within hours and operative decompression within 24–48 hours to prevent permanent neurologic deficits. If you or a patient experiences these symptoms, go to the emergency department immediately — do not wait for an outpatient appointment.
For students and technologists preparing for ARRT MRI certification or registry examinations, spine imaging and disc herniation pathology represent a high-yield topic area that rewards systematic study. The ARRT MRI examination blueprint allocates significant weight to patient care, image production, and procedures — and within the procedures domain, musculoskeletal and spine imaging is consistently represented. Understanding the radiographic anatomy of the spinal canal, the neural foramina, and the relevant soft tissue structures separates candidates who merely memorize from those who can apply knowledge to novel images on examination day.
Begin your study of spine MRI by building a solid foundation in cross-sectional anatomy. Flashcard-based review of labeled axial and sagittal spine images helps anchor the spatial relationships between discs, nerve roots, ligaments, and vascular structures.
The conus medullaris typically ends between T12 and L2 in adults — a detail that determines whether a lesion at a given level involves the spinal cord itself or only the cauda equina, and this distinction drives entirely different clinical and surgical considerations. Similarly, knowing that the L5 nerve root exits beneath the L5 pedicle (not L4-L5 disc level) prevents common anatomical errors in interpretation.
MRI physics for spine imaging builds on the general principles of T1 and T2 contrast but requires understanding of specific applications. Fat suppression techniques, including chemical shift saturation (ChemSat) and STIR, behave differently in the presence of metal implants — ChemSat fails near metal but STIR remains effective because it relies on T1 relaxation rather than chemical shift. Understanding why a STIR sequence is preferred over fat-saturated T2 in postoperative spines requires synthesizing physics and clinical context, exactly the type of integrated reasoning that registry questions target.
Pulse sequence selection for spine MRI is another area where technologist knowledge directly affects diagnostic quality. Selecting appropriate echo times and repetition times for T1 and T2 contrast, choosing between fast spin echo and gradient echo acquisitions, and understanding how parallel imaging techniques like GRAPPA and SENSE reduce scan time without proportionally sacrificing signal — all of these decisions fall within the technologist's scope of practice and influence how reliably herniations are detected. A technologist who understands these principles can troubleshoot artifacts in real time rather than delivering suboptimal images.
Positioning and patient preparation are critical determinants of lumbar MRI quality. Patients must remove all metal objects, and thorough screening for implanted devices using a standardized screening form protects both patient safety and image quality. For lumbar studies, positioning the patient with the knees flexed over a bolster reduces lumbar lordosis, opening the posterior disc margins and foramina to maximize visualization of herniations. Cervical spine studies benefit from careful head positioning to avoid neck rotation, which introduces asymmetric obliquity that makes foraminal comparison between sides unreliable.
Contrast administration protocols for spine MRI are governed by institutional policy and ACR guidelines. Standard gadolinium-based contrast agents are administered at 0.1 mmol per kilogram of body weight for most spine applications. The timing of post-contrast imaging matters: delayed post-contrast T1 sequences (obtained 10–15 minutes after injection) maximize enhancement of scar tissue relative to avascular disc material, which is essential for the recurrent disc versus scar differentiation discussed earlier. Macrocyclic gadolinium agents are preferred over linear agents in most current protocols due to their superior stability and lower risk of gadolinium deposition in tissues.
For technologists seeking to deepen their expertise in spine MRI, resources such as the ARRT practice guidelines, the ACR–ASNR–SCBT-MR practice parameters for MRI of the spine, and peer-reviewed journals including the American Journal of Neuroradiology provide authoritative reference material. Structured review of normal anatomy atlases alongside pathological case series builds the visual pattern recognition needed for both clinical practice and registry examination success. The quiz resources on this site provide exam-style practice that bridges didactic study with the applied reasoning that distinguishes passing candidates from those who fall short.
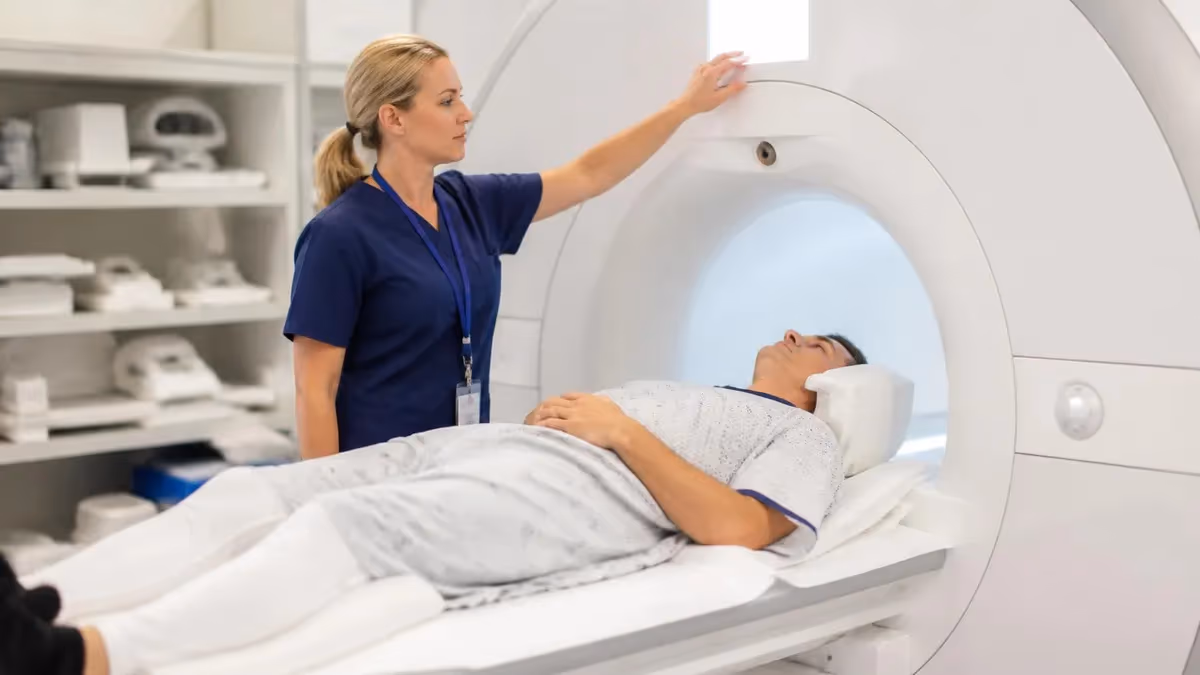
Practical preparation for a herniated disc MRI — whether as a patient or as the technologist managing the patient experience — involves several important steps that directly affect both safety and image quality. Patients should arrive having completed an MRI safety screening form, which asks about implanted devices, prior surgeries, occupational metal exposure, tattoos, and pregnancy status.
The technologist reviews this form thoroughly before the patient enters the magnetic environment, because projectile injuries and implant heating incidents represent the most serious preventable adverse events in MRI practice. A careful screening conversation supplements the written form and allows the technologist to assess patient comprehension and anxiety level.
Patients who are claustrophobic or anxious should be offered the option of an open MRI system, although it is worth noting that open MRI systems typically operate at lower field strengths (0.3T to 1.0T) and may produce images of inferior diagnostic quality for small disc herniations. When clinical urgency requires high-resolution imaging, patient anxiety may be managed with mild anxiolytic premedication prescribed by the ordering physician, or with distraction techniques such as music, prism goggles, or patient-controlled lighting and ventilation. Short-bore wide-bore 1.5T and 3T magnets have substantially reduced claustrophobia rates compared to earlier generation narrow-bore designs.
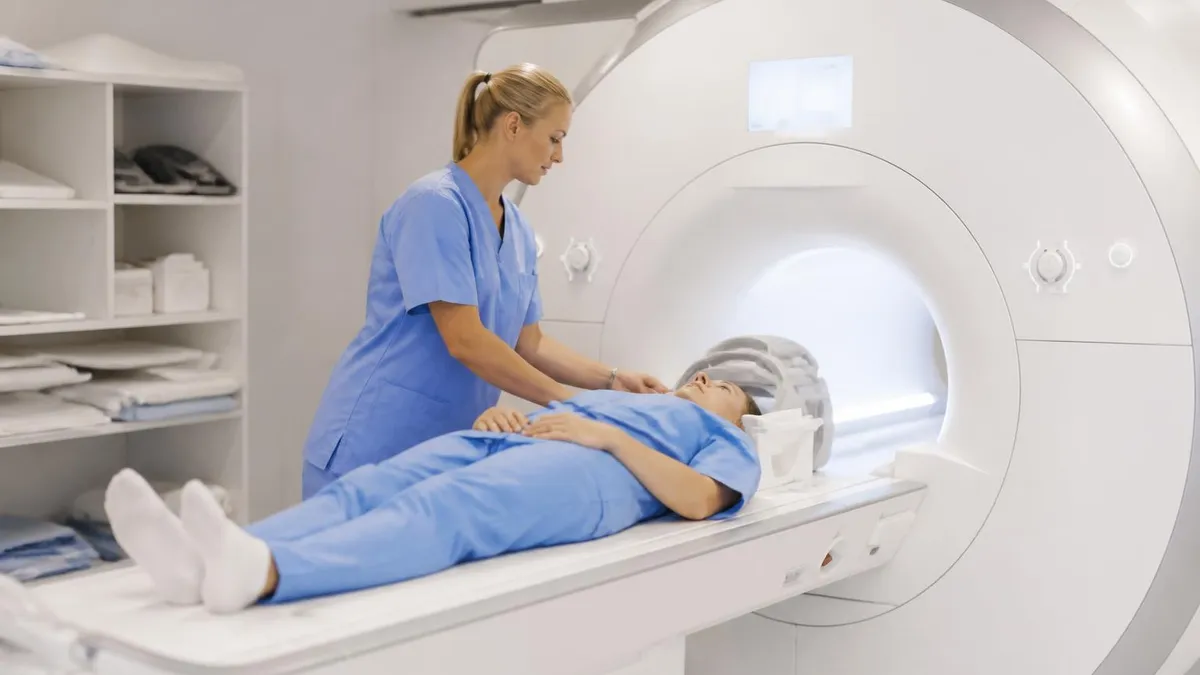
During the scan, patient motion is the most significant source of degraded image quality in spine MRI. Technologists should instruct patients clearly about the importance of remaining still, explain the duration of each sequence, and provide earplugs or headphones to reduce the acoustic noise of gradient switching.
For patients with severe pain who cannot lie flat, positioning modifications such as adding cushioning under the lumbar spine or imaging in the prone position may be necessary. Some institutions offer upright or standing MRI systems that image the spine under physiologic load, which can demonstrate dynamic instability or disc herniation that increases with weight-bearing and is underestimated on supine imaging.
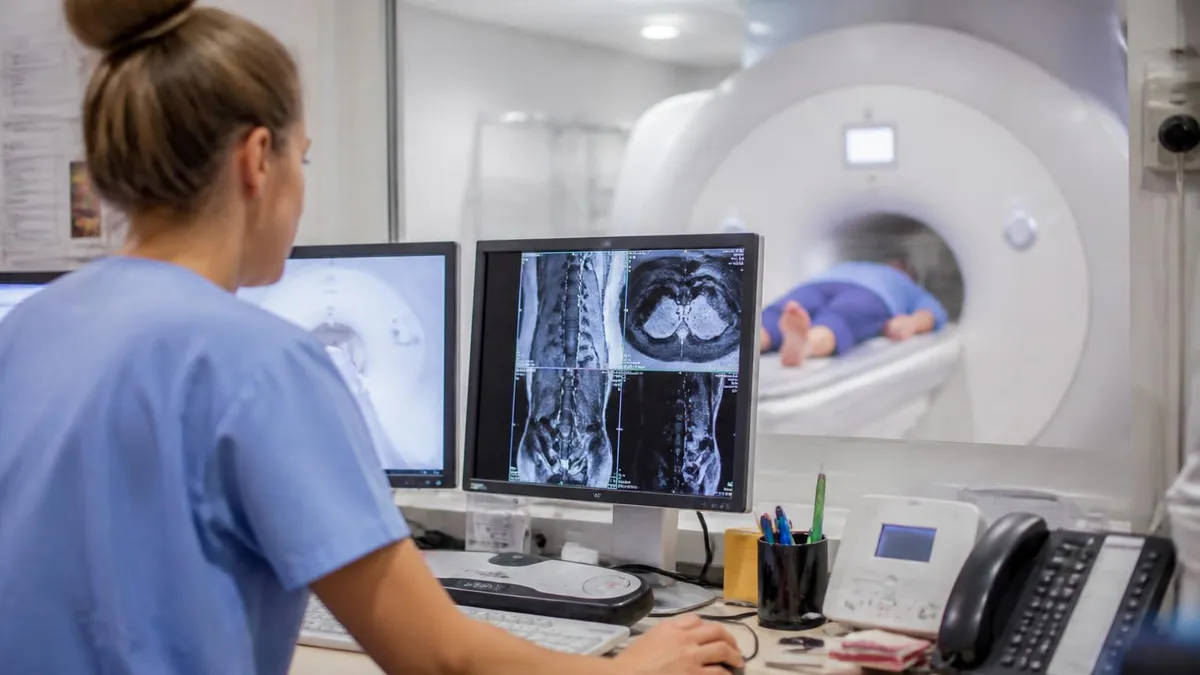
After image acquisition, the technologist reviews images for technical adequacy before releasing the patient. Key quality checks include verifying coverage from the conus medullaris through the sacrum on lumbar studies, confirming that each disc level is included on axial images, checking for phase-wrap artifact that may obscure the posterior elements, and ensuring that the signal-to-noise ratio is adequate on all sequences.
If a sequence was degraded by motion or artifact, repeating that sequence before the patient leaves the scanner is far preferable to returning the patient for a repeat study. This quality control responsibility is central to the technologist's professional role.
Radiologist communication of herniation findings follows standardized terminology from the Combined Task Forces of the North American Spine Society, American Society of Spine Radiology, and American Society of Neuroradiology. This consensus nomenclature — which defines terms like protrusion, extrusion, sequestration, and the zone classifications described earlier — was developed precisely to reduce inter-observer variability in disc herniation reporting. When a radiologist describes a finding as a right paracentral L4-L5 disc protrusion contacting the traversing right L5 nerve root without displacement, this language has a specific, agreed-upon meaning that should be interpreted consistently across institutions and examiners.
Follow-up imaging after herniated disc treatment depends on the treatment modality and the clinical trajectory. Patients treated conservatively with physical therapy and pain management do not require routine follow-up MRI unless symptoms worsen or new neurologic deficits develop.
Post-surgical patients typically undergo MRI at 6 weeks to assess for complications such as epidural hematoma, seroma, or infection, and then at 6–12 months if symptoms persist or recur. The classic post-discectomy MRI shows a small residual disc bulge or mild epidural scarring at the operative level — findings that are expected and should not be interpreted as surgical failure in the absence of corresponding symptoms.
The landscape of spine MRI continues to evolve with advances in artificial intelligence and machine learning. Deep learning algorithms trained on large annotated datasets can now detect and grade disc herniations with radiologist-level accuracy in research settings. Automated measurements of disc height, canal diameter, and foraminal area reduce reporting variability and potentially shorten report turnaround time.
As AI-assisted reporting tools enter clinical practice, MRI technologists and radiologists will need to understand their capabilities and limitations — including how training data biases may affect performance on underrepresented patient populations or unusual presentations. This intersection of AI and clinical imaging is increasingly reflected in advanced MRI certification curricula and registry examination content.
MRI Questions and Answers
About the Author
Medical Laboratory Scientist & Clinical Certification Expert
Johns Hopkins UniversityDr. Sandra Kim holds a PhD in Clinical Laboratory Science from Johns Hopkins University and is certified as a Medical Technologist (MT) and Medical Laboratory Scientist (MLS) through ASCP. With 16 years of clinical laboratory experience spanning hematology, microbiology, and molecular diagnostics, she prepares candidates for ASCP board exams, MLT, MLS, and specialist certification tests.
Join the Discussion
Connect with other students preparing for this exam. Share tips, ask questions, and get advice from people who have been there.
View discussion (4 replies)