
How to Adjust Air Disc Brakes: Complete Guide for CDL Drivers 2026 October
Learn how to adjust air disc brakes step-by-step. CDL air brake test tips, inspection procedures & compliance rules. ✅ Free practice questions included.

Understanding how to adjust air disc brakes is one of the most critical skills any commercial driver or fleet maintenance technician can possess. Unlike traditional drum brakes, air disc brakes use a caliper-and-rotor system pressurized by your vehicle's air brakes supply to generate stopping force. When these brakes fall out of adjustment, stopping distances increase dramatically, putting lives at risk on America's highways. Every CDL driver preparing for the cdl air brake test must understand disc brake fundamentals before sitting behind the wheel of any air-equipped vehicle.
Air disc brakes have become increasingly common on modern Class 8 trucks, bus fleets, and heavy-duty commercial vehicles across the United States. Manufacturers like Bendix, Haldex, Knorr-Bremse, and Meritor produce the majority of disc brake assemblies found on North American roads today. These systems are self-adjusting in most cases, but that automatic adjuster can wear out, stick, or fail — meaning a driver or technician must know how to recognize out-of-adjustment brakes and perform a manual correction when required. Skipping this knowledge creates a serious roadside safety hazard and an automatic out-of-service violation during a DOT inspection.
The Federal Motor Carrier Safety Administration (FMCSA) sets strict out-of-service criteria for brake adjustment under 49 CFR Part 393. An air disc brake is considered out of adjustment when the running clearance between the pad and rotor exceeds manufacturer specifications, typically between 0.006 and 0.020 inches depending on the caliper design. Violations can result in fines exceeding $16,000 per axle and immediate vehicle impoundment until repairs are completed. For anyone studying with cdl practice test air brakes materials, these thresholds are frequently tested examination topics.
Before you can properly adjust an air disc brake assembly, you need to understand the core components involved. The rotor (also called a disc) is mounted directly to the wheel hub and rotates with the wheel. The caliper housing straddles the rotor and contains two brake pads — an inner pad and an outer pad. When air pressure is applied through the service chambers, a pushrod activates a mechanical or pneumatic mechanism inside the caliper that clamps both pads against the rotor face simultaneously. This clamping action converts kinetic energy into heat, slowing the vehicle.
Automatic slack adjusters — the devices responsible for maintaining correct pad-to-rotor clearance on drum brakes — do not apply in the same way to air disc systems. Instead, disc brake calipers use an internal adjustment mechanism, often called a wear adjustment spindle or a threaded adjuster bolt, that compensates for pad wear by advancing the pads slightly closer to the rotor as the friction material diminishes.
When this internal adjuster fails or is manually wound back during a pad replacement without being properly reset, running clearance increases beyond safe limits, reducing braking effectiveness at precisely the moments when maximum stopping power is needed.
Many drivers confuse air disc brake adjustment with drum brake slack adjuster procedures, but the processes are fundamentally different. Drum brake systems use external slack adjusters — visible S-cam rotating devices — that are checked by measuring pushrod travel. Disc brake systems require checking running clearance directly, often with a feeler gauge inserted between the pad and rotor surface, or by verifying caliper retraction distance after brake release. Misapplying drum brake adjustment techniques to a disc system can actually cause damage to the internal adjuster mechanism and create worse brake performance than existed before the repair attempt.
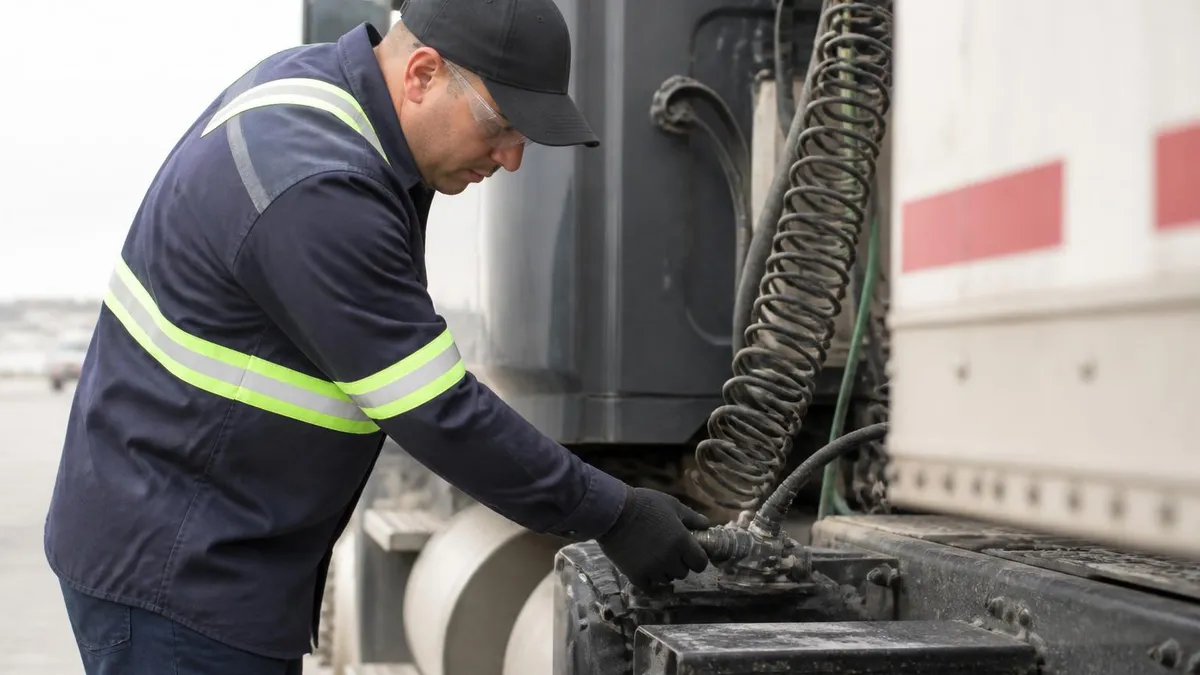
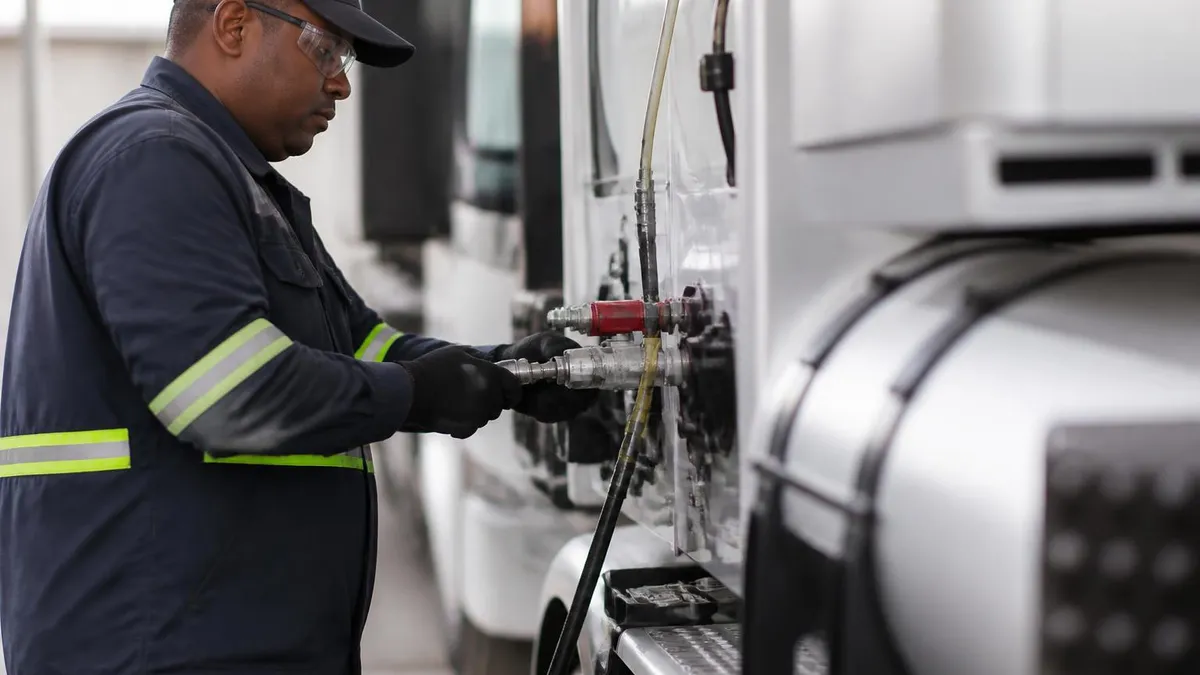
Safety is critical during any air brake adjustment procedure. Before beginning work, always chock all wheels securely, drain system air pressure to zero using the drain valves on each reservoir, and verify the spring parking brakes are fully engaged. Never work under or around a vehicle with pressurized air brake lines unless you have been specifically trained to do so. The spring brakes alone can exert over 2,000 pounds of clamping force and can deploy suddenly if a line or valve fails. Wearing steel-toed boots, gloves, and safety glasses is non-negotiable when working on any air brake component.
Air Disc Brake Adjustment by the Numbers

Step-by-Step Air Disc Brake Adjustment Procedure
Prepare the Vehicle Safely
Remove Wheel and Access Caliper
Measure Running Clearance
Adjust the Internal Adjuster Spindle
Verify Caliper Slide Pin Freedom
Reinstall Wheel and Test
Air disc brake systems operate on the same fundamental principle as the disc brakes found on passenger cars, but the actuation force comes from compressed air rather than hydraulic fluid.
The air brake system generates pressure between 90 and 120 PSI in the supply reservoirs, and when the driver depresses the brake treadle valve (sometimes called the foot valve or, in older Ford trucks, the f-750 air brake treadle valve), that pressure is delivered through brake lines to the service chambers at each wheel position. Inside the chamber, the air pressure pushes against a diaphragm that moves a pushrod, which in turn activates the brake mechanism.
In a disc brake configuration, the pushrod connects to a lever arm inside the caliper housing. This lever arm multiplies the force from the air chamber and pushes a spindle mechanism that drives the inboard brake pad against the rotor face. Simultaneously, the reaction force pulls the caliper body toward the wheel, pressing the outboard pad against the opposite side of the rotor.
This two-sided clamping action is why disc brakes provide more consistent, fade-resistant stopping power compared to drum designs — the heat generated dissipates more efficiently across the open rotor face rather than being trapped inside an enclosed drum.
The automatic adjustment mechanism inside modern air disc calipers typically consists of a ratcheting or threaded spindle assembly that advances slightly with each brake application as pad material wears. A pawl or one-way clutch mechanism prevents the spindle from backing off during brake release, so over thousands of applications, the pads remain in close proximity to the rotor without requiring manual intervention. When functioning correctly, this self-adjusting system maintains running clearance within specification across the full service life of the brake pads, typically 150,000 to 250,000 miles in over-the-road trucking applications.
However, automatic adjusters are not infallible. Contamination from road salt, moisture, and brake dust can jam the pawl mechanism in place, preventing forward advancement. Conversely, if the adjuster ratchet teeth wear smooth, the spindle may back off during hard braking events, rapidly increasing running clearance to out-of-service levels. During a pre-trip inspection, a driver can get an early indication of adjuster failure by pressing the brake pedal and observing whether the vehicle stops with the expected firmness — though the definitive check requires physically measuring clearance at the wheel end.
Understanding how how do air brakes work in the context of disc brake actuation also requires knowledge of the spring brake function. Each rear axle position on a commercial vehicle is equipped with a spring brake chamber — a piggyback unit that contains a powerful coil spring in addition to the service diaphragm.
When system air pressure drops below approximately 20 to 45 PSI (the exact threshold varies by manufacturer), the spring deploys automatically, applying the brakes and holding the vehicle stationary. During maintenance work, the spring brake must be mechanically caged using a release bolt before working on the brake assembly, because even with air bled from the system, a spring under tension can release without warning.
Rotor condition is equally important to pad clearance when evaluating disc brake performance. A rotor that has developed deep grooves, hard spots, or heat cracks cannot be brought back into specification through adjustment alone — it must be machined smooth on a brake lathe or replaced entirely. Most rotors have a minimum thickness specification stamped directly into the rotor face.
If the rotor has worn below this dimension, or if machining would bring it below minimum, replacement is mandatory. Attempting to adjust a caliper to compensate for a worn rotor simply masks the underlying safety deficiency and creates a false sense of compliance during inspection.
Thermal management is a concept air disc brake users must understand deeply. During extended downhill grades — a common scenario in mountainous western states — repeated brake applications generate enormous heat in the rotor and pads. Quality brake pads for commercial disc applications use high-friction compounds rated to withstand temperatures exceeding 800 degrees Fahrenheit without glazing or losing coefficient of friction.
If a driver instead uses standard automotive-grade pads in a commercial disc brake caliper (a potentially dangerous substitution sometimes made during emergency roadside repairs), those pads may fade, glaze, or even fracture under the thermal load generated by a 40-ton loaded tractor-trailer descending a steep mountain grade.
Air Brake Test Preparation: Disc Brake Adjustment Topics
The CDL air brake test covers disc brake adjustment under the broader brake system section of the knowledge exam. Expect questions about legal out-of-service criteria, the difference between automatic and manual adjustment procedures, and the meaning of running clearance as it relates to stopping distance. The FMCSA Commercial Driver's License Manual (CDL Manual) dedicates an entire section to brake adjustment stroke limits, and many state DMV examinations pull questions directly from that content, so memorizing specific numerical thresholds is essential for a passing score.
Key numbers to memorize for the written exam include the governor cut-in pressure (around 100 PSI), governor cut-out pressure (around 125 PSI), and the low-pressure warning light activation threshold (typically 60 PSI or lower). For disc brakes specifically, know that running clearance is measured in thousandths of an inch and that any clearance exceeding manufacturer specification constitutes an out-of-service condition under 49 CFR 393.47. Practice questions on these topics appear on every state's CDL air brake endorsement examination without exception.

Air Disc Brakes vs. Drum Brakes: Key Differences for CDL Drivers
- +Shorter stopping distances due to more consistent pad-to-rotor contact and superior heat dissipation across the open rotor face
- +Self-adjusting mechanisms reduce routine maintenance intervals, saving fleet operators time and labor costs over the vehicle's service life
- +Better fade resistance on long downhill grades because heat radiates away from the open rotor rather than building up inside a closed drum
- +More consistent braking performance in wet conditions since the rotor wipes water away with each revolution, unlike drums that can accumulate moisture
- +Easier visual inspection — pad thickness and rotor condition can often be assessed without removing the wheel on many caliper designs
- +Lighter weight per axle position compared to equivalent-rated drum brake assemblies, improving overall vehicle payload capacity
- −Higher initial cost per axle for disc brake components compared to equivalent drum brake assemblies, increasing upfront fleet investment
- −Internal adjuster mechanisms are more complex than external slack adjusters, requiring specialized training and tools for proper service
- −Brake pads for commercial disc applications cost significantly more than drum brake shoes, increasing per-replacement parts expense
- −Caliper slide pins require regular inspection and lubrication — neglected pins seize, causing uneven pad wear and costly premature replacement
- −Proprietary adjustment tools are required for many caliper brands, meaning technicians must stock brand-specific tooling in their shop
- −Rotor replacement cost is substantially higher than drum replacement, and rotors cannot always be economically machined back to specification after heavy use
Pros and Cons at a Glance
| Pros | Cons |
|---|---|
| Shorter stopping distances due to more consistent pad-to-rotor contact and superior heat dissipation across the open rotor face | Higher initial cost per axle for disc brake components compared to equivalent drum brake assemblies, increasing upfront fleet investment |
| Self-adjusting mechanisms reduce routine maintenance intervals, saving fleet operators time and labor costs over the vehicle's service life | Internal adjuster mechanisms are more complex than external slack adjusters, requiring specialized training and tools for proper service |
| Better fade resistance on long downhill grades because heat radiates away from the open rotor rather than building up inside a closed drum | Brake pads for commercial disc applications cost significantly more than drum brake shoes, increasing per-replacement parts expense |
| More consistent braking performance in wet conditions since the rotor wipes water away with each revolution, unlike drums that can accumulate moisture | Caliper slide pins require regular inspection and lubrication — neglected pins seize, causing uneven pad wear and costly premature replacement |
| Easier visual inspection — pad thickness and rotor condition can often be assessed without removing the wheel on many caliper designs | Proprietary adjustment tools are required for many caliper brands, meaning technicians must stock brand-specific tooling in their shop |
| Lighter weight per axle position compared to equivalent-rated drum brake assemblies, improving overall vehicle payload capacity | Rotor replacement cost is substantially higher than drum replacement, and rotors cannot always be economically machined back to specification after heavy use |
Air Disc Brake Pre-Trip Inspection Checklist
- ✓Confirm system air pressure is between 90 and 120 PSI before conducting any brake checks at the wheel end.
- ✓Visually inspect rotor face for deep grooves, heat cracks, blue discoloration (indicating overheating), and corrosion buildup.
- ✓Check brake pad thickness through caliper inspection ports or by direct observation — replace if below minimum wear indicator marks.
- ✓Verify caliper mounting bracket bolts are fully torqued and show no signs of cracking, stripping, or missing hardware.
- ✓Inspect brake lines and air hose connections at service chambers for cracks, abrasion wear, or signs of air leakage.
- ✓Test service brakes at low speed (5 mph) to confirm equal, smooth engagement without pulling to either side or delayed response.
- ✓Apply and release parking brake to confirm spring brake deploys and retracts correctly and air pressure holds steady after release.
- ✓Check for air leaks by building to full pressure, shutting off the engine, and confirming pressure drop does not exceed 3 PSI per minute at rest.
- ✓Inspect brake chamber dust shields for damage or missing fasteners that could allow road debris to contaminate the friction surfaces.
- ✓Confirm wear indicator tabs (where present) are not contacting rotor surface, which signals pads are at minimum allowable thickness.
Out-of-Adjustment Air Disc Brakes Are a Federal Out-of-Service Violation
Under FMCSA regulations at 49 CFR 393.47, any air disc brake with running clearance exceeding the manufacturer's specified maximum is an immediate out-of-service condition. A single out-of-adjustment brake on one axle can ground your entire vehicle at a weigh station or roadside inspection, costing you hours of lost revenue and potentially triggering a full Level 1 DOT inspection of every system on the truck. Verify brake adjustment during every pre-trip inspection — it takes less than five minutes and can prevent thousands of dollars in fines.
Troubleshooting air disc brake problems begins with systematic observation rather than immediately reaching for tools. When a vehicle pulls to one side under braking, the most common causes are a seized caliper slide pin on the pulling side, uneven air pressure delivery to the service chambers (often caused by a partially restricted brake line or a sticky relay valve), or mismatched pad friction materials between left and right axle positions. A careful pre-diagnosis that includes measuring air chamber pushrod stroke on both sides simultaneously can quickly isolate whether the problem is air-side or mechanical-side.
Brake drag — where one or more brakes remain partially applied after the pedal is released — is a particularly damaging condition for disc brake assemblies. Unlike drum brakes, where residual drag primarily wears the shoe lining, disc brake drag generates continuous friction heat in the rotor and pad.
Within minutes of operation under drag conditions, rotor temperatures can climb into the range where thermal distortion occurs, warping the rotor face and creating pulsation that the driver feels as a vibration through the brake pedal. If you ever detect a burning smell, excessive heat from a wheel end after a short drive, or visible smoke from a wheel position, immediately stop, investigate, and do not continue driving until the cause is identified.
Contaminated brake pads are another source of disc brake problems that is sometimes overlooked. Oil or grease contamination — from a leaking wheel seal, an over-lubricated caliper slide pin, or spilled lubricant during routine maintenance — saturates the friction material and dramatically reduces the coefficient of friction. A contaminated pad cannot simply be cleaned and returned to service; the pad must be replaced. In addition, the rotor face must be cleaned with brake cleaner solvent and inspected for scoring caused by the metal backing plate of the worn pad contacting the rotor surface after the friction material burned away.
Air in brake lines is a serious concern for hydraulic disc brake systems on some medium-duty trucks and specialty vehicles, but pure pneumatic air disc brake systems operate on compressed air rather than hydraulic fluid, so the concept of "bleeding" air from the lines does not apply in the same way.
However, air in brake line connections in a pneumatic system can refer to leaks that allow compressed air to escape, reducing available actuating pressure. Any audible hissing from brake line connections or chambers during a static pressure hold test indicates a leak that must be repaired before the vehicle returns to service.
Rotor thickness measurement is a task that requires a reliable micrometer or a dial indicator setup capable of measuring in thousandths of an inch. Measure rotor thickness at a minimum of four points around the rotor circumference, avoiding the very outer edge (which often shows a raised lip from the swept area boundary) and the very center near the hat section. If thickness variation between measurement points exceeds 0.001 to 0.002 inches (manufacturer-specific), the rotor has developed thickness variation that will cause brake pedal pulsation and uneven braking — a condition not correctable through adjustment alone, requiring machining or replacement.
When working on disc brakes in cold climates, be aware that air brake antifreeze (methanol-based alcohol injected into the air system) can affect rubber caliper seals if excessive amounts migrate downstream. Air brake antifreeze is designed to prevent moisture in the air system from freezing in the lines and valves, but it should be used in the correct quantities per manufacturer guidelines. Overuse can degrade rubber seals in modulator valves, ABS sensors, and caliper internal mechanisms. Always check your vehicle's service manual for the recommended antifreeze type and application quantity before adding any to the air system alcohol injector reservoir.
For drivers experiencing problems on specific vehicle platforms, the troubleshooting approach must be tailored to the system design. Some heavy-duty vehicles use a combination of disc brakes on the front steer axle and drum brakes on drive and trailer axles — a configuration designed to balance the superior heat dissipation of disc brakes at the front (where brake bias is highest) with the lower cost and proven durability of drums at the rear.
Understanding which type of brake is present at each axle position on your specific vehicle is essential before attempting any adjustment procedure, because applying disc brake adjustment techniques to a drum brake position (or vice versa) will produce incorrect results and may damage components.

Attempting to adjust air disc brake calipers while the air system is pressurized is extremely dangerous. Spring brakes can release unexpectedly, service brake chambers can actuate if a valve shifts, and pressurized lines can whip violently if a fitting disconnects. Always drain all reservoirs to zero PSI, cage the spring brakes with the mechanical release bolt, and chock all wheels before placing hands near any brake component. These steps are non-negotiable — every year, technicians are seriously injured by ignoring this procedure.
Compliance with federal brake adjustment standards is not optional for commercial vehicle operators, and understanding the regulatory framework is an important part of CDL preparation. The FMCSA's Commercial Vehicle Safety Alliance (CVSA) publishes annual out-of-service criteria that enforcement officers use during roadside inspections. For air disc brakes, the criteria focus on running clearance, pad thickness above minimum, rotor condition above minimum thickness, and the functionality of automatic adjustment mechanisms. Vehicles failing these criteria are placed out of service immediately and cannot be moved until the deficiency is corrected.
Drivers who want to sharpen their knowledge of brake adjustment regulations should work through air brakes cdl test study materials that specifically address the federal out-of-service criteria. Many CDL candidates focus exclusively on the mechanical how-to of brake operation and overlook the regulatory knowledge that also appears on the written examination. Questions about which specific defects constitute an out-of-service condition, what the driver's responsibility is upon discovering out-of-service conditions during a pre-trip inspection, and how to report brake deficiencies in the required vehicle inspection report (VIR) are all tested on the knowledge exam in most states.
Pre-trip inspection procedures for air disc brakes should become second nature for any professional driver. The inspection begins before you start the engine: walk around the vehicle in a consistent direction and visually examine each wheel end for any obvious signs of brake damage, rotor contact marks on the wheel rim, or heat discoloration on the rotor face.
After starting the engine and building air pressure, the governor cut-in and cut-out pressures should be observed to confirm the compressor and governor are functioning within spec. A pressure drop test — engine off, full pressure, five-minute observation — validates that the air system holds pressure without significant leakage.
The low-pressure warning device must also be checked as part of every pre-trip. With a fully charged system, slowly fan the brake pedal to reduce air pressure and confirm that the warning buzzer or light activates before pressure drops to 60 PSI. This warning gives the driver time to safely stop the vehicle before pressure falls to the level where spring brakes deploy automatically.
On vehicles equipped with disc brakes and electronic brake system (EBS) controllers, the dash warning light system may provide additional diagnostic codes indicating specific brake circuit faults — familiarize yourself with your vehicle's display system before starting a long run.
Fleet maintenance programs should incorporate scheduled disc brake inspections at defined mileage intervals rather than waiting for driver complaints or roadside inspection failures. A typical preventive maintenance (PM) schedule for over-the-road trucks includes a visual brake inspection every 25,000 miles and a complete wheel-off brake inspection every 100,000 miles or at every set of tires, whichever comes first. At the wheel-off inspection, technicians measure pad thickness, rotor thickness variation, caliper slide pin condition, and automatic adjuster function — documenting all measurements in the vehicle maintenance file as required by FMCSA record-keeping regulations at 49 CFR 396.3.
Documentation requirements for brake maintenance are an often-overlooked aspect of compliance. Every brake repair, adjustment, or inspection must be recorded in the vehicle maintenance file with the date, mileage, specific work performed, and the name of the technician who performed the work.
Carriers that cannot produce complete maintenance records during a DOT compliance review face significant penalties and increased inspection scrutiny. For owner-operators who maintain their own vehicles, keeping organized digital or paper records of all brake work — including photographs of pad and rotor measurements — provides both legal protection and a useful maintenance history for resale or warranty purposes.
Training investment is directly proportional to brake safety outcomes in commercial trucking. Fleets that invest in regular technician training on current disc brake technology — including manufacturer-specific caliper adjustment procedures, ABS modulator maintenance, and electronic brake system diagnostics — consistently demonstrate lower brake-related out-of-service rates during CVSA inspections. Drivers who receive structured training on pre-trip brake inspection procedures also report discovering brake deficiencies before trips more frequently, preventing dangerous in-service failures. The return on investment for brake training is measurable in avoided fines, reduced liability exposure, and most importantly, accidents prevented.
Practical preparation for the CDL air brake endorsement examination goes well beyond memorizing definitions. The most effective study approach combines conceptual understanding of how air disc brake systems function with active recall practice using realistic exam questions. Candidates who only read the CDL manual without testing themselves on the material consistently score lower than those who alternate between reading and answering practice questions, because the exam requires rapid recall under time pressure — not leisurely reference look-up. Building automatic recall of key numbers and procedures through repetition is the proven path to a passing score.
One of the most effective study techniques for brake-related CDL content is creating mental associations between the regulatory numbers and physical scenarios. For example, rather than simply memorizing that the low-air warning activates at 60 PSI, visualize yourself driving and hearing the buzzer — you know you have perhaps 30 seconds to safely pull over before the spring brakes begin to deploy. Associating the number with a vivid, realistic scenario creates a stronger memory trace than rote memorization alone and helps candidates answer scenario-based questions on the actual examination that describe a situation and ask what the driver should do.
Hands-on experience with actual disc brake components is the ultimate preparation supplement. Many CDL training schools and community college truck driving programs maintain brake component displays in their classrooms, allowing students to handle calipers, rotors, pads, and spring brake chambers in a safe, unpressurized environment. If your program offers this type of hands-on component familiarization, take full advantage of it. Being able to physically trace the path of air pressure from the treadle valve through the supply line to the chamber and then visualize the caliper actuation sequence makes examination questions about brake system operation substantially easier to answer correctly.
Time management during the written examination is important. Most state CDL knowledge tests are administered on computer and allow you to flag questions and return to them before final submission. If you encounter a brake adjustment question that you are uncertain about, flag it and continue through the exam — sometimes later questions provide context clues that help you reason back to the answer on a flagged item.
However, do not spend excessive time on any single question, because the air brake section is only one portion of the overall CDL knowledge test and you need sufficient time to address all other sections as well.
Study groups can be highly effective for CDL air brake exam preparation, particularly for visual and auditory learners. Working through practice scenarios with other candidates — where one person describes a brake problem scenario and others diagnose it aloud — reinforces knowledge through both teaching and listening. Explaining why a seized caliper slide pin causes the vehicle to pull to one side under braking requires you to reason through the system mechanics, not just recall a fact, and that deeper processing produces more durable learning than passive review of notes or flashcards.
Many candidates benefit from taking multiple full-length practice exams under timed conditions in the week before their actual CDL test date. This approach serves three purposes: it identifies remaining knowledge gaps that need review, it builds comfort with the pacing required to complete the exam within the allotted time, and it reduces test anxiety by familiarizing candidates with the question format and experience.
After each practice exam, review every incorrect answer and trace the correct answer back to the specific section of the CDL manual — do not simply note that you got something wrong, but understand exactly why the correct answer is correct.
Finally, approach the practical skills test brake inspection component with the same systematic discipline you apply to the written exam. Practice your brake inspection narrative out loud until you can deliver it smoothly and confidently without pausing to search for the right term. Examiners are evaluating not just whether you identify the correct components but whether you demonstrate the habits and knowledge of a driver who will actually perform this inspection every day on the job. A confident, thorough brake inspection narrative signals professional readiness and is one of the most important segments of the entire CDL skills test evaluation.
Sample Air Brake Practice Questions
Try these questions from our free Air Brake practice tests. The correct answer and an explanation follow each question.
Approximately how long is the brake lag time for air brakes compared to hydraulic brakes?
- A. Air brakes lag about 0.4 seconds vs. 0.1 seconds for hydraulic brakes
- B. Air brakes lag about 0.1 seconds vs. 0.4 seconds for hydraulic brakes
- C. Both systems have the same lag time of about 0.2 seconds
- D. Air brakes lag about 1.0 second vs. 0.5 seconds for hydraulic brakes
Answer: A. Air brakes lag about 0.4 seconds vs. 0.1 seconds for hydraulic brakes
Air brakes have a lag of approximately 0.4 seconds because air must travel through the lines to activate the brakes, while hydraulic brakes respond almost instantly at about 0.1 seconds.
How can one minimize brake lag and apply the brakes more quickly by keeping an air supply close to the rear service brakes?
- A. Supply valve
- B. Rear reservoir
- C. Relay valve
- D. Automatic slack adjuster
Answer: C. Relay valve
A relay valve is used in air brake systems, particularly on longer vehicles or trailers, to reduce brake lag. It acts as a remote-controlled valve, allowing a large volume of air from a nearby reservoir to be quickly directed to the brake chambers. This minimizes the time it takes for air to travel from the foot valve to the rear brakes, ensuring a more immediate and effective brake application.
Reading total stopping distance guidance, which factor is added for air brakes that hydraulic brakes do not have?
- A. Perception distance
- B. Reaction distance
- C. Brake lag distance
- D. Steering distance
Answer: C. Brake lag distance
Air brakes add brake lag distance to perception, reaction, and braking distance.
Why is it necessary to adjust air brakes regularly?
- A. To reduce the noise level of the brakes.
- B. To maintain optimal braking performance and prevent excessive wear.
- C. To increase the braking speed.
- D. To reduce fuel consumption.
Answer: B. To maintain optimal braking performance and prevent excessive wear.
Regular adjustment of air brakes is necessary to maintain optimal braking performance and extend the lifespan of brake components. As brake linings wear down over time, the slack in the system increases, which can reduce braking effectiveness and lead to longer stopping distances. By adjusting the brakes regularly, drivers ensure consistent and reliable stopping power, preventing premature wear and ensuring safety.
Air Brake Questions and Answers


About the Author

Educational Psychologist & Academic Test Preparation Expert
Columbia University Teachers CollegeDr. Lisa Patel holds a Doctorate in Education from Columbia University Teachers College and has spent 17 years researching standardized test design and academic assessment. She has developed preparation programs for SAT, ACT, GRE, LSAT, UCAT, and numerous professional licensing exams, helping students of all backgrounds achieve their target scores.