
MRI of Shoulder: A Complete Guide to Imaging, Anatomy, and Diagnosis 2026
MRI of shoulder explained: protocols, anatomy, rotator cuff tears, labral pathology, contrast vs non-contrast, and how to prepare for your scan.

An MRI of shoulder is one of the most frequently ordered musculoskeletal examinations in modern radiology, offering unmatched soft-tissue contrast for evaluating the rotator cuff, labrum, capsule, biceps tendon, and surrounding bursae. Unlike radiographs, which primarily show bone, or ultrasound, which is operator dependent, magnetic resonance imaging delivers multiplanar views of every anatomic structure in the glenohumeral joint. For radiologic technologists, orthopedic surgeons, and primary care clinicians, mastering shoulder MRI protocols is essential to producing diagnostic-quality images and interpreting them correctly. Practice with the free MRI - Magnetic Resonance Imaging practice test on PracticeTestGeeks (200+ questions with answer explanations).
The shoulder is a remarkably mobile joint, sacrificing stability for range of motion, which makes it uniquely vulnerable to injury. Throwing athletes, overhead laborers, and aging patients alike present with pain, weakness, and decreased function that often require advanced imaging. An MRI scan can distinguish between a partial-thickness tear, a full-thickness retracted tear, tendinosis, calcific deposits, and adhesive capsulitis, each of which carries a very different treatment plan and prognosis.
This guide walks through every component of a modern shoulder MRI study, from patient positioning and coil selection to the specific pulse sequences used in each plane. We will cover when to add intra-articular gadolinium contrast for an MR arthrogram, how to recognize common pathology on T1 and T2 weighted images, and the indications for non-contrast versus contrast-enhanced protocols. Whether you are preparing for a board exam or scanning patients tomorrow, the information here will sharpen your clinical decision-making.
Shoulder imaging accounts for roughly 15 percent of all musculoskeletal MRI volume in the United States, and that share continues to grow as the population ages and weekend-warrior injuries climb. Insurance carriers increasingly require documented conservative therapy failure before approving an MRI, so understanding the appropriate use criteria matters for ordering providers. A well-justified, well-protocoled scan reduces repeat imaging, lowers costs, and accelerates the path to definitive treatment, whether that is physical therapy, an injection, or arthroscopic surgery.
For radiologic technologists, the shoulder presents technical challenges that the knee or lumbar spine do not. Off-isocenter positioning, dedicated surface coils, oblique scan planes aligned to the supraspinatus tendon, and motion control during a 30 to 45 minute exam all demand careful attention. Producing images that allow radiologists to confidently identify a 2-millimeter labral tear requires understanding both the physics of MRI and the three-dimensional anatomy of the joint. You can sharpen those skills with our free MRI knowledge questions and answers resource.
Patients reading this guide will find practical information about what to expect, how long the scan takes, why the machine is so loud, whether contrast is necessary, and how to prepare. Demystifying the experience reduces anxiety and improves cooperation, which in turn improves image quality. We will also address common questions about claustrophobia, metal implants, and the difference between conventional MRI and MR arthrography. By the end, you will understand the why behind every step of the examination.
Finally, this article serves as both a clinical reference and a study aid. Each section ties the imaging findings back to anatomy and pathology, with examples drawn from common board exam scenarios. The accompanying quizzes reinforce key concepts, and the FAQ addresses the questions that come up most often in clinical practice. Bookmark this page, share it with colleagues, and use it as a launching point for deeper study of shoulder MRI.
Free MRI - Magnetic Resonance Imaging Study Tools
Interactive MRI - Magnetic Resonance Imaging resources on PracticeTestGeeks, free to start:
- Free MRI Knowledge Questions and Answers — 11 questions with instant scoring and answer explanations
- MRI - Magnetic Resonance Imaging flashcards — review key terms and concepts card by card
- MRI - Magnetic Resonance Imaging study guide — topic-by-topic overview of what the exam covers
- MRI - Magnetic Resonance Imaging cheat sheet — one-page printable summary for last-minute review
MRI: upcoming dates and official changes
- Aug 17, 2026: ARRT launched a separate entry-level Imaging Assistant, Magnetic Resonance (I.A.) credential. A reduced $75 fee applied to applications made Aug. 17–Oct. 14, 2026, for testing Oct. 15–Nov. 30, 2026. Later applicants pay $225 and can test on or after Jan. 1, 2027.[4]
- The ARRT MRI exam for postprimary-pathway candidates has 220 questions: 200 scored and 20 unscored pilot items.[1]
- The ARRT MRI exam for primary-pathway candidates has 230 questions: 200 scored and 30 unscored pilot items.[2]
- Postprimary-pathway candidates get 210 minutes for the ARRT MRI exam, inside a 230-minute (3 hours, 50 minutes) appointment.[1]
- Primary-pathway candidates get 230 minutes for the ARRT MRI exam, inside a 250-minute (4 hours, 10 minutes) appointment that also covers the tutorial, the NDA and a survey.[2]
- To pass the ARRT MRI exam you need a total scaled score of 75 on ARRT's 1–99 scale. This is not a percentage.[3]
- The ARRT MRI exam through the postprimary pathway costs $225, or $450 for candidates whose supporting credential is from NMTCB or ARDMS.[4]
- The ARRT MRI certification exam costs $225 to apply for through the primary eligibility pathway.[4]
- ARRT MRI candidates have three attempts to pass the exam, all within three years of the date their first exam window opens.[2]
- ARRT MRI certification and registration lasts 10 years, even with annual renewal. After that, holders must complete Continuing Qualifications Requirements (CQR).[5]
Numbers in brackets link to the official sources listed under Sources & last verified. Dates that have passed are removed automatically.
MRI Exam at a Glance
| Item | Detail | Source · Verified |
|---|---|---|
| Number of questions (Postprimary pathway) | 220 questions (200 scored + 20 unscored pilot)[1] | assets-us-01.kc-usercontent.com · Oct 15, 2026 |
| Number of questions (Primary pathway) | 230 questions (200 scored + 30 unscored pilot)[2] | assets-us-01.kc-usercontent.com · Oct 15, 2026 |
| Time limit (Postprimary pathway) | 210 minutes test time (230-minute appointment)[1] | assets-us-01.kc-usercontent.com · Oct 15, 2026 |
| Time limit (Primary pathway) | 230 minutes test time (250-minute appointment)[2] | assets-us-01.kc-usercontent.com · Oct 15, 2026 |
| Passing score | Scaled score of 75 (scale 1–99)[3] | The American Registry of Radiologic Technologists · Oct 15, 2026 |
| Exam fee (Postprimary pathway) | $225 application fee ($450 with an NMTCB or ARDMS supporting credential)[4] | The American Registry of Radiologic Technologists · Oct 15, 2026 |
| Exam fee (Primary pathway) | $225 application fee[4] | The American Registry of Radiologic Technologists · Oct 15, 2026 |
| Retake policy | 3 attempts within 3 years of the first exam window[2] | assets-us-01.kc-usercontent.com · Oct 15, 2026 |
| Validity | 10 years, then Continuing Qualifications Requirements (CQR)[5] | assets-us-01.kc-usercontent.com · Oct 15, 2026 |
| Renewal | Annual renewal, $65/year; 24 CE credits every 2 years[5] | assets-us-01.kc-usercontent.com · Oct 15, 2026 |
| Delivery | Computer-based at Pearson VUE test centers[2] | assets-us-01.kc-usercontent.com · Oct 15, 2026 |
| Eligibility (Postprimary pathway) | Supporting ARRT credential (or NMTCB/ARDMS) + structured education + clinical experience[1] | assets-us-01.kc-usercontent.com · Oct 15, 2026 |
| Eligibility (Primary pathway) | ARRT-recognized MRI program + associate degree or higher + ethics[2] | assets-us-01.kc-usercontent.com · Oct 15, 2026 |
| Score release | Preliminary score at the test center; official results in about 10 business days[3] | The American Registry of Radiologic Technologists · Oct 15, 2026 |
| Testing window | One-year (365-day) exam window per application[2] | assets-us-01.kc-usercontent.com · Oct 15, 2026 |
Shoulder MRI by the Numbers

Standard Shoulder MRI Protocol Components
Patient lies supine with the affected arm at the side, palm facing up or in slight external rotation. The shoulder is positioned as close to isocenter as possible. Sandbags or straps minimize motion during the 30 to 45 minute acquisition.
A dedicated multi-channel shoulder coil wraps around the joint to maximize signal-to-noise ratio. Flexible coils accommodate varying body habitus while phased-array designs improve resolution for small structures like the labrum and biceps anchor.
Axial images cover from the AC joint to below the glenoid. Oblique coronal images parallel the supraspinatus tendon. Oblique sagittal images run perpendicular to the glenoid face, optimal for evaluating the rotator cuff in cross section.
Standard protocol includes T1, T2, proton density, and fat-suppressed sequences. Fat saturation highlights edema, fluid, and pathology by suppressing bright marrow and subcutaneous signal that would otherwise mask subtle findings.
The technologist reviews images before the patient leaves to verify coverage, motion-free acquisition, and adequate fat suppression. Repeat sequences are performed immediately if artifacts compromise diagnostic interpretation by the radiologist.
Understanding shoulder anatomy is the foundation for interpreting any MRI of the shoulder. The glenohumeral joint is a ball-and-socket articulation between the humeral head and the shallow glenoid fossa of the scapula. Stability is provided not by bony congruity but by a complex of soft-tissue restraints, including the glenoid labrum, joint capsule, glenohumeral ligaments, and the four rotator cuff tendons. Each of these structures has a characteristic appearance on MRI that the interpreting radiologist must recognize.
The rotator cuff consists of the supraspinatus, infraspinatus, teres minor, and subscapularis muscles. Their tendons converge to form a cuff around the humeral head, controlling rotation and providing dynamic stability. The supraspinatus runs through the subacromial space and is the most commonly torn tendon, particularly at its critical zone approximately one centimeter from the greater tuberosity insertion. On oblique coronal images, the supraspinatus should appear uniformly dark on all sequences.
The glenoid labrum is a fibrocartilaginous ring that deepens the socket and serves as the attachment point for the long head of the biceps tendon superiorly and the inferior glenohumeral ligament inferiorly. Labral tears are classified by location using clock-face positions, with SLAP tears occurring at the superior labrum from anterior to posterior. The labrum normally appears as a uniformly black triangular structure on axial and coronal images.
The long head of the biceps tendon originates from the supraglenoid tubercle and superior labrum, then courses through the bicipital groove of the humerus. Subluxation, dislocation, or rupture of this tendon is a frequent finding in older patients and overhead athletes. On axial images, the biceps tendon should sit centrally within the groove, held in place by the transverse humeral ligament and the medial sling formed by the subscapularis tendon and superior glenohumeral ligament.
The acromioclavicular joint sits superior to the rotator cuff and is a common site of osteoarthritis, particularly in patients over 50. Hypertrophic changes, inferior osteophytes, and capsular distension can impinge on the underlying supraspinatus tendon. The shape of the acromion itself, classified as type 1 flat, type 2 curved, or type 3 hooked, influences impingement risk. Sagittal images best demonstrate acromial morphology and its relationship to the rotator cuff.
The subacromial-subdeltoid bursa is a potential space between the rotator cuff and the deltoid muscle. Normally it contains only a thin film of lubricating fluid, but bursitis from impingement, inflammation, or rotator cuff disease causes distension that appears bright on fluid-sensitive sequences. Recognizing the difference between bursal fluid, joint effusion, and pathologic fluid collections is a fundamental skill. Review additional educational content through our mri medical abbreviation for terminology used in shoulder reports.
Finally, the deltoid, trapezius, and periscapular muscles surround the joint and provide power for movement. Muscle quality, including fatty infiltration and atrophy, is assessed using the Goutallier classification on sagittal T1 images. Advanced fatty replacement of the rotator cuff musculature indicates chronic tear and predicts poor surgical outcomes, often pushing treatment toward conservative management or reverse total shoulder arthroplasty rather than primary repair.
MRI Practice Test Questions
Prepare for the MRI - Magnetic Resonance Imaging exam with our free practice test modules. Each quiz covers key topics to help you pass on your first try.
MRI Knowledge
MRI Exam Questions covering Knowledge. Master MRI Test concepts for certification prep.
MRI Physics
Free MRI Practice Test featuring Physics. Improve your MRI Exam score with mock test prep.
MRI Anatomy and Pathology
MRI Test Prep for MRI Anatomy and Pathology. Practice MRI Quiz questions and boost your score.
MRI Anatomy and Positioning
MRI Questions and Answers on MRI Anatomy and Positioning. Free MRI practice for exam readiness.
MRI Contrast Agents
Free MRI Quiz on MRI Contrast Agents. MRI Exam prep questions with detailed explanations.
MRI Patient Care and Positioning
MRI Practice Questions for MRI Patient Care and Positioning. Build confidence for your MRI certification exam.
Pulse Sequences Used in MRI of Shoulder
T1-weighted images provide excellent anatomic detail with bright fat signal and dark fluid. They are essential for assessing bone marrow, fatty infiltration of rotator cuff muscles using the Goutallier classification, and post-contrast enhancement when intravenous gadolinium is administered. The high contrast between subcutaneous fat and underlying structures makes T1 ideal for surveying overall anatomy at the start of interpretation.
In shoulder MRI, T1 sequences are obtained in all three planes. Sagittal T1 specifically evaluates the rotator cuff cross-section and muscle bulk, while coronal T1 shows the supraspinatus tendon and acromiohumeral interval. Pathologic findings on T1 include fatty infiltration appearing as bright streaks within muscle bellies, dark marrow signal from infiltration, and loss of normal fat planes around tendons indicating fibrosis.

Conventional MRI vs MR Arthrogram of Shoulder
- +Non-invasive with no needle puncture required
- +No risk of post-injection infection or bleeding
- +Lower overall cost than arthrography
- +Faster appointment scheduling and turnaround
- +Excellent for full-thickness rotator cuff tears
- +Adequate for most impingement and bursitis evaluations
- −Lower sensitivity for partial articular cuff tears
- −Reduced accuracy for subtle labral pathology
- −Cannot distend the joint to outline structures
- −SLAP tears may be missed without arthrography
- −Postoperative shoulders harder to evaluate without contrast
- −ABER positioning view typically not performed
Pros and Cons at a Glance
| Pros | Cons |
|---|---|
| Non-invasive with no needle puncture required | Lower sensitivity for partial articular cuff tears |
| No risk of post-injection infection or bleeding | Reduced accuracy for subtle labral pathology |
| Lower overall cost than arthrography | Cannot distend the joint to outline structures |
| Faster appointment scheduling and turnaround | SLAP tears may be missed without arthrography |
| Excellent for full-thickness rotator cuff tears | Postoperative shoulders harder to evaluate without contrast |
| Adequate for most impingement and bursitis evaluations | ABER positioning view typically not performed |
Pre-Scan Patient Preparation Checklist for MRI of Shoulder
- ✓Complete the MRI safety screening form including all surgical history
- ✓Remove all metal jewelry, watches, hearing aids, and hairpins
- ✓Change into a hospital gown to eliminate metallic clothing fasteners
- ✓Disclose any implanted devices such as pacemakers, neurostimulators, or cochlear implants
- ✓Report any prior metal injury to the eyes that may require orbital screening radiographs
- ✓Inform staff of pregnancy status before any contrast administration
- ✓Note kidney function and recent creatinine if gadolinium contrast is planned
- ✓Discuss claustrophobia concerns and request oral anxiolytic if needed
- ✓Empty bladder before entering the scan room for comfort during 45-minute exam
- ✓Arrive 30 minutes early if MR arthrogram with fluoroscopic injection is scheduled
Always Align Oblique Coronals to the Supraspinatus
The oblique coronal plane must be prescribed parallel to the long axis of the supraspinatus muscle and tendon as visualized on the axial localizer. Off-axis prescriptions create partial volume averaging that mimics or hides rotator cuff tears, leading to false-positive or false-negative interpretations. A two-degree adjustment can change a confident diagnosis into a diagnostic dilemma.
Common pathology identified on MRI of shoulder spans the spectrum from acute trauma to chronic degeneration. Rotator cuff tears are by far the most frequent finding, affecting an estimated 22 percent of the general population and rising sharply with age. Tears are classified by thickness as partial or full, by location as articular-sided, bursal-sided, or intratendinous, and by size in millimeters or by Cofield grading. Full-thickness tears appear as bright fluid signal traversing the entire tendon on fat-saturated T2 images, often with retraction of the torn end.
Tendinosis, also called tendinopathy, represents degenerative change without frank tearing. It appears as intermediate signal intensity within the tendon on fluid-sensitive sequences, brighter than the normal dark tendon but not as bright as free fluid. Tendinosis often coexists with partial tears and is a common cause of impingement-related shoulder pain. Distinguishing tendinosis from a low-grade partial tear can be challenging and may require arthrography for confirmation.
Labral tears are the second major category. Bankart lesions involve the anterior-inferior labrum and result from anterior shoulder dislocations, often with an associated Hill-Sachs impaction fracture on the posterolateral humeral head. Reverse Bankart and reverse Hill-Sachs lesions occur in posterior dislocations. SLAP tears affect the superior labrum where the biceps anchor attaches and are graded I through IV based on biceps tendon involvement and displacement. Paralabral cysts are an indirect sign of labral tear.
Adhesive capsulitis, or frozen shoulder, presents with thickening of the rotator interval and inferior axillary recess. Thickening of the coracohumeral ligament beyond four millimeters and obliteration of the fat triangle between the coracoid and the coracohumeral ligament are characteristic findings. Edema and enhancement of the capsule are best appreciated on fat-saturated T2 and post-contrast T1 images, respectively. This diagnosis is often clinical, but MRI helps exclude other causes of restricted motion.
Calcific tendinitis appears as low-signal foci within the rotator cuff tendons on all sequences, corresponding to hydroxyapatite crystal deposition. Surrounding edema during the resorptive phase causes severe pain and bright signal on T2. Plain radiographs remain the primary imaging modality for confirming calcific tendinitis, but MRI is often the first study ordered for shoulder pain. Recognizing the pattern prevents misdiagnosis as a tear or mass lesion in older adults.
Acromioclavicular joint arthrosis and impingement findings are nearly universal in older patients. Subacromial spurs, inferior osteophytes from the AC joint, and acromial morphology all contribute to mechanical impingement of the rotator cuff. Greater tuberosity cortical irregularity, cystic change, and reactive bone marrow edema are secondary signs of chronic impingement. The combination of these findings with rotator cuff tendinosis or partial tear supports the diagnosis of impingement syndrome.
Less common but important findings include glenohumeral arthritis, osteonecrosis of the humeral head, suprascapular nerve entrapment by paralabral cysts, biceps tendon dislocation, and neoplasms. The radiologist must systematically evaluate every structure on every sequence to avoid missing these uncommon but clinically significant diagnoses. A search pattern that proceeds from bones to tendons to labrum to soft tissues ensures comprehensive coverage of every shoulder MRI examination.

Intravenous gadolinium-based contrast agents are generally safe but carry risks in patients with severe renal impairment, where nephrogenic systemic fibrosis remains a concern. Always confirm recent eGFR before injection. For MR arthrography, the diluted intra-articular dose carries minimal systemic risk but requires sterile technique to prevent septic arthritis.
MR arthrography deserves special discussion because it remains the gold standard for evaluating subtle labral pathology and post-surgical shoulders. The procedure begins with fluoroscopic or ultrasound-guided puncture of the glenohumeral joint, typically through a rotator interval or posterior approach. A mixture of dilute gadolinium, saline, iodinated contrast, and sometimes lidocaine is injected to distend the capsule. The patient is then transferred to the MRI scanner for immediate imaging.
The injected contrast outlines intra-articular structures with bright signal on T1 fat-saturated sequences. Labral tears appear as contrast extending into the substance of the labrum or undercutting its attachment to the glenoid. Partial articular-sided rotator cuff tears, which are easy to miss on conventional MRI, become obvious as contrast tracking into the tendon from the joint side. SLAP tears, Bankart variants, and rotator interval pathology are dramatically better visualized with arthrography.
Indications for MR arthrogram include young patients with suspected labral injury, throwing athletes with internal impingement, post-operative evaluation of rotator cuff repair, and assessment of recurrent shoulder instability. In older patients with suspected full-thickness rotator cuff tears, conventional MRI is usually sufficient and arthrography adds little. Cost, additional time, and procedural risk drive selective use of arthrography rather than universal application.
Direct MR arthrography uses intra-articular gadolinium, while indirect arthrography involves intravenous gadolinium with delayed imaging after exercise to allow contrast to diffuse into the joint. Indirect arthrography is less invasive but produces lower-quality joint distension and is largely abandoned in modern practice. Direct arthrography remains the standard despite the need for fluoroscopy or ultrasound guidance for the injection step.
The ABER view, with the arm abducted to 90 degrees and externally rotated, is a hallmark of MR arthrography. This position places tension on the anterior inferior labrum and the inferior glenohumeral ligament, opening up tears that may appear normal in the neutral position. The ABER sequence is typically a single oblique axial T1 fat-saturated acquisition added at the end of the arthrogram protocol. Patient comfort in this position is critical for motion-free images.
Complications of MR arthrography are rare but include vasovagal reaction during injection, transient post-injection pain lasting one to two days, and the extremely rare septic arthritis. Strict sterile technique, appropriate needle size, and slow contrast injection minimize these risks. Patients should be counseled that the immediate post-procedure soreness is expected and typically resolves quickly with rest and ice. For patients comparing imaging approaches, our mri alternatives discusses when other modalities may be appropriate.
Image interpretation of an arthrogram requires familiarity with normal variants that mimic pathology. The sublabral foramen, Buford complex, and sublabral recess are all normal anatomic variations that can be mistaken for tears by inexperienced readers. Knowing the typical locations and appearances of these variants, particularly the absent anterior superior labrum of the Buford complex, prevents over-diagnosis and unnecessary surgical intervention. Cross-correlation with arthroscopy is the ultimate truth standard.
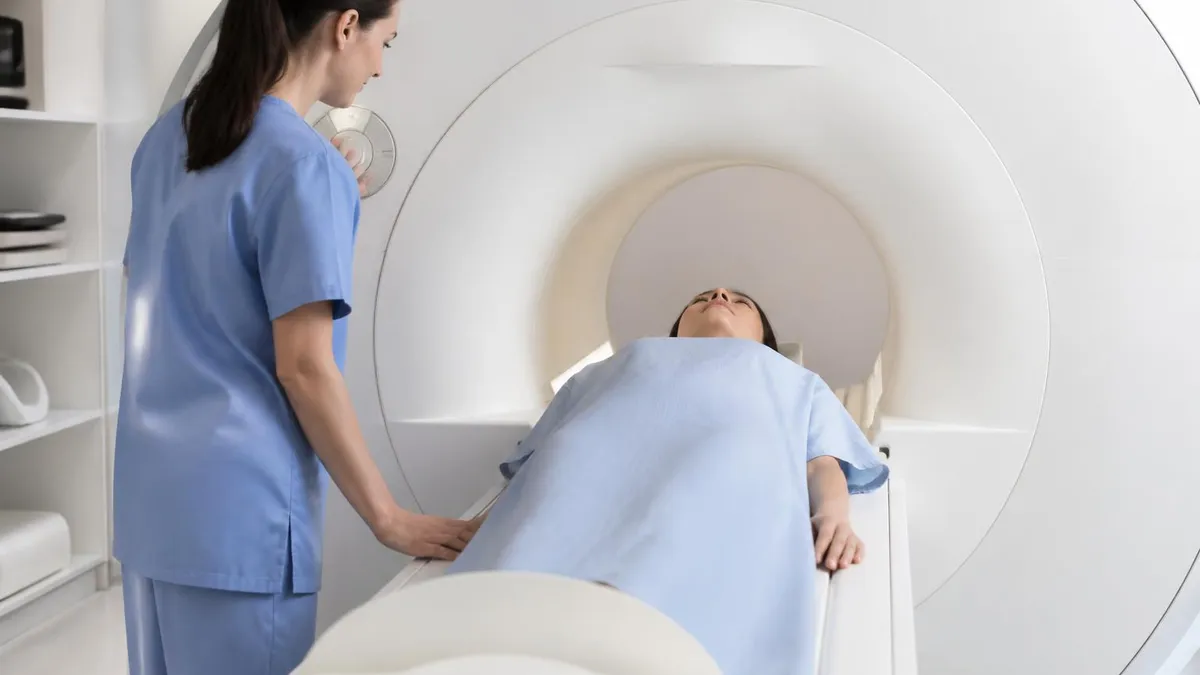
Practical tips for both technologists and patients ensure that an MRI of shoulder produces diagnostic-quality images on the first attempt. Start with patient communication. Explain the duration of the exam, the loud knocking and buzzing sounds from gradient coils, the importance of holding still, and the call button or squeeze ball available throughout. A patient who understands what is happening tolerates the scan better and produces fewer motion artifacts that would require repeat sequences.
Positioning the shoulder at isocenter requires creative use of pads and straps. Patients with large body habitus may not be able to center the shoulder under the main magnet bore, leading to off-center artifacts and field inhomogeneity. In these cases, lateral decubitus positioning or use of a wide-bore scanner may be necessary. Some facilities use the contralateral shoulder hanging off the table to allow the affected side to drop closer to isocenter.
Hand positioning influences the appearance of the biceps tendon and rotator cuff. Neutral position with the thumb pointing up is standard, but slight external rotation places the supraspinatus tendon perpendicular to the magnetic field and reduces magic angle artifact at its insertion. Internal rotation, while sometimes used to evaluate posterior structures, increases magic angle artifact and is generally avoided unless specifically requested by the radiologist for a particular clinical question.
Sequence parameters should be optimized for the field strength of the scanner. At 3 Tesla, higher signal-to-noise ratio allows thinner slices and higher matrices, improving spatial resolution. However, 3T also amplifies susceptibility artifacts near metal implants and increases specific absorption rate concerns. At 1.5T, more averages and thicker slices may be needed to achieve diagnostic quality, but artifacts from prior surgical hardware are more manageable.
Motion artifact is the most common reason for non-diagnostic shoulder MRI. Even small movements blur tendon edges and mimic or obscure pathology. Strategies to minimize motion include shortening acquisition time with parallel imaging, using comfortable positioning aids, ensuring adequate analgesia for painful shoulders, and choosing sequences with built-in motion compensation such as radial or PROPELLER acquisitions. The technologist should monitor scout images during the exam and abort sequences with obvious motion early.
Post-processing techniques can salvage suboptimal acquisitions. Multiplanar reformatting of isotropic 3D sequences allows the radiologist to create new planes after the patient leaves. Image filtering and contrast adjustment may improve visualization of subtle findings. However, these techniques cannot create information that was never acquired. The best approach remains careful protocol design and careful attention to image quality during the initial acquisition.
Finally, communicate with the ordering provider and the radiologist when something unusual appears during the scan. A subtle finding flagged in real time can prompt additional sequences or views while the patient is still on the table. Whether this is an unexpected mass, a contrast extravasation, or a pathologic fracture, immediate communication shortens diagnostic timelines and improves patient care. This collaborative approach distinguishes excellent imaging practices from average ones and contributes to better outcomes for every shoulder patient.
Sample MRI - Magnetic Resonance Imaging Practice Questions
Try these questions from our free MRI - Magnetic Resonance Imaging practice tests. The correct answer and an explanation follow each question.
The b-value in diffusion-weighted imaging controls the degree of diffusion weighting. Increasing the b-value:
- A. Increases overall image SNR
- B. Increases diffusion contrast but decreases SNR
- C. Decreases T2 contribution
- D. Has no effect on image quality
Answer: B. Increases diffusion contrast but decreases SNR
Higher b-values provide greater diffusion contrast by increasing the dephasing of mobile water protons, but at the cost of reduced SNR due to greater signal attenuation from all spins.
When imaging the lumbar spine, which position best opens the intervertebral foramina and reduces lumbar lordosis for improved visualization?
- A. Prone with legs extended
- B. Supine with legs elevated on a cushion (knees and hips flexed)
- C. Lateral decubitus
- D. Prone with pillow under abdomen
Answer: B. Supine with legs elevated on a cushion (knees and hips flexed)
Flexing the hips and knees while supine flattens lumbar lordosis, opens intervertebral foramina, and improves disc and nerve root visualization.
Which coil type provides the best signal-to-noise ratio (SNR) for a specific small anatomy because it is placed closest to the structure?
- A. Body coil
- B. Head coil
- C. Surface coil
- D. Volume coil
Answer: C. Surface coil
Surface coils are placed directly over the anatomy of interest; their proximity maximizes SNR for superficial or small structures compared to larger volume coils.
What is the preferred patient position and coil for imaging the rotator cuff of the shoulder?
- A. Prone, body coil
- B. Supine, arm at side in neutral rotation, dedicated shoulder coil
- C. Supine, arm abducted 90°, flex coil
- D. Sitting upright, surface coil
Answer: B. Supine, arm at side in neutral rotation, dedicated shoulder coil
Supine positioning with the arm at the side in neutral rotation and a dedicated shoulder coil provides optimal SNR and comfort for rotator cuff imaging.
Take the full MRI - Magnetic Resonance Imaging practice test
MRI Questions and Answers
Sources & last verified
- assets-us-01.kc-usercontent.com — number of questions, time limit, eligibility (official source). “MRI Scored Items 200 Pilot Items 20 Total Items 220 Test Time 210 min” Verified Oct 15, 2026.
- assets-us-01.kc-usercontent.com — number of questions, time limit, retake policy, delivery (official source). “MRI Scored Items 200 Pilot Items 30 Total Items 230 Test Time 230 min” Verified Oct 15, 2026.
- The American Registry of Radiologic Technologists — passing score, score release (official source). “Our exam scoring scale ranges from 1 to 99, and you’ll need a total score of 75 to pass the exam.” Verified Oct 15, 2026.
- The American Registry of Radiologic Technologists — exam fee, other (official source). “Postprimary (M, CT, MR, BD, CI, VI, VS, BS, R.R.A.): $225 Postprimary (CT, MR, BD, or VS—using NMTCB as supporting category): $450 Postprimary (MR, VS,…” Verified Oct 15, 2026.
- assets-us-01.kc-usercontent.com — validity, renewal (official source). “ARRT certification and registration—even with annual renewal—is limited to 10 years.” Verified Oct 15, 2026.
How we verify: editorial & fact-checking policy. Report an error: contact us.
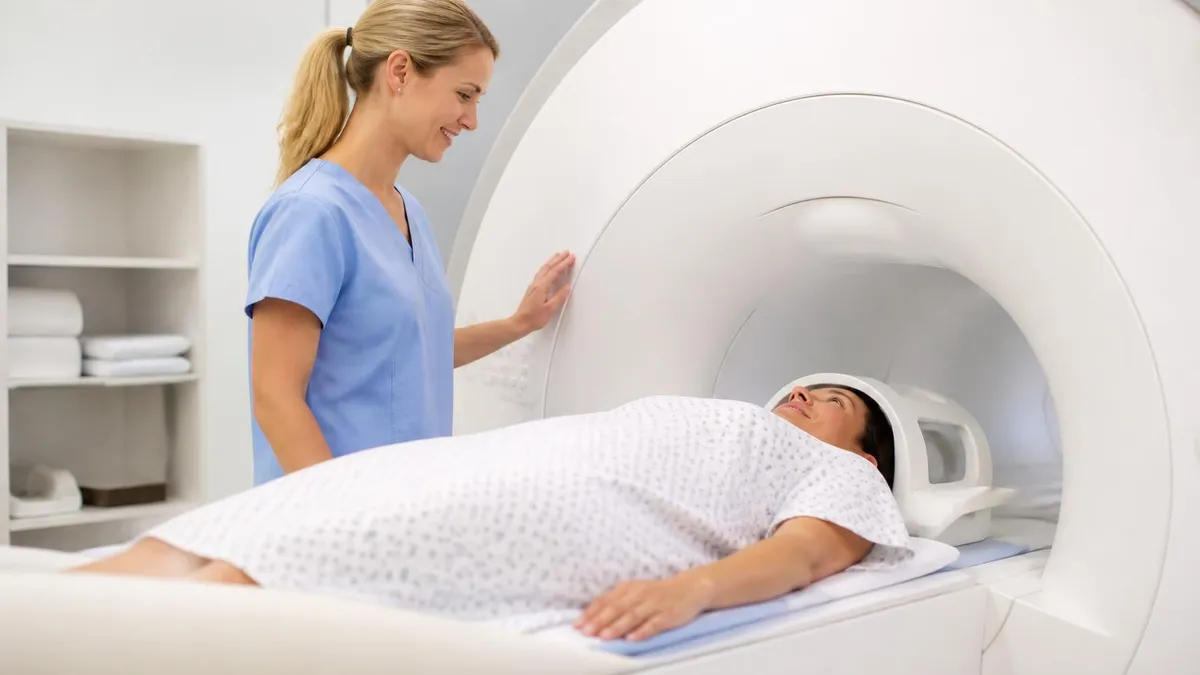
MRI Medical Abbreviation: What MRI Stands For and Why It Matters
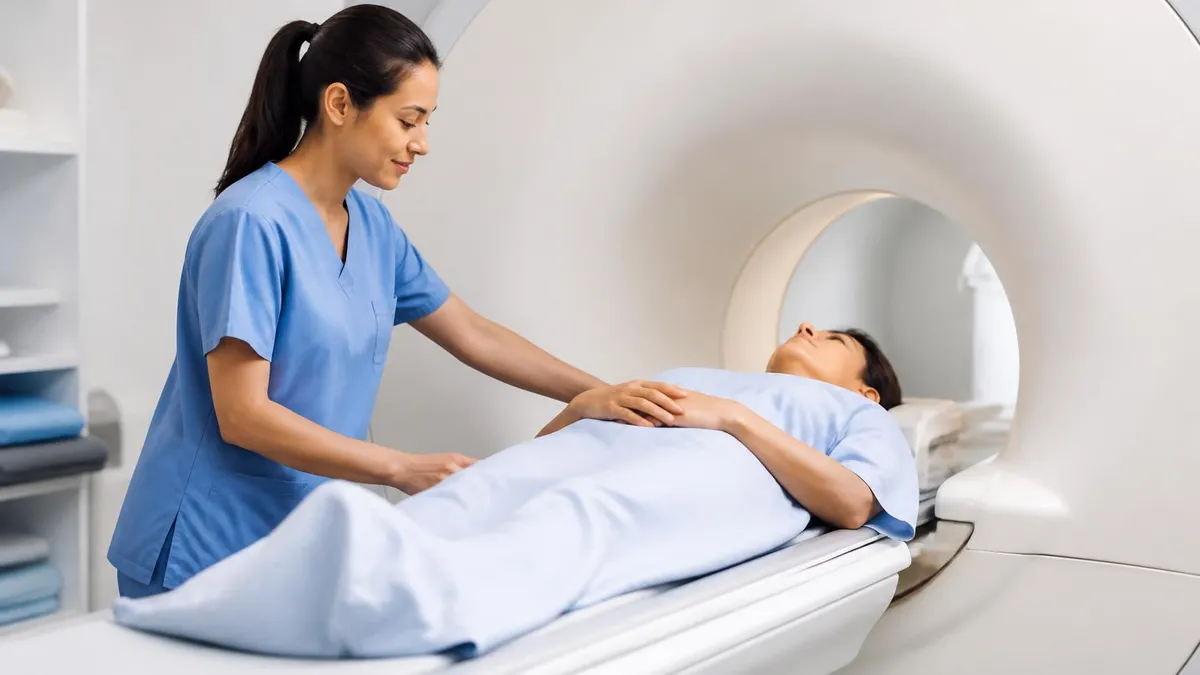
The History of MRI: From Discovery to Modern Medicine
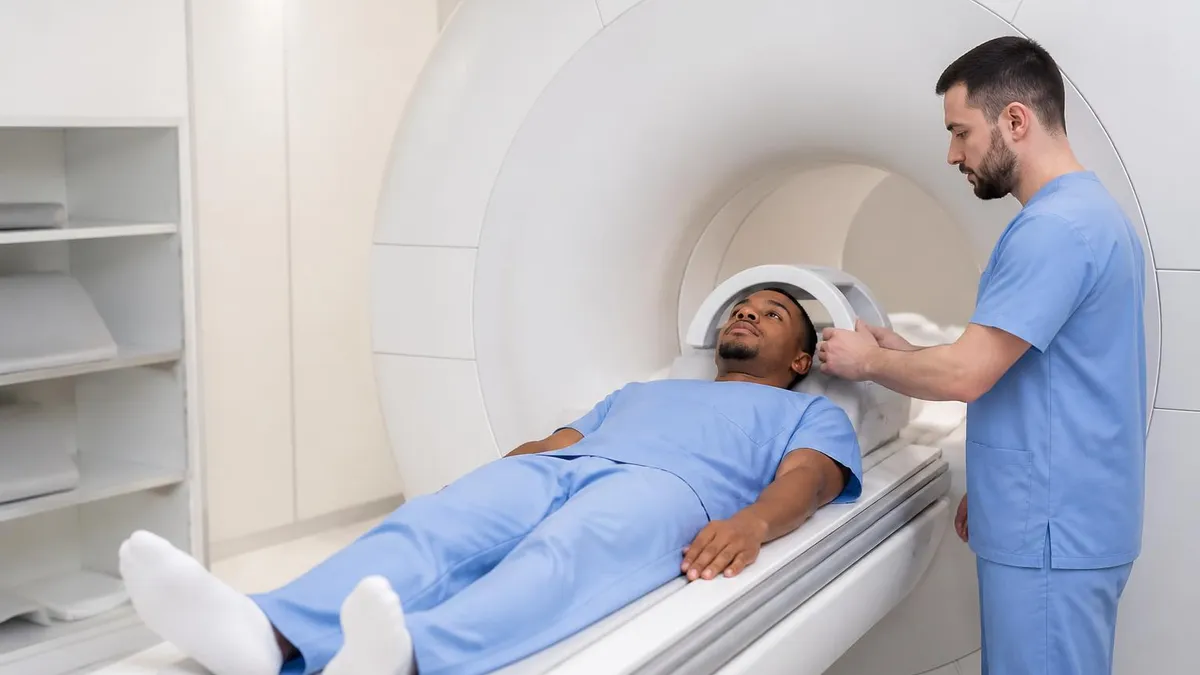
Knee MRI Images: A Complete Guide to Reading, Understanding, and Interpreting Knee Scans
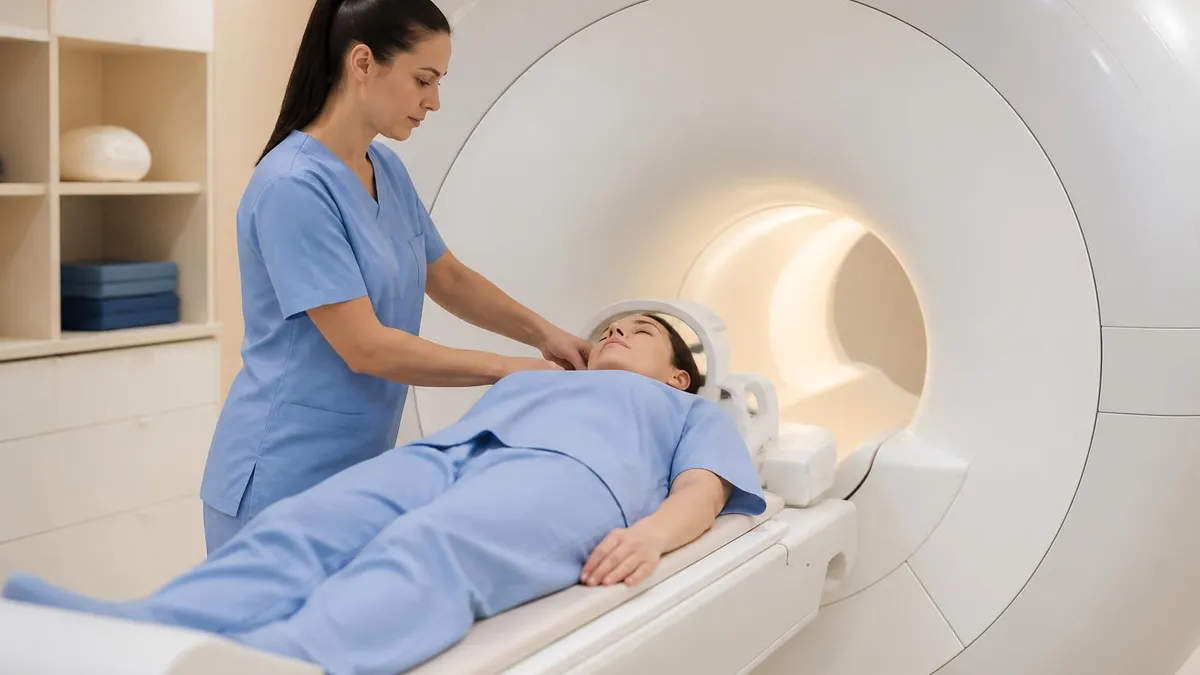
Noise of MRI Machine: Why MRI Scanners Are So Loud and What to Expect
MRI Alternatives: When CT, Ultrasound, X-Ray, and PET Make More Sense Than an MRI
How this page was made: written with AI tools and published by Nathan Beja, founder of Practice Test Geeks, who is responsible for its content. Exam facts are checked against the official sources listed below. Not reviewed by a subject-matter expert. Editorial policy
Sources & references
Exam facts on this page (fees, format, dates, passing scores) are checked against these official sources; the date is our last check. Editorial policy
- arrt.org — Passing score, score release, fees, exam information · verified Oct 2026
- assets-us-01.kc-usercontent.com — Renewal, score validity, test delivery, eligibility, exam format, test dates, time limit · verified Oct 2026