
HVAC Leak Troubleshooting and Repair: The Complete Diagnostic Guide for Refrigerant, Water, and Air Leaks
Master HVAC leak troubleshooting and repair with our complete guide covering refrigerant, ✍🏼 water, and air leak diagnosis, tools, and step-by-step fixes.

An hvac leak detector can quietly destroy a system long before the homeowner notices anything is wrong. Whether the issue is a slow refrigerant escape from a corroded evaporator coil, a condensate overflow soaking the ceiling below the air handler, or a torn duct bleeding conditioned air into the attic, every leak shares the same fundamental problem: lost capacity, wasted energy, and accelerated component wear. Troubleshooting and repairing these leaks is one of the highest-value skills any HVAC technician or homeowner can develop.
The challenge with HVAC leaks is that they rarely announce themselves clearly. A system can lose ten percent of its refrigerant charge over a season and still appear to cool, just less effectively, while the compressor slowly overheats and the homeowner blames the thermostat. Air leaks in supply ducts can cut delivered capacity by twenty to thirty percent without triggering any alarm, and condensate drain clogs often present as random water stains rather than obvious puddles.
This guide walks through every category of HVAC leak you are likely to encounter in residential and hvac duct sizing calculator. We will cover diagnostic tools, pressure testing, electronic leak detection, dye injection, soap bubble methods, and the repair techniques that match each finding. You will learn how to read superheat and subcool numbers, how to interpret static pressure readings, and how to spot the visual clues that point to specific leak locations.
We will also address the economic side of the decision tree. Not every leak is worth repairing. A pinhole in a fifteen-year-old evaporator coil with R-22 refrigerant is almost always a replacement situation, while a loose flare fitting on a three-year-old mini-split is a fifteen-minute fix. Understanding which leaks justify aggressive repair and which signal end-of-life helps technicians give honest recommendations and helps homeowners avoid throwing good money after bad.
Safety underpins everything in leak work. Refrigerants displace oxygen, can cause frostbite on skin contact, and decompose into toxic compounds when exposed to open flames. Electrical components near water leaks create shock hazards. Combustion appliances with flue gas leaks can produce carbon monoxide at lethal concentrations. Every diagnostic procedure described in this article assumes you are wearing appropriate personal protective equipment and following EPA Section 608 recovery requirements for refrigerant work.
By the end of this guide, you should be able to walk into a service call, perform a structured visual inspection, run the appropriate pressure or vacuum test, isolate the leak to a specific component, and choose the repair method that delivers the longest-lasting fix for the money spent. These are the same workflows that separate technicians who get callbacks from technicians who solve problems on the first visit.
Whether you are studying for certification, running service calls, or trying to understand what your contractor is telling you, the diagnostic frameworks in this article will translate directly into faster, more accurate, and more profitable leak repairs across every type of HVAC system.
HVAC Leaks by the Numbers
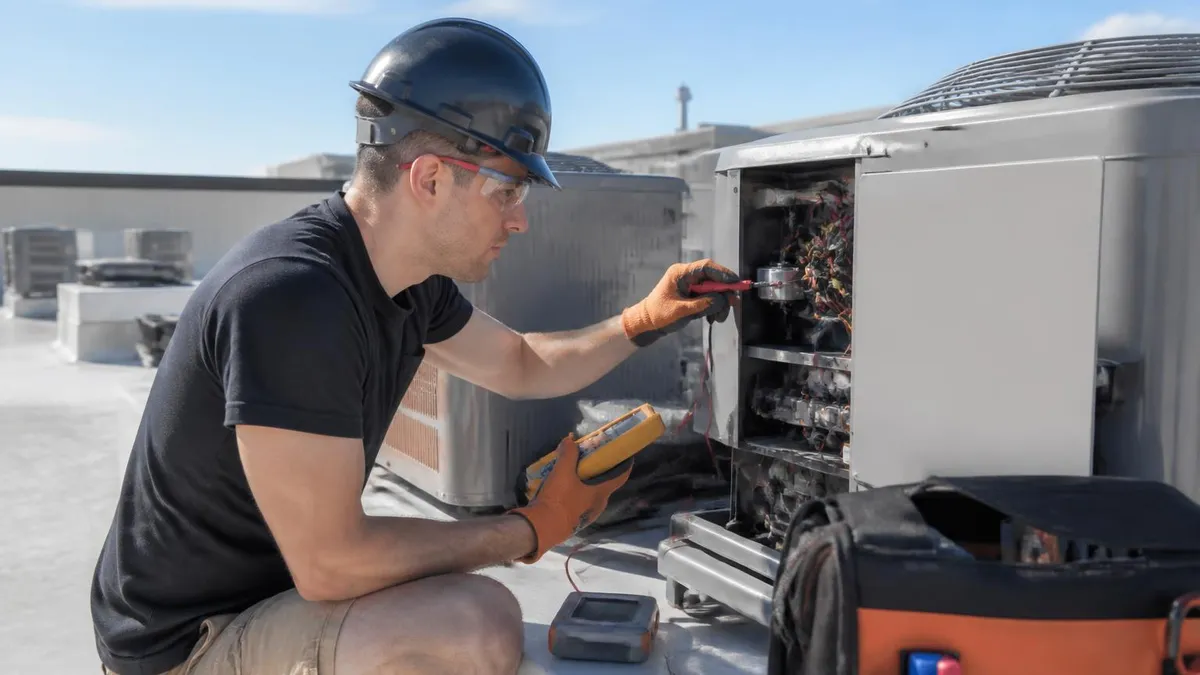
Common HVAC Leak Types and Their Symptoms
Most often found at evaporator coils, Schrader valves, brazed joints, and flare fittings. Symptoms include warm air from registers, ice on suction lines, hissing sounds, and rising electric bills as the compressor runs longer to meet thermostat demand.
Caused by clogged drain lines, cracked drain pans, failed condensate pumps, or improper slope. Often shows up as water stains on ceilings under air handlers, musty smells, or pooling water near indoor units that triggers float switch shutdowns.
Disconnected joints, failed mastic, torn flex duct, and unsealed boots cause conditioned air to dump into attics or crawl spaces. Diagnosed with duct blaster tests and pressure pan readings, these leaks routinely waste 20-30% of system output.
Cracked heat exchangers, corroded flue pipes, and failed gaskets release carbon monoxide and combustion byproducts into living spaces. Detected with CO analyzers, smoke pencils, and visual inspection during furnace cycling under load conditions.
On commercial systems with pneumatic controls or VAV boxes, air signal leaks cause erratic damper behavior and pressure imbalances. Found with ultrasonic leak detectors that pick up the high-frequency hiss humans cannot hear in noisy mechanical rooms.
Effective HVAC leak troubleshooting starts with a structured diagnostic sequence rather than guesswork. Most experienced technicians follow a four-stage approach: visual inspection, performance measurement, isolation testing, and confirmation. Skipping stages produces misdiagnoses, callbacks, and the dreaded scenario where a homeowner pays for refrigerant top-offs three years in a row because nobody actually found the leak. The goal of every diagnostic visit should be to locate the leak source within an acceptable margin of certainty before any repair work begins.
Visual inspection covers the obvious first. Look for oil stains around fittings, since refrigerant oil escapes alongside refrigerant and leaves telltale dark residue at brazed joints, Schrader cores, and flare connections. Examine evaporator coil fins for corrosion, especially in coastal areas where salt air accelerates formicary corrosion. Check the condensate pan for rust spots, the drain line for biofilm buildup, and the duct system for separated joints or compressed flex sections that restrict airflow and create pressure imbalances.
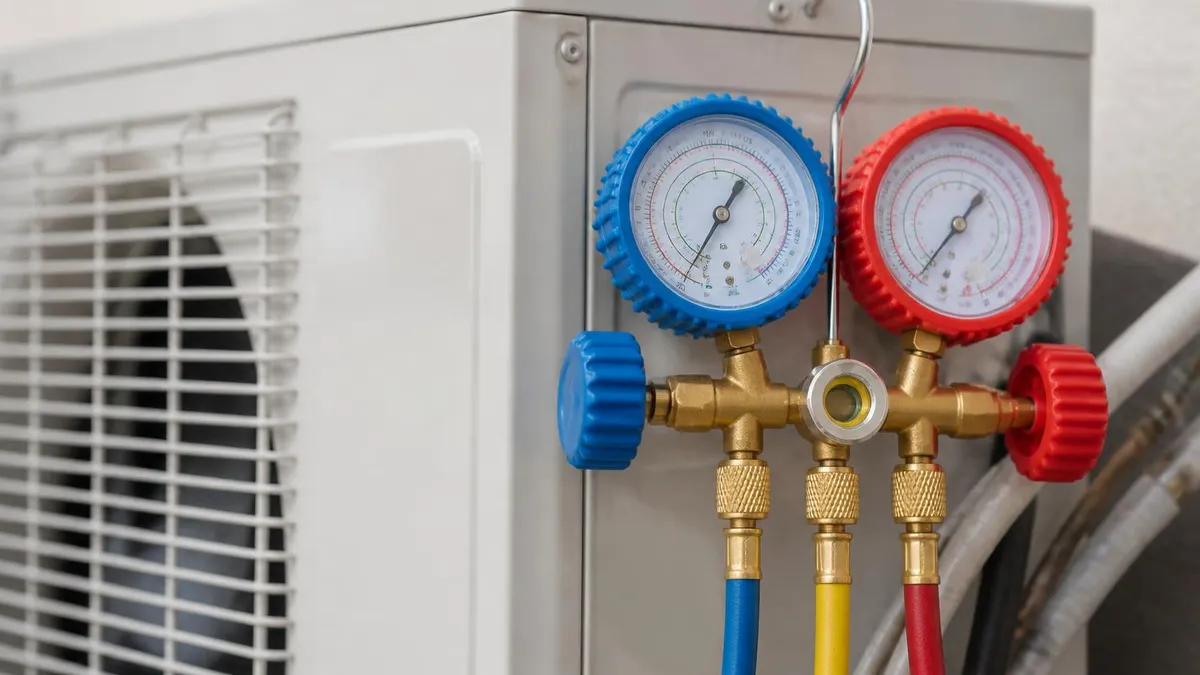
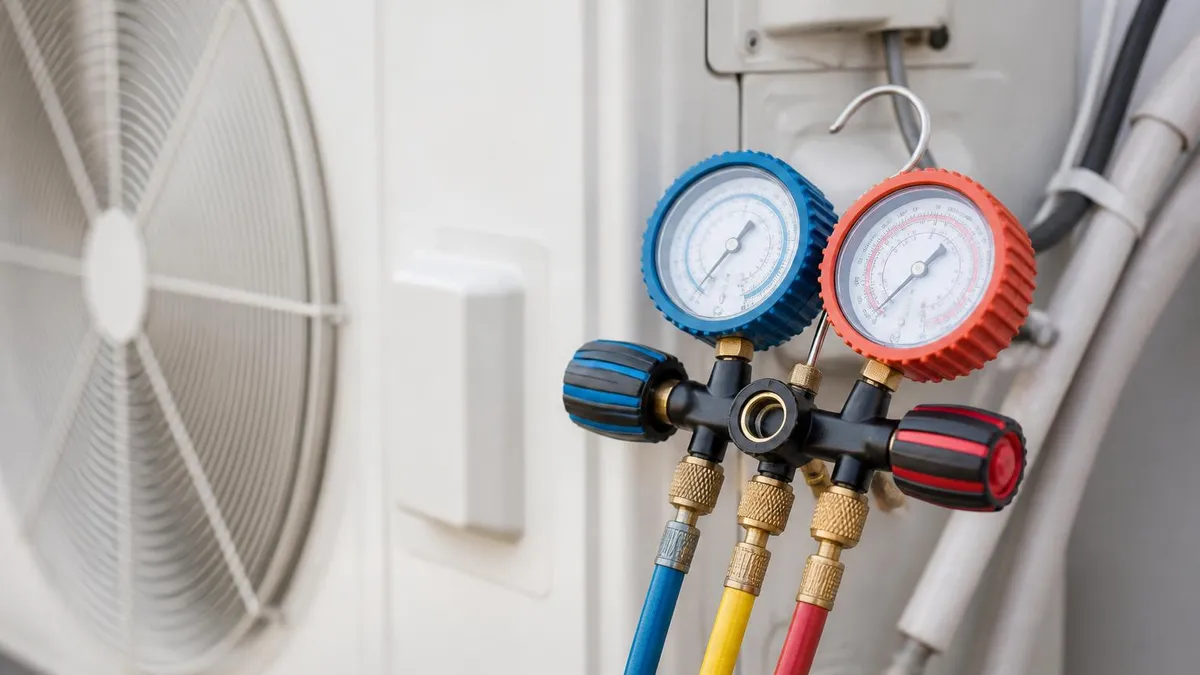
Performance measurement comes next. Connect manifold gauges and measure suction pressure, head pressure, superheat, and subcooling. Compare the readings against the manufacturer's charging chart for the current outdoor temperature and indoor wet-bulb conditions. Low subcool with normal superheat typically points to an undercharge, which means refrigerant has escaped somewhere. High superheat with low suction pressure suggests the same. These numbers tell you the system has lost charge before you ever pick up a hvac leak detector.
Isolation testing narrows the search. For refrigerant leaks, technicians use electronic leak detectors capable of sensing parts-per-million concentrations, ultraviolet dye that fluoresces under blacklight inspection, and nitrogen pressure testing at 150 to 300 psi to amplify small leaks into audible or detectable ones. For duct work, manometers measure static pressure differentials across registers and returns while a duct blaster pressurizes the system to identify leakage rates in CFM at 25 pascals.
Confirmation closes the loop. After identifying a suspected leak, technicians should verify by applying soap solution to see bubble formation, by repeating the electronic detector pass with the unit cycling, or by pressurizing with nitrogen and watching the gauge for pressure drop over a fifteen-minute hold test. Never repair a suspected leak without confirmation, because the actual leak might be inches away from where the detector first alarmed, and a missed leak means a callback within weeks.
The right tools make all the difference. A modern technician's leak kit should include a heated-diode electronic detector, a UV light with dye injection capability, an ultrasonic detector for air and vacuum leaks, a quality hvac digital gauges with wireless sensors, a recovery machine, a vacuum pump rated for at least six CFM, and a calibrated micron gauge to verify deep evacuation before recharging. Investing in quality tools pays back within months through faster diagnostics and fewer callbacks.
Documentation matters as much as detection. Photograph oil stains, log pressure readings before and after recovery, record the location of each confirmed leak, and note the repair method used. This documentation protects technicians during warranty disputes, provides homeowners with clear records of what was done, and creates a knowledge base for diagnosing recurring problems on the same system years later when a different technician arrives for service.
HVAC Practice Test Questions
Prepare for the HVAC - Heating Ventilation and Air Conditioning exam with our free practice test modules. Each quiz covers key topics to help you pass on your first try.
HVAC Air Conditioning
HVAC Exam Questions covering Air Conditioning. Master HVAC Test concepts for certification prep.
HVAC Code Compliance
Free HVAC Practice Test featuring Code Compliance. Improve your HVAC Exam score with mock test prep.
HVAC Electrical Controls
HVAC Test Prep for Electrical Controls. Practice HVAC Quiz questions and boost your score.
HVAC Energy Efficiency
HVAC Questions and Answers on Energy Efficiency. Free HVAC practice for exam readiness.
HVAC Heating Systems
HVAC Mock Test covering Heating Systems. Online HVAC Test practice with instant feedback.
HVAC Load Calculations
Free HVAC Quiz on HVAC Load Calculations. HVAC Exam prep questions with detailed explanations.
HVAC Tools and Equipment
HVAC Practice Questions for HVAC Tools and Equipment. Build confidence for your HVAC certification exam.
HVAC Refrigeration
HVAC Test Online for Refrigeration. Free practice with instant results and feedback.
HVAC Safety Practices
HVAC Study Material on Safety Practices. Prepare effectively with real exam-style questions.
HVAC System Design
Free HVAC Test covering System Design. Practice and track your HVAC exam readiness.
HVAC Thermodynamics
HVAC Exam Questions covering Thermodynamics. Master HVAC Test concepts for certification prep.
Refrigerant vs Water vs Air Leak Diagnosis
Refrigerant leaks are the most expensive and technically demanding HVAC leak category because they involve EPA-regulated substances, high pressures, and components that often require brazing or full replacement. Common locations include evaporator coil U-bends, Schrader valve cores, brazed joints near the compressor, and flare fittings on mini-split line sets. A leak as small as a quarter-ounce per year can drop a system below operational charge within five years.
Diagnosis combines pressure analysis with electronic detection. Heated-diode detectors sense refrigerant at three to five grams per year sensitivity, while UV dye injected into the system pinpoints leaks visually under blacklight. After repair, the system must be evacuated to 500 microns or lower and charged by weight to manufacturer specifications. Topping off without finding the source is poor practice and may violate EPA leak repair rules on systems with more than fifty pounds of charge.
Repair Now vs Replace: Weighing Your Options
- +Repair preserves the existing matched system and avoids replacement cost
- +Most refrigerant leaks are repairable when caught early at accessible fittings
- +Sealing duct leaks delivers immediate efficiency gains of 15 to 30 percent
- +Condensate repairs are inexpensive and prevent costly water damage
- +Warranty coverage may pay for evaporator coil or compressor replacement
- +Repaired systems retain their original SEER rating and capacity match
- +Skilled brazing repairs on copper line sets can last the full life of the system
- −Evaporator coil leaks on R-22 systems usually mean full replacement
- −Multiple leaks in the same coil indicate widespread formicary corrosion
- −Repeated repairs on aging systems add up to more than replacement cost
- −R-22 refrigerant is increasingly expensive and supply is restricted
- −Repaired systems older than 12 to 15 years still face other component failures
- −Hidden leaks behind walls or in slab line sets cost more to access than to replace
- −New high-efficiency systems often pay back through energy savings within 7 years
HVAC Leak Troubleshooting Field Checklist
- ✓Perform a visual inspection of all accessible refrigerant fittings, looking for oil stains
- ✓Measure suction pressure, head pressure, superheat, and subcool against charging chart
- ✓Check temperature split across the evaporator coil at proper airflow
- ✓Inspect the condensate drain line, trap, float switch, and pan for blockage or rust
- ✓Test ductwork for static pressure at supply and return plenums using a manometer
- ✓Run electronic leak detector slowly along all brazed joints and Schrader valves
- ✓Apply UV dye if leak is suspected but not located, then re-inspect after 24-48 hours
- ✓Pressure test isolated sections with dry nitrogen at 150-300 psi when needed
- ✓Document all readings, photos, and findings before quoting repair work
- ✓Verify repair with hold test and final performance measurement after recharge
Never top off refrigerant without finding the leak
Adding refrigerant to a leaking system is a temporary fix that violates EPA rules on systems over 50 lbs and guarantees a callback. Studies show systems that lose just 10% of their charge can suffer 20% capacity loss and compressor damage within two cooling seasons. Find the leak, fix it, then recharge by weight.
The economics of HVAC leak repair vary enormously depending on the leak location, system age, refrigerant type, and accessibility. A loose Schrader valve core that takes ten minutes to replace might cost a homeowner one hundred fifty dollars in service fees, while a leaking evaporator coil on a fifteen-year-old R-22 system can run two thousand dollars or more once you factor in the coil itself, refrigerant recovery, evacuation, and recharge. Understanding these cost tiers helps technicians give realistic estimates and helps homeowners make informed decisions.
Refrigerant repair pricing breaks down into labor, materials, and refrigerant cost. Labor varies by region but typically runs ninety to one hundred fifty dollars per hour for service work. Refrigerant prices have climbed sharply, with R-410A running fifteen to twenty-five dollars per pound and R-22 commanding fifty to one hundred fifty dollars per pound when available. A typical residential system holds six to twelve pounds, so a full recharge after coil replacement can add three hundred dollars to the bill on its own.
Duct leak repairs offer some of the best return on investment in the entire HVAC industry. A professional hvac duct sealing job using aerosol injection or manual mastic application typically costs between fifteen hundred and four thousand dollars depending on home size and duct accessibility. The resulting energy savings, often twenty percent or more on heating and cooling bills, deliver payback periods of three to seven years and frequently qualify for utility rebates that further accelerate the financial return.
Condensate repairs sit at the affordable end of the spectrum. Clearing a clogged drain line costs seventy-five to two hundred dollars in most markets. Replacing a condensate pump runs three hundred to six hundred dollars including the pump itself. Installing a new drain pan, however, can require pulling the evaporator coil and may approach one thousand dollars depending on access. Float switches and safety overflow shutoffs add another seventy-five to one hundred fifty dollars but prevent thousands of dollars in water damage.
The repair-versus-replace decision hinges on three factors: system age, refrigerant type, and number of expected future repairs. As a rough rule, if the repair cost exceeds half the replacement cost on a system older than ten years, replacement usually wins. Add the obsolete refrigerant penalty for R-22 systems, since every future leak repair becomes proportionally more expensive as refrigerant supply tightens and prices rise toward the end of the phaseout window.
Insurance and warranty coverage occasionally change the math. Many manufacturers offer ten-year parts warranties on residential equipment, which can cover the price of a replacement coil even though the labor and refrigerant fall to the homeowner. Some homeowners insurance policies cover water damage caused by HVAC failures but not the HVAC repair itself. Always check the warranty paperwork and recommend that homeowners contact their insurer before authorizing major repairs after a water-loss event.
Hidden costs deserve attention. Refrigerant recovery requires EPA-certified equipment and adds time to every repair on a sealed system. Disposal fees apply to old coils, drain pans, and any components contaminated with mineral oil or PAG. Permit requirements vary by jurisdiction, but most major equipment replacements need a mechanical permit and inspection. Building these costs into the original estimate prevents uncomfortable conversations later and protects technician reputations from accusations of nickel-and-diming customers.
All refrigerant handling, recovery, and leak repair on systems containing HFC, HCFC, or natural refrigerants requires EPA Section 608 certification. Knowingly venting refrigerant is illegal and carries fines up to $44,539 per violation per day. Commercial systems with more than 50 pounds of charge must have leaks repaired or have a retirement plan filed.
Prevention is dramatically cheaper than repair, and a maintenance program built around leak prevention pays for itself many times over across the life of an HVAC system. The most effective preventive measures address the conditions that create leaks in the first place, not just the symptoms after they appear. Corrosion, vibration, thermal cycling, and poor installation practices cause the vast majority of leaks, and each of these can be controlled with the right approach to maintenance and component selection.
Annual professional maintenance should include a full visual inspection of all accessible refrigerant fittings, a static pressure test of the duct system, condensate drain clearing and flushing, and verification of refrigerant charge by superheat or subcool depending on metering device type. Many service plans miss these fundamentals and focus instead on coil cleaning and filter changes, which matter but do not prevent leaks the way a structured pressure and integrity check does. Insist on a service plan that documents pressure readings each visit.
Condensate management deserves special attention because water leaks cause more property damage than any other HVAC failure mode. Install a secondary drain pan with a float switch on every horizontal air handler, especially those installed above finished spaces. Add a clean-out tee on the primary drain line so future technicians can flush and rod the line easily. Treat the drain pan with EPA-registered algae tablets that dissolve slowly throughout the cooling season and prevent the biofilm buildup that causes most drain blockages.
Duct work prevention starts at installation. Insist on properly sized ductwork installed with mechanical fasteners at every joint, followed by mastic sealing rather than tape. Flex duct should run in straight gentle curves without sharp bends, kinks, or compression. Boots at registers should be sealed to the floor or ceiling penetration to prevent attic air from infiltrating through the rough opening. These installation details, often skipped on production builds, separate ten-year hvac duct design from systems that need sealing within five years.
Vibration and thermal stress damage refrigerant lines over time. Make sure suction and liquid lines are properly supported with isolation pads at the air handler and condenser, and that line set penetrations through walls are fitted with grommets to prevent chafing. Add vibration loops where lines transition between fixed and floating components, and re-tighten flare fittings on mini-split installations during the first annual service visit because copper relaxes after initial pressurization and original torque values often loosen slightly.
Coil protection extends evaporator and condenser life significantly. Apply manufacturer-approved coil coatings on coastal installations, where salt-air corrosion can perforate uncoated aluminum fins within five to seven years. Rinse outdoor condenser coils with clean water seasonally to remove pollen, dust, and any chemical residue from lawn treatments. Keep landscaping at least two feet away from condenser units to allow proper airflow and prevent root intrusion into refrigerant lines buried near foundations. For installations in challenging environments, working with experienced HVAC contractors who understand local conditions pays significant dividends.
Documentation closes the prevention loop. Maintain a service log on the equipment itself, ideally with adhesive labels showing the last service date, refrigerant pressures, and any noted conditions. Photograph the condition of coils, fittings, and ductwork during each visit. When future leaks appear, this history accelerates diagnosis and helps identify whether the problem is a sudden failure or the result of progressive deterioration that should have been caught earlier with better preventive maintenance.
Putting all of this into a practical workflow takes practice, but a few field-tested habits will dramatically accelerate your progress as a leak diagnostician. The first habit is slowing down. Most missed leaks come from technicians who rush the visual inspection or wave the electronic detector too quickly past fittings. The detector needs time to draw in sample air, and many leaks present at rates that take three to five seconds of dwell time to register. A methodical pace, working from compressor to evaporator and inspecting every fitting, finds leaks that a fast sweep misses.
The second habit is starting with the easy stuff. Before pulling out the leak detector, check for obvious oil residue, listen for audible hissing near fittings, and verify that the service valve caps are tight. Schrader valve cores are responsible for a surprising percentage of slow refrigerant leaks because the rubber seal degrades over time and the cap is the only thing holding pressure. A two-dollar replacement core and a quarter turn with the proper tool fixes more leaks than most technicians realize.
The third habit is testing your work. After completing any refrigerant repair, perform a thirty-minute nitrogen pressure hold test at three hundred psi before pulling vacuum. Watch the gauge for any pressure drop, accounting for temperature changes during the test. Then pull vacuum to five hundred microns or lower, close the manifold, and watch the micron gauge for thirty minutes to verify a tight system before introducing refrigerant. This two-stage verification catches secondary leaks that the original repair did not address.
The fourth habit is communicating clearly with homeowners. Explain what you found, why it matters, and what the realistic options are. Use plain language and avoid jargon. Show photos of the leak source whenever possible because seeing the actual oil stain on a coil U-bend makes the diagnosis tangible in a way that a verbal explanation cannot. Honest, clear communication generates referrals, builds long-term customer relationships, and protects you from disputes about whether the work was necessary.
The fifth habit is continuing education. Refrigerant chemistry evolves, equipment design changes, and diagnostic tools improve every year. The technician who reads manufacturer service bulletins, attends manufacturer training, and stays current on EPA regulations performs at a level that customers and employers value. Subscribe to industry publications, watch reputable training videos, and seek out experienced mentors who can show you techniques that books and videos cannot fully convey through demonstration alone.
The sixth habit is investing in tool quality. The cheapest electronic leak detector on the market will frustrate you for years and miss leaks that a quality heated-diode unit catches immediately. The same applies to vacuum pumps, manifolds, and recovery equipment. Premium tools pay back through faster diagnostics, fewer callbacks, and a longer service life. A good leak detector, properly maintained, will diagnose thousands of systems before it needs replacement.
Finally, document everything you do. Every photo, every pressure reading, every repair detail becomes part of the system's permanent history and protects you when questions arise weeks or years later. Build templates for service reports that capture the diagnostic data systematically, and review your own past reports periodically to identify patterns and improvement opportunities. The technicians who build great careers in HVAC leak work are the ones who treat every service call as a learning opportunity and a chance to refine their craft.
HVAC Questions and Answers

HVAC Duct Supplies: The Complete Buyer's Guide to Ductwork Components, Sizing, and Installation Materials
HVAC Duct Calculator: The Complete Guide to Sizing Ductwork for Airflow, Static Pressure, and System Efficiency
Certified HVAC Contractors: How to Find, Vet, and Hire the Right Professional for Your Home or Business

HVAC Repair Philadelphia: The Complete Homeowner's Guide to Finding, Hiring, and Working With Local Heating and Cooling Pros
Best HVAC Repair in Bandon, OR: Local Services Near Me Guide
About the Author

NATE Certified HVAC Technician & Licensing Exam Trainer
Universal Technical InstituteMike Johnson is a NATE-certified HVAC technician and EPA 608 universal-certified refrigerant handler with a Bachelor of Science in HVAC/R Technology. He has 19 years of commercial and residential HVAC installation and service experience and specializes in preparing technicians for NATE certification, EPA 608, A2L refrigerant safety, and state HVAC contractor licensing examinations.