
HVAC Evaporator: Complete Guide to How It Works, Common Problems, and Maintenance
Learn how the HVAC evaporator works, why it fails, and how to maintain it. ✏️ Complete guide for homeowners and HVAC technicians.
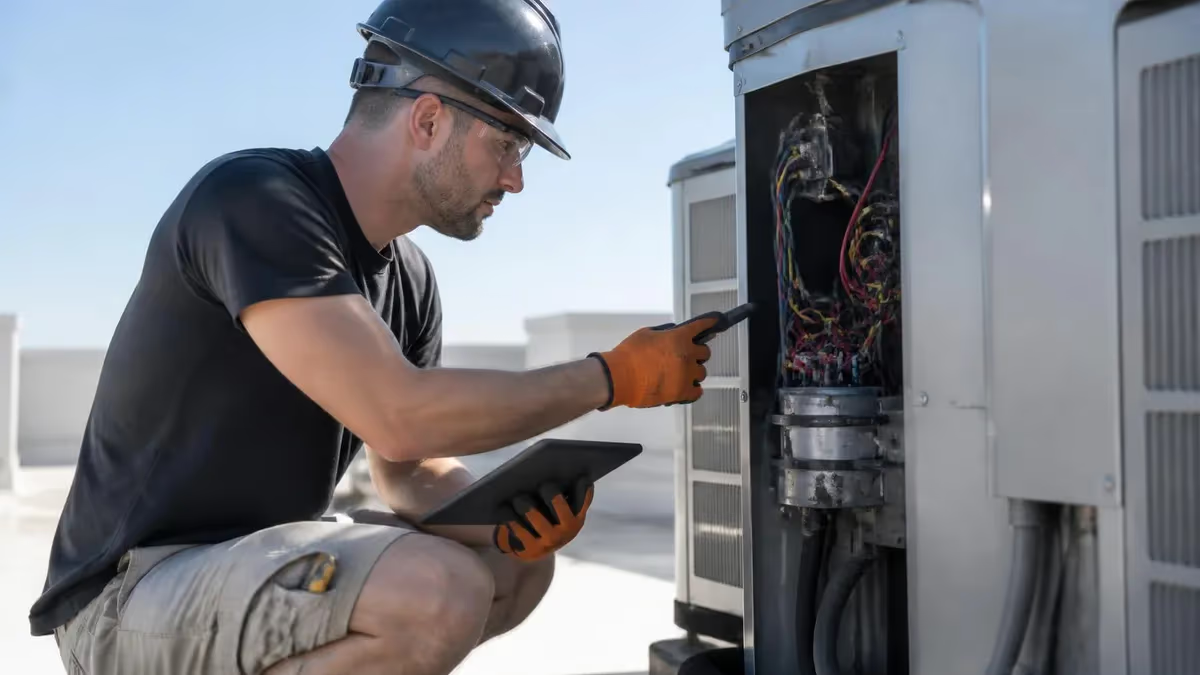
The hvac evaporator is one of the most critical components in any air conditioning or heat pump system, responsible for absorbing heat from indoor air and transferring it to the refrigerant circulating through the system. Without a properly functioning evaporator coil, your cooling system simply cannot remove heat from your living space, leaving you uncomfortable during the hottest months of the year. Understanding how this component works gives homeowners and technicians alike a significant advantage when diagnosing problems and planning maintenance schedules.
Located inside the air handler or furnace cabinet, the evaporator coil sits downstream of the air filter and upstream of the blower fan. Warm return air from your home passes over the coil's cold surfaces, and the refrigerant inside absorbs that heat energy, causing the refrigerant to evaporate from a liquid into a gas — which is precisely how the coil gets its name. This phase change process is what drives the entire cooling cycle, making the evaporator the starting point of heat removal in every central air conditioning system in the United States.
Modern evaporator coils are engineered from aluminum fins bonded to copper or aluminum tubing, maximizing surface area to improve heat transfer efficiency. The design has evolved considerably over the past two decades, with manufacturers moving toward all-aluminum coils to combat formicary corrosion — a chemical reaction between copper tubing, moisture, and formic acid found in some indoor environments — that caused widespread coil failures in systems installed between 1990 and 2010. Today's coils are more durable, but they still require regular attention to perform at rated capacity.
For HVAC technicians preparing for certification exams, a thorough understanding of evaporator coil operation is non-negotiable. Questions about refrigerant states, superheat measurements, subcooling, and airflow requirements across the coil appear consistently on EPA Section 608, NATE, and state licensing exams. Knowing the difference between a flooded coil and a starved coil — and being able to identify each condition from system pressures and temperatures — separates entry-level technicians from certified professionals who can accurately diagnose refrigerant charge issues in the field.
Homeowners benefit from understanding the evaporator coil for a different set of reasons. A dirty or frozen coil is one of the top causes of reduced cooling performance and high utility bills in residential systems. When the coil's fin surface becomes coated with dust, pet dander, or mold growth, airflow restriction increases and heat transfer efficiency drops dramatically. A coil that has only a quarter-inch layer of debris on its surface can lose up to 21 percent of its heat transfer capacity, according to research from the Air Conditioning Contractors of America (ACCA).
The evaporator also plays a key role in humidity control, which is just as important as temperature management for indoor comfort. As warm, humid air passes over the cold coil surface, moisture condenses out of the air — similar to how water droplets form on the outside of a cold glass on a summer day.
This condensate collects in the drain pan below the coil and flows out through the condensate drain line. When the drain pan overflows or the drain line clogs, water damage to ceilings, walls, and floors can result, making routine drain system maintenance as important as the coil itself.
Whether you are a homeowner trying to understand why your system is not cooling effectively, a student preparing for an HVAC certification exam, or a working technician looking to sharpen your diagnostic skills, this guide covers everything you need to know about the HVAC evaporator coil — from its fundamental operating principles and common failure modes to maintenance best practices and replacement considerations that will help you make smart, cost-effective decisions.
HVAC Evaporator Coil by the Numbers
How the HVAC Evaporator Coil Works: Step by Step
Refrigerant Enters as a Low-Pressure Liquid
Warm Return Air Passes Over the Coil
Refrigerant Absorbs Heat and Evaporates
Moisture Condenses on the Coil Surface
Refrigerant Vapor Exits with Superheat
Refrigerant Travels to the Compressor
Evaporator coil problems rank among the most common service calls HVAC technicians handle throughout the cooling season, and many of these issues are preventable with routine maintenance. The single most prevalent problem is ice formation on the coil surface — a condition known as a frozen evaporator coil — which paradoxically makes the system unable to cool despite running continuously.
Freezing occurs when airflow across the coil drops too low, when refrigerant charge is insufficient, or when the refrigerant metering device malfunctions, allowing the coil surface temperature to fall below 32°F and causing moisture in the air to freeze solid on the fins.
Diagnosing a frozen coil requires the technician to check several variables simultaneously. Low suction pressure on the gauges combined with visible ice formation is a strong indicator of an airflow or refrigerant problem rather than a mechanical failure. If changing the filter and confirming the blower wheel is clean resolves the freezing, the root cause was simply restricted airflow. If the coil refreezes after clearing these obvious culprits, the technician must check superheat and subcooling to determine whether the system is undercharged, overcharged, or suffering from a metering device failure that is starving the coil of refrigerant.
Refrigerant leaks are the second most common evaporator coil problem encountered in the field, and they are responsible for the majority of coil replacements. Leaks develop most often at the coil's hairpin bends, where vibration and thermal cycling create stress over time, and at the brazed connections where copper tubing meets the distributor or suction header. In coils manufactured before 2010 that use copper tubing, formicary corrosion can eat pinhole leaks through the tube walls, releasing refrigerant slowly over months until the system loses enough charge to notice performance degradation.
Mold and biological growth on evaporator coils is a serious indoor air quality concern that homeowners and technicians must address proactively. The coil's cool, moist surface creates ideal conditions for mold, mildew, and bacteria to colonize the fin surfaces. Once established, biological growth restricts airflow, reduces heat transfer efficiency, and releases microbial particles into the conditioned air stream every time the system runs. HVAC industry studies have linked contaminated evaporator coils to increased rates of respiratory complaints among building occupants, making coil cleaning not just a performance issue but a health issue.
Drain pan and condensate line problems are closely linked to evaporator coil operation. The condensate that drips from the coil surface must flow freely through the drain pan and out the condensate drain line to a safe discharge point. When algae, mold, or debris clogs the drain line, water backs up in the pan and can eventually overflow, causing water damage to ceilings, walls, and subfloors.
Many modern systems include a drain pan overflow safety switch that shuts the system down when water reaches a dangerous level, preventing property damage — but this safety shutdown is often misdiagnosed as a compressor or electrical failure without checking the drain system first.
Coil fin damage is another problem that reduces system efficiency and can be difficult to identify without physically inspecting the coil. Aluminum fins are thin and delicate, easily bent by physical contact, high-velocity debris impact, or improper cleaning techniques. Bent fins reduce airflow through the coil by increasing resistance and creating dead spots where air bypasses heat transfer surfaces. HVAC technicians use a specialized tool called a fin comb to straighten bent fins and restore proper airflow, a simple repair that can meaningfully improve system performance when fin damage is significant across a large portion of the coil face.
Chemical cleaning is often necessary when biological growth or dust accumulation is severe enough that vacuuming and gentle rinsing are insufficient. Commercial evaporator coil cleaners, typically foaming alkaline or acidic formulations, penetrate the fin matrix and break down organic buildup so it can be rinsed away. Technicians must select the appropriate cleaner chemistry for the coil material — alkaline cleaners work well on copper tube coils but can damage all-aluminum coils, requiring pH-neutral or aluminum-safe formulations instead. After cleaning, a thorough rinse is essential to prevent residual cleaner chemistry from causing accelerated corrosion on the coil metal.
HVAC Practice Test Questions
Prepare for the HVAC - Heating Ventilation and Air Conditioning exam with our free practice test modules. Each quiz covers key topics to help you pass on your first try.
HVAC Air Conditioning
HVAC Exam Questions covering Air Conditioning. Master HVAC Test concepts for certification prep.
HVAC Code Compliance
Free HVAC Practice Test featuring Code Compliance. Improve your HVAC Exam score with mock test prep.
HVAC Electrical Controls
HVAC Test Prep for Electrical Controls. Practice HVAC Quiz questions and boost your score.
HVAC Energy Efficiency
HVAC Questions and Answers on Energy Efficiency. Free HVAC practice for exam readiness.
HVAC Heating Systems
HVAC Mock Test covering Heating Systems. Online HVAC Test practice with instant feedback.
HVAC Load Calculations
Free HVAC Quiz on HVAC Load Calculations. HVAC Exam prep questions with detailed explanations.
HVAC Tools and Equipment
HVAC Practice Questions for HVAC Tools and Equipment. Build confidence for your HVAC certification exam.
HVAC Refrigeration
HVAC Test Online for Refrigeration. Free practice with instant results and feedback.
HVAC Safety Practices
HVAC Study Material on Safety Practices. Prepare effectively with real exam-style questions.
HVAC System Design
Free HVAC Test covering System Design. Practice and track your HVAC exam readiness.
HVAC Thermodynamics
HVAC Exam Questions covering Thermodynamics. Master HVAC Test concepts for certification prep.
Types of HVAC Evaporator Coils Explained
The A-coil, named for its distinctive inverted V shape when viewed from the side, is the most common evaporator coil configuration found in residential split systems across the United States. Two angled coil sections meet at the top like a tent, allowing condensate to drain naturally down both sides into the drain pan below. A-coils are installed in an upflow configuration on top of the furnace or air handler, making them straightforward to access for cleaning and inspection during routine maintenance visits.
A-coils are manufactured in a wide range of tonnage ratings from 1.5 to 5 tons and are available in both uncased and cased configurations. Uncased coils require a field-built sheet metal enclosure during installation, while cased coils arrive pre-enclosed in a metal cabinet ready for connection. The cased design simplifies installation and reduces the risk of air bypassing the coil through gaps in a field-fabricated enclosure, which can significantly reduce system efficiency and dehumidification capacity if not sealed properly.
Pros and Cons of Replacing vs. Repairing an Evaporator Coil
- +Replacement restores full system efficiency and eliminates ongoing refrigerant leak risk
- +New coils come with manufacturer warranties of 5 to 10 years on parts
- +Replacement allows upgrade to a higher-efficiency coil that matches a newer outdoor unit
- +Eliminates the cost of repeated service calls for patch repairs on a degraded coil
- +Modern all-aluminum coils are significantly more resistant to formicary corrosion
- +Replacement paired with a new outdoor unit qualifies for federal energy efficiency tax credits under current IRA provisions
- −Coil replacement typically costs $600 to $2,000 including labor, a significant upfront investment
- −Replacement requires recovering and recharging the refrigerant, adding time and material cost
- −Matching the replacement coil to the existing outdoor unit requires careful AHRI-certified matching
- −If the outdoor unit is near end of life, coil replacement may not be cost-justified
- −Installation requires evacuation to at least 500 microns and leak verification before recharging
- −Some coil configurations require removing significant ductwork for access, increasing labor costs
HVAC Evaporator Coil Maintenance Checklist
- ✓Replace the air filter every 30 to 90 days to maintain adequate airflow across the coil
- ✓Inspect the evaporator coil visually at each annual maintenance visit for dirt, mold, and fin damage
- ✓Clean the condensate drain pan with diluted bleach or approved biocide to prevent algae growth
- ✓Flush the condensate drain line with water or use a wet-dry vacuum to clear blockages
- ✓Check that the condensate drain line flows freely to the discharge point outdoors or to a floor drain
- ✓Measure static pressure across the coil to verify airflow is within the manufacturer's specified range
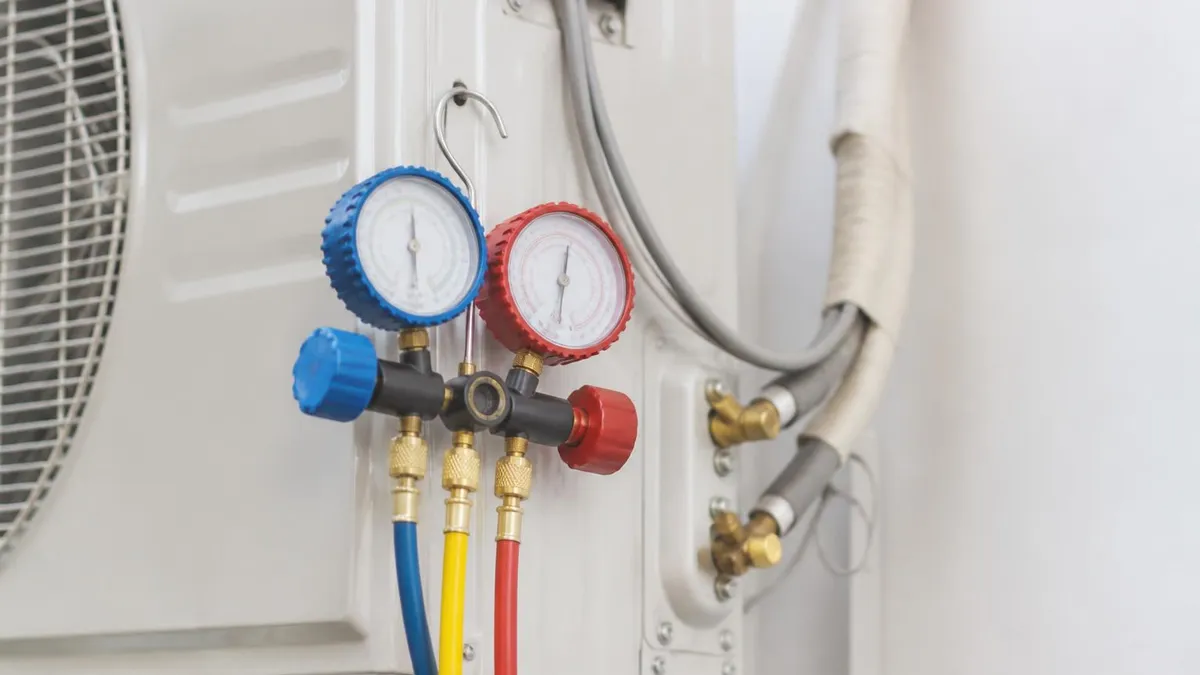
- ✓Check suction line temperature and suction pressure to calculate superheat and verify refrigerant charge
- ✓Inspect coil fins for bending and straighten damaged sections with an approved fin comb tool
- ✓Apply an approved coil cleaner foaming agent annually if visible biological or dust buildup is present
- ✓Verify that the drain pan overflow safety switch activates correctly during testing to prevent water damage
Superheat Is the Evaporator's Report Card
Measuring superheat at the evaporator coil outlet is the most reliable single measurement for evaluating coil performance in fixed-orifice systems. A superheat reading between 10°F and 18°F at the coil exit under standard conditions tells you the coil is properly loaded with refrigerant — neither flooded (too low superheat) nor starved (too high superheat). NATE and state licensing exams frequently test this concept, and field technicians who master superheat diagnostics resolve refrigerant-related complaints faster and more accurately than those who rely on pressure readings alone.
Understanding the cost landscape for evaporator coil repair and replacement helps homeowners and facility managers make financially sound decisions when faced with coil-related failures. The national average cost to replace a residential evaporator coil in the United States ranges from approximately $600 to $2,000 for parts and labor combined, with the wide range driven by coil size, brand, refrigerant type, and regional labor rates.
A 2-ton coil for a small split system might cost $350 in parts alone, while a 5-ton coil for a large home can exceed $900 before labor is factored in. When the system uses R-22 refrigerant — which has been phased out of production since 2020 — the cost of recharging after coil replacement can add $50 to $150 per pound to the total bill, sometimes making full system replacement the more economical choice.
Labor is typically the largest cost component in evaporator coil replacement, ranging from $200 to $900 depending on accessibility and complexity. Coils installed in attic air handlers or closet configurations where access is limited may require two technicians and several hours of work, driving labor costs toward the upper end of the range. Coils that require significant ductwork disconnection and reconnection add further to the labor total. Homeowners should always request itemized quotes from at least two licensed HVAC contractors before authorizing coil replacement, as pricing practices vary significantly across the industry.
The refrigerant recovery, evacuation, and recharge process is a mandatory component of coil replacement that adds both time and cost to every job. After the new coil is installed, the technician must evacuate the system to 500 microns or below using a vacuum pump and micron gauge to ensure all moisture and air has been removed from the refrigerant circuit.
Rushing or skipping the evacuation process is one of the most common installation errors that leads to premature system failures — moisture left in the system reacts with refrigerant oil to form acids that attack compressor components from the inside. A proper evacuation to 500 microns and a 15-minute hold test is non-negotiable for any quality coil replacement.
When evaluating whether to repair or replace a leaking coil, the age of the overall system is the most important financial variable. Industry guidelines generally recommend replacing rather than repairing when the system is more than 10 years old, based on the logic that a major component investment in an aging system is unlikely to be recovered before the next major failure requires additional spending.
The HVAC industry uses a simple repair-versus-replace formula: multiply the repair cost by the system age in years; if the result exceeds the cost of a new system, replacement is typically the financially rational choice over a 10-year horizon.
Homeowners who elect to replace an aging evaporator coil should consider replacing the matching outdoor condenser unit at the same time. Running a new, high-efficiency evaporator coil with an old, degraded condenser unit prevents the system from achieving its rated efficiency because AHRI efficiency ratings are based on matched coil and condenser combinations tested together.
An unmatched system can perform 10 to 15 percent below its rated SEER2 efficiency, negating much of the efficiency benefit of the new coil. Many contractors offer bundle pricing when both components are replaced simultaneously, and the incremental cost of adding the outdoor unit is often justified by the efficiency gains over the system's remaining service life.
Federal and state incentives can meaningfully reduce the net cost of evaporator coil and system replacement when the new equipment meets minimum efficiency thresholds. The Inflation Reduction Act extended and expanded federal tax credits for high-efficiency HVAC equipment, providing a credit of up to $600 for qualifying heat pumps and central air conditioning systems installed in existing primary residences.
Many utility companies also offer rebates of $100 to $500 for HVAC equipment that exceeds minimum federal efficiency standards, stacking on top of federal tax credits to reduce out-of-pocket costs significantly. Homeowners should consult their utility's rebate portal and a tax professional to confirm eligibility before making purchasing decisions based on incentive availability.
Extended warranties and service agreements are worth evaluating for newer systems with recently replaced evaporator coils. Many HVAC manufacturers offer optional extended parts warranties of 5 to 10 years that cover coil replacement labor in addition to parts, providing valuable protection against the cost of a repeat failure within the extended warranty period.
Third-party home warranty programs also cover HVAC components, though coverage terms vary widely and exclusions for pre-existing conditions or maintenance-related failures can limit their practical value for coil-related claims. Reading the fine print of any warranty or service agreement before purchasing is essential to understanding what is and is not covered in real-world failure scenarios.
If your system uses R-22 refrigerant (manufactured before 2010 and not converted), a leaking evaporator coil replacement decision is especially urgent. R-22 production has been banned in the US since January 2020, and the remaining stockpile continues to shrink as existing supplies are drawn down. Prices have risen from approximately $10 per pound in 2012 to $50 to $150 per pound today and will likely continue increasing. A system requiring 4 to 6 pounds of R-22 to recharge after coil replacement can cost $200 to $900 in refrigerant alone, often making full system replacement to a modern R-410A or R-32 system the more economically sensible choice.
For HVAC students and working technicians preparing for certification exams, the evaporator coil section represents a high-density area of testable knowledge that rewards deep understanding over surface-level memorization. NATE Core exam questions on refrigeration systems consistently cover evaporator coil operating principles, including the relationship between evaporating temperature and suction pressure, the purpose of superheat and subcooling measurements, and the differences in diagnosis approach between TXV-metered and fixed-orifice systems. Getting comfortable with the pressure-temperature relationship for common refrigerants — R-22, R-410A, and R-32 — is essential preparation for any refrigeration or air conditioning certification exam.
State licensing exams for HVAC contractors and journeyman technicians add a layer of code compliance and safety knowledge on top of the technical fundamentals. Many states require technicians to demonstrate knowledge of EPA Section 608 refrigerant handling regulations, including the prohibition on venting refrigerants to the atmosphere, required recovery equipment efficiency standards, and technician certification categories that govern which refrigerant types a technician is legally permitted to handle.
Violations of Section 608 carry civil penalties of up to $44,539 per day per violation under current EPA enforcement guidelines, making regulatory compliance a practical as well as a legal necessity for anyone working on refrigerant-containing systems.
One of the most effective study approaches for evaporator coil-related exam content is working through scenario-based practice problems that mirror real field conditions. For example, a practice scenario might describe a system with a 60°F suction line temperature, a 45°F saturation temperature, and a 400 CFM per ton airflow deficiency — and ask the student to identify the most likely root cause and corrective action.
Working through dozens of these scenarios builds the diagnostic reasoning skills that written exams test and that field work demands, making practice tests one of the highest-use study tools available to HVAC students at any experience level.
Understanding how evaporator coil performance relates to system efficiency metrics like SEER2, EER2, and HSPF2 is increasingly important as energy codes tighten and high-efficiency equipment becomes the minimum standard in many jurisdictions. The 2023 DOE minimum efficiency standards raised the minimum SEER2 requirement for split system air conditioners in the South and Southwest to 15.2, up from 14 SEER under the old testing methodology.
Technicians who understand how evaporator coil selection, airflow calibration, and refrigerant charge accuracy interact to determine realized system efficiency are better positioned to advise customers on equipment selection and to commission new installations that actually achieve their rated efficiency in field conditions rather than only under laboratory test conditions.
Practical hands-on experience with evaporator coils accelerates learning in ways that classroom instruction and book study cannot fully replicate. Technicians who have physically cleaned fouled coils, straightened bent fins, recovered and recharged refrigerant after a coil replacement, and measured superheat and subcooling on multiple system types develop an intuitive understanding of normal versus abnormal system behavior that makes exam questions feel familiar rather than abstract. Apprenticeship programs through HVAC unions and trade associations, as well as community college HVAC programs with dedicated lab equipment, provide structured opportunities to develop these hands-on skills under qualified supervision.
Time management on HVAC certification exams is a skill that deserves deliberate practice alongside technical content review. Most state licensing exams allocate 2.5 to 3.5 hours for 80 to 120 questions, meaning candidates have approximately 1.5 to 2 minutes per question. Questions about evaporator coil diagnosis, refrigerant charge evaluation, and airflow measurement tend to be calculation-heavy, requiring candidates to work efficiently without rushing to the point of making arithmetic errors. Practicing under timed conditions using representative practice questions builds both the content knowledge and the exam-taking stamina needed to perform consistently across the full length of the exam.
The evaporator coil knowledge base also intersects with indoor air quality (IAQ) topics that appear with increasing frequency on modern HVAC certification exams and continuing education requirements. Technicians who understand how coil condition affects particulate filtration efficiency, humidity control effectiveness, and microbial growth risk in the air handler are equipped to advise customers on IAQ improvements that go beyond basic equipment maintenance.
Recommending UV germicidal irradiation systems installed near the evaporator coil, for example, is a value-added service that addresses documented IAQ concerns while providing contractors with an additional revenue opportunity in a market where customer education drives premium service adoption.
Developing a systematic approach to evaporator coil inspection and diagnosis saves time, reduces diagnostic errors, and builds the professional reputation that generates repeat customer business and referrals. Experienced technicians approach every service call involving suspected coil issues with a structured sequence: verify airflow first, check refrigerant pressures second, measure temperatures third, and inspect the coil physically only after the data points toward a specific conclusion.
This data-first approach prevents the common mistake of cleaning a coil or checking refrigerant charge before confirming that the root cause is actually at the coil rather than upstream at the filter, blower wheel, or ductwork system.
Airflow verification is the logical starting point because restricted airflow is both the most common cause of evaporator coil problems and the simplest to diagnose. A technician with a digital manometer can measure external static pressure across the air handler in under two minutes — if the measured static is significantly higher than the manufacturer's rated maximum external static pressure, restricted airflow is confirmed and the next step is locating the source of restriction.
A clean filter, clean blower wheel, and clear supply and return ductwork are the three most common restriction points, each of which can be verified systematically before moving to more complex diagnostic steps.
Refrigerant pressure measurements taken at the service ports after airflow has been confirmed normal provide the next layer of diagnostic information. Low suction pressure combined with a normal or improved discharge pressure suggests the coil is undersized relative to the load or is partially blocked — either by ice, debris, or a failed metering device allowing too little refrigerant into the coil.
High suction pressure combined with low discharge pressure points toward compressor valve issues or refrigerant overcharge rather than evaporator coil problems, demonstrating why measuring both high and low side pressures simultaneously is always more informative than measuring either side alone.
Temperature measurements at multiple points in the system — entering air dry bulb, leaving air dry bulb, suction line temperature, liquid line temperature — give the technician the raw data needed to calculate superheat, subcooling, and temperature split across the coil.
A temperature split of 14°F to 22°F between return air entering the coil and supply air leaving the coil is the normal range for properly operating residential systems under design load conditions. A split significantly below this range indicates reduced heat transfer — possibly from a dirty coil, low refrigerant charge, or a malfunctioning metering device that is flooding the coil with excess liquid refrigerant.
Coil cleaning, when indicated by inspection findings, should follow a defined procedure that protects both the technician and the equipment. Before applying any chemical cleaner, the technician should cover electrical components in the air handler to protect them from overspray and turn the system to fan-only mode to confirm the blower is operating.
Applying the cleaner to the leaving air side of the coil (the downstream face) and allowing it to self-rinse down through the coil and into the drain pan is the recommended technique for most foaming coil cleaners, avoiding the need to introduce water pressure that could bend fins or force debris deeper into the fin matrix.
Documentation of maintenance work performed is both a professional best practice and increasingly a regulatory requirement in states that mandate service records for refrigerant-handling technicians. Recording the date of service, work performed, refrigerant quantities recovered and recharged, measured system pressures and temperatures before and after service, and the technician's EPA certification number creates a service history that benefits the next technician to service the equipment and demonstrates due diligence in the event of an equipment failure dispute. Many contractors use digital service management platforms that capture this data automatically, simplifying documentation while creating searchable service records accessible from the field.
Continuous education is the professional habit that separates technicians who plateau in their skills from those who advance into senior roles, inspection positions, and contractor licenses. Reading industry publications like ACHR News, attending manufacturer training days, and completing NATE continuing education credits every two years keeps technicians current on evolving refrigerants, updated code requirements, and new diagnostic technologies.
The ongoing transition to lower global warming potential (GWP) refrigerants including R-32 and R-454B — which will replace R-410A in new equipment as current EPA refrigerant transition schedules take effect — will require every working HVAC technician to update their knowledge of refrigerant handling, system charging procedures, and safety protocols within the next three to five years.
HVAC Questions and Answers
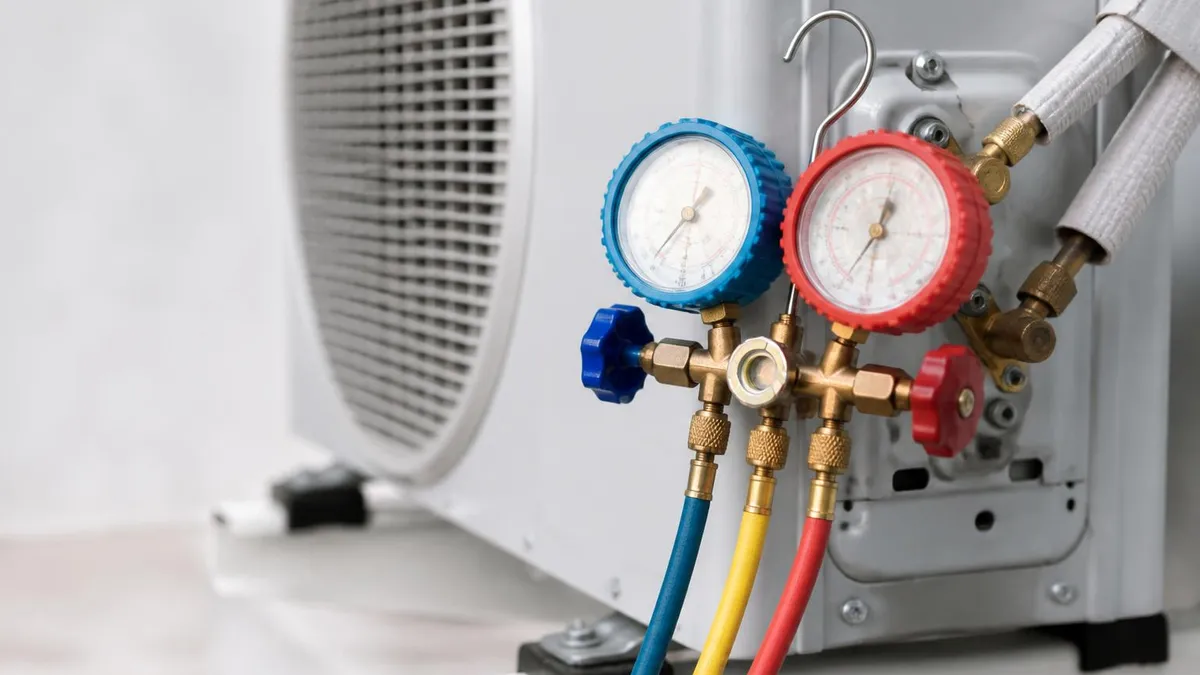
HVAC Sales: The Complete Guide to Selling Heating and Cooling Systems, Building Customer Trust, and Closing More Deals
HVAC Air Duct Sealing: The Complete Homeowner and Contractor Guide to Sealing Ductwork for Efficiency, Comfort, and Indoor Air Quality
HVAC Drain Pan: Complete Guide to Function, Maintenance, and Troubleshooting
HVAC Solutions: The Complete Guide to Heating, Cooling, and Indoor Air Quality Systems for Homes and Buildings

Commercial HVAC Repair: Systems, Costs, and Service Strategies
About the Author

NATE Certified HVAC Technician & Licensing Exam Trainer
Universal Technical InstituteMike Johnson is a NATE-certified HVAC technician and EPA 608 universal-certified refrigerant handler with a Bachelor of Science in HVAC/R Technology. He has 19 years of commercial and residential HVAC installation and service experience and specializes in preparing technicians for NATE certification, EPA 608, A2L refrigerant safety, and state HVAC contractor licensing examinations.