HVAC Emergency Heat: What It Is, When to Use It, and What Every Homeowner Must Know
Learn what HVAC emergency heat is, when to switch it on, and how to avoid costly mistakes. Practical guide for US homeowners. 💡
Understanding HVAC emergency heat can be the difference between a warm home and a dangerously cold night when temperatures drop below freezing. Emergency heat — sometimes labeled "Em Heat" or "Aux Heat" on your thermostat — is a backup heating mode built into most heat pump systems. When your primary heat pump fails or cannot keep up with extreme cold, this secondary electric resistance heating element kicks in to maintain a livable temperature inside your home.
Most homeowners never think about their thermostat's emergency heat setting until a crisis strikes. The red indicator light suddenly glows, or the indoor temperature keeps falling despite the system running. Knowing exactly what emergency heat does, how it differs from auxiliary heat, and when it is appropriate to manually activate it will help you make informed decisions quickly — without panicking or unknowingly damaging your equipment by running it in the wrong mode for days on end.
Heat pumps work by transferring heat from the outdoor air into your home rather than generating heat by burning fuel. This process is remarkably efficient in moderate climates, delivering two to three times more energy than it consumes. However, as outdoor temperatures fall below 30 to 35°F, the heat pump's efficiency drops significantly. Manufacturers design most residential heat pumps with a supplemental heating stage — usually electric resistance coils — to assist or replace the primary stage when conditions demand it.
The distinction between "auxiliary heat" and "emergency heat" trips up even experienced homeowners. Auxiliary heat turns on automatically alongside the heat pump when the thermostat senses the indoor temperature is more than a few degrees below the setpoint. It is a normal, everyday occurrence during cold snaps. Emergency heat, by contrast, completely bypasses the outdoor heat pump unit and runs solely on the backup electric resistance coils or, in some systems, a gas or oil furnace backup. Activating it manually signals to the system that the outdoor unit should be ignored entirely.
Because electric resistance heating is far less efficient than heat pump operation — roughly one-third as efficient — running emergency heat as your primary source will cause your electric bill to spike noticeably. A homeowner who leaves the system in emergency heat mode for two or three weeks during a cold winter month may see their electricity costs double or even triple compared to normal heat pump operation. That is why emergency heat should be treated as exactly what its name implies: a temporary emergency measure, not a long-term heating strategy.
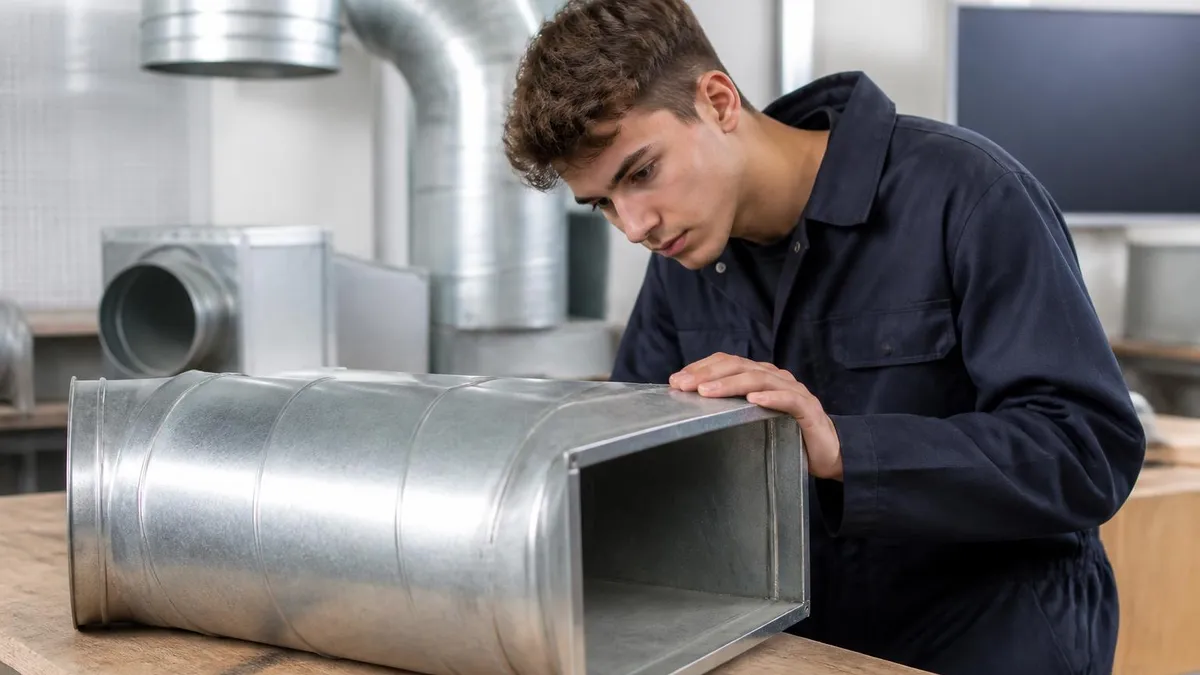
If you want to understand the broader context of how heat is distributed after it is generated — including the fan coil units that move conditioned air through your building — you can read more about hvac emergency heat and how fan coil systems integrate with heat pump setups. Understanding the full system gives you better insight into why emergency heat bypasses certain components and relies entirely on resistance elements.
This guide will walk you through every important aspect of HVAC emergency heat: the technical explanation of how it works, the symptoms that tell you when to use it, the costs involved, the common mistakes homeowners make, and the steps to take after an emergency heat event to restore your system to normal operation. Whether you are an HVAC student preparing for certification or a homeowner staring at a blinking thermostat at midnight in January, this article gives you the complete picture.
HVAC Emergency Heat by the Numbers
How Emergency Heat Activates: Step-by-Step System Response
Thermostat Detects a Problem or Manual Override
Outdoor Unit Is Locked Out
Indoor Air Handler Activates Resistance Coils
Thermostat Red Indicator Light Illuminates
Home Reaches Setpoint Temperature
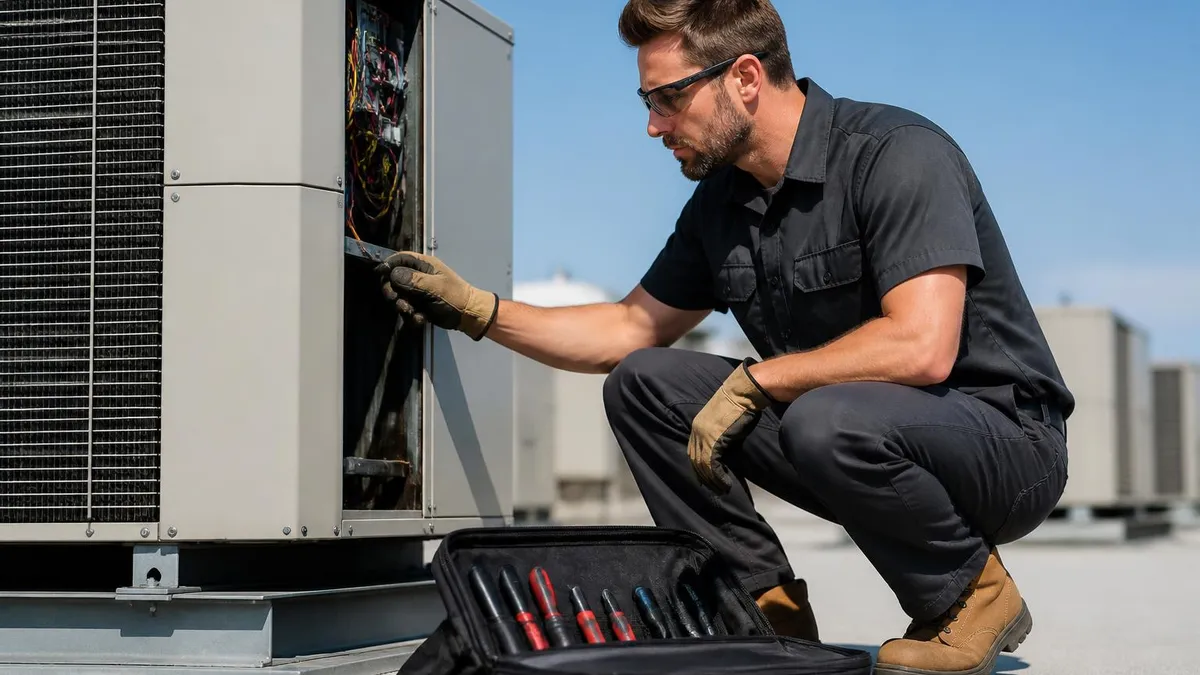
HVAC Technician Is Called for Primary Unit Repair
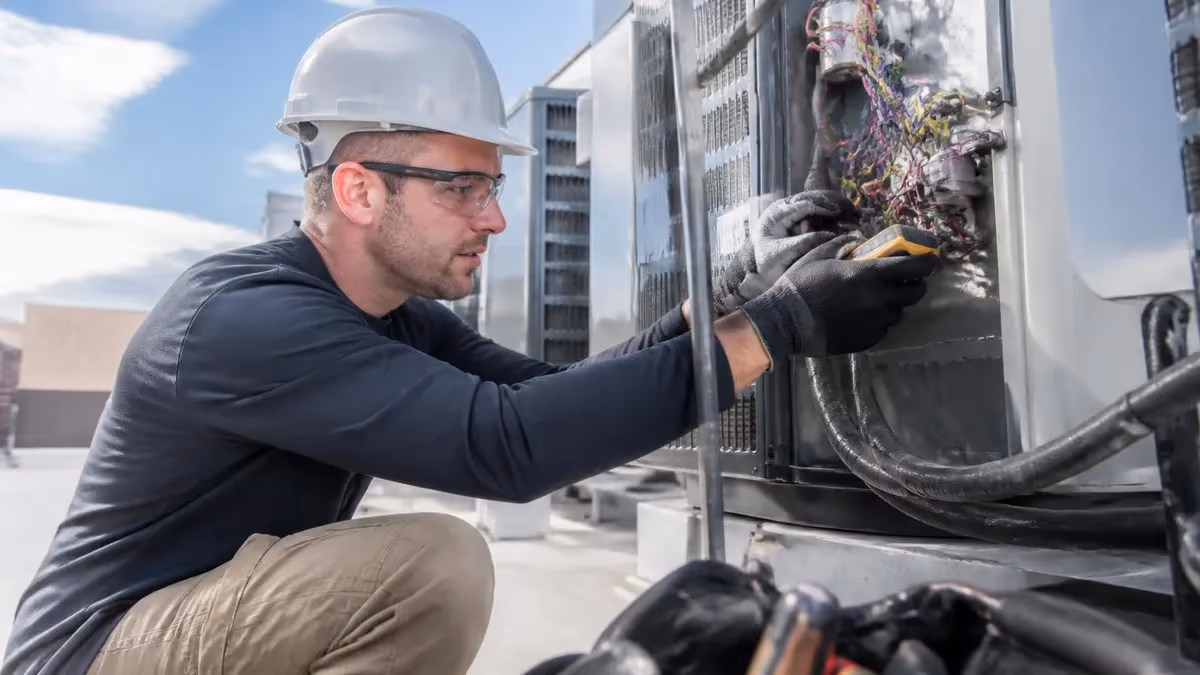
Knowing when to use HVAC emergency heat requires understanding the specific scenarios that justify bypassing your primary heat pump. The most common and clearly appropriate situation is a confirmed mechanical failure of the outdoor unit. If you go outside and the outdoor condenser unit is making a loud grinding or rattling noise, if ice has completely encased the unit beyond the normal light frost that appears during defrost cycles, or if a technician has told you that the compressor is failed or the refrigerant line is broken, switching to emergency heat is the correct immediate response.
Another valid scenario is physical damage to the outdoor unit. A fallen tree limb, impact from a vehicle, or severe storm damage can render the outdoor unit inoperable. In these cases, forcing the system to try to pull heat through a damaged refrigerant circuit could cause additional harm to the compressor or refrigerant lines. Switching to emergency heat immediately and keeping the damaged unit locked out protects your equipment from secondary damage while you wait for repairs.
There is a misconception among some homeowners that emergency heat should be activated whenever outdoor temperatures drop very low — for example, below 20°F. This is generally not recommended unless you are also observing actual performance problems like the indoor temperature continually falling despite the system running. Modern heat pumps are designed to work in cold temperatures, and auxiliary heat automatically supplements the heat pump when needed. Manually switching to emergency heat in these conditions just removes the efficient primary stage unnecessarily and drives up your electricity bill without improving comfort.
Signs that your heat pump may be struggling and you should investigate before switching to emergency heat include: the system runs continuously without reaching the setpoint temperature, the air coming from the vents feels lukewarm rather than warm, you hear unusual noises from the outdoor unit, or you see ice accumulating on the outdoor unit that does not clear after a defrost cycle. Any one of these symptoms warrants a call to an HVAC technician before you decide to switch modes.
Defrost cycles are frequently misunderstood and lead homeowners to activate emergency heat unnecessarily. During very cold weather, moisture in the air freezes onto the outdoor coil of a heat pump. The system periodically runs a defrost cycle — reversing the refrigerant flow to warm the outdoor coil and melt the ice. During this cycle, the outdoor unit steams, cold air may blow from vents briefly, and supplemental heat activates automatically. This is completely normal operation. Homeowners who do not understand defrost cycles sometimes panic and switch to emergency heat, which is unnecessary and expensive.
For HVAC professionals and students, recognizing the difference between normal defrost operation and a genuine lockout failure is a critical diagnostic skill tested on many certification exams. Understanding the control sequences — including how the thermostat communicates with the air handler and outdoor unit — forms the backbone of heat pump troubleshooting. If you are preparing for HVAC certification, practicing questions on controls and thermostats will reinforce these concepts significantly.
The bottom line on when to use emergency heat is straightforward: use it when the outdoor unit is confirmed broken, damaged, or otherwise unable to operate safely, and use it only until the unit is repaired. Do not use it as a cold-weather performance boost, as a precaution when temperatures drop, or as a substitute for proper maintenance. Treating emergency heat as the true last resort it is designed to be will keep your energy bills manageable and your system healthy over the long term.
Aux Heat vs Emergency Heat vs Defrost Mode: Key Differences
Auxiliary heat activates automatically when the heat pump alone cannot meet the heating demand fast enough. This happens when outdoor temperatures are very low, when you raise the thermostat setpoint by several degrees at once, or when the heat pump is running but losing ground against heat loss. The outdoor unit stays on and continues to contribute heat — the resistance coils simply supplement it. You may see "Aux Heat" on your thermostat display, and this is entirely normal operation that should not alarm you.
Because auxiliary heat works alongside the heat pump rather than replacing it, the system still benefits from the heat pump's efficiency contribution. Your energy use increases, but not nearly as dramatically as when full emergency heat is engaged. Most heat pump systems are designed to run auxiliary heat for extended periods during cold weather — it is part of the planned operating envelope, not an emergency state. Homeowners in cold climates may see auxiliary heat active for hours at a time on the coldest days of winter, and this is by design.

Emergency Heat: Benefits and Drawbacks
- +Provides reliable backup heat when the outdoor unit fails or is damaged
- +Protects a broken compressor from further damage by locking it out
- +Maintains comfortable indoor temperatures during extreme cold events
- +Available immediately without waiting for a technician — buys critical time
- +Simpler operation with fewer moving parts than a full heat pump system
- +Compatible with most standard residential duct systems without modifications
- −Significantly higher energy consumption — COP of 1.0 vs. 2.5 to 3.5 for heat pump
- −Electricity bills can double or triple during extended emergency heat operation
- −Does not address the root cause of the outdoor unit failure
- −Red indicator light and high bills often create unnecessary homeowner anxiety
- −Frequently activated unnecessarily by homeowners who misunderstand defrost cycles
- −In very cold climates, resistance coils alone may struggle to meet extreme heating loads
Emergency Heat Activation Checklist: Before You Switch Modes
- ✓Confirm the outdoor unit is not simply running a normal defrost cycle — wait 10 minutes and observe.
- ✓Check the outdoor unit for visible damage: ice encasement, bent fins, physical impact, or debris.
- ✓Listen for abnormal noises from the outdoor unit: grinding, rattling, or loud banging sounds.
- ✓Verify the indoor temperature is actually falling despite the system running continuously.
- ✓Check the circuit breaker for the outdoor unit — a tripped breaker mimics a unit failure.
- ✓Inspect the outdoor unit's disconnect switch to ensure power is reaching the unit.
- ✓Call your HVAC technician before switching to emergency heat if cause is unclear.
- ✓Switch thermostat to Em Heat mode only after confirming the outdoor unit needs to be bypassed.
- ✓Note the time you activated emergency heat — this helps your technician assess the situation.
- ✓Schedule a service call immediately — do not leave the system in emergency heat mode indefinitely.
Never Use Emergency Heat as a Cold-Weather Boost
The single most expensive mistake homeowners make is switching to emergency heat whenever temperatures drop below 20°F, believing it heats more effectively in extreme cold. In reality, your heat pump's auxiliary stage handles this automatically and far more efficiently. Emergency heat should only be used when the outdoor unit is broken or damaged — not as a precautionary measure against cold weather. Leaving it on unnecessarily for a week can add $150 to $400 to your electricity bill depending on home size and local utility rates.
The cost impact of running HVAC emergency heat is one of the most important practical considerations for any homeowner. Electric resistance heating operates at exactly 100% efficiency — every watt of electricity consumed becomes exactly one watt of heat delivered. That sounds reasonable until you compare it with a modern heat pump, which operates at 250% to 350% efficiency under normal conditions by moving heat from outside rather than generating it. The difference in your monthly electricity bill can be dramatic and shocking if you are not prepared for it.
To put real numbers behind this concept, consider a typical 2,000-square-foot home in a cold climate that normally uses about 800 to 1,000 kilowatt-hours per month for heating via heat pump during a cold January. If that homeowner switches to emergency heat and leaves it running for the entire month, electrical consumption for heating alone can jump to 2,400 to 3,500 kilowatt-hours — roughly triple the normal usage. At an average US electricity rate of $0.14 per kilowatt-hour, the difference between normal heat pump operation and emergency heat for one month could easily exceed $200 to $350 in additional charges.
The cost differential is even more pronounced for larger homes or in regions with higher electricity rates. In New England, California, or Hawaii — where rates can exceed $0.25 to $0.35 per kilowatt-hour — a month of emergency heat operation in a large home could add $500 to $800 or more to the electric bill. This is why HVAC professionals consistently emphasize that emergency heat is a short-term bridge, not a seasonal heating strategy. The operating costs are simply unsustainable for extended use.
There is also a secondary cost consideration: the HVAC system's overall health. While emergency heat itself does not damage the indoor air handler or resistance coils when used appropriately, leaving a damaged outdoor unit unrepaired for an extended period can create additional problems.
Refrigerant may continue to leak, electrical components may corrode, and in some cases, a partially failed compressor that could have been repaired may become a total replacement situation if neglected. The cost of a full heat pump outdoor unit replacement — typically $2,500 to $5,500 installed — vastly exceeds the cost of a timely service call for a repairable issue.
HVAC service costs themselves vary widely by region, system age, and type of failure. A refrigerant recharge typically costs $150 to $400. A failed capacitor — one of the most common heat pump repairs — usually runs $150 to $300 parts and labor. A defrost board replacement may cost $200 to $450. A compressor failure, by contrast, often justifies a full system replacement rather than a repair given the cost of a new compressor versus the age and condition of the surrounding system. Your technician can walk you through the cost-benefit calculation based on your system's age and repair estimates.
Energy-efficiency programs from utilities can help offset costs when homeowners are forced to run emergency heat for extended periods. Many US utilities offer emergency bill assistance programs, and some state programs provide weatherization assistance to reduce the heating load on struggling systems. If you find yourself regularly relying on emergency heat or auxiliary heat running nearly continuously, an energy audit to identify air sealing and insulation opportunities may be worth the $300 to $500 investment — the savings in reduced heating load often pay back within one to two heating seasons.
Planning ahead for emergency heat scenarios is also a smart financial move. Homeowners who live in areas with harsh winters and rely entirely on electric heat pump systems should consider maintaining a small emergency fund specifically for HVAC repairs. A single service call during a cold snap, plus any necessary parts, typically runs $300 to $700 for common failures. Having those funds available means you can call a technician immediately rather than running emergency heat for days or weeks while delaying the repair due to cost concerns.

Running emergency heat for more than 72 hours without having a technician inspect the outdoor unit is risky. A compressor with a slow refrigerant leak, a failing defrost board, or a damaged contactor can deteriorate rapidly when left unattended during cold weather. What might be a $250 repair today could become a $3,500 compressor replacement or full system swap if ignored for several weeks. Call a licensed HVAC technician as soon as possible after activating emergency heat mode — do not wait until normal business hours if temperatures are dangerously low.
Once your outdoor heat pump unit has been repaired and your HVAC technician has cleared it for operation, restoring normal heating mode from emergency heat requires just a few deliberate steps. The process sounds simple — flip the thermostat back — but there are important things to verify before and after the switch to ensure the system transitions cleanly and operates correctly going forward.
Start by confirming with your technician that the repair is fully complete and the outdoor unit is ready to resume operation. If refrigerant was added, the system needs to reach operating pressure. If a component was replaced, the technician should verify the control sequence before leaving. Do not flip the thermostat back to normal mode while the technician is still diagnosing — wait for explicit clearance. Once the tech confirms the outdoor unit is operational, go to your thermostat and switch from Em Heat back to the standard Heat setting. The red indicator light should extinguish immediately.
Within the first few minutes of restoring normal operation, observe the outdoor unit. You should hear the compressor start and the outdoor fan begin spinning within 30 to 60 seconds after the thermostat calls for heat. If the outdoor unit remains silent, the thermostat display shows a lockout indicator, or the indoor unit continues running without the outdoor unit engaging, the repair may not be complete or there may be a secondary issue. Call your technician back before the situation develops further.
After restoring normal heat pump operation, monitor your thermostat's behavior over the next 24 hours. The system should cycle normally — running for 10 to 20 minutes to satisfy the setpoint, then shutting off, then restarting when the temperature dips below the setpoint again. If the system runs continuously without reaching the setpoint temperature, or if auxiliary heat activates more frequently than expected, this may indicate the system is still underperforming and needs further service. Do not ignore these signals assuming the problem will self-correct.
It is also worth checking your circuit breaker panel after switching back to normal operation. Emergency heat operation draws significant amperage from the indoor air handler's resistance coils. If any breakers are tripped or show signs of overheating, have an electrician inspect the panel before leaving the system to run unsupervised. Older homes in particular may have electrical panels that were not originally sized to handle the full load of electric resistance heating for extended periods, and stress on breakers during emergency heat operation occasionally reveals underlying electrical capacity concerns.
Document the emergency heat event for your records. Note the date the issue began, the date it was repaired, the name of the technician and company, the parts replaced, and the cost. This documentation is valuable for warranty claims, for tracking the system's maintenance history, and for informing future decisions about whether to repair or replace an aging system. Many homeowners keep a simple maintenance log — either digital or paper — that helps them identify patterns like recurring failures that signal the system is nearing end of life.
Finally, use the emergency heat event as motivation to schedule a preventive maintenance visit before next winter. Most heat pump failures that force homeowners into emergency heat mode are preceded by warning signs that a skilled technician would catch during a routine inspection: low refrigerant charge, worn contactor points, a failing capacitor, or a partially blocked outdoor coil. Annual maintenance typically costs $100 to $200 and dramatically reduces the likelihood of a midwinter emergency. Consider setting a calendar reminder each fall so the service visit happens before the first cold snap of the season.
For HVAC students and technicians, understanding the theory and practical application of heat pump emergency heat systems is a core competency tested on multiple certification exams, including the EPA Section 608 and various state licensing tests. The control logic behind heat pump staging — how the thermostat communicates with the air handler, how the outdoor unit receives stage-one and stage-two calls, and how emergency heat lockout signals are transmitted — requires both theoretical knowledge and hands-on familiarity with real equipment.
Modern residential heat pump thermostats use a multi-wire low-voltage control system. The Y1 terminal carries the first-stage cooling and heating call, the W1 or AUX terminal handles supplemental heat, the E terminal (where present) carries the emergency heat lockout signal, and the O or B terminal switches the reversing valve between heating and cooling modes.
When the thermostat is switched to emergency heat mode, it energizes the W1/AUX terminal at full capacity while simultaneously sending a signal on the E terminal to lock out the outdoor unit. Understanding this wiring logic is fundamental to diagnosing why a system may not transition correctly between modes.
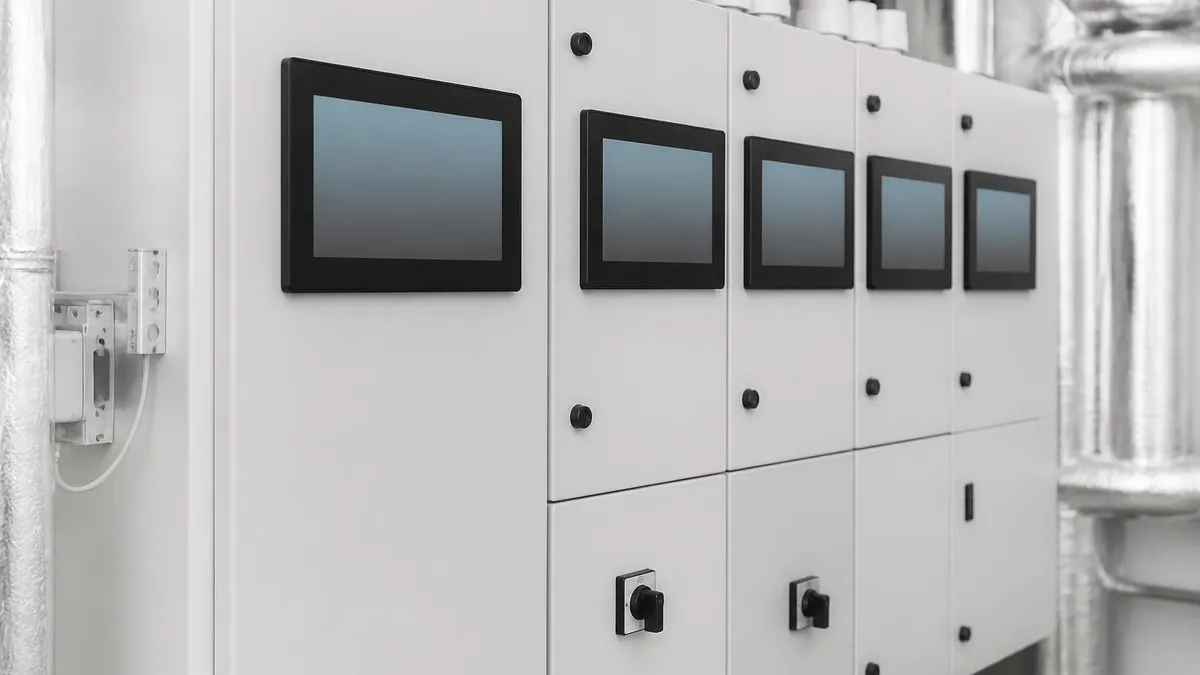
Commercial and multi-stage heat pump systems add additional complexity. Large commercial heat pumps may have three or more compressor stages, variable-speed outdoor units, and sophisticated building automation system (BAS) integration that manages emergency heat differently than a simple residential thermostat. In commercial applications, the backup heating source is often a gas boiler, a district steam connection, or a dedicated electric resistance unit rather than coils within the air handler. Technicians working in commercial settings need to understand both the local control logic and the BAS sequences to diagnose emergency heat issues correctly.
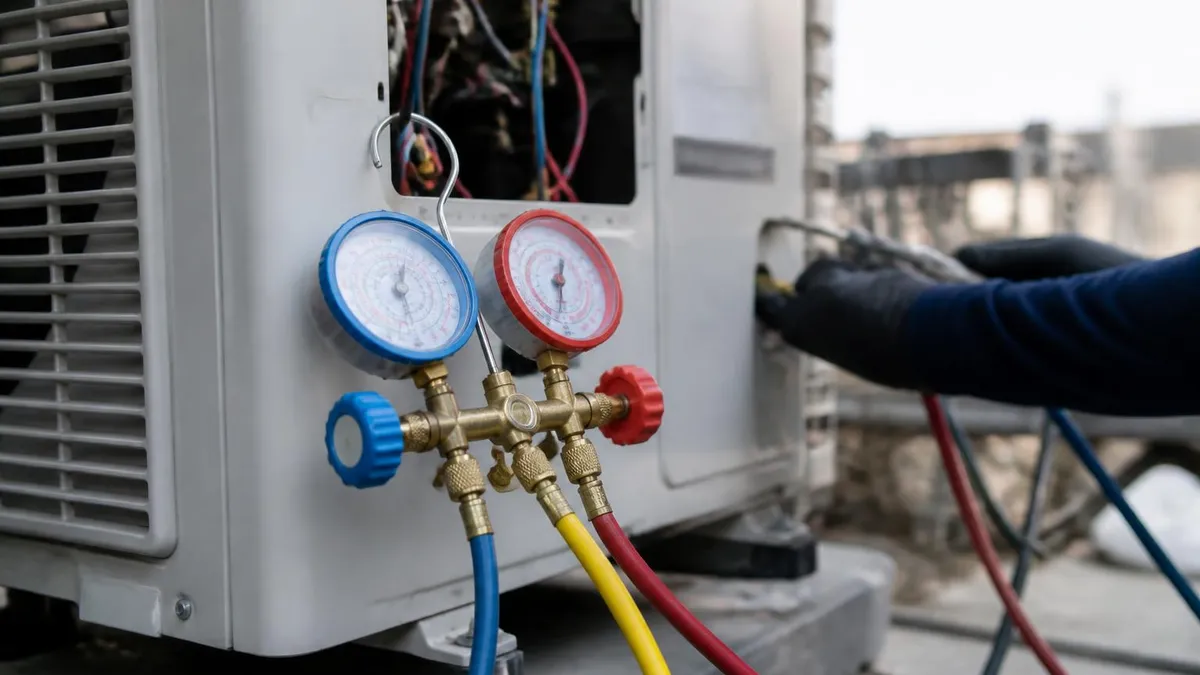
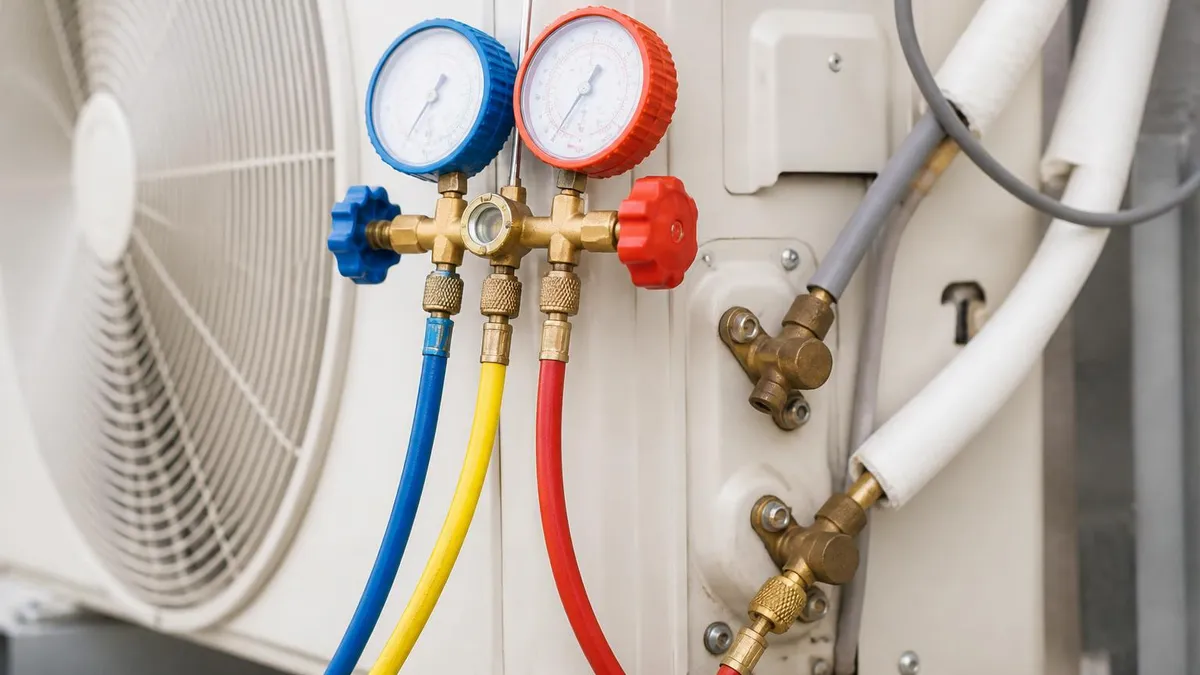
Refrigerant management knowledge is also directly relevant to emergency heat scenarios. When a technician arrives to repair a heat pump that has been running in emergency heat mode, one of the first diagnostic steps is checking the refrigerant charge. Low refrigerant is one of the leading causes of heat pump underperformance that drives homeowners to switch to emergency heat in the first place. Checking subcooling and superheat values, identifying leak locations using electronic leak detectors, and correctly recharging the system to manufacturer specifications are all skills that appear regularly on certification exams and real service calls alike.
Electrical diagnostic skills are equally important. Emergency heat failures can sometimes be traced not to the heat pump itself but to the electrical supply. A loose wire on the Y1 or O terminal, a corroded connector in the thermostat sub-base, or a failed control board relay can prevent the outdoor unit from receiving the call to operate — symptoms that look exactly like an outdoor unit hardware failure.
Technicians who approach heat pump diagnostics systematically, starting with the control circuit and working outward to the mechanical components, resolve these issues faster and more accurately than those who jump straight to compressor diagnosis.
Preparing for HVAC certification requires mastering both the theoretical framework and the practical judgment that real service scenarios demand. Practice questions that walk you through heat pump diagnostic scenarios — including emergency heat activation, defrost cycle interpretation, and auxiliary heat staging — build the pattern recognition that distinguishes an experienced technician from a beginner. The more scenarios you work through in a low-stakes practice environment, the faster and more confidently you will respond when a real-world emergency heat call lands on your service schedule at 11 PM on the coldest night of the year.
Industry data consistently shows that heat pump service calls spike during the first extended cold snap of each heating season — typically in late November or December in most US regions. Technicians who understand emergency heat systems thoroughly are in high demand during these periods, and the diagnostic skills translate directly to faster resolutions, happier customers, and better outcomes on repeat service calls.
Building this knowledge base early in your HVAC career, reinforced with regular practice testing on controls and thermostat wiring, positions you as a specialist rather than a generalist in one of the most consequential areas of residential HVAC service.
HVAC Questions and Answers
FCU HVAC: The Complete Guide to Fan Coil Units, How They Work, Where They Excel, and How to Choose the Right System
Finance a New HVAC System: 2026 Loans, 0% APR, and Rebates
HVAC Duct Repair: Common Issues, Costs, and DIY vs Professional
HVAC School -- Programs, Costs, and Career Paths in 2026
HVAC Advertising: The Complete Playbook for Generating Leads, Booking Calls, and Growing Your Heating and Cooling Business
About the Author
NATE Certified HVAC Technician & Licensing Exam Trainer
Universal Technical InstituteMike Johnson is a NATE-certified HVAC technician and EPA 608 universal-certified refrigerant handler with a Bachelor of Science in HVAC/R Technology. He has 19 years of commercial and residential HVAC installation and service experience and specializes in preparing technicians for NATE certification, EPA 608, A2L refrigerant safety, and state HVAC contractor licensing examinations.