HVAC Compressor: Types, Failure Signs, Repair Costs
HVAC compressor failing? Learn warning signs, repair costs, and lifespan of scroll, rotary, and inverter compressors before you replace one.
An HVAC compressor is the beating heart of any air conditioning or heat pump system. Without it, refrigerant doesn't circulate, heat doesn't transfer, and your home stays uncomfortable. Whether you're a homeowner trying to diagnose a problem, a student preparing for the EPA 608 exam, or a tech sharpening up before a service call, knowing how compressors actually work pays off.
This guide walks through the main compressor types, the warning signs of failure, what replacement really costs, and how to extend the life of the one you already own. We'll cover scroll compressors, reciprocating units, rotary designs, and the newer variable-speed inverter models that have changed the game over the past decade.
Compressors fail. They fail because of bad capacitors, electrical surges, refrigerant problems, or just plain age. The good news? Most failures give you warning signs days or weeks ahead of time. Catch them early and you might save thousands. Miss them, and you're looking at a full replacement — sometimes the whole condenser unit. Let's get into it.
What Does an HVAC Compressor Actually Do?
Think of the compressor as a pump — but instead of moving water, it moves refrigerant gas. The compressor pressurizes that gas, which raises its temperature, and then sends it off to the condenser coil where it dumps heat outside. That hot, high-pressure refrigerant cools, condenses to liquid, runs through an expansion valve, drops in pressure, and turns cold. Then it flows through your indoor evaporator coil to pull heat out of your home's air.
No compressor, no cycle. Your blower might still hum, the thermostat might still call for cooling, but nothing cold ever reaches the vents. That's why a dead compressor is the single most expensive failure in residential cooling.
The Four Main Compressor Types
Not every compressor is built the same way. Here's what you'll run into in the field:
- Reciprocating compressors — Old-school piston design. Reliable, repairable, and cheap to buy. Loud though, and less efficient than modern alternatives. Still common on older units and some commercial systems.
- Scroll compressors — Two spiral plates, one fixed, one orbiting. Fewer moving parts means quieter operation, better efficiency, and longer life. Most residential AC units built since 2005 use scroll compressors.
- Rotary compressors — Common in mini-splits and smaller window units. Compact, efficient, and quiet. Not always rebuildable, so failure usually means full replacement.
- Variable-speed inverter compressors — The premium option. Instead of switching on at full blast and shutting off, these ramp up and down to match load. Result: dramatically better humidity control, lower energy bills, and longer system life. Cost more upfront, save more over time.
If you're studying for certification or licensing, expect questions on all four. The HVAC certification exams test you on identifying compressor types by sight and by symptom.
Warning Signs Your Compressor Is Failing
Most compressors don't die instantly. They send signals. Pay attention to these and you'll catch problems before they get expensive:
1. Hard Starting or Tripping Breakers
If your AC trips the breaker when it kicks on — or if it hesitates, groans, and finally starts — the compressor is drawing too much current. That usually means a weak start capacitor, but it can also be windings going bad. Either way, don't ignore it. A compressor that can't start cleanly will eventually seize.
2. Warm Air From the Vents
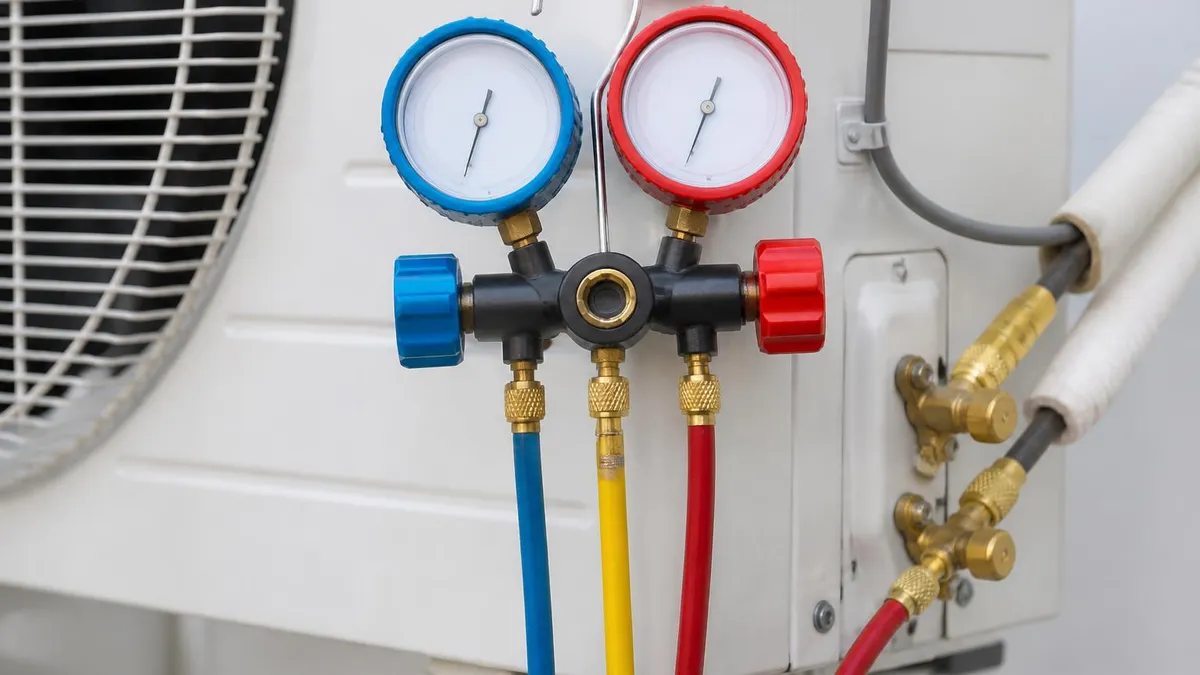
The blower works. The system seems to be running. But the air coming out isn't cold. Either the refrigerant level is low (which itself can damage the compressor) or the compressor isn't actually pumping. A tech can verify with a set of gauges in about ten minutes.
3. Loud Banging, Clattering, or Grinding
Healthy compressors hum. Sick ones rattle. If you hear metal-on-metal noise from the outdoor unit, internal parts are failing — usually bearings, valves, or the piston or scroll itself. Shut the system down and call somebody. Running it longer will only spread the damage.
4. Outdoor Unit Vibrating Hard
Some vibration is normal. A unit shaking the pad it sits on? That's mounting failure or internal imbalance. Sometimes it's just loose hold-down bolts. Other times the compressor itself is coming apart inside.
5. Refrigerant Leaks Around the Unit
Oily spots on the concrete pad, hissing sounds, or visibly damaged refrigerant lines all point to leaks. Low refrigerant forces the compressor to work harder and run hotter, which is one of the fastest ways to burn one out. Leaks also matter for compliance — anyone handling refrigerant needs an EPA 608 certification.
6. Circuit Breaker Trips Repeatedly
One trip might be a fluke. Three trips in a week? That's a short, a grounded winding, or a compressor pulling locked-rotor amperage. Stop resetting the breaker. You'll either burn the compressor or start a fire.
What's Killing Your Compressor? The Real Causes
Compressors rarely fail because they're "just old." Something specific takes them out. Knowing the actual cause helps you protect the replacement — because dropping in a new compressor without fixing the underlying issue is like patching a tire with the nail still in it.
Dirty Condenser Coils
The outdoor coil rejects heat. When it's caked with cottonwood fluff, grass clippings, pet hair, or general grime, heat can't escape. Head pressure spikes. The compressor runs hotter and hotter until something gives — usually the windings. A garden hose and ten minutes of your time once a year prevents this. Seriously.
Low Refrigerant Charge
Refrigerant isn't fuel — it doesn't get "used up." If your system is low, you have a leak. Period. Running a system low forces the compressor to overheat because refrigerant also carries the oil that lubricates internal moving parts. No charge means no oil flow. You'll burn the unit out in months.
Bad Capacitors
The start capacitor gives the compressor the electrical kick it needs to get moving. The run capacitor keeps it stable while it's running. When these fail (and they fail constantly — they're consumable parts), the compressor either won't start at all or will pull massive amperage trying. Check capacitors first whenever a compressor acts up. They're cheap. They're often the whole problem.
Electrical Surges
Power blips, lightning strikes, or utility-side voltage spikes can fry contactor coils and compressor windings instantly. A whole-house surge protector is cheap insurance. So is a hard-start kit.
Oversized Systems
This one surprises people. An AC that's too big for the house short-cycles — it kicks on, cools the air fast, shuts off, then restarts a few minutes later. Each start hits the compressor with massive inrush current. Constant short-cycling is a slow killer. Right-sizing matters, which is why HVAC installation services always start with a Manual J load calculation.
Slugging
This is when liquid refrigerant — instead of gas — enters the compressor. Liquid doesn't compress. It hammers internal parts and snaps connecting rods or scroll tips. Slugging usually comes from a flooded evaporator, a stuck TXV, or a system that's drastically overcharged.
How Much Does HVAC Compressor Replacement Cost?
Compressor replacement is one of the priciest repairs in residential HVAC. Here's what shapes the bill:
- Compressor part — $400 to $2,500 depending on tonnage, brand, and type
- Labor — $600 to $1,500 for a typical residential job
- Refrigerant — varies by type (R-410A is cheap, R-22 is expensive and being phased out)
- Filter drier — always replaced with a compressor, $30 to $80
- Recovery, evacuation, and recharge — included in labor on most invoices
Here's the gut-punch: if your system is more than 10 years old and uses R-22, replacing the compressor often costs as much as installing a brand-new high-efficiency unit. Many techs will recommend full replacement at that point, and they're usually right.
Check your HVAC installation cost breakdown before deciding. A new system might give you a 10-year warranty, better efficiency, and zero immediate repair bills.
Is It Worth Repairing or Should You Replace?
Use the rule most techs follow: multiply the repair estimate by the age of the unit. If the number is over 5,000, replace. So a 12-year-old system with an $1,800 compressor repair lands at 21,600 — replace. A 6-year-old system with the same repair lands at 10,800. Repair makes sense, especially if it's still under parts warranty.
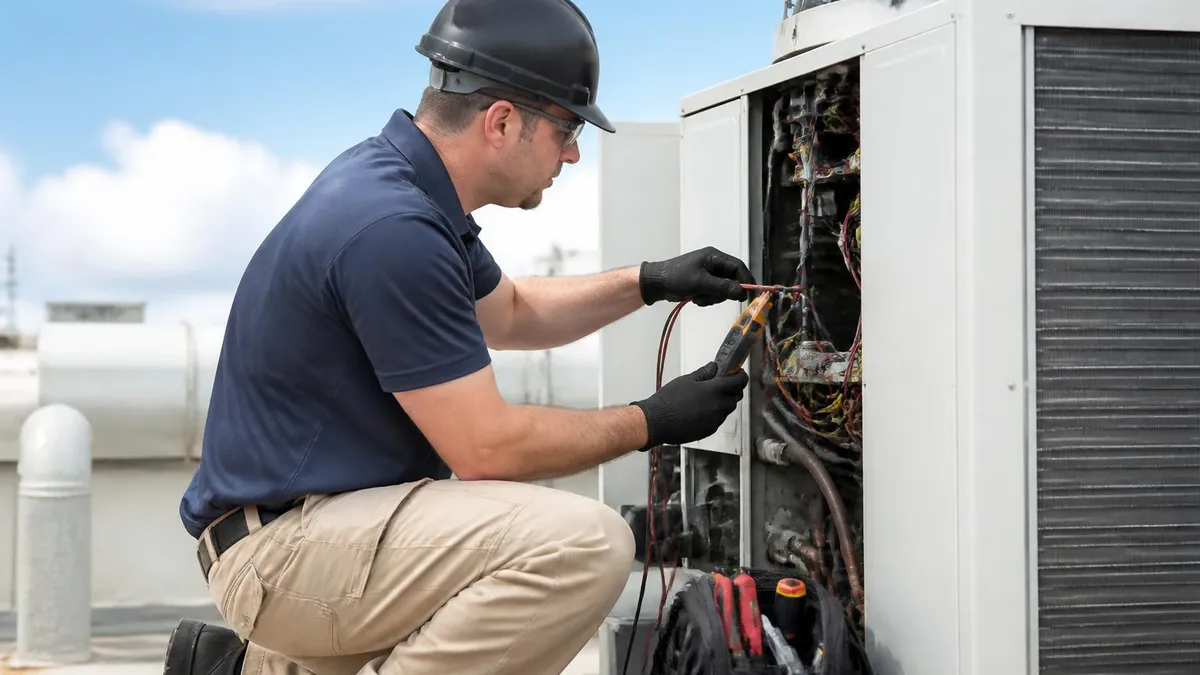
Diagnosing a Failed Compressor: Step by Step
Before you spend money replacing one, you want to know for sure that the compressor is the actual problem. Here's the rough diagnostic flow a tech follows on a no-cool call:
- Visual inspection. Look for obvious damage, oil stains, burnt contactor points, swollen capacitors, rodent damage to wiring. Half of all callouts get solved here.
- Check incoming voltage. Pull the disconnect and verify 240V at the contactor. No voltage means the problem is upstream, not in the compressor.
- Test the capacitor. A multimeter with a microfarad setting tells you in seconds if the cap is bad. Swap it out and try the system. Many "dead compressor" calls end here.
- Check amperage on startup. Clamp meter on the common wire. Locked-rotor amps (LRA) for a few seconds is normal. Sustained LRA means the compressor is stuck — bad bearings, slugging, or a seized motor.
- Megger the windings. A megohmmeter checks insulation resistance. Anything below 1 megohm means the windings are going to ground. Compressor's toast.
- Pressure check. Hook up gauges. If the compressor is running but pressures are equal high and low side, it's not pumping. Internal valves are shot.
That's the playbook. The tools matter — gauges, multimeter, clamp meter, megger. The order matters too. Skip the cheap checks and you'll waste hours chasing a $25 capacitor problem with $1,800 worth of new compressor.
Extending Compressor Life: What Actually Works
You can't make a compressor last forever, but you can buy yourself a lot of extra years with simple habits. Here's what makes the biggest difference:
Annual Professional Maintenance
One tune-up a year catches the small problems — weak capacitor, slightly low charge, dirty coils, loose contactor — before they kill the compressor. Most service plans run $100 to $200 a year. Compare that to a $3,000 replacement and the math is obvious. Look at HVAC maintenance services available in your area; many companies offer multi-year plans that include priority scheduling.
Change Your Air Filter
Sounds basic but it's the number one thing homeowners get wrong. A clogged filter restricts airflow across the evaporator coil. The coil freezes up. Liquid refrigerant slugs back to the compressor. Compressor dies. All from a $15 filter. Change it every 60-90 days on standard pleated filters, monthly if you have pets or allergies.
Keep the Outdoor Unit Clear
Two feet of clearance on all sides. No bushes, no lattice work, no "decorative" enclosures that strangle airflow. Hose down the coil fins every spring and fall. If you mow grass, aim the discharge away from the unit. Cottonwood season? Check the coil weekly.
Install a Surge Protector
HVAC-rated surge protectors mount right at the disconnect. They cost $200-$400 installed and protect against utility spikes, lightning, and grid switching transients. Some manufacturers void warranty claims if you don't have one. Worth every penny.
Don't Let the Thermostat Yo-Yo
Setting your thermostat 10 degrees lower because you want to cool the house fast doesn't work. The system can only remove heat so quickly. What it does do is force the compressor to run flat-out for an extended period, which beats it up over time. Set the temperature where you want it and let it cycle normally.
Studying HVAC? Compressors Are on Every Exam
If you're working toward an HVAC license, EPA certification, or technician credential, compressor knowledge is foundational. You'll be tested on:
- Identifying compressor types from diagrams and photos
- Diagnostic procedures using gauges and meters
- Refrigerant handling and recovery procedures
- Safe pump-down and changeout procedures
- Pressure-temperature relationships and superheat/subcooling
- Common failure modes and their causes
Most state licensing exams cover the same core material, with regional variations on code requirements. Practice tests are the single best way to identify weak spots. Run through enough sample questions and the patterns become clear — exams love to ask about TXV problems, reversing valve failures on heat pumps, and the difference between mechanical and electrical compressor failures.
The HVAC license path varies by state, but EPA 608 is universal. You can't legally touch refrigerant without it. If you're brand new to the field, start there — it's the cheapest, fastest credential and it opens doors. From there, work toward NATE certification or your state's journeyman exam.
Hands-on experience matters too. Reading about compressor diagnosis is one thing; actually pulling gauges, reading superheat, and identifying a flooded evaporator in real time is another. HVAC school programs and HVAC apprenticeship options both give you that bench time, and most employers will help fund continued education once you're hired.
Bottom Line
The compressor is the most expensive single component in your HVAC system, but it's also the most predictable. Keep coils clean. Change filters. Get a yearly tune-up. Install surge protection. Address weird noises or breaker trips immediately. Do those five things and you'll likely get the full 12-15 years out of your unit — sometimes more.
When it does finally fail, get multiple quotes, ask about warranty status, and run the age-times-repair math before committing. Sometimes repair makes sense. Sometimes replacement is the smarter long-term play. Either way, knowing what you're looking at puts you in control of the conversation with the tech standing in your driveway.
About the Author
Attorney & Bar Exam Preparation Specialist
Yale Law SchoolJames R. Hargrove is a practicing attorney and legal educator with a Juris Doctor from Yale Law School and an LLM in Constitutional Law. With over a decade of experience coaching bar exam candidates across multiple jurisdictions, he specializes in MBE strategy, state-specific essay preparation, and multistate performance test techniques.