
CPR Skills Test: Complete Skills Checklist and Practical Exam Guide
🎓 Master the CPR skills test with our complete skills checklist. Learn compression depth, rate, AED use, and pass your practical exam first time.
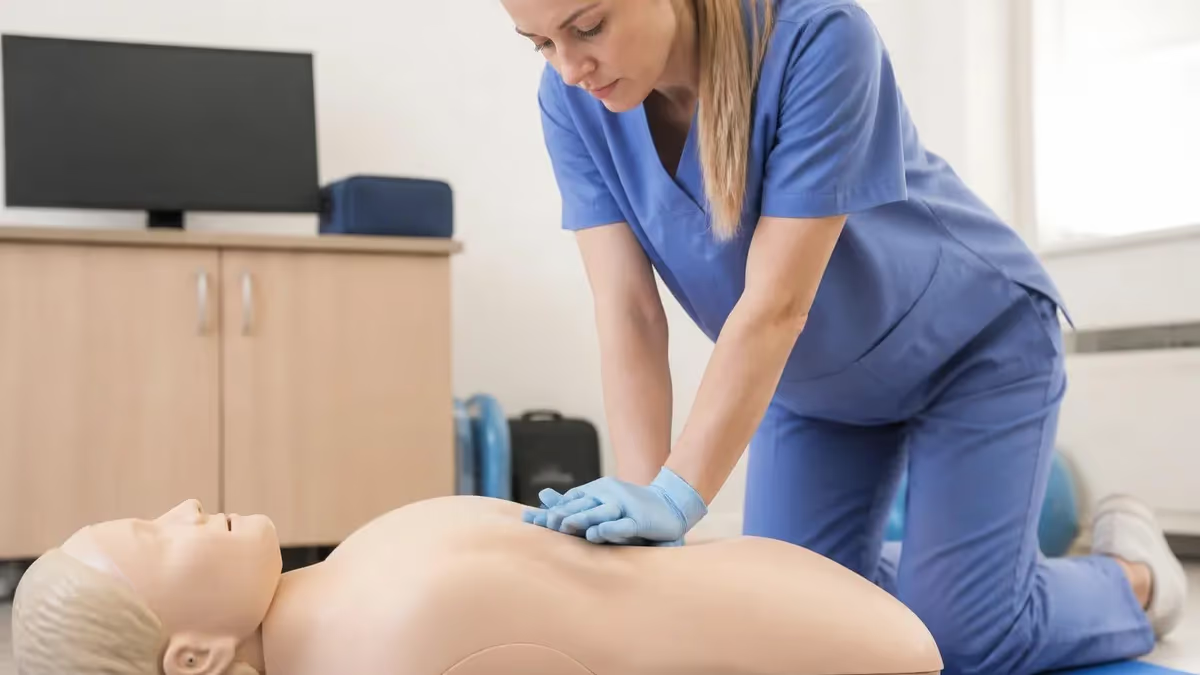
The cpr skills test is the hands-on portion of your CPR certification course where an instructor evaluates whether you can actually perform lifesaving compressions, deliver effective rescue breaths, and operate an automated external defibrillator on a manikin under realistic pressure. Unlike the written exam, which checks what you know, the skills test verifies what you can do with your hands when seconds matter. Every accredited program in the United States, including the American Heart Association and American Red Cross, requires this practical check-off before issuing a certification card.
Most candidates underestimate how specific the skills checklist actually is. Evaluators are not looking for a general impression of competence; they are scoring against a written rubric with strict tolerances. Compression depth must reach at least 2 inches but not exceed 2.4 inches on an adult. The rate must stay between 100 and 120 compressions per minute. Hands must come fully off the chest between compressions to allow full recoil. Miss any of these critical criteria and the evaluator must mark you as not yet competent, regardless of how confident you felt.
The good news is that the skills checklist is completely transparent. Instructors use the exact same form that the certifying body publishes, and you can review it before you ever step into the testing room. Knowing every checkbox in advance lets you rehearse with intention rather than hoping muscle memory shows up on test day. Candidates who practice against the actual scoring sheet pass at dramatically higher rates than those who only watch demonstration videos or follow along in class without targeted repetition.
This guide walks you through every component of the skills evaluation for adult, child, and infant CPR, plus the AED integration sequence that most candidates find trickiest. We will cover scene safety, the initial assessment, two-rescuer coordination, bag-mask ventilation, and the specific phrases evaluators expect to hear you say out loud. If you want to test your knowledge before the practical, take a quick free CPR practice test to identify weak areas first.
You will also learn what to wear, how to position yourself for maximum mechanical advantage, and how to recover gracefully if you make a mistake mid-scenario. Evaluators do not expect perfection; they expect recognition and correction. A candidate who notices their rate drifting and self-corrects often scores higher than one who plows through silently at the wrong tempo. Understanding the psychology of the evaluation is as important as memorizing the steps themselves.
By the end of this guide you will know exactly what the skills test looks like, how long it takes, what the most common failure points are, and a proven rehearsal sequence you can run at home with a couch cushion and a metronome. Whether you are testing for a healthcare provider card, a daycare requirement, or a workplace mandate, the checklist is essentially the same. Master the fundamentals once and you will breeze through any future renewals with confidence.
Treat the skills test not as an obstacle but as the moment your training becomes real. Every push, every breath, every shock you deliver on a manikin is rehearsal for a moment that may one day determine whether someone goes home to their family. Take it seriously, prepare deliberately, and the certification card becomes a byproduct of competence rather than the goal itself.
CPR Skills Test by the Numbers
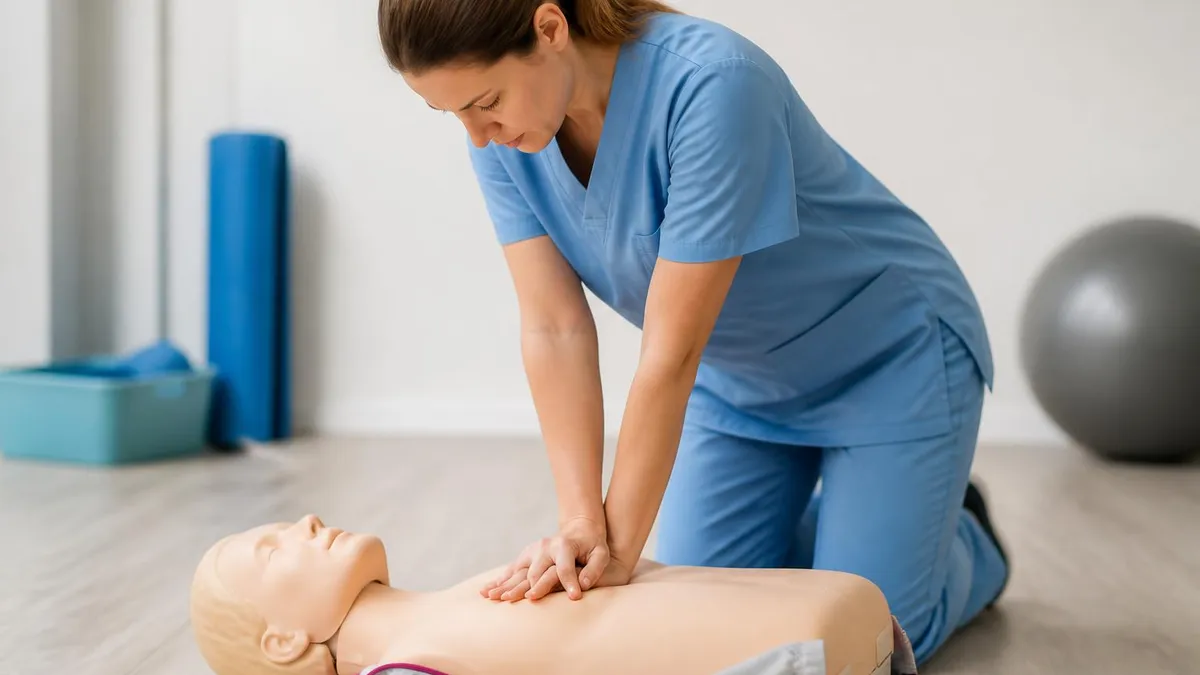
How the CPR Skills Test Is Structured
The evaluator describes the situation, the victim's apparent condition, and the environment. You have roughly 30 seconds to acknowledge the scenario and prepare mentally before any action begins.
You check the scene for safety, verify unresponsiveness with tap and shout, call for help and emergency services, and check for breathing and a pulse simultaneously within ten seconds.
You perform at least two full cycles of 30 compressions and 2 breaths while the evaluator scores depth, rate, recoil, hand position, and ventilation volume on a written rubric.
On evaluator cue, you power on the AED, attach pads correctly, clear the victim, deliver a shock if advised, and immediately resume compressions starting with the chest.
You communicate with arriving EMS or a second rescuer, then the evaluator reviews your performance against the checklist and identifies any critical or minor deviations.
The adult CPR skills checklist begins the moment you enter the testing area. Evaluators start scoring before you touch the manikin because situational awareness is itself a tested skill. You should approach with purpose, scan the immediate area for hazards such as traffic, water, or downed wires, and announce out loud what you are doing. Saying scene is safe is not theatrical; it is a required verbal cue that proves to the evaluator you actively assessed rather than assumed. Skipping this step is one of the most common silent point deductions on the rubric.
Once the scene is verified safe, you tap the manikin firmly on the shoulders and shout are you okay in a loud, clear voice. The tap should be vigorous enough to wake a sleeping adult, not a polite finger touch. If there is no response, you immediately direct a bystander by pointing and using specific language: you in the blue shirt, call 911 and bring back an AED. Vague commands like somebody call for help fail the directed-bystander criterion because they do not assign responsibility to a specific person.
Next comes the simultaneous breathing and pulse check, performed for a minimum of five seconds but no more than ten. You lean over the chest to watch for rise and fall while your fingers locate the carotid artery in the groove beside the trachea. Counting out loud one one thousand, two one thousand helps the evaluator confirm you respected the time window. If you exceed ten seconds without finding a definitive pulse, you must default to starting compressions immediately because delay in cardiac arrest is the single largest predictor of death.
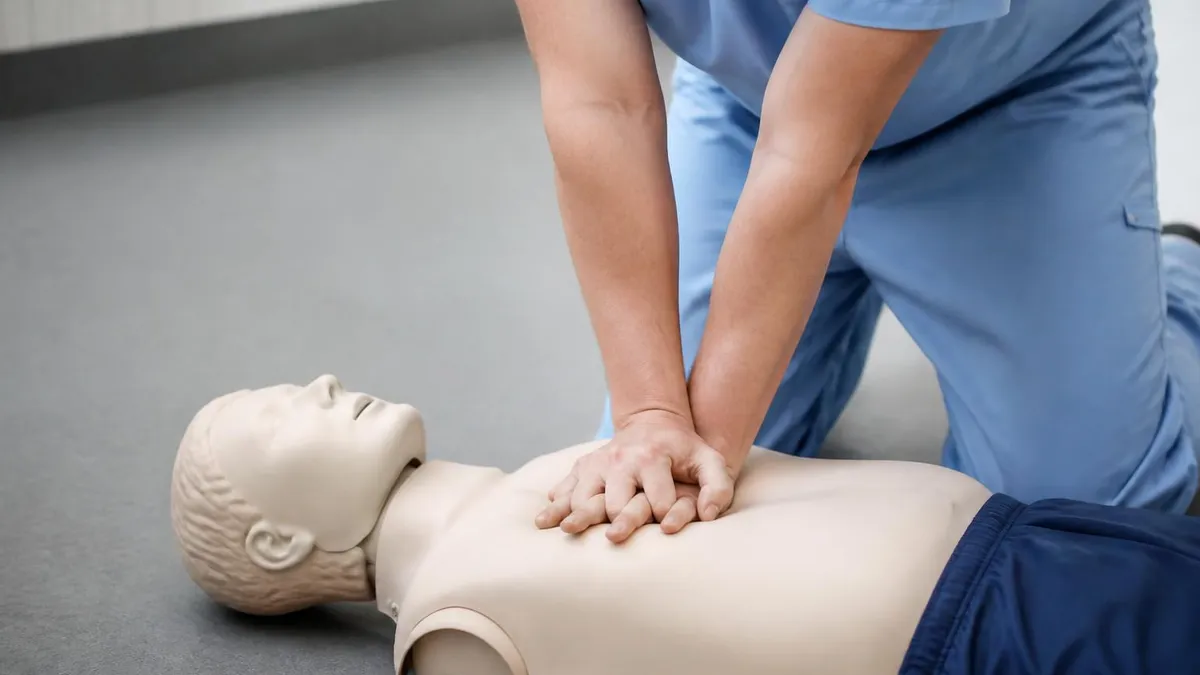
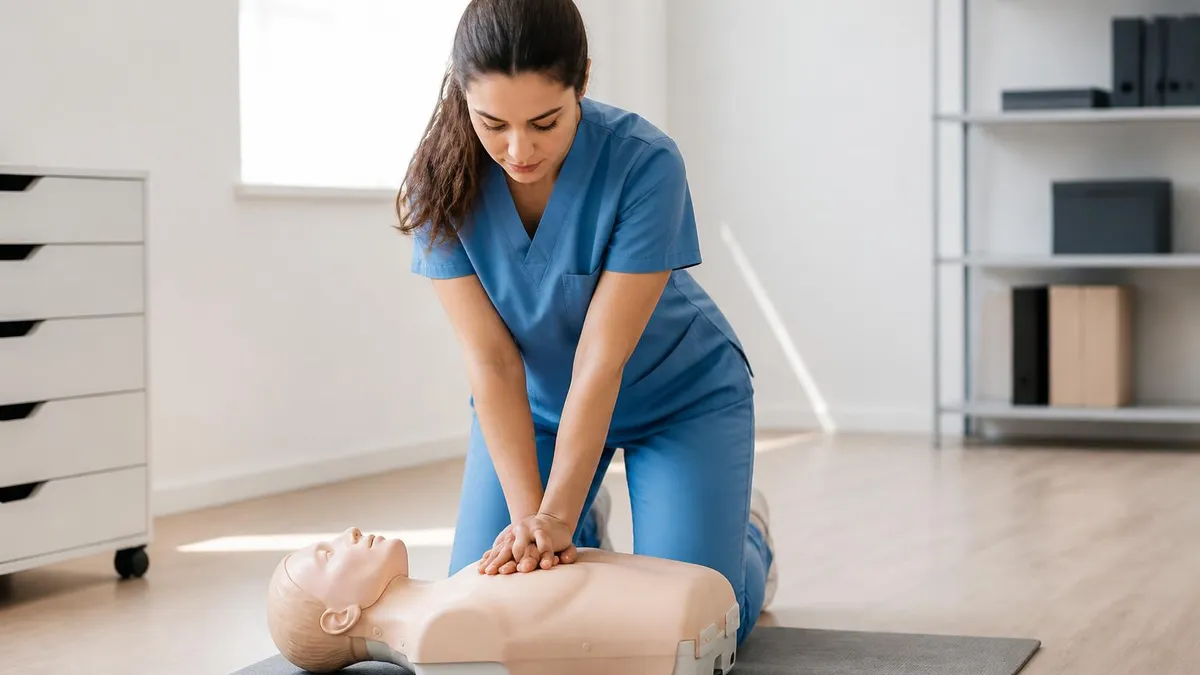
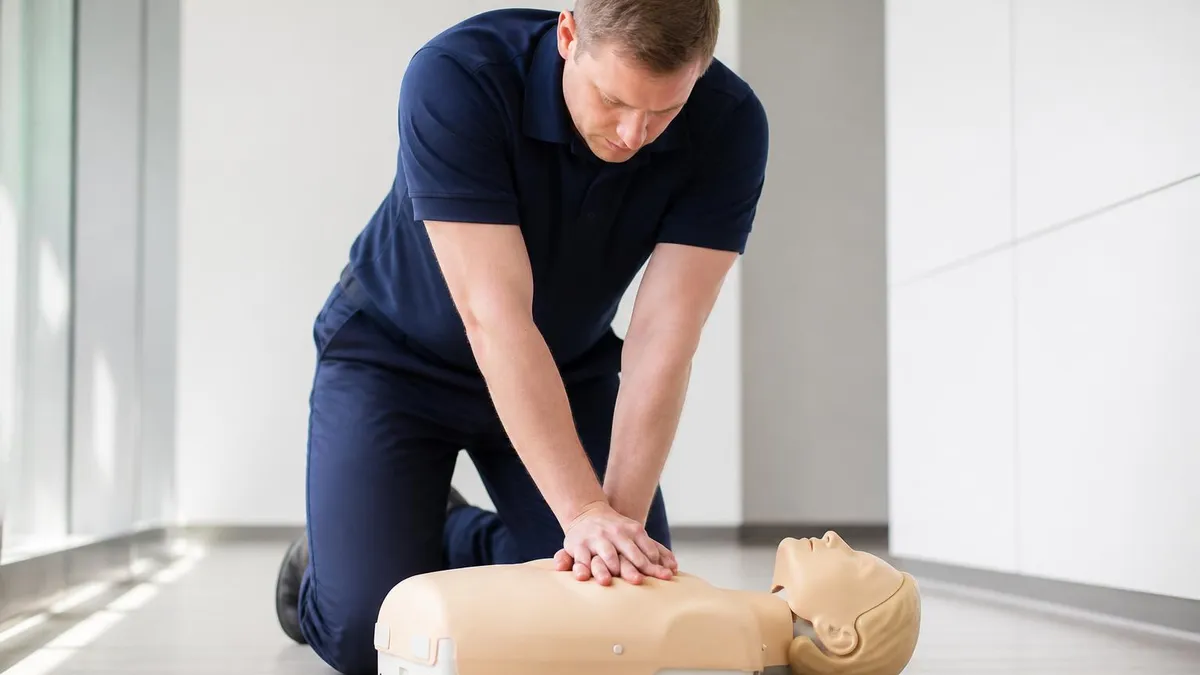
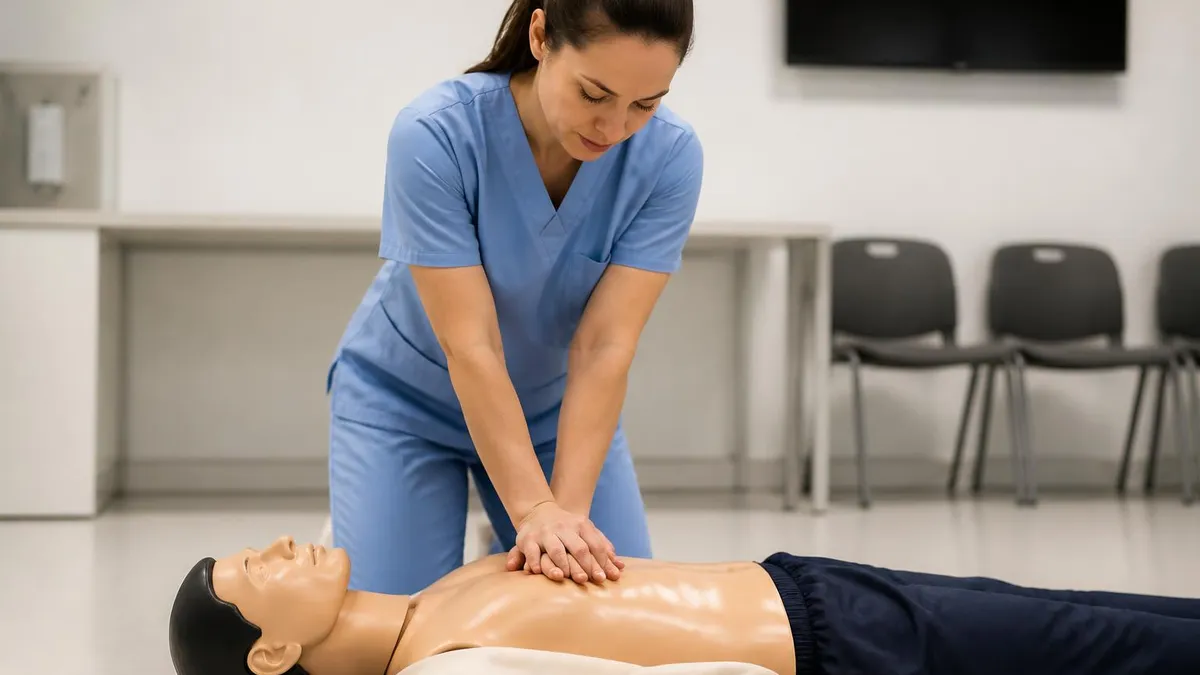
Hand placement on the lower half of the sternum is checked visually by the evaluator. Place the heel of your dominant hand on the center of the chest between the nipples, stack your other hand on top, and interlace your fingers so they pull up away from the ribs. Keep your arms straight, shoulders directly over your hands, and use your upper body weight rather than your arm muscles. This biomechanical position prevents fatigue and ensures consistent depth across the full two minutes that high-quality CPR demands during a real arrest.
The compression itself must travel at least two inches into the chest but no more than 2.4 inches on the adult manikin. Modern training manikins click audibly when correct depth is reached, and many also flash a green light visible to the evaluator. Allow the chest to fully recoil between compressions by lifting your weight without removing your hands. Leaning on the chest, even slightly, prevents the heart from refilling and dramatically reduces the cardiac output you are generating. This is a critical fail criterion on most rubrics.
Rescue breaths follow every thirty compressions. Open the airway using a head-tilt chin-lift unless trauma is suspected, in which case you use a jaw thrust. Pinch the nostrils closed, create a seal with your mouth or a pocket mask, and deliver each breath over one full second with just enough volume to see visible chest rise. Over-ventilation is a tested fault because excessive volume forces air into the stomach, causes vomiting, and reduces venous return to the heart. If you want more detailed exam strategy, our exam tips guide covers common scoring traps.
The evaluator will typically require you to complete two full cycles before pausing for the AED phase. Maintain your rate by counting out loud or singing internally to a 110 bpm song. Stayin' Alive by the Bee Gees remains the unofficial soundtrack of CPR for good reason. Consistency matters more than raw speed; an evaluator would rather see steady 105 compressions per minute than oscillating between 90 and 130 across the cycle.
CPR Practice Test Questions
Prepare for the CPR - Cardiopulmonary Resuscitation exam with our free practice test modules. Each quiz covers key topics to help you pass on your first try.
CPR Adult CPR
CPR Exam Questions covering Adult CPR. Master CPR Test concepts for certification prep.
CPR AED Use
Free CPR Practice Test featuring AED Use. Improve your CPR Exam score with mock test prep.
CPR Basic CPR Principles
CPR Mock Exam on Basic CPR Principles. CPR Study Guide questions to pass on your first try.
CPR Child and Infant CPR
CPR Test Prep for Child and Infant CPR. Practice CPR Quiz questions and boost your score.
Compression Technique: The Core of Your CPR Skills Test
Compression depth on an adult must reach at least 2 inches but should not exceed 2.4 inches. Going too shallow fails to generate enough intrathoracic pressure to push blood from the heart, while going too deep increases the risk of rib fractures and internal injury. Training manikins provide tactile and visual feedback through audible clicks and LED indicators that the evaluator can see clearly from across the room.
Full chest recoil between compressions is equally critical. Lifting your weight off the chest without removing your hands allows the heart's chambers to refill with blood before the next compression squeezes it out. Leaning on the chest, a phenomenon called residual leaning, reduces cardiac output by up to 30 percent and is one of the top three reasons candidates fail their first skills attempt.
In-Person Skills Test vs Blended Online Course
- +Real-time instructor feedback on depth and recoil
- +Hands-on manikin practice before formal evaluation
- +Opportunity to ask questions about edge cases
- +Two-rescuer coordination practiced with peers
- +AED machine variations explored in person
- +Immediate verification of certification card eligibility
- −Requires travel and fixed scheduling
- −Typically 4 to 6 hours of classroom time
- −Higher cost than online-only options
- −Group pace may feel slow for experienced learners
- −Limited individual practice time per manikin
- −Requires in-person rescheduling if you fail
Complete CPR Skills Test Checklist
- ✓Verify scene safety and announce it out loud before approaching
- ✓Tap shoulders firmly and shout to check responsiveness
- ✓Direct a specific bystander to call 911 and retrieve an AED
- ✓Check breathing and pulse simultaneously for 5 to 10 seconds
- ✓Position hands on lower half of sternum with arms locked straight
- ✓Deliver compressions at 100 to 120 per minute, 2 to 2.4 inches deep
- ✓Allow full chest recoil between every single compression
- ✓Open airway and deliver 2 breaths over 1 second each with visible chest rise
- ✓Power on AED, attach pads correctly, and clear the victim before shock
- ✓Resume compressions immediately after shock starting with the chest
Incomplete chest recoil costs more candidates their pass than any other criterion.
Roughly 40 percent of first-attempt failures trace back to residual leaning on the chest between compressions. Evaluators watch for this specifically. Train yourself to consciously lift your weight off the manikin after every single push, even if your hands remain in contact. The chest must fully reexpand to allow the heart to refill with blood for the next stroke to be effective.
The AED portion of the skills checklist trips up candidates more than any other section, not because it is technically difficult but because the sequence has specific verbal and physical cues that must occur in the correct order. The moment the AED arrives at the scene, you continue compressions while a second rescuer powers on the unit and exposes the chest. If you are alone, you pause compressions only long enough to start the AED and apply the pads, then resume immediately while the device analyzes.
Pad placement varies slightly by manufacturer but follows a universal anatomical principle. The first pad goes on the upper right chest just below the collarbone, and the second pad goes on the lower left side along the rib cage below the armpit. The diagrams printed on each pad show exactly where they belong, and modern AEDs will not analyze correctly until both pads make full skin contact. Sweat, hair, and medication patches must be removed or addressed before placement.
Once pads are attached, the AED announces analyzing heart rhythm and instructs everyone to stand clear. Your job at this moment is to physically and verbally clear the victim. Look from head to toe, say clear loudly enough for any bystanders to hear, and visually confirm no one is touching the patient. Failure to clear properly is a critical safety violation on most rubrics because a shock delivered while someone is in contact can injure that person. Evaluators score this strictly.
If the AED advises a shock, you press the shock button when prompted, then immediately resume compressions starting with the chest before checking the patient for any sign of return of circulation. Do not pause to verify a pulse, do not check for breathing, and do not stand back and wait. The protocol is shock, compress, repeat. The AED will reanalyze automatically every two minutes, prompting you when to clear and resume. Trust the device and let it manage the analysis intervals.
If the AED advises no shock, you still resume compressions immediately. A no-shock advised message does not mean the heart has restarted; it means the rhythm is not shockable, which often indicates asystole or pulseless electrical activity. These rhythms still require continuous high-quality CPR while awaiting advanced care. Stopping to assess in this scenario is a tested error because it delays the only intervention proven to make a difference: chest compressions that maintain circulation to the brain.
For pediatric arrests, attenuated pads or a pediatric switch reduces the shock dose appropriately for children under eight years old or weighing less than 55 pounds. If pediatric pads are unavailable, adult pads can be used in an anterior-posterior configuration with one pad on the chest and one on the back. The skills test for healthcare providers typically requires demonstrating awareness of this distinction even if you do not physically perform the pediatric variant during your specific evaluation scenario.
Documenting the AED's recommendation matters for handoff to EMS. Many candidates fail to verbalize the device's instructions, which is a missed communication criterion. Saying out loud shock advised, clearing now, shock delivered or no shock advised, resuming compressions creates a clear record of events and demonstrates situational command. Evaluators value rescuers who narrate their actions because in real emergencies, that narration is what coordinates teams and informs paramedics arriving on scene.
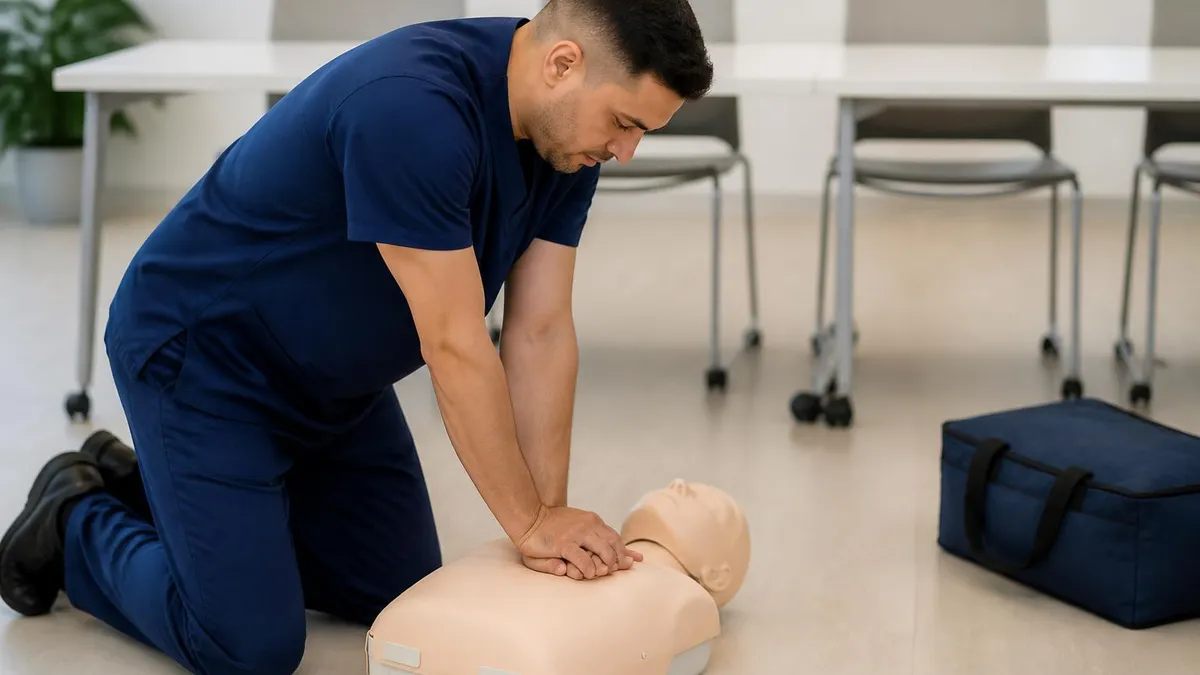
Certain errors result in automatic failure regardless of how well you perform the rest of the test. These include failing to check the scene for safety, not calling 911, performing compressions with locked fingers on the ribs, exceeding 10 seconds for the pulse check, and touching the victim during AED analysis or shock delivery. Memorize these red lines and rehearse around them.
Child CPR differs from adult CPR in three measurable ways that the skills test evaluates separately. Compression depth is approximately one-third the depth of the chest, which equates to about two inches on most children, and you may use one or two hands depending on the size of the child and your own physical strength. If you can achieve adequate depth with one hand, that is acceptable; if not, switch to two hands without breaking rhythm. The evaluator wants to see adaptability rather than rigid adherence to a single technique.
The compression-to-ventilation ratio also changes for two-rescuer pediatric CPR, dropping from 30:2 to 15:2. This reflects the higher likelihood that pediatric arrests stem from respiratory causes rather than primary cardiac events, so more frequent ventilations matter proportionally more. For single-rescuer child CPR, you still use 30:2, but as soon as a second rescuer arrives, you switch the ratio. The skills test often presents a scenario where a second rescuer joins mid-cycle specifically to evaluate whether you make this transition correctly. Our child CPR guide covers these distinctions in detail.
Infant CPR represents the largest technical departure from adult technique. For infants under one year old, you use two fingers in the center of the chest just below the nipple line for single-rescuer compressions, or the two-thumb encircling hands technique for two-rescuer CPR. Depth is approximately 1.5 inches or one-third of the chest depth. The two-thumb technique generates significantly higher blood pressure than two-finger compressions and is preferred whenever a second rescuer is available, so demonstrate it confidently if your scenario allows.
Airway management on infants requires special attention because their relatively large heads naturally flex the neck forward and obstruct the airway. The neutral sniffing position, with the head not tilted as far back as in adults, opens the airway optimally. Rescue breaths should be small puffs that produce visible chest rise without overinflation. Many candidates fail the infant skills test by delivering adult-sized breaths that distend the stomach and cause regurgitation on the manikin, which the evaluator notes immediately.
The compression-to-ventilation ratio for two-rescuer infant CPR is also 15:2, matching the pediatric standard. Single-rescuer remains 30:2 for consistency in skills retention across age groups. Switch rescuers approximately every two minutes to prevent fatigue-related quality degradation, ideally during the analysis pause if an AED is in use. Smooth rescuer transitions in under five seconds are themselves a tested criterion, so practice the handoff phrase: I am taking over compressions in three, two, one.
For all pediatric scenarios, foreign body airway obstruction protocols differ from adult choking. In conscious infants, you alternate five back blows with five chest thrusts rather than abdominal thrusts, which can damage the relatively large liver. In conscious children over one year old, you use abdominal thrusts as in adults, but with appropriate force scaled to body size. Unconscious choking in any age group transitions to CPR, with the added step of checking the mouth for a visible obstruction before each set of breaths.
Special populations also appear occasionally on skills tests. Pregnant patients in late pregnancy require manual left uterine displacement during compressions to relieve aortocaval compression. Drowning victims may benefit from five initial rescue breaths before starting compressions. Hypothermic patients require gentle handling and prolonged resuscitation efforts because cold can be protective of brain tissue. Knowing these variations even if they do not appear in your specific scenario shows the depth of understanding evaluators value in healthcare provider level certifications.
Test day strategy begins the night before. Sleep matters more than last-minute cramming because the skills test is fundamentally a motor performance, and motor learning consolidates during sleep. Aim for seven to eight hours and avoid caffeine in excess on the morning of the test. A small dose can sharpen focus, but jittery hands struggle to maintain steady compression rate and depth. Eat a moderate breakfast with protein and complex carbohydrates roughly 90 minutes before the test to stabilize blood sugar throughout the evaluation.
Dress in clothing that allows free movement at the shoulders and hips. Compressions require leaning forward from the hips with locked elbows, and restrictive jeans or stiff button-down shirts can subtly limit your range of motion. Wear flat, closed-toe shoes; you will be kneeling beside a manikin on the floor or working over an elevated table, and stable footing matters. Remove watches and bracelets that could catch on the manikin or the AED pad cables during the scenario.
Arrive at least 15 minutes early to acclimate to the testing environment and review the checklist one final time. Many candidates underestimate how different a real testing room feels from their practice space at home. The manikins may have slightly different compression resistance, the AED trainer may be a different brand than what you practiced on, and the evaluator's presence adds psychological pressure. Brief acclimation reduces the surprise factor and helps you settle into rhythm faster once the scenario begins.
If you make a mistake mid-scenario, recover rather than panic. Evaluators expect occasional errors and primarily score how you respond to them. If you notice your rate has drifted too fast, simply slow down and continue. If you forget to check the scene for safety at the start, you can usually correct by announcing it as soon as you remember, as long as you have not already begun compressions. Stopping the scenario to apologize or restart almost always hurts your score more than the original mistake would have.
Verbalize everything you do. Talking through your actions serves three purposes: it slows you down to a sustainable pace, it shows the evaluator that you are thinking deliberately rather than going through motions, and it creates a communication pattern that translates directly to real emergencies where multiple rescuers need to coordinate. Phrases like checking for breathing now, no breathing detected, starting compressions create clear scoring evidence and demonstrate professional command of the scene.
After the test, the evaluator typically debriefs you immediately. Listen actively, take notes mentally if not allowed to write, and ask clarifying questions about any criterion you missed. Even if you pass, understanding which areas could improve makes your next renewal smoother and, more importantly, makes you more effective if you ever respond to a real emergency. Many evaluators are happy to demonstrate proper technique on items where you scored borderline, turning the debrief into a free mini-lesson.
If you do not pass on the first attempt, do not be discouraged. Most programs allow at least one retake at no additional cost, often the same day. Failure on the first try usually traces to one or two specific criteria rather than a global lack of competence. Identify exactly what went wrong, drill that specific element for 15 to 30 minutes, and attempt again. Candidates who treat the first attempt as diagnostic rather than catastrophic pass on the retake at nearly 100 percent rates.
CPR Questions and Answers
About the Author

Registered Nurse & Healthcare Educator
Johns Hopkins University School of NursingDr. Sarah Mitchell is a board-certified registered nurse with over 15 years of clinical and academic experience. She completed her PhD in Nursing Science at Johns Hopkins University and has taught NCLEX preparation and clinical skills courses for nursing students across the United States. Her research focuses on evidence-based exam preparation strategies for healthcare certification candidates.