
Shoulder MRI Interpretation: A Complete Guide to Reading Rotator Cuff MRI Shoulder Scans
🎓 Master rotator cuff MRI shoulder interpretation. Learn anatomy, pulse sequences, tear grading, and pathology reading for accurate shoulder MRI diagnosis.

Reading a rotator cuff MRI shoulder study is one of the most clinically valuable yet technically demanding skills in musculoskeletal radiology. The shoulder is a uniquely complex joint, with four overlapping rotator cuff tendons, a fibrocartilaginous labrum, multiple bursae, and a tightly packed neurovascular envelope that all must be evaluated on every scan. Whether you are a radiology resident, an MRI technologist preparing for the ARRT registry, or a physician therapist correlating clinical findings with imaging, learning a systematic approach to shoulder MRI interpretation transforms a confusing collection of grayscale slices into a confident diagnostic report.
The rotator cuff itself is a confluence of four tendons — supraspinatus, infraspinatus, teres minor, and subscapularis — that wrap around the humeral head and provide dynamic stability. On MRI, each of these tendons has a characteristic appearance, fiber orientation, and pattern of pathology. The supraspinatus is the most commonly torn, accounting for roughly 80 percent of full-thickness rotator cuff tears, while the subscapularis is the most commonly missed on initial review because its tears often hide behind the long head of the biceps tendon.
Modern shoulder MRI protocols typically include fluid-sensitive sequences such as fat-suppressed proton density and T2-weighted imaging in the oblique coronal, oblique sagittal, and axial planes. Each plane answers specific questions: the oblique coronal evaluates supraspinatus and infraspinatus tendon integrity, the oblique sagittal demonstrates the cuff in cross-section and assesses fatty atrophy, and the axial plane is best for the subscapularis, biceps anchor, and anterior labrum. Knowing what each sequence is good for is half the battle.
Interpretation also requires fluency with the imaging signatures of partial versus full-thickness tears, tendinosis versus tendinopathy, retraction measurements, muscle quality grading using the Goutallier classification, and the imaging hallmarks of impingement syndromes. Add MR arthrography for labral and rotator cuff articular surface evaluation, and the diagnostic toolkit becomes deep enough to address nearly any shoulder complaint the orthopedic surgeon sends your way.
This guide walks through every component of shoulder MRI interpretation, from foundational anatomy and pulse sequence selection to advanced pathology recognition, structured reporting, and common interpretive pitfalls. By the end, you should be able to approach any shoulder MRI with confidence, follow a repeatable search pattern, and articulate findings using the language orthopedic surgeons expect in their reports.
If you are studying for credentialing exams or want to reinforce fundamentals, working through targeted practice questions alongside this guide makes a measurable difference. The concepts here apply equally to 1.5T scanners in community hospitals and 3T systems in academic centers, although signal-to-noise and tear conspicuity improve noticeably at higher field strengths. Anatomy, however, never changes — and mastering it is the foundation of every accurate interpretation you will ever make.
Shoulder MRI Interpretation by the Numbers
Standard Shoulder MRI Protocol
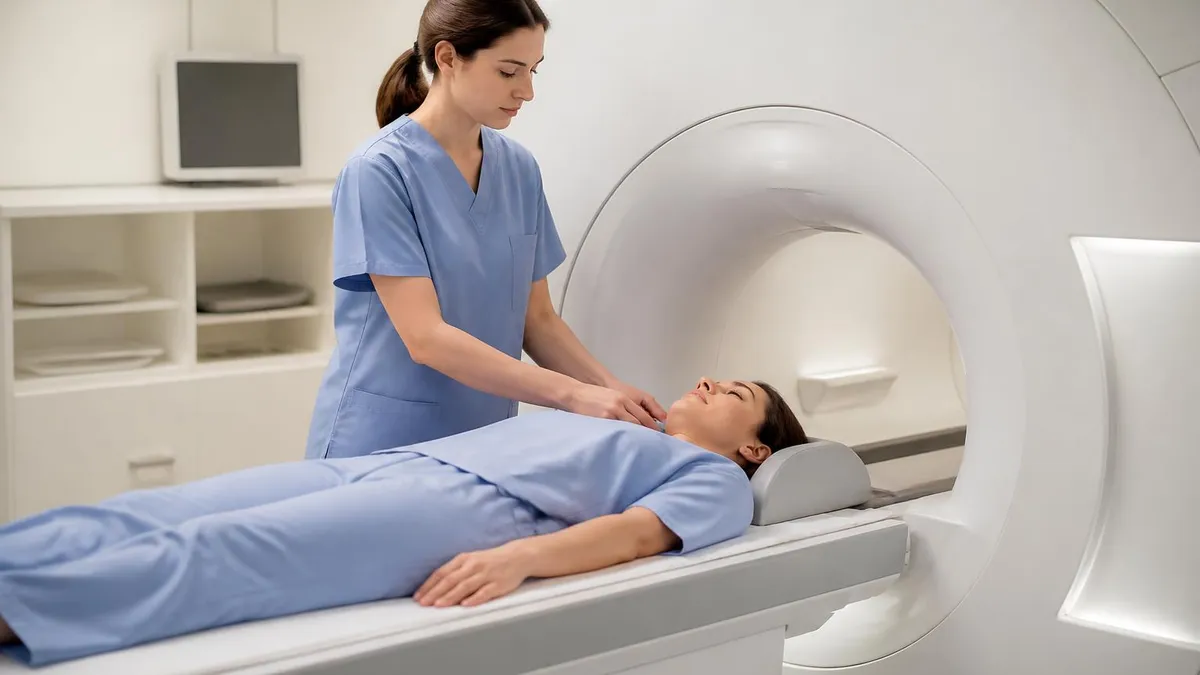
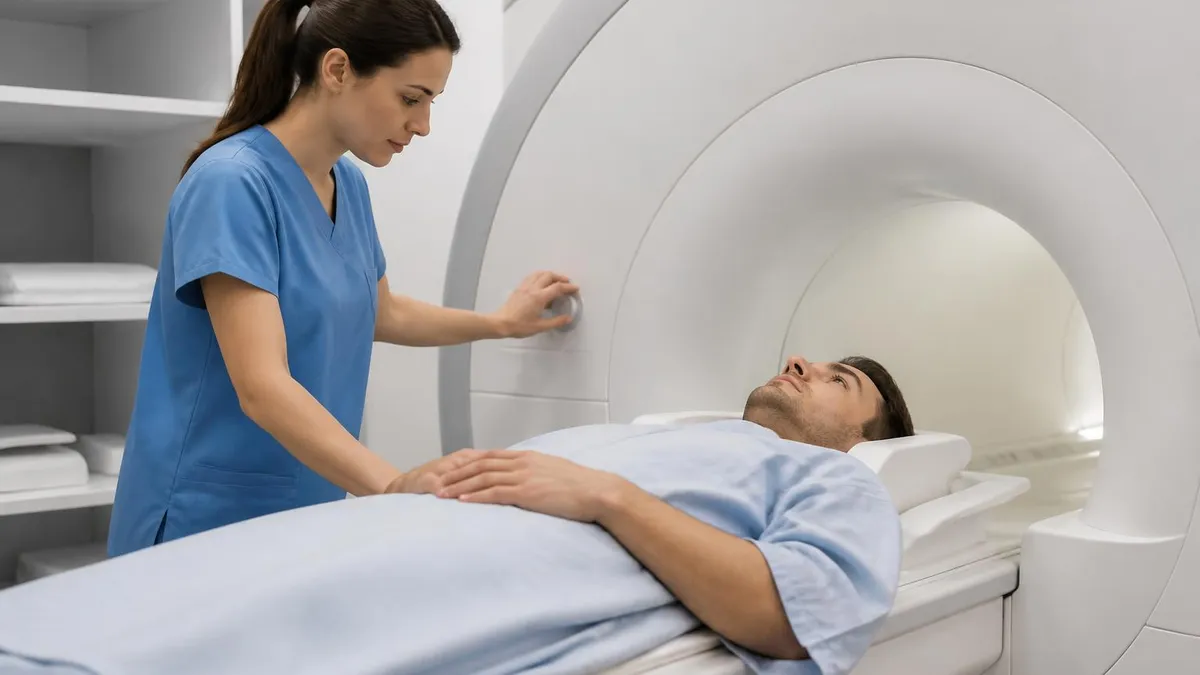
Patient supine with arm at side and slight external rotation. A dedicated shoulder surface coil is essential for adequate signal-to-noise. Thumb-up positioning reduces magic angle artifact on the supraspinatus tendon and improves diagnostic clarity.
Three-plane localizer is followed by oblique coronal planning parallel to the supraspinatus tendon. Oblique sagittal slices are planned perpendicular to the supraspinatus. Axial slices extend from the acromioclavicular joint to below the glenoid.
Standard non-contrast protocol includes oblique coronal T1 and fat-suppressed PD or T2, oblique sagittal T2 fat-sat and T1, and axial PD fat-sat. Optional ABER positioning is added for suspected anterior labral injury during MR arthrography.
Intra-articular dilute gadolinium injection distends the joint capsule, improving labral, articular surface, and SLAP lesion detection. Reserved for suspected internal derangement, post-operative cuff evaluation, and clinical instability work-ups.
Before interpretation, confirm correct labeling, adequate fat suppression, absence of motion artifact, and proper field of view coverage. Inadequate fat suppression mimics edema and can transform a normal tendon into a falsely abnormal one.
A confident interpretation begins with a rock-solid understanding of rotator cuff anatomy on MRI. The four cuff tendons form a continuous sleeve around the humeral head, but each has unique attachment points and functional roles. The supraspinatus originates from the supraspinous fossa, passes beneath the acromion, and inserts onto the greater tuberosity. Its critical zone — about 1 centimeter proximal to the insertion — is relatively hypovascular and the most frequent site of degenerative tears, especially in patients over 50 years old.
The infraspinatus arises from the infraspinous fossa below the scapular spine and inserts on the posterior facet of the greater tuberosity, just behind the supraspinatus insertion. It is the second most commonly torn cuff tendon and is the principal external rotator of the shoulder. The teres minor sits inferior to the infraspinatus, also inserts on the greater tuberosity, and is rarely involved in isolated cuff disease but commonly atrophies in cases of quadrilateral space syndrome.
The subscapularis is the largest and strongest of the cuff tendons. It originates from the subscapular fossa on the anterior surface of the scapula and inserts onto the lesser tuberosity. It is the only internal rotator within the rotator cuff. On axial MRI, the subscapularis appears as a multi-pennate muscle with parallel fiber bundles, and tears typically begin at the superior fibers — a finding easily missed without deliberate scrutiny.
The rotator interval is the triangular space between the supraspinatus and subscapularis tendons, traversed by the long head of the biceps tendon, the coracohumeral ligament, and the superior glenohumeral ligament. Pathology here can produce subtle clinical instability or biceps subluxation. Recognizing rotator interval anatomy on sagittal images is essential for diagnosing biceps pulley lesions, which often coexist with anterior supraspinatus tears.
The glenoid labrum, while not part of the cuff itself, must be evaluated on every shoulder MRI. The labrum is a fibrocartilaginous rim that deepens the glenoid socket and serves as the attachment point for the long head of the biceps superiorly and the glenohumeral ligaments anteriorly and inferiorly. Variants such as the sublabral foramen, Buford complex, and meniscoid labrum can mimic pathology and must be distinguished from true tears, especially SLAP lesions.
Surrounding bursae, namely the subacromial-subdeltoid bursa, are evaluated on fluid-sensitive sequences. Small amounts of fluid within this bursa are non-specific, but moderate to large effusions often accompany cuff tears or impingement. Acromial morphology — Bigliani Type I, II, or III — is also worth noting, as a hooked Type III acromion is more strongly associated with subacromial impingement and chronic supraspinatus tendinopathy than flatter morphologies.
Beyond the cuff and labrum, a complete interpretation reviews the acromioclavicular joint for hypertrophy and downsloping osteophytes, the glenohumeral cartilage for chondral defects, the humeral head and glenoid for bone marrow edema or contusion, and the surrounding muscles for atrophy or fatty infiltration. Many radiologists keep a printed search pattern at the workstation, and even seasoned readers benefit from a structured checklist applied to every shoulder MRI study they review.
MRI Practice Test Questions
Prepare for the MRI - Magnetic Resonance Imaging exam with our free practice test modules. Each quiz covers key topics to help you pass on your first try.
MRI Knowledge
MRI Exam Questions covering Knowledge. Master MRI Test concepts for certification prep.
MRI Physics
Free MRI Practice Test featuring Physics. Improve your MRI Exam score with mock test prep.
MRI Anatomy and Pathology
MRI Test Prep for MRI Anatomy and Pathology. Practice MRI Quiz questions and boost your score.
MRI Anatomy and Positioning
MRI Questions and Answers on MRI Anatomy and Positioning. Free MRI practice for exam readiness.
MRI Contrast Agents
Free MRI Quiz on MRI Contrast Agents. MRI Exam prep questions with detailed explanations.
MRI Patient Care and Positioning
MRI Practice Questions for MRI Patient Care and Positioning. Build confidence for your MRI certification exam.
MRI Pulse Sequences for Shoulder Interpretation
T1-weighted images are the anatomic backbone of any shoulder MRI. Fat appears bright, fluid appears dark, and muscle and tendons display intermediate signal. T1 is used to evaluate fatty infiltration of the rotator cuff muscles using the Goutallier classification, assess bone marrow for fatty replacement or red marrow reconversion, and identify subacute hemorrhage that demonstrates characteristic T1 hyperintensity from methemoglobin.
On sagittal oblique T1 images, the cuff muscle bellies are inspected for atrophy and fatty streaks. Significant fatty atrophy — Goutallier grade 3 or 4 — is a critical finding because it predicts poor surgical outcomes after rotator cuff repair. T1 also nicely demonstrates cortical bone, making it useful for evaluating greater tuberosity erosion, glenoid bone loss in chronic instability, and post-surgical hardware position when present.
Non-Contrast MRI vs MR Arthrography for Shoulder Evaluation
- +Non-contrast MRI is non-invasive with no needle stick required
- +Excellent sensitivity for full-thickness rotator cuff tears
- +No risk of post-procedure pain, infection, or contrast reaction
- +Lower cost and faster total exam time
- +Suitable for screening evaluation of shoulder pain
- +Same-day appointments easier without procedural component
- −Lower sensitivity for partial articular-surface tears
- −Labral tears can be missed without joint distension
- −SLAP lesions are notoriously difficult to grade
- −Post-operative cuff evaluation less accurate without contrast
- −Subtle Bankart lesions easily overlooked
- −ABER positioning generally not performed without contrast injection
Systematic Shoulder MRI Interpretation Checklist
- ✓Verify patient identifiers, laterality, and protocol completeness before reading
- ✓Inspect each cuff tendon on oblique coronal fluid-sensitive sequences
- ✓Evaluate supraspinatus footprint for partial articular or bursal-surface tears
- ✓Assess infraspinatus and teres minor for tears and muscle bulk
- ✓Trace subscapularis on axial images for superior fiber tears
- ✓Examine the long head of biceps tendon for dislocation, subluxation, or tear
- ✓Review the glenoid labrum in all three planes for tears and variants
- ✓Check bone marrow for edema, cyst formation, or Hill-Sachs lesion
- ✓Assess acromial morphology and AC joint for impingement features
- ✓Evaluate the rotator interval and biceps pulley complex for instability
Always Compare Tendon Signal to Joint Fluid
The single most useful interpretive habit in shoulder MRI is comparing suspected tendon abnormality to adjacent joint fluid on the same fluid-sensitive sequence. If the signal matches fluid intensity exactly, you are looking at a tear. If it is intermediate — brighter than normal tendon but dimmer than fluid — you are looking at tendinopathy or tendinosis. This distinction drives treatment decisions and dramatically improves report accuracy.
Once anatomy and protocol are mastered, the next interpretive layer is tear grading and classification. Rotator cuff tears are first categorized as partial-thickness or full-thickness. Partial-thickness tears involve either the articular surface, bursal surface, or intrasubstance fibers without crossing the entire tendon. Full-thickness tears extend from the bursal to the articular surface, creating a complete fluid-bright gap. Beyond this binary, tear size, shape, retraction, and muscle quality each carry prognostic implications for the orthopedic surgeon.
Tear size is measured in two dimensions: anterior-to-posterior extent on sagittal oblique images, and medial-to-lateral retraction on coronal oblique images. The Patte classification grades retraction as Stage 1 (tendon stump near greater tuberosity), Stage 2 (stump at humeral head level), or Stage 3 (stump retracted to glenoid level). Stage 3 retraction generally indicates a chronic, irreparable tear, and this terminology must appear explicitly in your report to guide surgical planning.
The Goutallier classification grades fatty infiltration of the muscle belly from 0 to 4. Grade 0 is normal muscle, grade 1 shows some fatty streaks, grade 2 shows fat less than muscle, grade 3 shows fat equal to muscle, and grade 4 shows fat exceeding muscle. Goutallier grades 3 and 4 predict poor outcomes after surgical repair and often shift management toward tendon transfer, superior capsular reconstruction, or reverse total shoulder arthroplasty instead of primary repair.
Tear shape — crescent, U-shaped, L-shaped, or massive — also affects reparability. Crescent-shaped tears are typically small, mobile, and easily repaired. U-shaped and L-shaped tears require margin convergence techniques during arthroscopic repair. Massive tears, defined as greater than 5 centimeters or involving two or more tendons, are technically challenging and have significantly higher retear rates after repair. Surgeons depend on the radiology report to anticipate these intraoperative findings before they ever scrub in.
Subscapularis tears deserve particular attention because they are commonly missed. Lafosse classified subscapularis tears into five types based on the extent and location of fiber involvement. Type 1 involves the superior third of the tendon, type 2 involves the entire superior third with separation, and types 3 through 5 progress to complete tears with associated biceps tendon dislocation or subluxation. A reliable axial search pattern from superior to inferior catches these consistently.
Labral lesions are graded separately from cuff tears. Bankart lesions involve the anterior inferior labrum and indicate prior anterior dislocation. ALPSA lesions are similar but with periosteal stripping that allows the labrum to heal in a medially displaced position. Posterior labral injuries are seen in throwing athletes and football linemen. SLAP lesions, classified by Snyder from type 1 through 10, involve the superior labrum at the biceps anchor and require careful evaluation of MR arthrography images for accurate grading.
Finally, secondary findings such as os acromiale, calcific tendinopathy, suprascapular nerve denervation, and quadrilateral space syndrome all influence treatment. A complete report addresses each major structure, explicitly grades any tears identified, comments on muscle quality, and offers a concise clinical impression. Reporting templates from organizations such as the American Society of Musculoskeletal Radiology can streamline this process and ensure no critical finding is omitted from your dictation.
The supraspinatus tendon frequently demonstrates increased signal at the critical zone when imaged at a 55-degree angle to the main magnetic field — this is magic angle artifact, not real pathology. It appears on short TE sequences such as T1 and proton density but disappears on long TE sequences like T2. Always confirm suspected tendinopathy on T2-weighted images before reporting it as a true abnormality to avoid false positives.
A well-structured shoulder MRI report communicates findings clearly, uses standardized terminology, and answers the clinical question posed by the referring physician. Most reports begin with a brief technique statement noting field strength, sequences acquired, and contrast use. The findings section then proceeds anatomically through the rotator cuff, biceps tendon, labrum, bones, cartilage, and surrounding soft tissues. The impression summarizes the clinically significant findings in plain language an orthopedic surgeon can act on immediately.
Pitfalls in shoulder MRI interpretation are numerous and well documented. Volume averaging at the supraspinatus footprint can mimic articular-surface tears, especially on thicker slice acquisitions. Magic angle artifact creates false tendinopathy signal at the critical zone on short TE sequences. The sublabral recess of the superior labrum can be mistaken for a SLAP tear, and the Buford complex — a cord-like middle glenohumeral ligament with absent anterosuperior labrum — frequently fools junior readers into diagnosing labral pathology where none exists.
Post-operative shoulders present their own interpretive challenges. Susceptibility artifact from suture anchors degrades image quality near the repair site, and granulation tissue can appear similar to recurrent tears on non-contrast MRI. MR arthrography with metal artifact reduction sequences such as MAVRIC or SEMAC is often required for accurate post-surgical evaluation. Communication with the operating surgeon to understand exactly what procedure was performed is invaluable when reading a post-operative cuff study.
Patient factors also influence interpretation. Elderly patients commonly have asymptomatic cuff tears — population studies show full-thickness tears in over 50 percent of patients over age 70 — so clinical correlation is essential before attributing symptoms to imaging findings. Younger patients with traumatic tears typically require more aggressive surgical management, while older patients with chronic degenerative tears may be candidates for conservative therapy or reverse arthroplasty depending on functional demands.
For trainees, building a personal library of normal variants alongside pathology cases accelerates the learning curve dramatically. Cross-referencing your interpretation with arthroscopic findings whenever possible provides invaluable feedback. Many academic programs maintain teaching files of correlated MRI and surgical photographs that demonstrate exactly what each MRI signal pattern corresponds to in the operating room. If you want to broaden your foundational understanding, an overview such as what is an MRI test can reinforce the principles that underpin every musculoskeletal interpretation you perform.
Finally, structured reporting templates increasingly dominate modern radiology practice. Many institutions now use voice-recognition macros that prepopulate normal findings for each anatomic structure, allowing the radiologist to focus dictation time on abnormalities. The benefit is consistency across readers and reduced risk of omitting critical structures. The drawback is the temptation to autopilot through normal templates without truly scrutinizing each image — a habit that leads to missed findings and reporting errors over time.
Above all, develop and stick to a systematic search pattern. Read every shoulder MRI in the same order, evaluate every structure on every study, and never let a clinical history bias you toward or away from a finding before you complete your review. The shoulder is unforgiving of shortcuts, and the radiologist who methodically applies a complete checklist to every scan will consistently outperform colleagues relying on pattern recognition alone, especially when fatigue or high volume threatens diagnostic accuracy.
Practical preparation for accurate shoulder MRI interpretation extends beyond textbook study. Begin by spending time at the scanner alongside MRI technologists, watching how patient positioning and coil placement influence image quality. Observing a poorly positioned shoulder study firsthand teaches more about magic angle artifact, motion degradation, and inadequate fat suppression than any chapter ever will. Technologists are often the unsung heroes of musculoskeletal imaging because their setup decisions directly determine whether a small partial-thickness cuff tear is visible or hidden in the noise.
Build a personal teaching file from your own readouts. Save anonymized examples of crescent tears, U-shaped tears, isolated subscapularis tears, biceps dislocations, Bankart lesions, SLAP lesions, and rotator interval pathology. Annotate each case with key findings and the surgical correlation if available. Review your file periodically and especially before exams, conferences, or challenging studies. Pattern recognition develops through repetition, and your own collection will always be more memorable than generic atlases because each case carries the context of the patient you read it for.
Use cross-modality correlation whenever possible. When an arthroscopy report comes back on a patient whose MRI you read, pull up your interpretation and compare. Did you call the partial-thickness tear that was confirmed at surgery? Did you miss a subscapularis tear that the surgeon found intraoperatively? This feedback loop is the most powerful learning tool in radiology and is freely available in any practice where you can access operative notes.
For trainees preparing for board examinations or the ARRT MRI registry, dedicate time to working through case-based practice questions that integrate anatomy, pathology, and physics simultaneously. Shoulder MRI questions frequently combine identification of a specific structure with recognition of pathology and selection of the most appropriate next sequence or imaging study. Answering these in a timed setting builds the rapid pattern recognition that real clinical practice demands when you are reading 30 or more studies per shift.
Stay current with the literature. Newer techniques such as 3D isotropic sequences, synthetic MRI, and quantitative T2 mapping are gradually entering clinical practice and offer advantages for thin cuff structures and cartilage evaluation. Compressed sensing acceleration has shortened shoulder MRI scan times to under 10 minutes at some centers, improving patient throughput and reducing motion artifact. Even if your practice has not yet adopted these tools, understanding their principles prepares you for future protocol changes.
Finally, never underestimate the value of consultation. When a study is genuinely confusing, walk to a colleague's workstation and review it together. Two experienced readers will reach the correct interpretation more often than one — and the discussion itself reinforces interpretive principles for both of you. Radiology has historically been a collaborative specialty, and modern PACS systems with image-sharing tools make second opinions easier than ever before. There is no penalty for asking; there is significant penalty for missing a finding that a colleague would have caught.
Continuous improvement is the hallmark of a great musculoskeletal radiologist. Each shoulder MRI you read should sharpen your search pattern, expand your pathology library, and refine your reporting style. With time, the structures that initially seemed crowded and confusing become familiar landmarks, and the act of interpretation becomes faster and more confident. Approach each study with humility, curiosity, and discipline — and your interpretive accuracy on rotator cuff and labral pathology will continue to improve throughout your entire career, no matter how many studies you have already read.
MRI Questions and Answers
What Is an MRI Test? How Magnetic Resonance Imaging Scans Diagnose Disease in 2026
MRI Medical Abbreviation: What MRI Stands For and Why It Matters
The History of MRI: From Discovery to Modern Medicine
Knee MRI Images: A Complete Guide to Reading, Understanding, and Interpreting Knee Scans
Noise of MRI Machine: Why MRI Scanners Are So Loud and What to Expect
About the Author

Medical Laboratory Scientist & Clinical Certification Expert
Johns Hopkins UniversityDr. Sandra Kim holds a PhD in Clinical Laboratory Science from Johns Hopkins University and is certified as a Medical Technologist (MT) and Medical Laboratory Scientist (MLS) through ASCP. With 16 years of clinical laboratory experience spanning hematology, microbiology, and molecular diagnostics, she prepares candidates for ASCP board exams, MLT, MLS, and specialist certification tests.
Join the Discussion
Connect with other students preparing for this exam. Share tips, ask questions, and get advice from people who have been there.
View discussion (8 replies)