How Is an MRI Done? A Complete Step-by-Step Guide to the Magnetic Resonance Imaging Procedure in 2026 July
How a MRI is done explained step by step — preparation, scan process, contrast injection, duration, and what patients experience inside the bore. 🆕
Understanding how a mri is done helps patients walk into the pictures of mri machine with confidence rather than anxiety. Magnetic resonance imaging is a noninvasive diagnostic procedure that uses a powerful magnetic field, radiofrequency pulses, and a sophisticated computer system to generate detailed cross-sectional images of organs, soft tissues, bones, and nearly every internal structure. Unlike X-rays or computed tomography, MRI uses no ionizing radiation, which makes it especially valuable for repeat imaging, pediatric cases, and long-term monitoring of chronic conditions.
The procedure begins long before the patient enters the scanner room. A technologist reviews the order, confirms the body part being imaged, screens for metallic implants, and explains the sequence of events the patient should expect. Most outpatient MRI appointments take between 30 and 90 minutes, depending on the anatomy, the number of pulse sequences ordered, and whether contrast material is required. The actual scanning time inside the bore typically accounts for 20 to 60 minutes of that window.
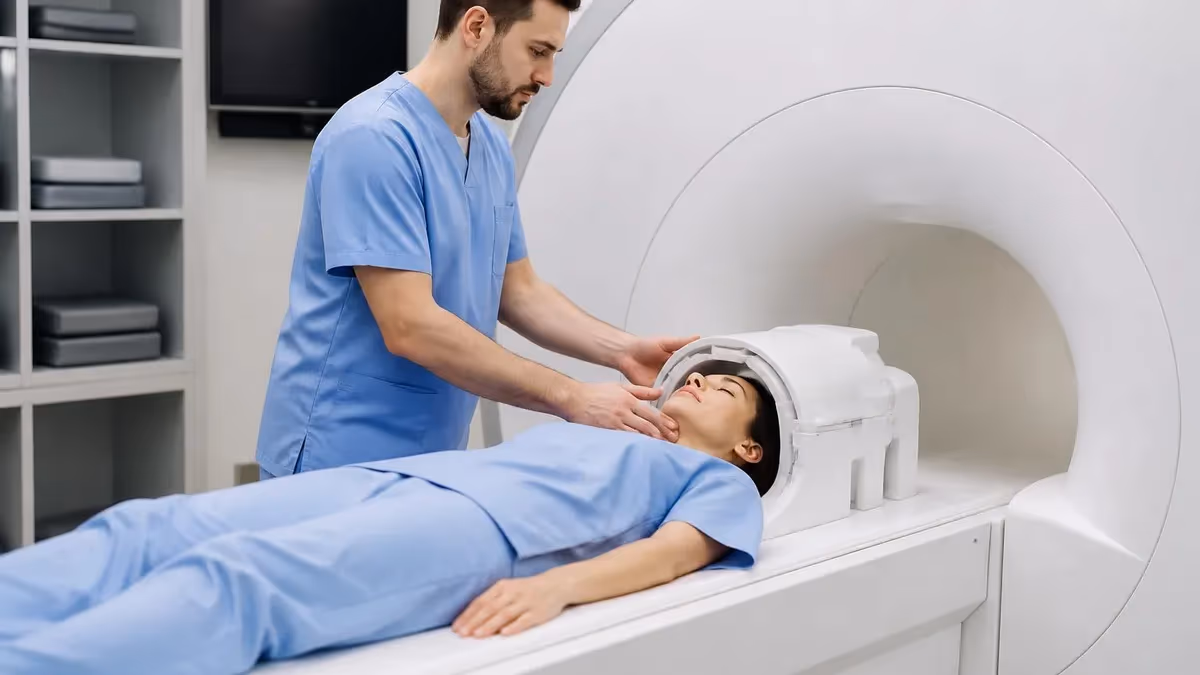
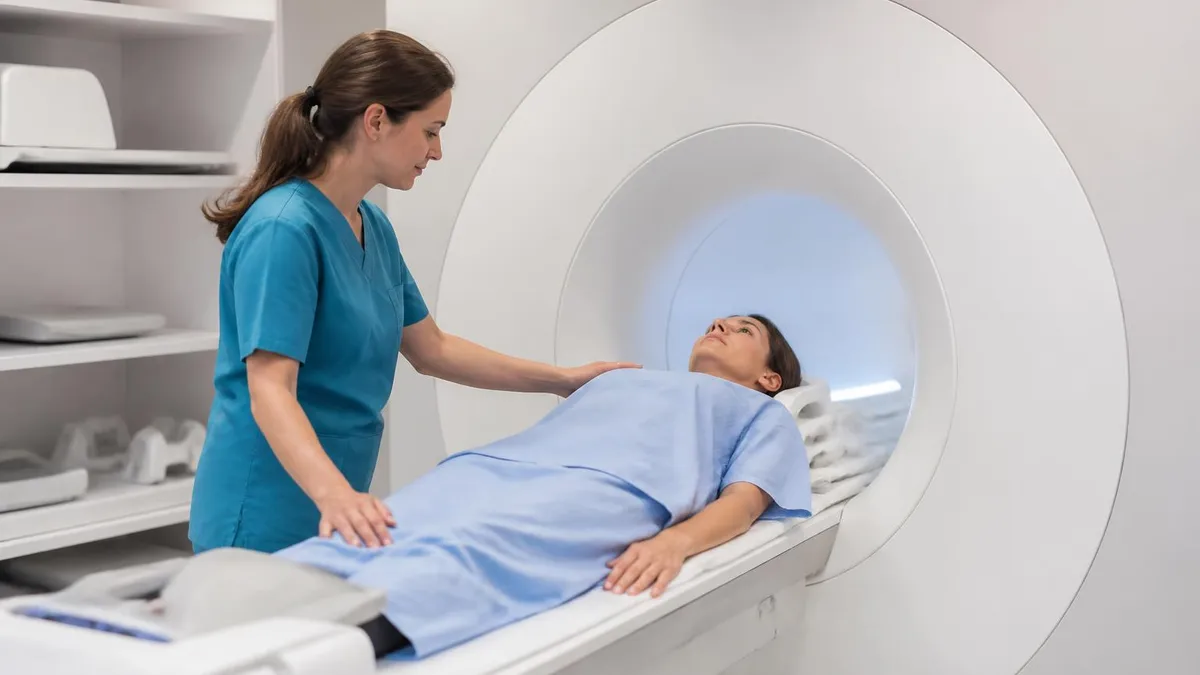
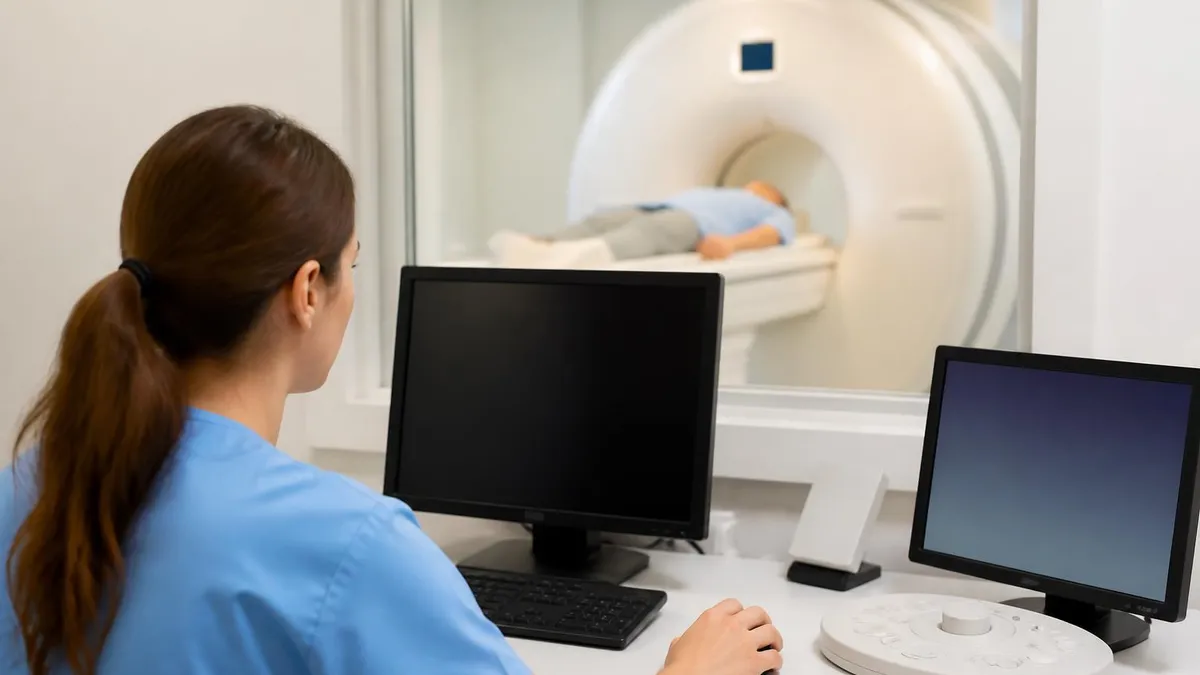
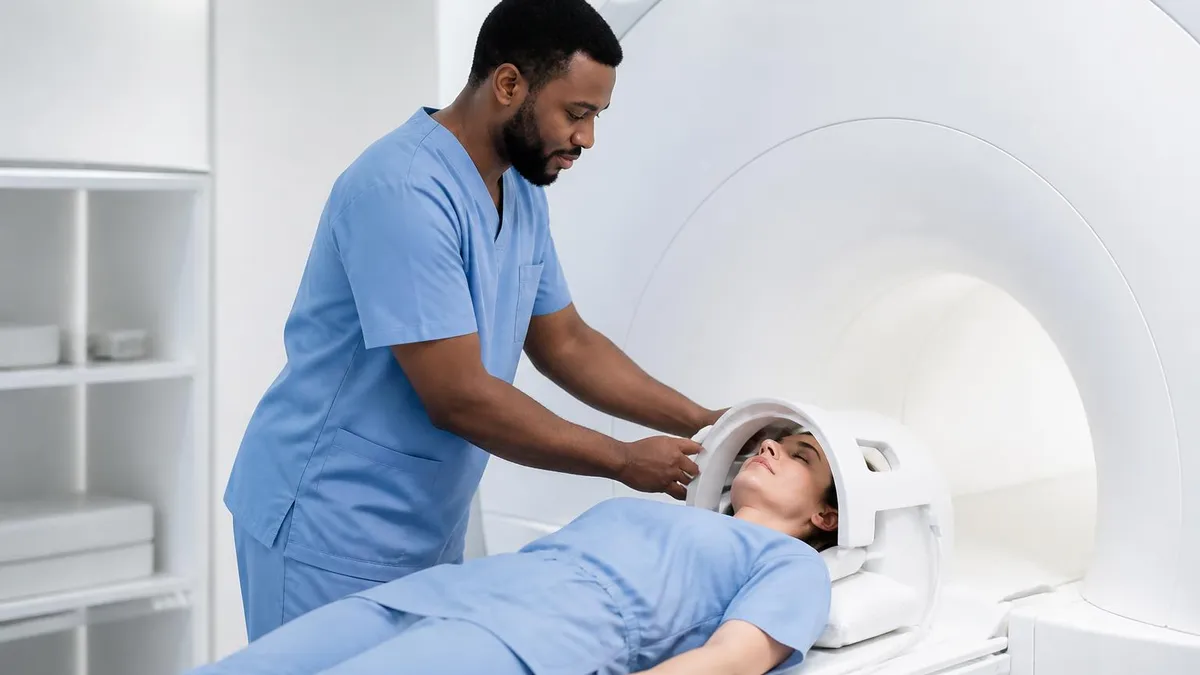
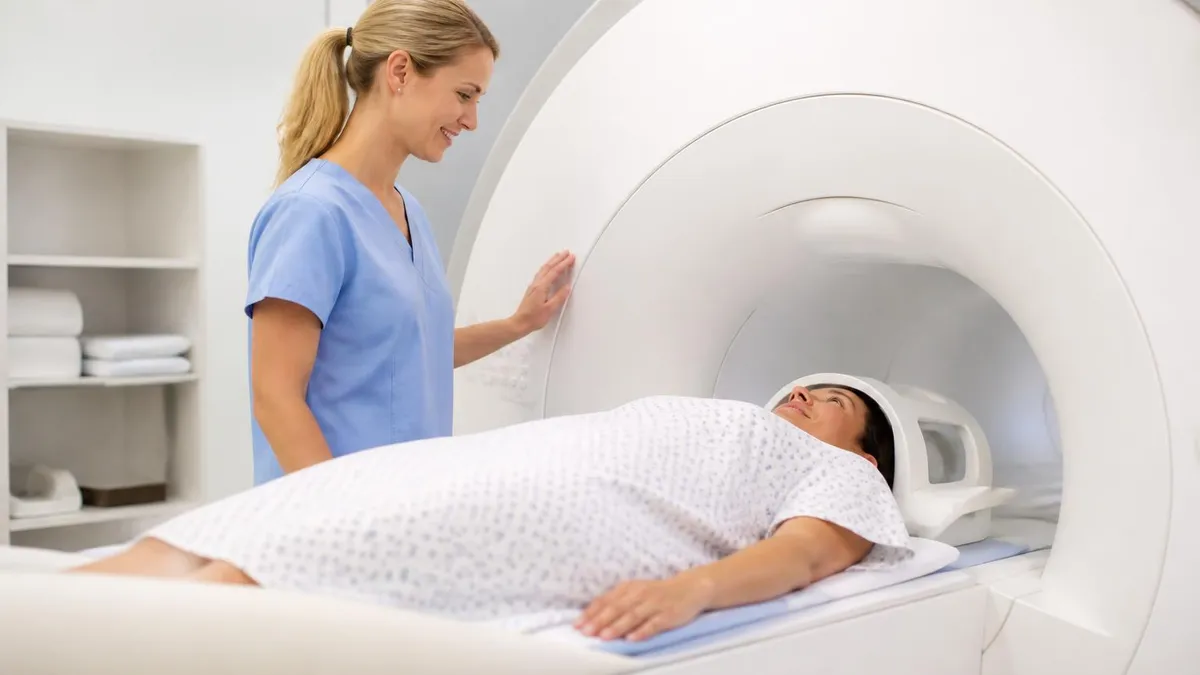
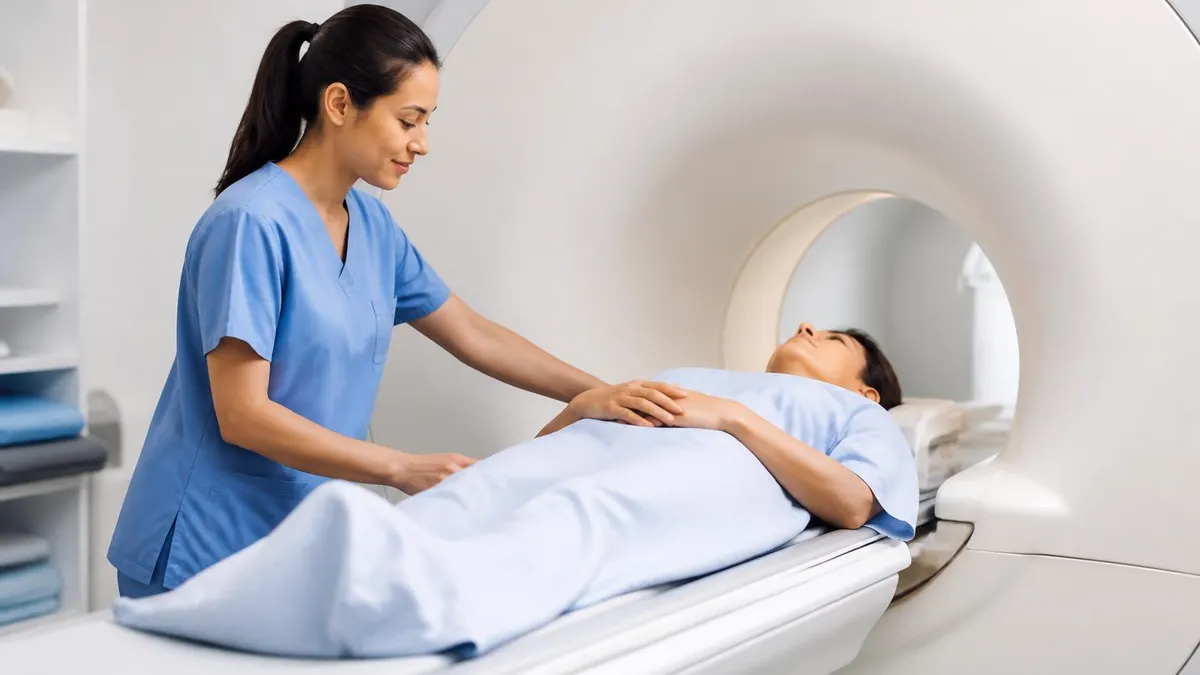
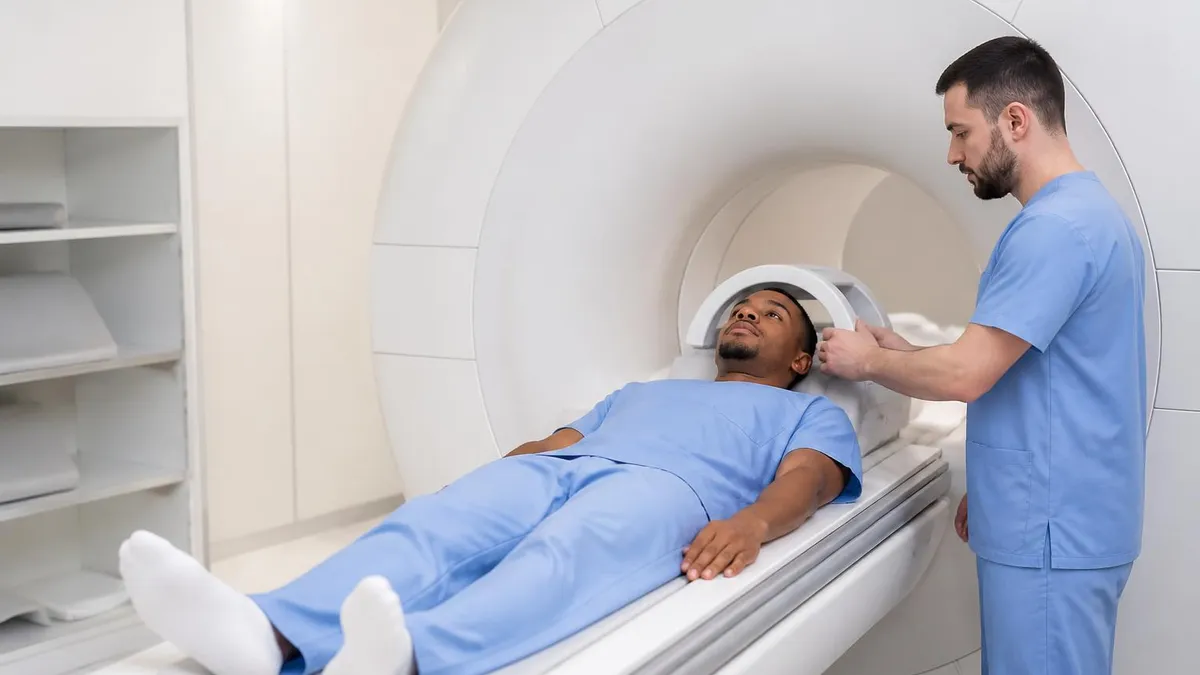
Once cleared by the safety screening, the patient changes into a gown, removes all metallic items, and is positioned on a padded table that slides into the bore of the magnet. A radiofrequency coil is placed over or around the area of interest to receive the signal emitted by hydrogen protons in body tissues. The technologist then leaves the room and operates the mri experience a shielded console, communicating with the patient through an intercom and a squeeze bulb for emergencies.
During scanning, the magnet generates a series of loud knocking, buzzing, or thumping sounds caused by rapidly switching gradient coils. Patients wear earplugs or padded headphones, and many facilities offer music or video goggles to make the experience more comfortable. Staying perfectly still is critical because even small movements blur the images and may require sequences to be repeated, adding time to the appointment.
If gadolinium-based contrast is ordered, it is typically injected into a vein in the arm about halfway through the exam. Contrast improves visualization of blood vessels, tumors, areas of inflammation, and the blood-brain barrier. After the scan, patients can resume normal activities immediately unless they received sedation. Radiologists then interpret the images and send a report to the ordering physician, usually within 24 to 48 hours.
Different anatomies require different protocols, coils, and patient positioning. A brain MRI uses a head coil and takes about 30 minutes, while a cardiac MRI uses ECG gating and can stretch to 90 minutes. Musculoskeletal exams of the knee or shoulder often require flexible surface coils. Knowing what to expect for each body region helps the patient stay calm, follow breath-hold instructions accurately, and ultimately produce diagnostic images.
This guide walks through every stage of the MRI process — from the moment you receive the order through scheduling, screening, preparation, scanning, contrast administration, post-exam recovery, and interpretation. Whether you are a first-time patient, a student preparing for the ARRT MRI registry, or a clinician brushing up on workflow, the following sections explain mri quenching why it happens, and how each step contributes to producing the diagnostic images your physician needs.
How an MRI Is Done by the Numbers
Step-by-Step MRI Procedure Timeline
Order and Scheduling
Safety Screening
Changing and Preparation
Positioning in the Bore
Image Acquisition
Completion and Discharge
Preparation for an MRI begins the moment the order is placed. Most outpatient exams do not require fasting, but contrast-enhanced abdominal or pelvic MRIs often call for four to six hours without food or drink to minimize bowel motion and reduce nausea after gadolinium injection. Patients taking routine medications usually continue them with small sips of water unless instructed otherwise. Diabetic patients on metformin do not need to stop the drug for a standard MRI because the agent is not iodinated.
The pre-exam questionnaire is the single most important safety document in the MRI department. It asks about pacemakers, implanted cardioverter defibrillators, neurostimulators, cochlear implants, aneurysm clips, metallic foreign bodies in the eye, prior surgeries, tattoos, permanent makeup, and pregnancy status. Any positive answer triggers a verification process — pulling implant cards, calling the manufacturer, or obtaining a plain radiograph of the orbits to rule out metal fragments from past welding or grinding work.
Once cleared, the patient changes into a metal-free gown. Even seemingly harmless items like underwire bras, sequins, or transdermal patches with metallic backing must be removed because they can heat, distort the image, or in rare cases burn the skin. Hearing aids and dentures with metal are stored outside the magnet room. Insulin pumps are typically removed and reattached after the scan. Patients are encouraged to use the restroom because the exam may last 45 minutes or longer.
If an intravenous line is needed, the technologist or nurse inserts a 20- or 22-gauge angiocatheter, usually in the antecubital vein. The line is flushed with saline and connected to a power injector that will deliver gadolinium at a controlled rate during the scan. Patients with poor venous access, contrast allergies, or impaired kidney function are flagged for additional screening. Estimated glomerular filtration rate (eGFR) is verified for at-risk patients before any gadolinium is given.
Claustrophobia affects roughly 5 to 10 percent of MRI patients to some degree. Mild anxiety is usually managed with calming techniques, mirror prisms that show the room outside the bore, or a wider-bore 70 cm scanner. Moderate claustrophobia may require oral anxiolytics such as lorazepam taken 30 to 60 minutes before the appointment. Patients receiving sedation must arrange transportation home because driving is prohibited for the remainder of the day.
Pediatric and neonatal patients often require special preparation. Infants may be fed and swaddled using a feed-and-sleep technique, while older children may need oral or intravenous sedation administered by an anesthesia team. Child-life specialists frequently use mock scanners and storybook walkthroughs to familiarize children with the sounds and confined space. Effective preparation reduces sedation rates, shortens scan times, and improves diagnostic image quality.
Finally, communication is rehearsed. The technologist demonstrates the intercom, the emergency squeeze bulb, and breath-hold commands. Patients are reminded that they can speak between sequences but should remain motionless during scanning. Reviewing prior imaging — especially CT or older MRI exams — is part of preparation too, as it lets the radiologist tailor the protocol to the specific clinical question rather than relying on a generic template.
MRI Practice Test Questions
Prepare for the MRI - Magnetic Resonance Imaging exam with our free practice test modules. Each quiz covers key topics to help you pass on your first try.
MRI Knowledge
MRI Exam Questions covering Knowledge. Master MRI Test concepts for certification prep.
MRI Physics
Free MRI Practice Test featuring Physics. Improve your MRI Exam score with mock test prep.
MRI Anatomy and Pathology
MRI Test Prep for MRI Anatomy and Pathology. Practice MRI Quiz questions and boost your score.
MRI Anatomy and Positioning
MRI Questions and Answers on MRI Anatomy and Positioning. Free MRI practice for exam readiness.
MRI Contrast Agents
Free MRI Quiz on MRI Contrast Agents. MRI Exam prep questions with detailed explanations.
MRI Patient Care and Positioning
MRI Practice Questions for MRI Patient Care and Positioning. Build confidence for your MRI certification exam.
MRI Positioning and Coil Selection by Anatomy
For brain MRI, the patient lies supine with the head inside a dedicated 16- or 32-channel head coil. Foam pads stabilize the skull, and the laser alignment light is centered at the glabella. The patient is instructed to close the eyes and remain perfectly still. A typical brain protocol runs T1, T2, FLAIR, diffusion-weighted, and gradient echo sequences.
Spine imaging uses a posterior spine array embedded in the table plus an anterior surface coil for cervical work. Patients lie supine with a small pillow under the knees to reduce lumbar lordosis. The technologist localizes to the appropriate vertebral level using a sagittal scout. Total imaging time for a single spine segment is typically 25 to 35 minutes including contrast.
Advantages and Limitations of the MRI Procedure
- +No ionizing radiation, making it safe for repeat imaging and pediatric patients
- +Superior soft-tissue contrast compared with CT or ultrasound
- +Multiplanar imaging without repositioning the patient
- +Excellent visualization of brain, spinal cord, joints, and pelvic organs
- +Functional information through diffusion, perfusion, and spectroscopy
- +Gadolinium contrast has a lower allergic reaction rate than iodinated CT contrast
- +Detects pathology like multiple sclerosis and early stroke that other modalities miss
- −Long scan times — typically 30 to 90 minutes per study
- −Loud gradient noise requires hearing protection throughout
- −Confined bore space triggers claustrophobia in 5 to 10 percent of patients
- −Strict contraindications for many metallic implants and pacemakers
- −Higher cost than CT or ultrasound
- −Motion artifact easily degrades images if the patient cannot stay still
- −Limited availability in rural areas and after hours
MRI Safety Screening Checklist Before the Scan
- ✓Confirm no pacemaker, ICD, or implanted cardiac device unless MRI-conditional and verified
- ✓Verify absence of cerebral aneurysm clips, cochlear implants, or neurostimulators
- ✓Ask about prior surgeries with metallic hardware and obtain implant cards
- ✓Screen for metallic foreign bodies in the eye with orbital radiographs if indicated
- ✓Remove all jewelry, hairpins, watches, glasses, dentures, and hearing aids
- ✓Take off underwire bras, transdermal patches, and clothing with metallic threads
- ✓Verify recent eGFR for patients receiving gadolinium contrast if at risk for renal disease
- ✓Document pregnancy status and consult with the radiologist if first trimester
- ✓Establish reliable IV access if contrast or motion-control medication is needed
- ✓Demonstrate the emergency squeeze bulb and confirm two-way intercom communication
Stillness equals diagnostic quality
Even a one-millimeter movement during image acquisition can blur an entire sequence and force the technologist to repeat it. Plan your appointment so you arrive rested, hydrated, and unhurried. Use the restroom right before entering the magnet room, find a comfortable position on the table, and commit to staying still for the duration of each pulse sequence — typically two to seven minutes per series.
Gadolinium-based contrast agents are administered in roughly 30 to 40 percent of MRI exams to improve detection and characterization of disease. The agent shortens the T1 relaxation time of nearby water protons, making vascular structures, areas of inflammation, and abnormal tissue appear bright on T1-weighted sequences. The decision to use contrast is made by the radiologist based on the clinical question and is not automatic — many musculoskeletal and screening exams are performed without it.
Before injection, the technologist verifies the patient's weight to calculate the correct dose, usually 0.1 millimoles per kilogram of body weight, which translates to about 15 milliliters for a 70-kilogram adult. The agent is loaded into a power injector along with a saline flush. Common gadolinium agents in 2026 include macrocyclic chelates like gadobutrol, gadoteridol, and gadoterate meglumine, which are preferred for their excellent kinetic stability and minimal tissue retention.
During injection, the contrast is delivered at a rate of one to two milliliters per second through the indwelling IV line. For dynamic studies — such as breast MRI, liver MRI, or MR angiography — the injector is synchronized with the scanner so that imaging captures the arterial, portal venous, and delayed phases of contrast distribution. The technologist watches the patient through the control room window for any signs of reaction or extravasation at the IV site.
Adverse reactions to gadolinium are rare, occurring in fewer than one in a thousand injections. Mild reactions include nausea, hives, or warmth at the injection site. Moderate reactions might include vomiting or bronchospasm, while severe anaphylactoid reactions are extremely uncommon. Every MRI suite stocks emergency medications, oxygen, and resuscitation equipment, and staff are trained to recognize and treat reactions immediately. Patients with prior gadolinium reactions often receive premedication with corticosteroids and antihistamines.
Nephrogenic systemic fibrosis (NSF) was once a serious concern for patients with severe kidney disease receiving older linear gadolinium agents. Modern macrocyclic agents have dramatically reduced this risk, but the American College of Radiology still recommends checking eGFR in patients with risk factors and using the lowest necessary dose. Patients on dialysis can receive gadolinium when clinically essential, often with hemodialysis scheduled shortly after the exam.
Some patients receive non-gadolinium contrast techniques instead. Time-of-flight and phase-contrast MR angiography produce vascular images using flow-related signal rather than contrast. Diffusion-weighted imaging characterizes tissue cellularity without any injection. These contrast-free techniques are particularly valuable in pregnancy, where gadolinium crosses the placenta and is generally avoided except in life-threatening situations after careful risk-benefit discussion.
After the contrast injection, the technologist continues acquiring post-contrast T1-weighted sequences in multiple planes. The total additional scan time after injection is usually 5 to 15 minutes. Once the protocol is complete, the IV is removed, the site is checked for bruising, and the patient is encouraged to drink water to help the kidneys clear the agent. Most gadolinium is excreted within 24 hours in patients with normal renal function.
The MRI magnet is always on, even when the scanner is idle. Never bring oxygen tanks, wheelchairs, IV poles, scissors, or any ferromagnetic object into Zone IV without explicit MR-conditional clearance. Projectile accidents have caused serious injuries and deaths. If you are unsure whether an item is safe, ask the technologist before crossing the safety line.
After the final pulse sequence, the technologist returns to the magnet room, slides the table out of the bore, and helps the patient sit up slowly to avoid lightheadedness. The IV line, if present, is removed and the site is bandaged. Patients then return to the dressing area, change back into their street clothes, and collect personal belongings from the locker. For most outpatient MRI exams without sedation, this entire post-exam process takes less than ten minutes.
Patients who received oral or intravenous sedation must wait in a recovery area until their vital signs are stable and they meet discharge criteria. A responsible adult must drive them home, and they should not return to work, operate heavy machinery, or sign legal documents for at least 24 hours. Pediatric patients receiving anesthesia are monitored by the anesthesia team until fully awake, tolerating fluids, and able to walk with assistance.
Hydration is encouraged after gadolinium contrast to support renal clearance. There are no specific dietary restrictions after a standard MRI, and patients can resume normal activity immediately. Side effects from the procedure itself are rare. Some patients report transient lightheadedness, a metallic taste from contrast, or mild headache. Persistent symptoms — particularly hives, swelling, or breathing difficulty — should prompt an immediate call to the imaging center or a visit to the emergency department.
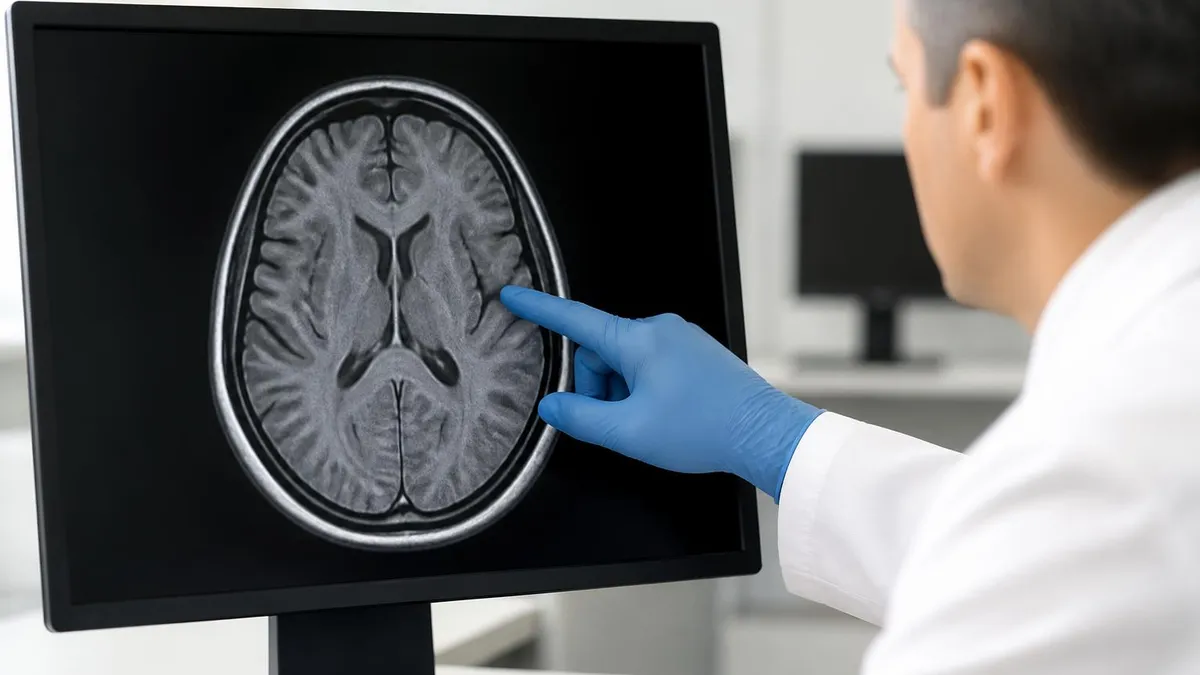
Behind the scenes, the technologist reviews the images on the console to confirm diagnostic quality before releasing the patient. Any blurred or incomplete sequences may be repeated immediately rather than requiring a return visit. The complete study — often 200 to 800 individual images — is then transferred to the picture archiving and communication system (PACS) where the radiologist reads it on a high-resolution workstation. For more on the technology that makes this possible, see What Is an MRI Test? How Magnetic Resonance Imaging Scans Diagnose Disease in 2026.
The radiologist correlates the images with the patient's clinical history, prior imaging, and laboratory results before generating a structured report. Findings are described systematically by anatomic region, followed by an impression that summarizes the most important conclusions and offers recommendations for follow-up. Critical or unexpected findings — like a new mass, acute stroke, or unstable spinal injury — trigger a phone call to the ordering provider in addition to the written report.
Turnaround time varies by facility. Outpatient reports are typically signed within 24 to 48 hours, while inpatient and emergency department scans are often read within 30 to 60 minutes. Patients can usually access their report through a secure patient portal shortly after it is signed. Many portals also provide a downloadable copy of the images on a CD or through a cloud-based viewer so patients can share studies with specialists or second-opinion centers.
Follow-up depends entirely on the findings. A normal scan may end the diagnostic workup, while abnormal findings can lead to additional imaging, laboratory tests, biopsy, or specialist referral. Patients are encouraged to schedule a follow-up appointment with the ordering physician to review results in person rather than relying solely on the portal. Understanding the report empowers patients to participate actively in shared decision-making about their care.
Practical tips can dramatically improve your MRI experience. Wear loose, comfortable clothing without metal snaps or zippers so you may not even need to change into a gown for certain extremity exams. Avoid wearing makeup or hair products on the day of a brain MRI because some cosmetics contain metallic pigments that can cause artifact in the frontal regions of the image. If you wear permanent makeup or have large tattoos, mention this during screening.
Arrive 15 to 30 minutes early to complete paperwork, change, and use the restroom without feeling rushed. Bring a list of your current medications, prior surgeries, and any implant identification cards. If you have had previous MRI scans at another facility, request that the images be transferred or bring a CD so the radiologist can compare studies. Comparison with prior imaging is one of the most valuable tools for accurate interpretation.
Communicate openly about anxiety, claustrophobia, or pain. The technologist can offer warm blankets, position changes, additional padding, music selection, and frequent verbal reassurance during the scan. If you anticipate severe anxiety, ask your physician about a mild oral anxiolytic in advance — but only with a designated driver. Some facilities also offer open or wide-bore scanners for larger patients or those with significant claustrophobia.
Practice breathing slowly and steadily through your nose. Long, controlled breaths help you stay relaxed during long sequences. Close your eyes before entering the bore and visualize a familiar peaceful setting. Keep your hands clasped or resting on your abdomen rather than at your sides where they may inadvertently touch the bore wall. Touching the bore can cause skin warming during high-SAR sequences and should be avoided.
Listen carefully to breath-hold instructions during abdominal, chest, or cardiac exams. The technologist will say something like "breathe in, breathe out, hold your breath" — usually for 15 to 20 seconds. Practicing these breath-holds at home in the days leading up to the exam improves your ability to follow the commands consistently, which is one of the most important factors in image quality for these protocols.
Bring a pair of compression socks if you have any history of restless legs, as lying still for an hour can occasionally trigger symptoms. Avoid excessive caffeine the morning of the exam because it may worsen jitteriness and bladder urgency. Eat a light meal beforehand unless your protocol requires fasting. Low blood sugar can cause dizziness, sweating, and motion that degrades image quality.
Finally, ask questions. Imaging technologists are trained healthcare professionals who want you to have a positive experience and produce diagnostic-quality images. They can explain the noises, the sequences, the contrast injection, and what each part of the scan is showing. The more you understand about the procedure, the more relaxed and cooperative you will feel — and that translates directly into faster scan times and clearer pictures for your doctor.
MRI Questions and Answers
What Is an MRI Test? How Magnetic Resonance Imaging Scans Diagnose Disease in 2026
MRI Medical Abbreviation: What MRI Stands For and Why It Matters
The History of MRI: From Discovery to Modern Medicine
Knee MRI Images: A Complete Guide to Reading, Understanding, and Interpreting Knee Scans

Noise of MRI Machine: Why MRI Scanners Are So Loud and What to Expect
About the Author
Medical Laboratory Scientist & Clinical Certification Expert
Johns Hopkins UniversityDr. Sandra Kim holds a PhD in Clinical Laboratory Science from Johns Hopkins University and is certified as a Medical Technologist (MT) and Medical Laboratory Scientist (MLS) through ASCP. With 16 years of clinical laboratory experience spanning hematology, microbiology, and molecular diagnostics, she prepares candidates for ASCP board exams, MLT, MLS, and specialist certification tests.
Join the Discussion
Connect with other students preparing for this exam. Share tips, ask questions, and get advice from people who have been there.
View discussion (6 replies)