Closed MRI: How It Works, What to Expect, and Why It Produces the Sharpest Images
Closed MRI explained: 📝 how the bore works, image quality, scan times, safety, prep, and how it compares to open MRI for patients and techs.
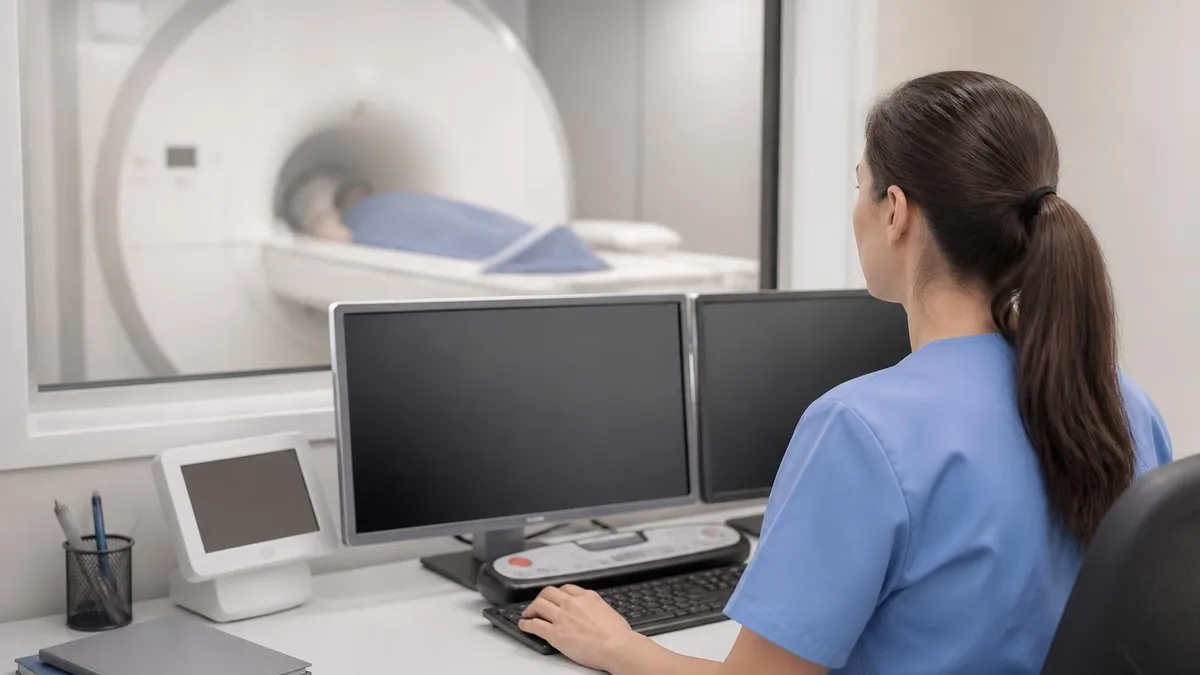
A closed MRI is the traditional magnetic resonance imaging system most patients picture when they hear the word "MRI": a long, tube-shaped scanner with a narrow cylindrical bore that the patient slides into on a motorized table. The closed design surrounds the body with a powerful, highly uniform magnetic field, and that uniformity is exactly why the closed MRI remains the clinical gold standard for image quality. Most hospital scanners operate at 1.5 tesla or 3 tesla, field strengths that produce the crisp, high-resolution images radiologists rely on for confident diagnoses.
The physics behind the machine is elegant. The strong magnet aligns the hydrogen protons in your body's water and fat. A radiofrequency pulse knocks those protons out of alignment, and as they relax back into place they release tiny signals that the scanner's receiver coils detect. A computer reconstructs millions of these signals into detailed cross-sectional slices. Because a closed bore wraps the magnet tightly around the patient, the field stays remarkably consistent, and consistency translates directly into sharper, more reliable pictures.
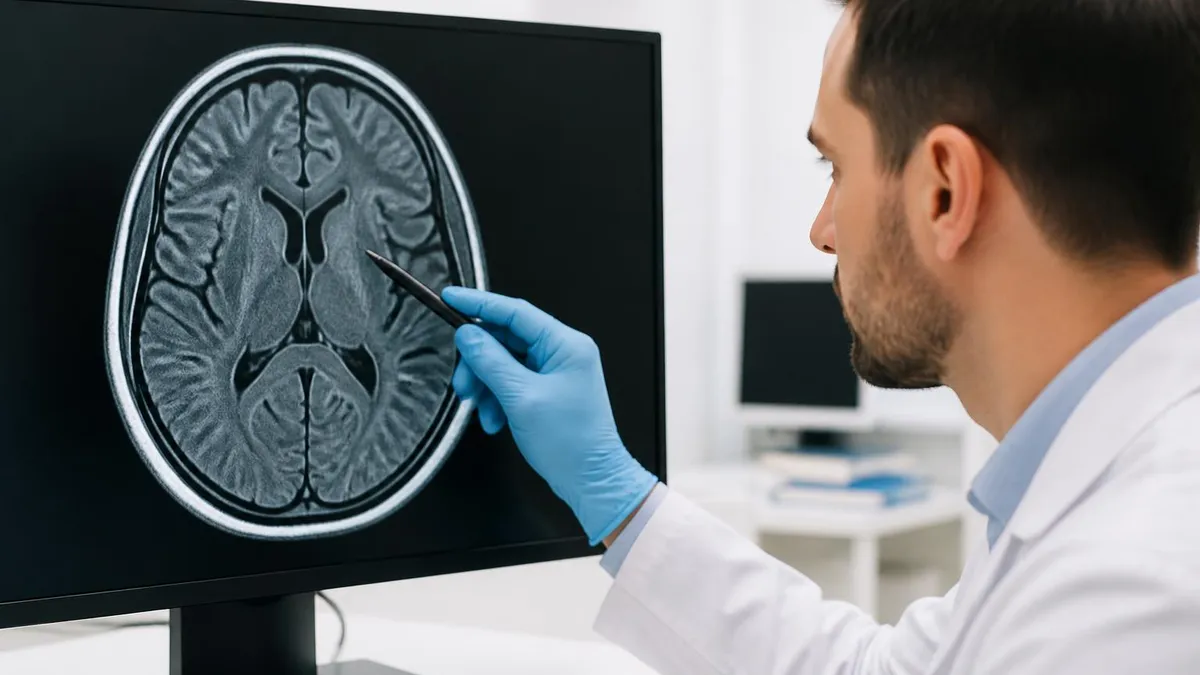
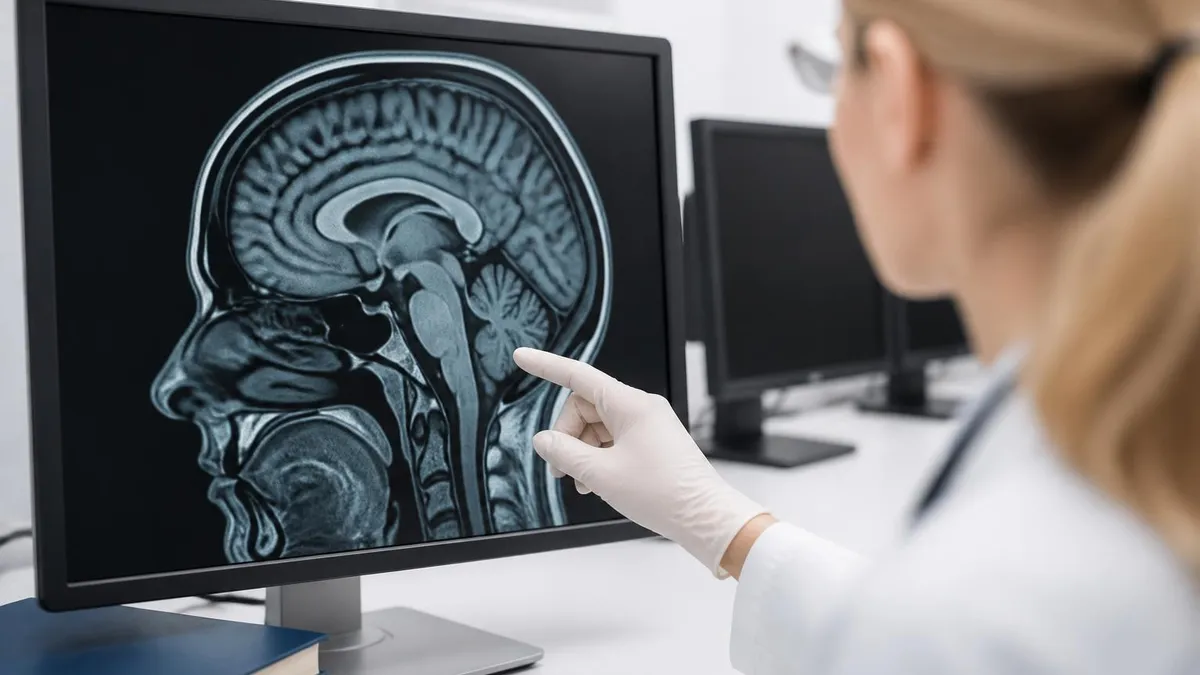
That diagnostic edge is the central trade-off patients weigh. The enclosed tube can feel confining, and the scanner is loud, but the payoff is resolution that open systems still struggle to match. For small structures like the pituitary gland, the inner ear, cartilage in a joint, or subtle lesions in the brain and spinal cord, the closed MRI frequently delivers the level of detail that changes a treatment plan. Radiologists often request it specifically when an open scan has left a question unanswered.
If you want to test your understanding of imaging principles before a board exam or simply to learn more, our closed mri practice resources walk through the concepts with video answers. Knowing how the hardware shapes the final image helps both aspiring technologists and curious patients appreciate why the scan is set up the way it is, and why the technologist asks you to hold so still.
Closed MRI is non-invasive and uses no ionizing radiation, which distinguishes it sharply from CT and X-ray. There is no lingering dose to worry about, and the exam can be repeated as often as a clinical situation demands. The main considerations are not radiation but rather the strong magnetic field's interaction with metal, the loud acoustic environment, and the comfort of lying still in a confined space for the duration of the study.
Scan times vary widely depending on the body part and the number of sequences ordered. A focused brain study might run fifteen to twenty minutes, while a detailed multi-sequence exam of the spine or an abdominal study with contrast can stretch to forty-five minutes or longer. Understanding what drives those times, and what you can do to make the experience smoother, is exactly what the rest of this guide covers in practical, plain-language detail.
Throughout this article we will look at how the closed MRI is built, what happens step by step on the day of your scan, how it stacks up against open and wide-bore alternatives, the safety screening that keeps you protected, and the questions patients ask most. Whether you are preparing for an appointment, studying for a registry exam, or just satisfying your curiosity, you will come away knowing what to expect and why this technology endures.
Closed MRI by the Numbers
How a Closed MRI Is Built
The heart of the system is a magnet cooled by liquid helium to near absolute zero, allowing current to flow with no resistance. This generates the powerful 1.5T or 3T field that makes high-resolution closed MRI imaging possible.
Three sets of gradient coils briefly vary the field across space, encoding location into the signal. Their rapid switching is what creates the loud knocking and buzzing sounds patients hear throughout the scan.
RF coils transmit the pulses that excite hydrogen protons and then receive the faint return signals. Specialized coils shaped for the head, knee, or spine sit close to the body to maximize signal quality.
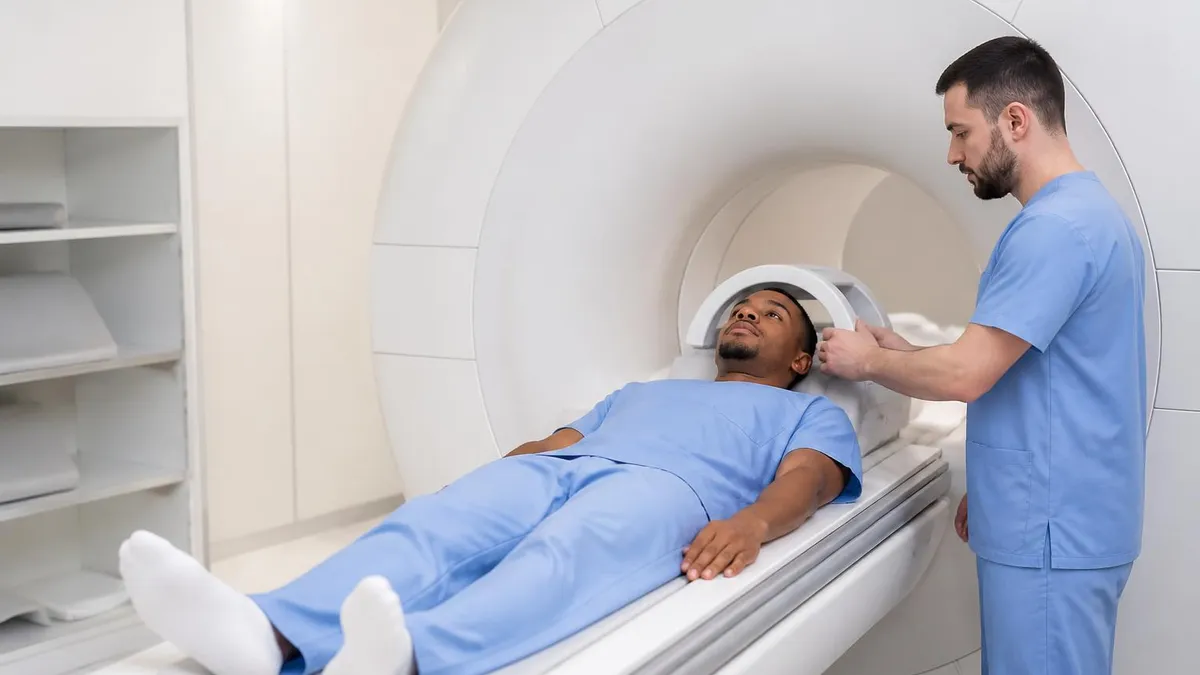
The cylindrical bore, typically 60 cm wide, houses the patient on a motorized table that slides precisely into the isocenter, the field's sweet spot where uniformity and image quality are highest.
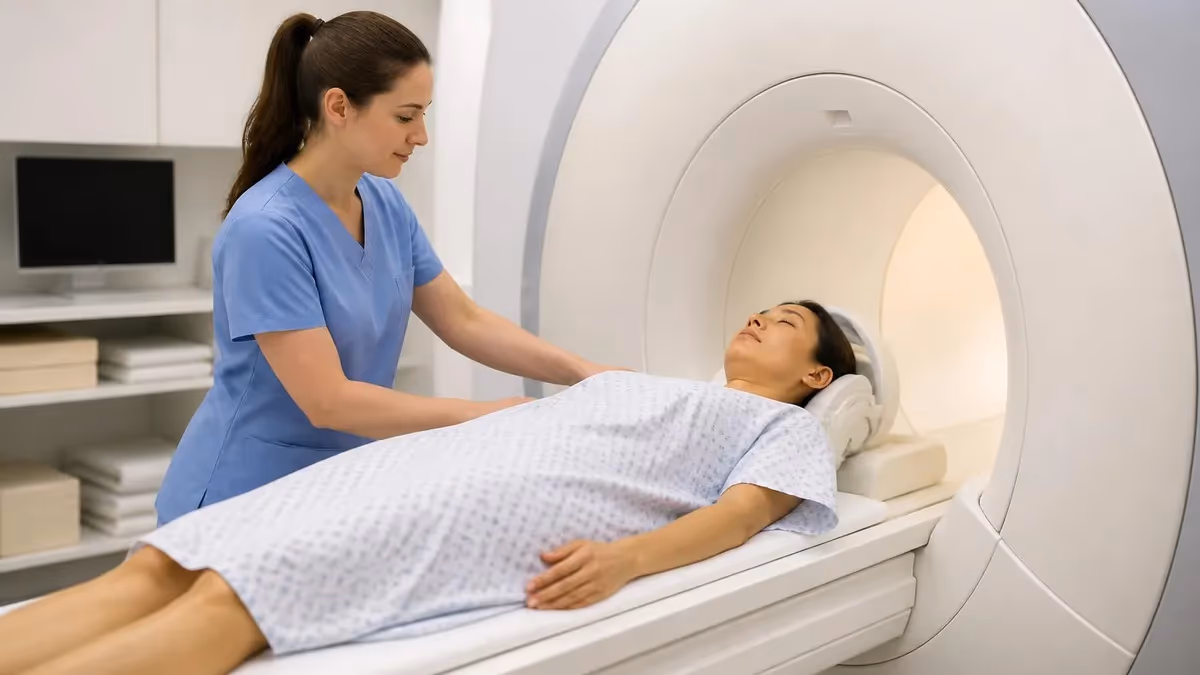
On the day of your closed MRI, the experience begins well before you enter the scan room. You will complete a detailed safety screening form covering implants, prior surgeries, metal fragments, pregnancy, and kidney function if contrast is planned. The technologist reviews your answers carefully because the magnet is always on, even when no scan is running. This screening is the single most important safety step, and honest, thorough answers protect you from the rare but serious hazards of bringing ferromagnetic objects into a strong magnetic field.
Next you change into a gown or metal-free clothing and remove watches, jewelry, hairpins, hearing aids, dentures with metal, and anything magnetic from your pockets. Credit cards and phones stay outside the room because the field can erase magnetic strips and damage electronics. The technologist may scan you with a handheld metal detector. These steps feel tedious, but each one removes a potential projectile or image artifact, keeping both you and the equipment safe during the study.
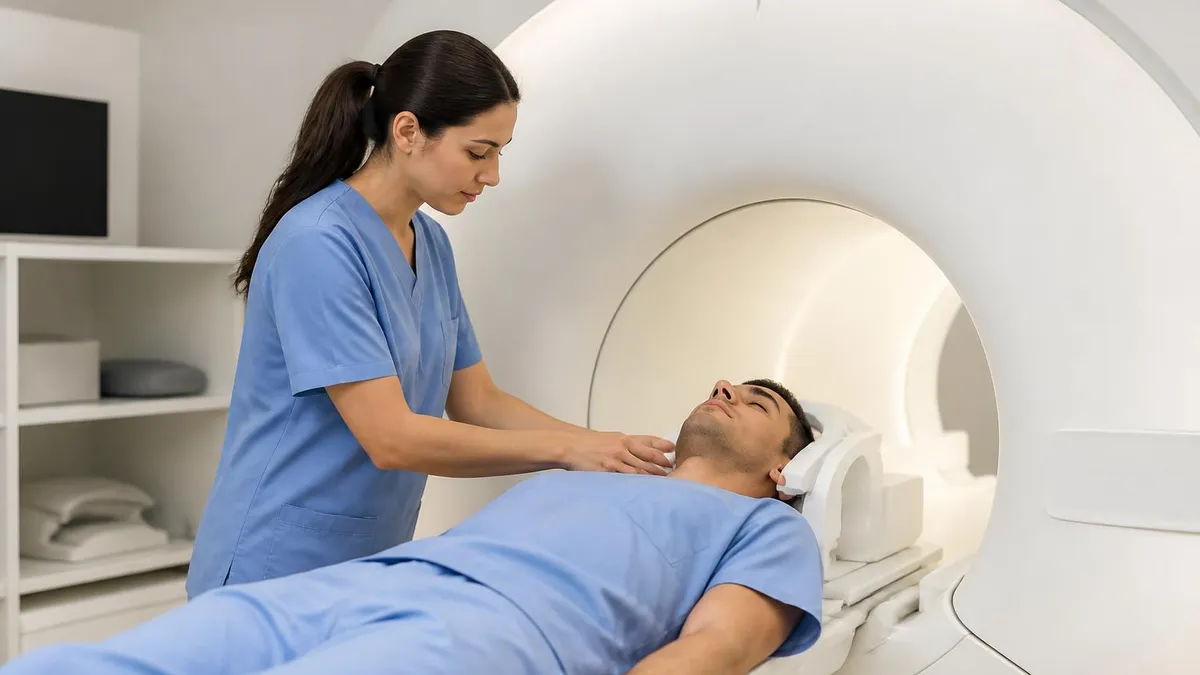
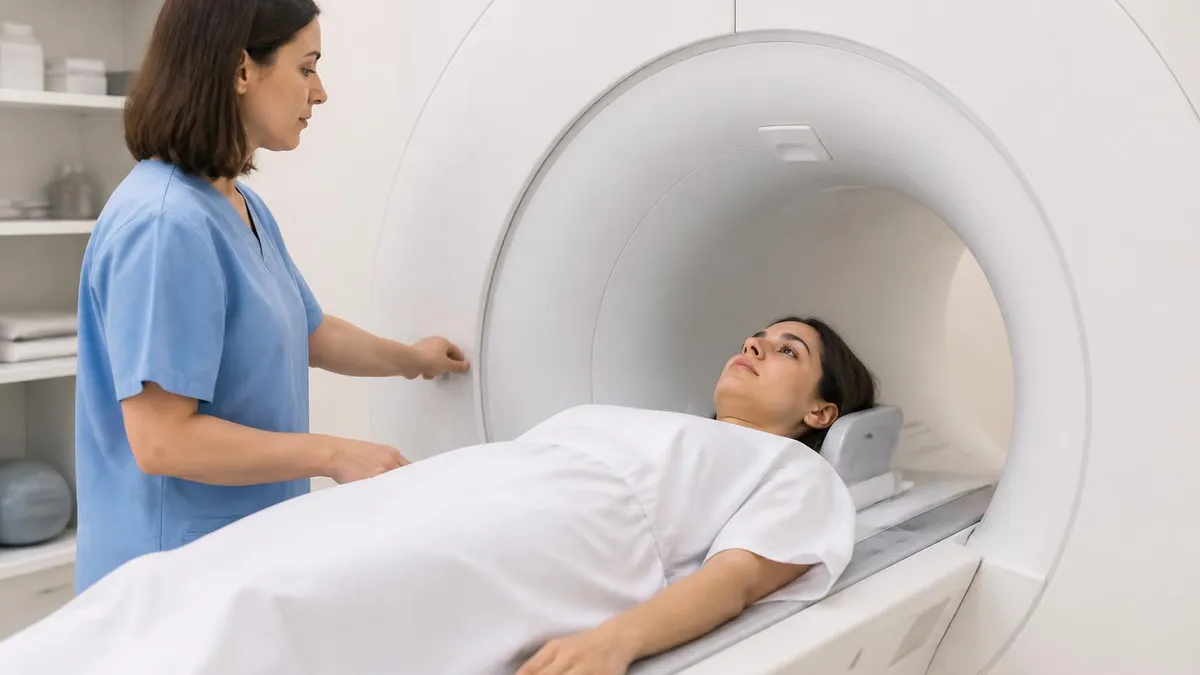
You then lie on the padded table, and the technologist positions a receiver coil over or around the area being imaged, whether that is a head coil, a knee coil, or a torso array. Cushions and straps help you stay comfortable and, crucially, still. Movement blurs the images much like a shaky hand blurs a photograph, so the more relaxed and supported you are, the better the radiologist's pictures will be. You will be given a squeeze-ball alarm to alert the technologist at any time.
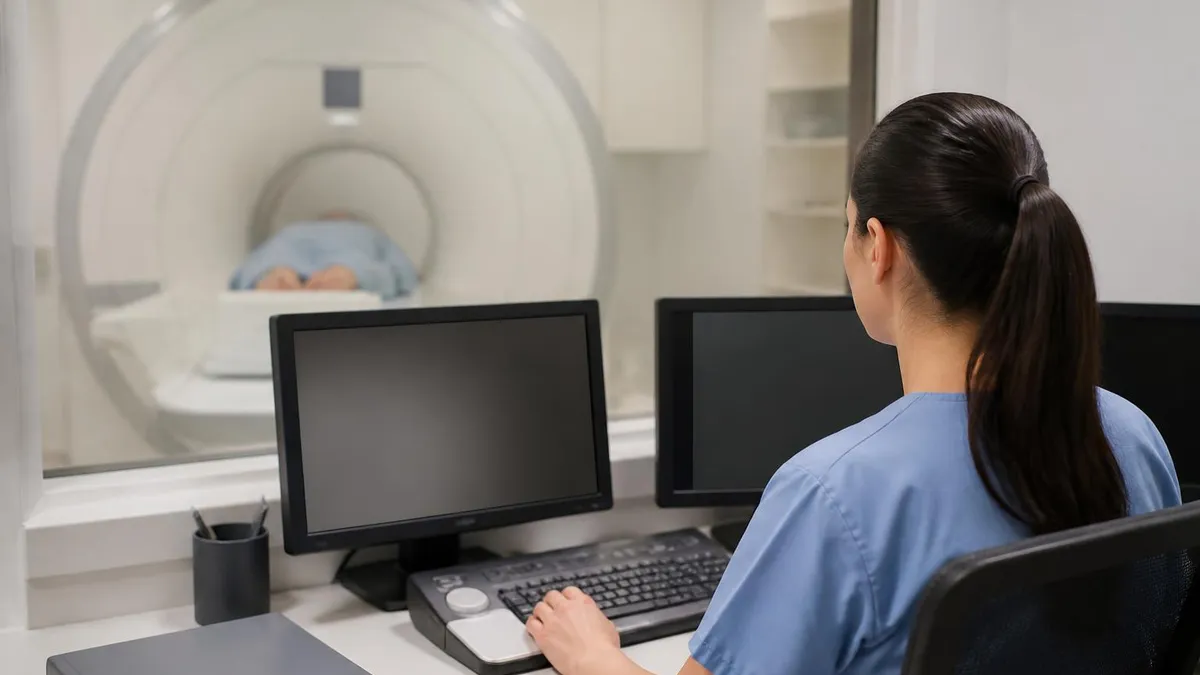
The table glides you into the bore so the target body part sits at the isocenter. The technologist retreats to a control room with a window and an intercom, staying in constant two-way communication. You will hear loud knocking, buzzing, and humming as the gradient coils switch on and off; earplugs or headphones with music dampen the noise. Each sequence lasts from thirty seconds to several minutes, and the technologist will tell you when to expect each one and when to hold particularly still.
If your exam requires contrast, a small IV delivers a gadolinium-based agent partway through the study. Contrast highlights blood vessels, inflammation, and certain tumors, sharpening the distinction between normal and abnormal tissue. You may feel a brief cool sensation as it enters the vein, but reactions are uncommon. The technologist screens your kidney function beforehand because gadolinium is cleared by the kidneys, and impaired clearance is a consideration in choosing the right agent and dose.
When the final sequence ends, the table slides back out and the technologist helps you up. There is no recovery period for a standard scan; you can resume normal activities and drive yourself home immediately. If you received a sedative for anxiety, you will need a ride. A radiologist later interprets the images and sends a report to your ordering physician, typically within a day or two, who then discusses the findings and next steps with you.
Patients preparing for registry exams can sharpen their grasp of this workflow with our MRI Practice Test resources, which mirror the screening, positioning, and sequencing logic technologists use every day. Understanding the choreography of a scan demystifies the experience and, for students, reinforces the clinical reasoning that separates a competent technologist from a great one.
Field Strength and Closed MRI Image Quality
The 1.5T closed MRI is the workhorse of clinical imaging, balancing excellent image quality with broad versatility and patient comfort. It handles brain, spine, joint, abdominal, and cardiac studies with diagnostic confidence, and its slightly more forgiving field reduces certain artifacts near metal implants and air-tissue interfaces.
Because 1.5T systems are mature and widespread, sequences are well optimized and protocols are highly standardized. For the vast majority of routine exams, a 1.5T scanner produces images more than sufficient for accurate diagnosis, which is why it remains the most installed field strength in hospitals and outpatient centers across the United States.
Closed MRI: Strengths and Limitations
- +Highest image resolution and diagnostic detail available
- +Superior magnetic field uniformity for clean, artifact-free slices
- +Available at higher field strengths up to 3T and beyond
- +Faster acquisition of high-resolution sequences than most open units
- +Best choice for brain, spine, small joints, and subtle lesions
- +Widely available at hospitals and outpatient imaging centers
- −Narrow bore can trigger claustrophobia in some patients
- −Loud knocking and buzzing requires hearing protection
- −Tight space limits comfort for large-bodied patients
- −Standard 60 cm bore may not fit patients above weight limits
- −Lying still in an enclosed tube can feel confining
- −Children and anxious patients may need sedation
Pre-Scan Safety Checklist for Closed MRI
- ✓Complete the MRI safety screening form honestly and in full.
- ✓Disclose all implants, including pacemakers, stents, and clips.
- ✓Report any history of metal fragments in the eyes or body.
- ✓Remove all jewelry, watches, hairpins, and body piercings.
- ✓Leave phones, credit cards, and electronics outside the scan room.
- ✓Tell the technologist if you are or might be pregnant.
- ✓Inform staff of kidney problems before any gadolinium contrast.
- ✓Mention claustrophobia so comfort measures can be arranged.
- ✓Wear the provided gown or verified metal-free clothing.
- ✓Confirm tattoo locations, as some inks contain metallic pigment.
Never withhold implant or metal history
The closed MRI magnet is always on, drawing ferromagnetic objects toward it with enormous force. An undisclosed pacemaker, aneurysm clip, or metal fragment can heat, move, or malfunction inside the field. Complete honesty on your screening form is the single most important thing you can do to keep yourself safe.
The most common question patients ask is whether they should choose a closed or open MRI. The honest answer is that it depends on what you value most and what your physician needs to see. Closed systems win decisively on image quality because their cylindrical magnet produces a uniform, high-strength field. Open systems trade some of that detail for accessibility, using a gapped magnet that leaves the sides exposed. For a clinician chasing a subtle finding, that detail difference can be the deciding factor.
Open MRI shines for specific populations. Patients with severe claustrophobia, very young children who cannot tolerate enclosure, and individuals who exceed the weight or girth limits of a standard bore often find an open scanner the only practical option. The open design also allows a parent to stand beside a frightened child or lets a patient sit upright for certain weight-bearing spine studies, an option a closed tube cannot offer. Comfort, in these cases, outweighs the modest loss of resolution.
A middle path has emerged in the form of wide-bore closed MRI. These scanners keep the closed cylindrical design and its high field strength, typically 1.5T or 3T, but widen the bore from the conventional sixty centimeters to about seventy. That extra ten centimeters dramatically reduces the feeling of confinement and accommodates larger patients while preserving the image quality that makes closed systems the diagnostic standard. For many anxious patients, a wide-bore unit is the ideal compromise.
Field strength is where the gap between the two designs is starkest. Most open MRI machines operate at 0.2T to 1.2T, well below the 1.5T and 3T common in closed bores. Lower field strength means less signal, which generally translates to lower resolution, longer scan times to compensate, or both. For routine screening of large structures the difference may be negligible, but for neuroimaging, small joints, or vascular detail it can be clinically significant.
Scan length also differs. Because open systems produce less signal, they often need additional averaging to build a usable image, lengthening the exam. A study that takes twenty minutes on a 3T closed unit might run noticeably longer on a low-field open machine. Paradoxically, the very comfort that draws anxious patients to open MRI can be undercut by the longer time they must spend lying still, so the comfort calculus is not always one-sided.
Cost and availability round out the comparison. Closed MRI is far more widely installed, so appointments are usually easier to schedule and insurance coverage is well established. Open and wide-bore systems are growing in number but remain less common, and a center may charge differently for each. When your physician orders an MRI, it is worth asking which type the facility offers and whether your specific clinical question is best answered by the resolution of a closed bore.
Ultimately the decision is a conversation between you, your physician, and the imaging center. If image quality is paramount and you can tolerate the enclosure, the closed MRI is almost always the right call. If anxiety or body size makes a standard bore impractical, a wide-bore closed unit or a true open scanner keeps the door to imaging open. The goal is always a diagnostic-quality study you can actually complete from start to finish.
If enclosed spaces make you anxious, tell your physician and the imaging center before your appointment, not on the day of the scan. They can arrange a wide-bore unit, a mild sedative, or scheduling that allows extra time. Walking in unprepared often leads to an aborted, unbillable scan and a frustrating rebooking.
Managing comfort and anxiety inside a closed MRI is far more achievable than most first-time patients expect, and a little preparation goes a long way. The single biggest factor is mindset paired with practical accommodations. Knowing in advance that the tube is well lit, ventilated with a steady flow of air, and that you can speak to the technologist at any moment through the intercom removes much of the unknown that fuels anxiety. The squeeze-ball alarm in your hand is a constant reassurance that you remain in control.
Breathing technique is your most reliable tool. Slow, deliberate breaths, inhaling for a count of four and exhaling for a count of six, activate the body's calming response and counteract the racing heart that claustrophobia provokes. Many patients find that closing their eyes before entering the bore and keeping them closed throughout prevents the walls from triggering a panic response. Because you cannot see the enclosure, your brain has far less to react to, and the minutes pass more easily.
Most centers offer headphones with music of your choosing or a movie projected onto a mirror, and these distractions are genuinely effective. Studies of patient experience consistently show that audiovisual distraction reduces the rate of aborted scans. If your facility offers it, request it when you book. Even a familiar playlist gives your mind an anchor to focus on instead of the loud gradient noise and the closeness of the bore around you.
For patients whose anxiety runs deeper, a physician can prescribe a short-acting oral sedative such as a low-dose benzodiazepine to take shortly before the appointment. This requires planning: you must arrange a ride home because you cannot drive afterward, and the medication needs time to take effect. Discuss this option during the referral, not in the waiting room. A calm patient holds still, and stillness is what produces the diagnostic images your physician ordered.
Positioning matters more than people realize. Ask the technologist for extra padding under your knees or lower back, and let them know if a particular position aggravates pain, because discomfort breeds movement and movement breeds blurry images. Going feet-first into the bore, when the body part allows, keeps your head outside or near the opening for much of the exam, a simple adjustment that helps a surprising number of claustrophobic patients tolerate the scan comfortably.
Timing and logistics reduce stress too. Arrive early so you are not rushed through screening, use the restroom beforehand since some exams run long, and avoid caffeine, which can heighten jitteriness and the urge to fidget. Wear comfortable, metal-free clothing if the center permits it to skip the gown change. Each of these small steps shaves a layer of friction off the experience and leaves you better able to relax once the table slides in.
Students and technologists can deepen their understanding of patient management by reviewing our MRI Practice Test resources, which reinforce both the technical and human sides of the exam. A technologist who explains each sound before it happens and checks in between sequences turns an intimidating machine into a manageable, even routine, fifteen to forty-five minutes, and that reassurance is often the difference between a completed scan and a rebooking.
As you prepare for a closed MRI, a handful of final, practical tips can make the day go smoothly and ensure the radiologist gets the best possible images on the first attempt. Start by confirming your appointment details and any prep instructions the day before. Some abdominal or pelvic studies require fasting for a few hours, while others have no dietary restrictions at all. A quick phone call to clarify saves the disappointment of arriving only to learn the exam must be rescheduled because of a missed instruction.
Bring your referral, insurance card, photo identification, and a list of your current medications and any prior imaging. If you have had previous MRIs, CT scans, or surgeries relevant to the area being imaged, having those records or knowing where they live helps the radiologist compare studies over time. For patients with implants, carry the device card that lists the make and model, because MRI compatibility is determined by the specific implant, and that card can resolve a screening question in seconds.
Dress for the scan even if you expect to change into a gown. Choose loose clothing free of zippers, snaps, underwire, and metallic threads, and leave valuables and jewelry at home rather than risk losing them in a locker. Removing a wedding ring or a beloved watch is easier emotionally if you simply did not wear it that day. The fewer metal items you bring through the door, the faster screening goes and the lower the chance of a missed object causing an artifact.
Hydration is your friend, especially if contrast is on the order. Drinking water before the appointment, unless you have been told to fast, keeps your veins easy to access for an IV and helps your kidneys clear gadolinium afterward. After a contrast study, continuing to drink fluids over the following day supports that clearance. There is no special detox required; ordinary good hydration is all that the vast majority of patients ever need to do.
Set expectations about results so you are not left anxiously refreshing a portal. The technologist who runs your scan does not interpret it; a radiologist reviews the images afterward and dictates a report, which then routes to your ordering physician. That process typically takes one to two business days, sometimes longer for complex studies or when prior comparisons are gathered. Ask your physician's office how and when you will receive results so the waiting period feels structured rather than open-ended.
For aspiring technologists and students, the same diligence that makes a patient's scan go well underpins success on the registry exam. Master the safety zones, the screening logic, the physics of signal and contrast, and the patient-care skills that keep someone calm in the bore. Working through realistic practice questions builds the pattern recognition that lets you answer confidently under time pressure, and it reinforces the why behind each protocol rather than rote memorization that fades quickly.
Finally, remember that a closed MRI is one of the safest, most powerful diagnostic tools in modern medicine. It uses no ionizing radiation, it is repeatable, and it sees soft tissue with a clarity no other imaging method matches. The narrow bore and the noise are genuine inconveniences, but they are the price of images that can catch a tumor early, map a stroke, or reveal a torn ligament with precision. Walking in informed and prepared transforms an intimidating machine into a routine, even reassuring, part of taking care of your health.
MRI Questions and Answers
MRI Practice Test
MRI of Cervical Spine: Complete Guide to Imaging, Anatomy, Pathology, and Patient Preparation
Knee MRI Images: A Complete Guide to Reading, Understanding, and Interpreting Knee Scans
White Spots on Brain MRI: Causes, What They Mean, and When to Worry
Dental Implants and MRI: What Patients and Techs Need to Know About Safety, Artifacts, and Imaging
About the Author

Medical Laboratory Scientist & Clinical Certification Expert
Johns Hopkins UniversityDr. Sandra Kim holds a PhD in Clinical Laboratory Science from Johns Hopkins University and is certified as a Medical Technologist (MT) and Medical Laboratory Scientist (MLS) through ASCP. With 16 years of clinical laboratory experience spanning hematology, microbiology, and molecular diagnostics, she prepares candidates for ASCP board exams, MLT, MLS, and specialist certification tests.
Join the Discussion
Connect with other students preparing for this exam. Share tips, ask questions, and get advice from people who have been there.
View discussion (6 replies)