Claustrophobia MRI: How to Get Through a Scan When You Feel Trapped 2026 July
Claustrophobia MRI guide — proven coping strategies, open MRI options, sedation choices, and prep tips to complete your scan without panic. 🎯
A claustrophobia MRI experience is one of the most common reasons patients hesitate, delay, or completely cancel a scan their doctor has ordered. Estimates suggest that between one and fifteen percent of patients struggle so much with the closed-bore environment that they cannot finish the exam, and even more report significant anxiety in the days leading up to the appointment. The good news is that almost every claustrophobic patient can complete an MRI successfully when given the right preparation, the right equipment, and the right level of support from their care team.
The fear is not irrational. A traditional closed-bore MRI is a narrow tube, often only about 60 centimeters wide, where your face may sit just inches from the curved ceiling for anywhere between fifteen and ninety minutes. Add the loud knocking and buzzing of the gradient coils, the requirement to stay perfectly still, and the inability to easily communicate, and you have a recipe for triggering panic in anyone with even mild claustrophobic tendencies, let alone someone with a diagnosed anxiety disorder.
Understanding why your body reacts the way it does is the first step toward managing it. Claustrophobia is a specific phobia tied to the fight-or-flight response. The narrow tube signals confinement to the amygdala, which floods the body with adrenaline and cortisol. Your heart races, your breathing becomes shallow, and your perception of time distorts so that one minute feels like ten. Knowing this loop exists gives you something concrete to interrupt with breathwork, distraction, or medication, rather than feeling like a passive victim of fear.
Radiology departments in the United States have responded to claustrophobia with real solutions. Wide-bore 70 cm scanners, short-bore systems that leave your head outside the magnet for many body exams, true open MRI units, open upright mri MRI, and even handheld portable MRI for the brain are now widely available. Combined with oral anxiolytics like lorazepam, music headphones, mirrored prism glasses, and trained staff who know exactly how to talk a panicking patient through the next ninety seconds, the modern MRI suite is far more humane than the 1990s tunnel many people still picture.
This guide walks through everything a claustrophobic patient needs to know before booking, on the day of the scan, and during the exam itself. We will cover the difference between closed, wide-bore, and open MRI machines, how sedation actually works, what to ask the scheduler when you call, how to practice at home in the days leading up to the appointment, and the small in-bore tricks technologists use that most patients never hear about. By the end, you should feel equipped rather than dreading.
You are not the only patient who has felt this way, and you will not be the last. Technologists scan claustrophobic patients every single day, and the protocols they use have been refined over decades. The fact that you are reading this rather than just canceling shows you are already doing the most important thing — engaging with the problem instead of avoiding it. With the right plan, finishing your scan is entirely realistic, and the diagnostic information you get back is worth the effort it takes to walk into that room.
Before going further, it is worth understanding what the abbreviation itself means and how the technology evolved. If you want a quick refresher, see this primer on the MRI medical abbreviation and what each letter stands for, because knowing the basic physics actually helps reduce fear of the unknown that fuels much of claustrophobic anticipation.
Claustrophobia MRI by the Numbers
Types of MRI Machines for Claustrophobic Patients
The traditional tunnel MRI with a 60 centimeter bore diameter. Offers the highest image quality and shortest scan times but is the most challenging environment for claustrophobic patients due to its narrow opening and enclosed feel.
A modern compromise scanner with a 70 cm opening and shorter overall length. Provides nearly identical image quality to standard closed-bore but with 10 extra centimeters of breathing room — enough to make most mildly claustrophobic patients comfortable.
A closed scanner with a much shorter tunnel. For exams of the knee, ankle, foot, or pelvis, the head may remain entirely outside the magnet, dramatically reducing the sense of enclosure for lower-body imaging.
Two flat magnetic plates above and below the patient with open sides. Ideal for severely claustrophobic patients and larger body sizes, though field strength is typically 0.3-1.0 Tesla and scans take longer with reduced resolution.
Allows the patient to be scanned sitting, standing, or even reclining while watching television. Limited availability but uniquely useful for weight-bearing spine imaging and the most severely claustrophobic patients who cannot tolerate any enclosure.
Claustrophobia is classified as a specific phobia in the Diagnostic and Statistical Manual, characterized by an intense, irrational fear of enclosed or restrictive spaces. In the MRI suite, that fear gets triggered by a very specific combination of stimuli: the narrow bore, the inability to move freely, the loud and unfamiliar sounds, and the requirement to lie still for long stretches with little ability to see what is happening around you. Even patients who have never noticed claustrophobia in elevators or airplanes can suddenly find themselves panicking inside the scanner.
The neurological mechanism is well-studied. When the brain perceives the bore as a confined space with no immediate escape, the amygdala signals threat and the sympathetic nervous system fires. Cortisol and adrenaline spike, the heart rate climbs, breathing accelerates, and muscles tense as if preparing to run. The problem is that you cannot actually run — and your brain knows it. This perceived inability to escape amplifies the response further, creating a feedback loop that can escalate from mild discomfort to full panic attack within ninety seconds.
Several factors increase your risk of an MRI-induced claustrophobic episode. A personal history of anxiety, panic disorder, or PTSD raises the likelihood substantially. Past traumatic medical experiences, especially involving restraint or enclosed spaces, can prime the system. Larger body size matters because the bore feels tighter when your shoulders press against the inside walls. And exam type plays a role — head and cervical spine MRIs are far more triggering than knee or ankle scans because your face sits deepest in the magnet.
Recognizing your specific triggers matters because the intervention changes depending on what bothers you. If the issue is visual enclosure, prism mirror glasses that let you see out the back of the bore solve much of the problem instantly. If it is the noise, premium noise-canceling headphones and music selection can transform the experience. If it is the duration, an abbreviated protocol or a series of shorter breaks may be enough. If it is generalized panic, oral anxiolytics or IV sedation become reasonable options to discuss with your ordering physician.
Many patients underestimate how much the sound itself contributes to anxiety. The clanging, knocking, and buzzing produced by the gradient coils can hit 100-110 decibels, comparable to a jackhammer. For someone already on edge, this auditory assault makes calm breathing nearly impossible. Understanding why the mri machine noise is so loud — it is the rapid switching of magnetic gradients, not a mechanical defect — can paradoxically reduce anxiety by demystifying the experience.
It is also worth distinguishing situational claustrophobia from true clinical claustrophobia. Many people who have never been formally diagnosed will still find an MRI uncomfortable simply because it is an inherently strange experience. That is normal and usually manageable with basic coping strategies. True clinical claustrophobia, where the mere thought of the scan provokes physical symptoms days in advance, deserves a more aggressive prep plan involving medication and possibly a cognitive behavioral therapy session before the appointment.
The takeaway is that claustrophobia in the MRI suite is not a character flaw or weakness — it is a predictable physiological response that can be planned for and managed. Modern radiology departments expect a significant minority of their patients to need accommodations, and the protocols they use have been refined to the point that almost no one needs to leave the scanner with an incomplete study. Walking in informed and prepared gives you a substantial psychological advantage before you even lie down on the table.
MRI Practice Test Questions
Prepare for the MRI - Magnetic Resonance Imaging exam with our free practice test modules. Each quiz covers key topics to help you pass on your first try.
MRI Knowledge
MRI Exam Questions covering Knowledge. Master MRI Test concepts for certification prep.
MRI Physics
Free MRI Practice Test featuring Physics. Improve your MRI Exam score with mock test prep.
MRI Anatomy and Pathology
MRI Test Prep for MRI Anatomy and Pathology. Practice MRI Quiz questions and boost your score.
MRI Anatomy and Positioning
MRI Questions and Answers on MRI Anatomy and Positioning. Free MRI practice for exam readiness.
MRI Contrast Agents
Free MRI Quiz on MRI Contrast Agents. MRI Exam prep questions with detailed explanations.
MRI Patient Care and Positioning
MRI Practice Questions for MRI Patient Care and Positioning. Build confidence for your MRI certification exam.
Sedation and Medication Options for Claustrophobia MRI
The most common medication approach is an oral benzodiazepine taken thirty to sixty minutes before the appointment. Lorazepam (Ativan) at 0.5 to 2 mg and diazepam (Valium) at 5 to 10 mg are the standard options prescribed by the ordering physician. These medications reduce anxiety without putting you to sleep, allowing you to follow breath-hold instructions and respond to the technologist throughout the scan.
You must arrange for someone to drive you home because impairment can last six to twelve hours. Avoid alcohol and other sedatives the day of the appointment. Tell your prescriber about all other medications, kidney or liver issues, and any history of substance use disorder, since benzodiazepines carry dependence risk. For most patients, a single dose used once for a scan poses minimal long-term concern.
Open MRI vs Closed MRI for Claustrophobic Patients
- +Open sides reduce visual enclosure dramatically
- +More comfortable for larger body sizes and broad shoulders
- +Often less anxiety-provoking for children and elderly patients
- +Family member can sometimes stand beside you during the scan
- +No need for sedation in many cases
- +Better tolerated for long musculoskeletal exams
- +Useful for weight-bearing or upright spine imaging
- −Lower field strength (0.3-1.0T vs 1.5-3.0T) reduces image quality
- −Scans take noticeably longer to acquire diagnostic images
- −Not suitable for advanced neuroimaging or MR angiography
- −Limited availability — not in every city
- −Often not covered by insurance without prior authorization
- −Some pathology requires high-field imaging that open units cannot deliver
- −May require a repeat scan on a closed magnet if findings are unclear
Pre-Scan Preparation Checklist for Claustrophobia MRI
- ✓Call the imaging center and ask whether they have a wide-bore or open MRI unit available
- ✓Tell the scheduler explicitly that you experience claustrophobia so they can flag your appointment
- ✓Ask your ordering physician about a prescription for lorazepam or diazepam if anxiety is significant
- ✓Arrange a driver for the day of the scan if you will be taking sedating medication
- ✓Stop caffeine for at least eight hours before the appointment to reduce baseline arousal
- ✓Eat a light meal a couple hours beforehand to avoid blood sugar drops during the scan
- ✓Practice slow nasal breathing — four seconds in, six seconds out — for several days before
- ✓Wear comfortable metal-free clothing or plan to change into a gown
- ✓Bring your own music playlist on a phone or USB drive if the center allows
- ✓Ask for prism mirror glasses, a washcloth over your eyes, and a panic squeeze ball before the scan begins
Most panic peaks within 90 seconds — then it falls
If you can ride out the first ninety seconds of a panic surge using slow breathing and a focal point of attention, the wave almost always crests and recedes on its own. Technologists trained in claustrophobia management know this and will coach you through that window. Knowing it in advance gives you a concrete goal: do not abort during the first surge — count it down instead.
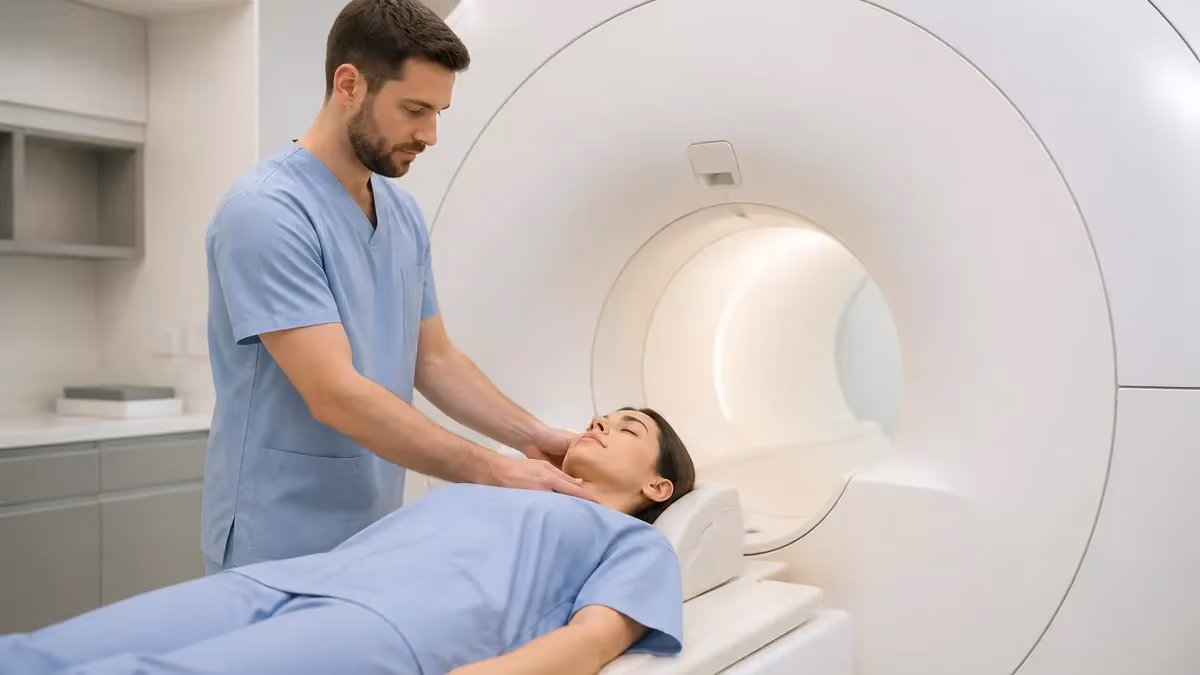
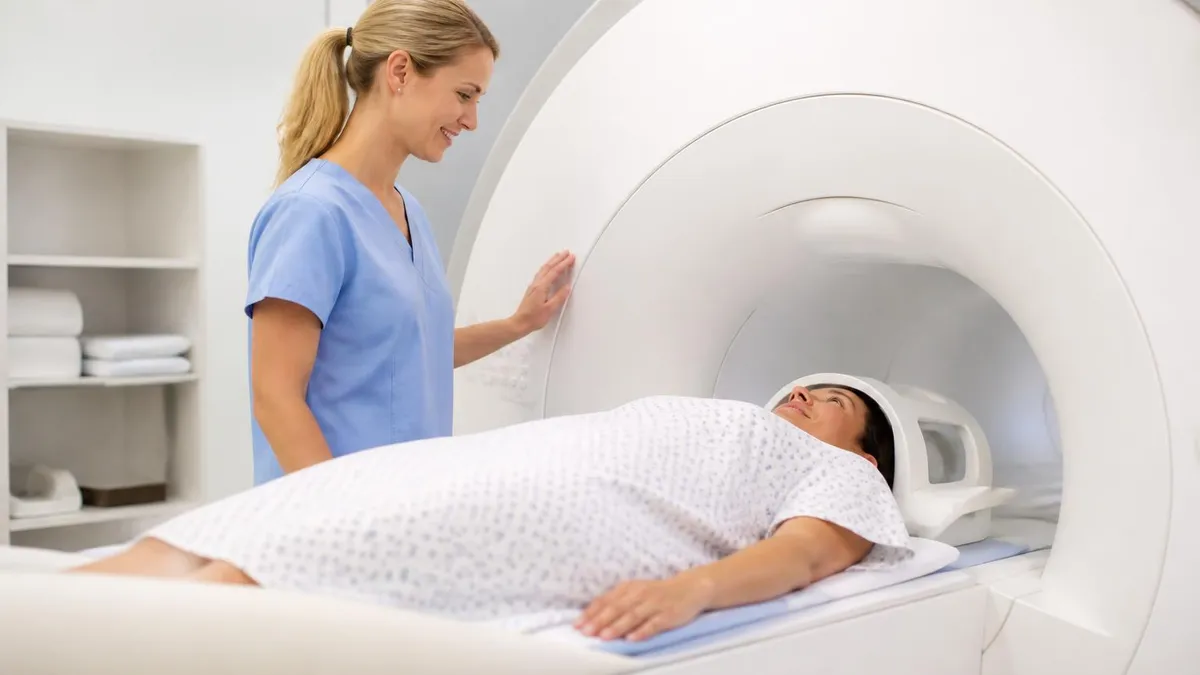
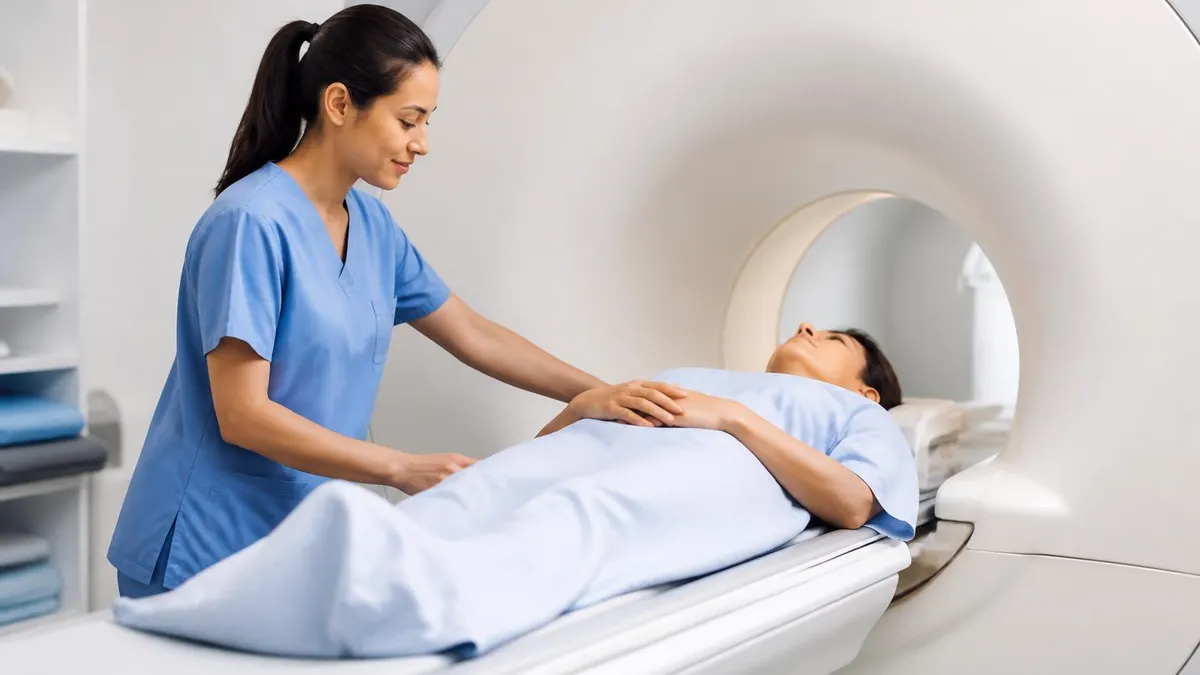
When you arrive at the imaging center, the first thirty minutes are spent on intake, safety screening, and changing into a gown. The screening form is exhaustive because anything ferromagnetic — pacemakers, certain aneurysm clips, cochlear implants, recent surgical hardware, even tattoos with old metallic ink — can be a contraindication. Be thorough. This is also the moment to remind the staff that you are claustrophobic, even if you mentioned it on the phone. Verbal reminders trigger the team to set up the prism glasses, blankets, and headphones before you walk into the magnet room.
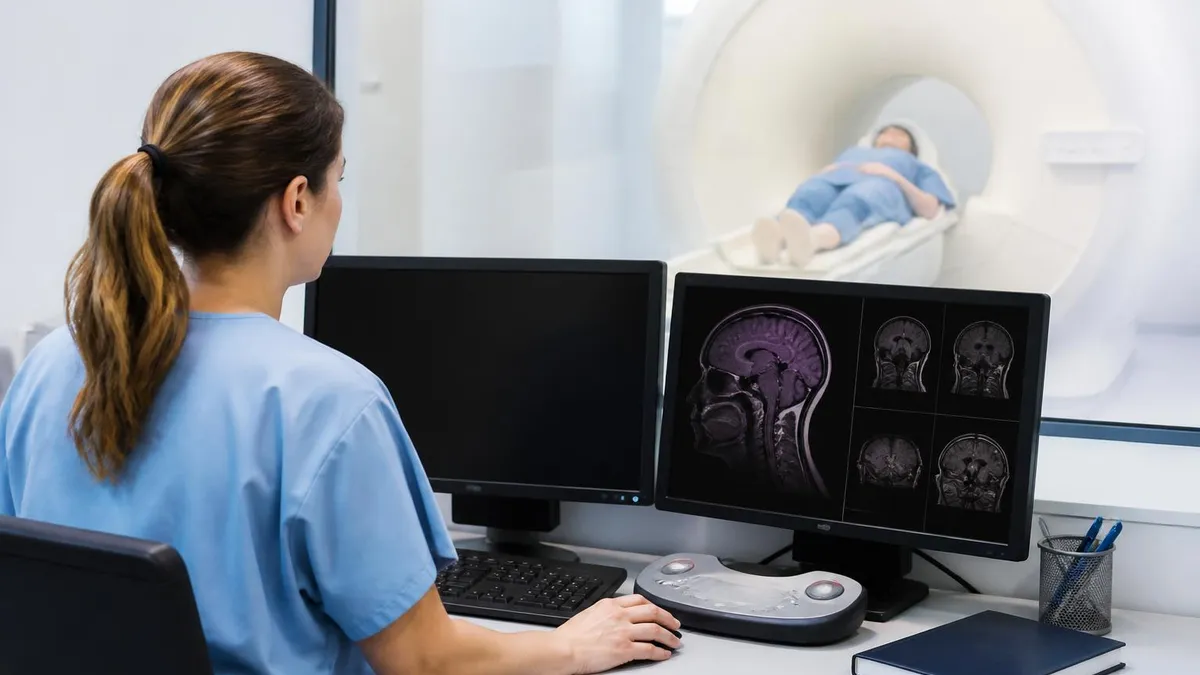
The technologist will lead you into the scanner suite, which is a dim, cool room dominated by the white donut shape of the magnet. The table you will lie on is padded and on rails that slide into the bore.
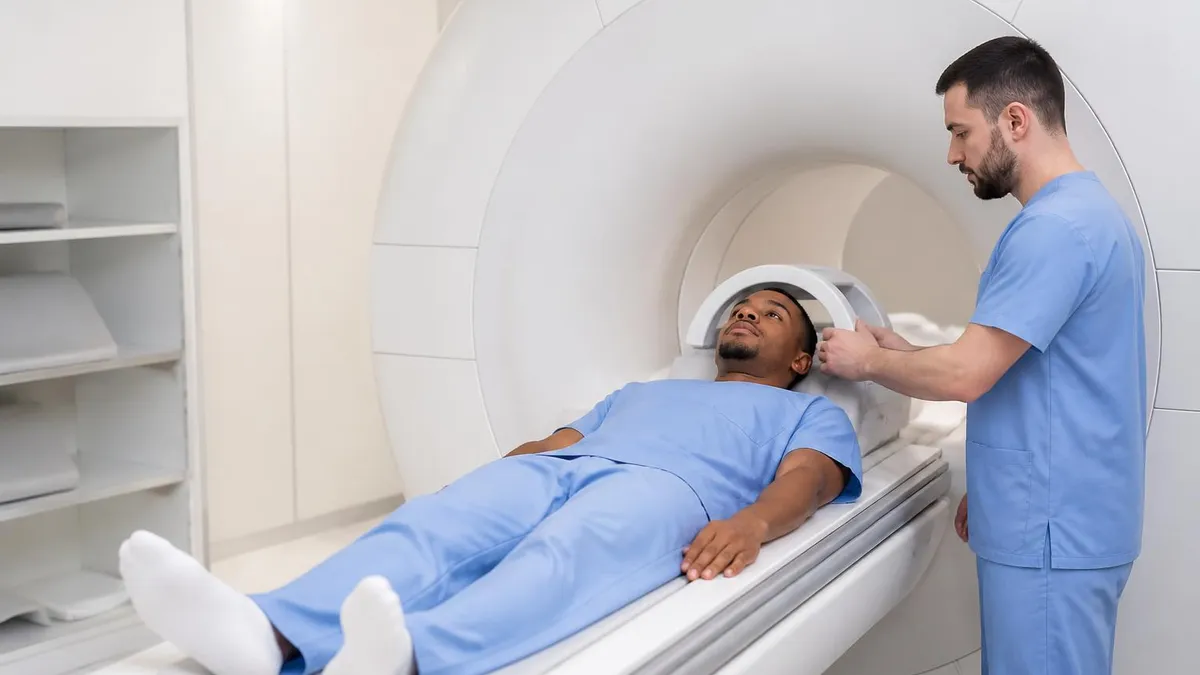
Depending on the body part being imaged, a coil — basically a plastic frame containing antennas that pick up the MR signal — is placed around your head, chest, knee, or whatever region is being scanned. For head exams, the coil sits over your face like a cage; this is the single most claustrophobia-triggering setup and deserves its own coping plan.
Once positioned, you are given an emergency squeeze ball. Squeezing it instantly alerts the technologist over the intercom, and they can pull you out within seconds. This is genuinely important: many patients who feel trapped panic because they assume there is no exit. Knowing you control a literal kill switch can reduce baseline anxiety by half. Test it once before the scan begins so you know it works and so the technologist hears you squeeze. That small rehearsal matters psychologically.
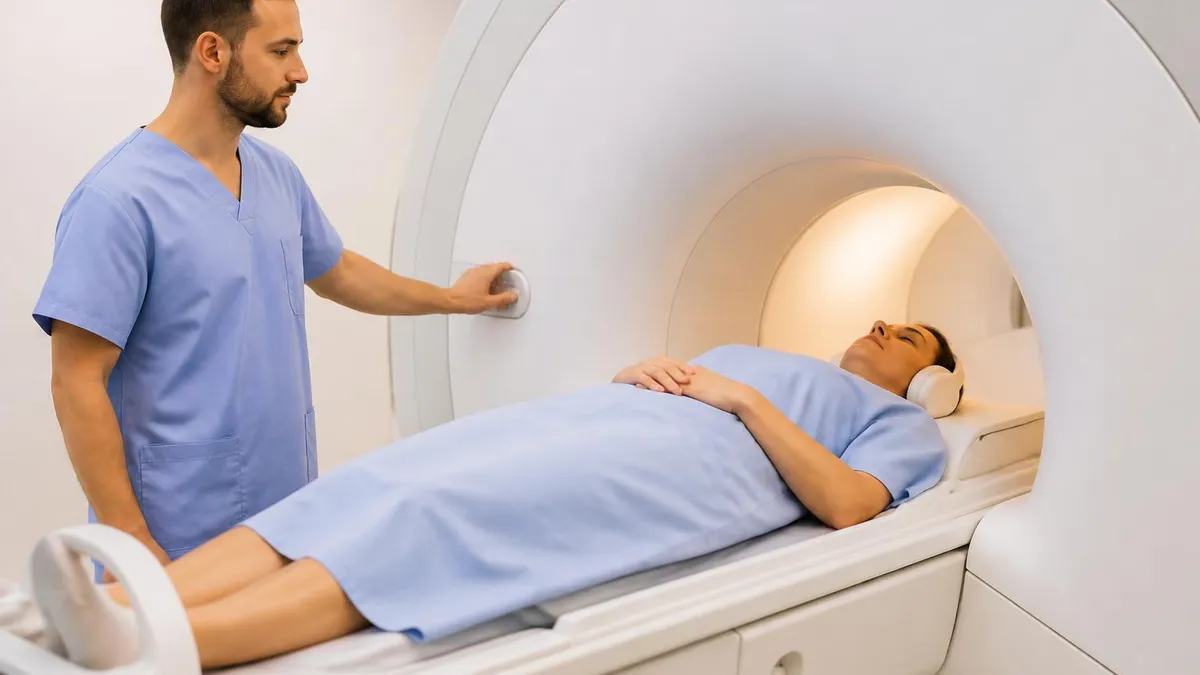
The table then slides into the bore. For head, neck, and chest scans, your face will be inside the magnet. For abdomen and pelvis, your torso is inside but your head may or may not be, depending on the scanner length. For knee, ankle, foot, hand, and wrist exams on short-bore systems, your head often stays completely outside. If you have any choice, request the shortest-bore appropriate scanner — being able to see the room from inside the magnet changes the entire experience.
Then the noise begins. The scan does not start gently. The gradient coils produce loud, percussive, often rhythmic sounds — knocking, buzzing, whirring, sometimes a sound like a fax machine from the 1990s. Each sequence has its own acoustic signature, and there will be brief silences between them while parameters change. The technologist speaks to you between sequences through the intercom, telling you how long the next one will last. Headphones with music help enormously; foam earplugs underneath them further reduce volume.
Most patients are surprised by how warm they feel inside the bore. The RF energy deposited during scanning is regulated to safe limits, but you may notice mild warmth in the body part being imaged, especially during long sequences. The bore itself has ventilation fans that move air, which most patients find comforting. If you start feeling overheated or anxious, ask for a cool washcloth on your forehead — a small intervention that resets the autonomic nervous system surprisingly well.
Total time in the bore varies enormously by exam. A simple knee MRI may be twenty minutes. A brain MRI with and without contrast might run forty-five. A cardiac MRI or a multi-region scan can stretch past ninety minutes. Knowing the realistic duration ahead of time prevents the demoralizing surprise of being told you have thirty more minutes when you thought you were almost done. Ask the technologist for the breakdown sequence-by-sequence so you can mentally pace yourself.
Even if you are anxious to get the scan over with, the metal screening questionnaire is not optional. Pacemakers, certain older aneurysm clips, retained shrapnel, and some cochlear implants can be life-threatening inside the magnet. If you are not certain whether an implant is MRI-conditional, ask for the manufacturer card or have your physician verify before the appointment.
Coping techniques fall into three broad categories: cognitive, somatic, and environmental. Cognitive strategies work on the thoughts that fuel panic. Somatic techniques work on the body's physiological response. Environmental modifications change the actual scanning experience. The most effective approach combines all three, and the best time to learn them is days or weeks before the scan, not minutes before. Practice at home until they are automatic, because in the moment of acute anxiety, you will not be able to learn anything new.
Box breathing is the workhorse somatic technique. Inhale for four counts, hold for four, exhale for four, hold for four, and repeat. This pattern activates the parasympathetic nervous system through stimulation of the vagus nerve and directly counters the sympathetic surge driving panic. Practice it lying flat on your back at home with your eyes closed for ten minutes a day in the week leading up to the scan. By the day of the appointment, the rhythm should feel familiar enough that you can drop into it under stress.
Mental imagery and dissociative techniques are powerful in the bore. Some patients pick a vivid memory — a vacation, a favorite room, a hiking trail — and mentally walk through it sequence by sequence, matching the duration of each acquisition to a chunk of the imagined journey. Others count backward from a thousand by sevens, recite poetry, or work through a complex math problem. The goal is not to ignore the scanner but to occupy enough cognitive bandwidth that the threat-monitoring part of your brain has less attention to spend on panic.
Environmental modifications include prism mirror glasses (a small device that lets you look up through the top of the bore and see the technologist's window behind you), a washcloth over the eyes (which paradoxically helps many patients by removing visual cues of enclosure), and asking for the head end of the bore to be opened with a small fan blowing air across your face. If the imaging center has a video projection system that displays nature scenes or a movie on the inside of the bore, request it — these can transform the experience.
If the standard scanner is simply not working and you are facing repeat attempts, it is worth asking your physician whether an alternative imaging modality could answer the same clinical question. There are clear cases where CT, ultrasound, or even nuclear medicine can substitute. Reviewing the realistic MRI alternatives for your specific diagnosis with your doctor is reasonable, though MRI remains the gold standard for many soft tissue and neurological questions and a workaround should never compromise diagnostic accuracy.
Bringing a support person matters more than people realize. Most MRI suites will allow a spouse, parent, or friend to sit on a stool beside the bore, sometimes even touching your foot or holding your hand outside the magnet. Their presence does two things: it reminds your nervous system that you are not alone or trapped, and it provides an anchor for verbal reassurance between sequences. Ask in advance whether your facility allows this — most do, with appropriate ferromagnetic screening of the support person.
Finally, give yourself permission to use a stepwise approach. If your first attempt fails, that is information, not failure. Many patients complete their scan on a second appointment after adjusting medication dose, switching to a wide-bore scanner, or scheduling at a different time of day. Anxiety is highest in the morning for some patients and at night for others — find your window. The goal is a successful diagnostic scan, not a heroic single-attempt completion, and almost everyone gets there with the right combination of approach and equipment.
The day before your appointment, do the small things that will pay off the next morning. Lay out comfortable, metal-free clothing — soft pants and a cotton t-shirt with no zippers, snaps, or underwire. Charge your phone and load a calming playlist or audiobook if the facility allows personal audio. Cut caffeine after noon and try to get a full night of sleep, because fatigue makes anxiety worse. If you have been prescribed a benzodiazepine, double-check the timing instructions and the driver arrangement.
The morning of the scan, eat a moderate breakfast unless you have been told to fast for a contrast study. Hypoglycemia mimics anxiety symptoms and will make the inside of the magnet feel worse. Hydrate enough that you are not parched, but not so much that you will need to interrupt the scan to use the restroom. Arrive twenty minutes early so you are not rushing through paperwork, which compounds stress. Use the bathroom before going into the magnet room, even if you do not feel the need.
Take your prescribed anxiolytic at the timing your prescriber specified — usually thirty to sixty minutes before the scan, with a small amount of water. Once it begins working you will feel a soft, slightly drowsy calm. Do not try to fight the sedation or test how alert you are; let it work. While you wait, do not scroll your phone reading horror stories about MRI claustrophobia online. Instead, close your eyes and practice the box breathing you have been rehearsing.
When the technologist comes for you, walk through your needs out loud one more time: prism glasses, headphones with your music, washcloth, squeeze ball tested, support person staying in the room if allowed. Saying it aloud commits the team to the plan and reduces the chance that something is forgotten in the choreography of getting you positioned. Ask exactly how long the longest single sequence will be — knowing it is, say, four minutes rather than an unknown duration changes how it feels.
Once you are inside the bore and the scan begins, the most important rule is do not fight the first surge of anxiety. Trying to suppress fear makes it worse. Instead, acknowledge it: this is the surge I expected, it will peak in ninety seconds, my body is doing what it does, I am safe. Then drop into the breathing pattern, focus on the music in your headphones, and let time pass. Almost all panic attacks crest and fall within two minutes if you do not feed them with catastrophic thinking.
If you genuinely need to come out, squeeze the ball without hesitation or guilt. The technologist will pull you out, you will sit up, drink water, and reset. Sometimes a five-minute break is all that is needed before going back in for the remaining sequences. Sometimes the rest of the scan happens on a different day. Either way, you have not failed — you have collected information about what your nervous system needs, and your next attempt will be better calibrated. Reframe the experience as a process rather than a single make-or-break event.
After the scan, plan a quiet rest of the day. Sedation lingers, the emotional aftermath of holding still through a hard experience is real, and your body deserves recovery. Eat something substantial, drink fluids, and if you took an anxiolytic, do not drive, operate heavy machinery, sign important documents, or make major decisions until the next day. Most importantly, recognize what you accomplished — completing an MRI as a claustrophobic patient takes genuine courage, and the diagnostic information it provides is often the single most important step in your medical workup.
MRI Questions and Answers
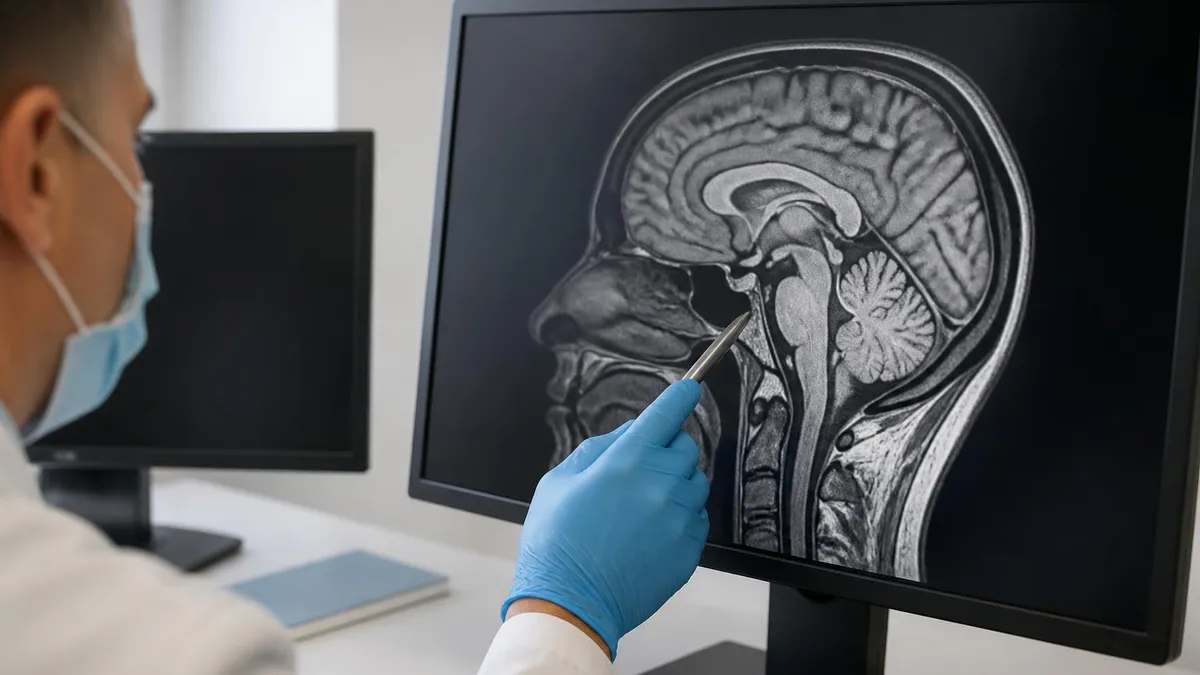
MRI Medical Abbreviation: What MRI Stands For and Why It Matters
The History of MRI: From Discovery to Modern Medicine
Knee MRI Images: A Complete Guide to Reading, Understanding, and Interpreting Knee Scans

Noise of MRI Machine: Why MRI Scanners Are So Loud and What to Expect

MRI Alternatives: When CT, Ultrasound, X-Ray, and PET Make More Sense Than an MRI
About the Author
Medical Laboratory Scientist & Clinical Certification Expert
Johns Hopkins UniversityDr. Sandra Kim holds a PhD in Clinical Laboratory Science from Johns Hopkins University and is certified as a Medical Technologist (MT) and Medical Laboratory Scientist (MLS) through ASCP. With 16 years of clinical laboratory experience spanning hematology, microbiology, and molecular diagnostics, she prepares candidates for ASCP board exams, MLT, MLS, and specialist certification tests.
Join the Discussion
Connect with other students preparing for this exam. Share tips, ask questions, and get advice from people who have been there.
View discussion (6 replies)