What Home Inspectors Look For: The Complete 2026 July Buyer's Guide to Inspection Findings, Red Flags & Repair Negotiations
Discover what home inspectors look for during a property inspection — roof, foundation, HVAC, electrical, plumbing, and safety red flags explained in 🏆
Knowing exactly what home inspectors look for can save buyers thousands of dollars and prevent the heartbreak of discovering hidden defects after closing. A standard home inspection in 2026 typically takes three to four hours, covers more than 1,600 individual checkpoints, and produces a 40 to 80 page report packed with photographs, annotations, and prioritized repair recommendations. Understanding the inspection process before you sign a contract gives you negotiating leverage and helps you walk away from money pits before earnest money is at risk.
When homeowners search for home inspectors near me, they often assume the inspector simply walks through and flags obvious problems. The reality is far more systematic. Licensed inspectors follow strict standards of practice published by InterNACHI, ASHI, or state regulatory boards, and they evaluate the structural, mechanical, electrical, plumbing, and safety condition of every accessible component on the property. Nothing is checked at random.
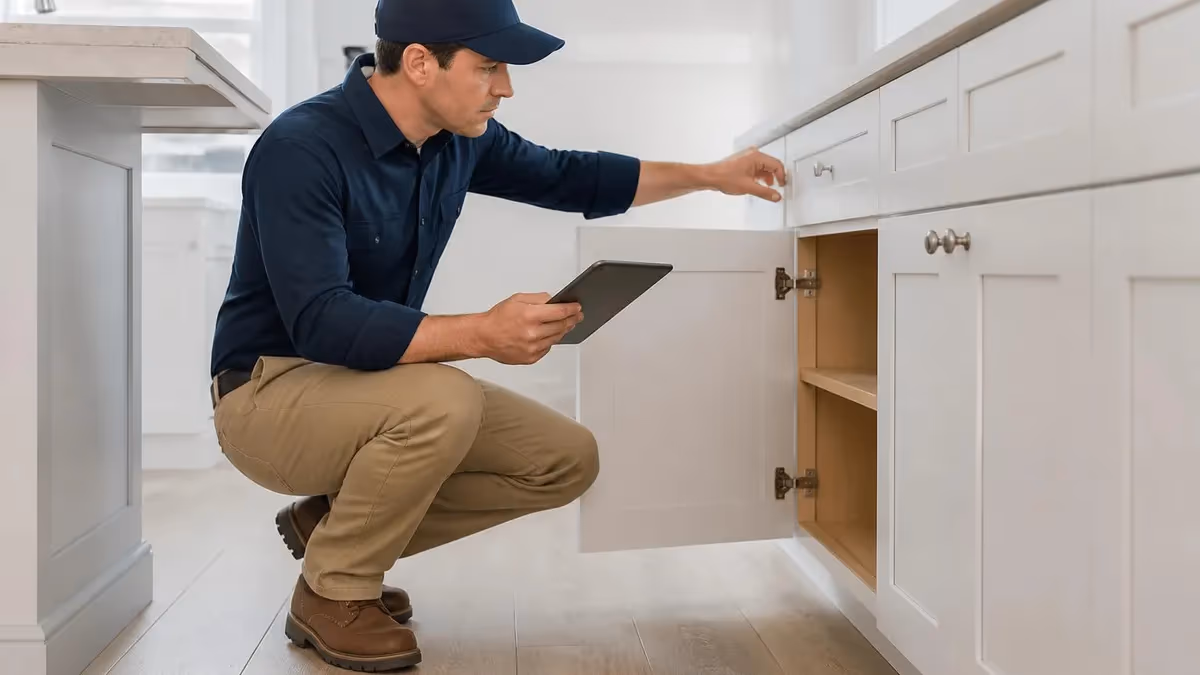
The single most important thing to understand is that home inspectors are generalists, not specialists. They do not destructively test anything, they do not predict future failures with certainty, and they do not appraise value. Instead, they document the current observable condition of the home and identify items that need further evaluation by a licensed trade professional. This generalist scope is why inspectors examine roofs, foundations, attics, crawlspaces, panels, water heaters, and appliances all in one visit.
Buyers who attend their inspection learn vastly more than those who skip it. Walking the property alongside the inspector gives you context that no written report can fully capture — you see the moisture stain in the corner of the basement, hear the subtle hum of an aging compressor, and watch how the inspector tests GFCI outlets and roof flashings. This three to four hour education investment routinely pays off in better negotiations and a clearer maintenance plan for year one.
This guide breaks down every major system inspectors evaluate, the specific defects they flag as material, the safety hazards they consider urgent, and the cosmetic issues they typically ignore. We also cover what falls outside a standard inspection so you know when to hire a sewer scope contractor, mold tester, structural engineer, or pest inspector for a deeper look.
Whether you are buying your first starter home in Phoenix, a 1920s bungalow in Chicago, a lakefront cabin in Minnesota, or a coastal condo in Florida, the systems an inspector examines are largely the same. Climate and construction era shift the emphasis — radon and ice dams matter more up north, termites and wind damage matter more down south — but the checklist is remarkably consistent across the country.
By the end of this article you will know exactly what to expect during your inspection, how to read the report intelligently, which findings deserve a credit or repair request, and how to spot a thorough inspector from one who is rushing through to fit four jobs into a single day.
Home Inspections by the Numbers
Major Categories an Inspector Evaluates
Foundation walls, floor framing, beams, posts, load-bearing walls, attic framing, and any visible signs of settling, cracking, deflection, or moisture damage that could indicate structural movement.
Siding, trim, soffits, fascia, windows, doors, decks, porches, walkways, grading, and drainage — anything that protects the building from water intrusion or sits between the dwelling and the lot line.
Shingles, flashing, valleys, ridge caps, chimneys, vents, gutters, and downspouts. Inspectors note remaining useful life, prior repairs, granule loss, and any visible interior leak evidence from below.
Heating, cooling, water heaters, ductwork, and ventilation. Inspectors test operation, measure temperature splits, examine combustion air, and document equipment age, brand, and obvious safety concerns.
Service panels, branch circuits, GFCI and AFCI protection, supply piping, drainage, fixtures, water pressure, and visible signs of leaks, corrosion, or amateur DIY work that violates current code.
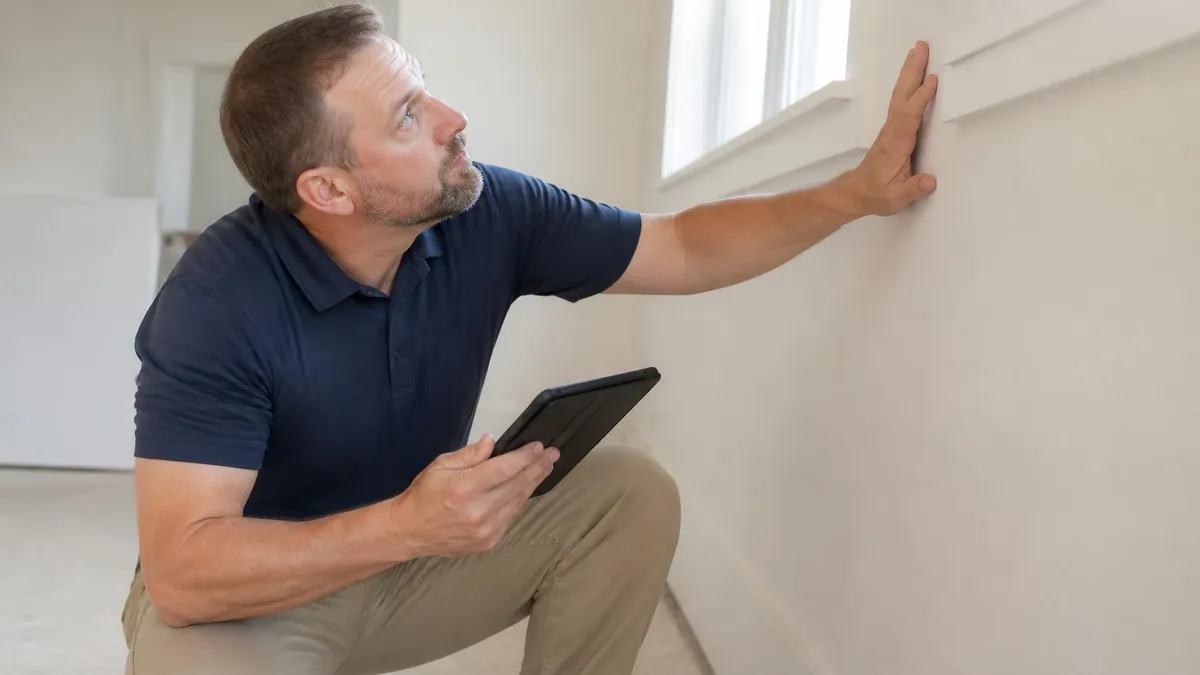
The exterior inspection always begins at the curb and moves systematically around the perimeter. Inspectors evaluate grading first because improper slope is the single most common source of basement and crawlspace moisture. The ground should fall at least six inches across the first ten feet from the foundation. Negative grading, hardscape pitched toward the house, and downspouts that dump within three feet of the wall are flagged on virtually every report in some form.
Roof evaluation depends on accessibility. Most inspectors walk the roof when it is safely accessible and dry, but steep pitches, slate, tile, metal, and wet or icy surfaces are inspected from a ladder at the eaves or by drone. They document the roof covering type, estimated age, granule condition, nail pops, lifted shingles, soft spots, sagging ridgelines, condition of flashing around penetrations, and the integrity of any skylights or solar attachments. For anyone interested in how to become a home inspector, mastering roof assessment is one of the most technically demanding parts of the job.
Foundations get scrutinized inside and out. Inspectors map every visible crack — hairline shrinkage cracks are normal and noted, but horizontal cracks, stair-step cracks wider than a quarter inch in masonry, displaced blocks, bowing walls, and efflorescence raise immediate concern. Crawlspaces are entered when possible to evaluate vapor barriers, insulation, sister joists, support posts, and signs of standing water or wood-destroying organisms. Slab foundations are examined where exposed at the perimeter and through any cracks visible in interior flooring.
Siding and trim inspection covers material condition, caulk integrity at all penetrations, paint coverage, rot at lower courses, and proper clearance from grade. Wood siding within six inches of soil is almost universally flagged. Stucco systems get probed at penetrations for moisture, and EIFS systems receive extra scrutiny because of their history of moisture entrapment failures in the 1990s and 2000s.
Decks and porches are often the most dangerous parts of a property. Inspectors check ledger board attachment to the house, joist hangers, post bases, railing height and baluster spacing, stair stringers, and overall stability. A 2024 industry study found that nearly one in four deck failures could have been predicted from a basic ledger inspection, so this section of the report carries real life-safety weight.
Windows and exterior doors get tested for operation, locking hardware, weatherstripping, glazing seal failure (fogging between panes), and proper flashing where visible. Egress windows in bedrooms below grade are confirmed to meet minimum opening size, sill height, and clear pathway requirements. Sliding doors are checked for tracking, locking, and tempered glass labeling at hazard locations.
Drainage and site features round out the exterior. Driveways and walkways are checked for trip hazards, retaining walls for tilt or failure, fences for stability where they impact safety, and trees for limbs overhanging the roof or pressing against siding. None of this is cosmetic — every flagged item ties back to either water management, structural integrity, or occupant safety.

Home Inspector Practice Test Questions
Prepare for the Home Inspector Test exam with our free practice test modules. Each quiz covers key topics to help you pass on your first try.
Home Inspector MCQ
Home Inspector Exam Questions covering MCQ. Master Home Inspector Test concepts for certification prep.
Home Inspector Test
Free Home Inspector Practice Test featuring Test. Improve your Home Inspector Exam score with mock test prep.
Home Inspector Trivia
Home Inspector Mock Exam on Trivia. Home Inspector Study Guide questions to pass on your first try.
Home Inspector Home Online Inspector Test
Home Inspector Test Prep for Home Online Inspector Test. Practice Home Inspector Quiz questions and boost your score.
Home Inspector Top Rated Home Inspector
Home Inspector Questions and Answers on Top Rated Home Inspector. Free Home Inspector practice for exam readiness.
Home Inspector Ultimate Home Inspector
Home Inspector Mock Test covering Ultimate Home Inspector. Online Home Inspector Test practice with instant feedback.
Home Inspector Electrical System Safety Ha...
Free Home Inspector Quiz on Electrical System Safety Hazards. Home Inspector Exam prep questions with detailed explanations.
Home Inspector Forced-Air Furnace Inspection
Home Inspector Practice Questions for Forced-Air Furnace Inspection. Build confidence for your Home Inspector certification exam.
Home Inspector Plumbing DWV Systems
Home Inspector Test Online for Plumbing DWV Systems. Free practice with instant results and feedback.
Home Inspector Roofing Systems and Materials
Home Inspector Study Material on Roofing Systems and Materials. Prepare effectively with real exam-style questions.
Home Inspector Structural Framing Defects
Free Home Inspector Test covering Structural Framing Defects. Practice and track your Home Inspector exam readiness.
What Do Home Inspectors Look For in Each System
Electrical inspection begins at the service entrance and meter base, then moves to the main panel where the inspector removes the dead front cover to examine breakers, wiring, grounding, bonding, and signs of corrosion or arcing. Federal Pacific Stab-Lok, Zinsco, Sylvania, and certain Challenger panels are flagged for replacement because of documented failure rates. Double-tapped breakers, missing knockouts, oversized fuses, and aluminum branch wiring on 15 and 20 amp circuits are all common findings.
Throughout the home, the inspector tests a representative sample of outlets for proper polarity, ground continuity, GFCI protection in kitchens, baths, garages, exteriors, basements, and AFCI protection in bedrooms and living areas as required by the era of construction. Light fixtures, smoke and carbon monoxide alarms, exterior lighting, and visible wiring in attics and crawlspaces are documented. Knob-and-tube wiring, even if functional, is universally flagged for insurance and safety review.
Should You Attend Your Home Inspection in Person?
- +Real-time education about every system in your future home
- +Ability to ask questions about maintenance and life expectancy
- +See defects with your own eyes instead of through photos
- +Build rapport with an inspector you may rehire after closing
- +Understand the difference between major and minor findings
- +Catch context the written report cannot fully convey
- +Get verbal repair priority guidance directly from the expert
- −Inspections typically run three to four hours minimum
- −Requires time off work for weekday appointments
- −You may slow the inspector down with too many questions
- −Emotional attachment can cloud objective evaluation
- −Sellers occasionally remain in the home, creating awkward moments
- −Some access areas like attics are not visitor-friendly
- −You will see things that may erode excitement about the purchase

Buyer Checklist: What to Verify During Your Home Inspection
- ✓Confirm the inspector is licensed and carries E&O plus general liability insurance
- ✓Verify the inspection includes roof, attic, crawlspace, and electrical panel access
- ✓Ask whether thermal imaging or moisture meters are included in the base price
- ✓Request a sample report before booking to assess thoroughness
- ✓Schedule sewer scope separately for any home older than 25 years
- ✓Add radon testing in EPA Zone 1 and Zone 2 areas across the country
- ✓Confirm pricing and any extra fees for outbuildings, pools, or large square footage
- ✓Walk the entire property alongside the inspector if your schedule allows
- ✓Bring a notepad and write down every life-expectancy estimate given verbally
- ✓Photograph the main electrical panel, water heater, and HVAC nameplates
- ✓Verify all utilities will be on during the inspection window
- ✓Review the report within the inspection contingency window for negotiation
The Inspection Is a Snapshot, Not a Warranty
Home inspectors document the visible, accessible condition of the home on a single day. They cannot see inside walls, predict when a 12-year-old water heater will fail, or guarantee the basement will stay dry next spring. Use the report as a maintenance roadmap and negotiation tool — never as a guarantee that nothing will go wrong after closing.
Certain findings rise to the level of true deal-breakers and deserve a hard conversation with your agent before you move forward. Active structural movement is at the top of the list. Horizontal foundation cracks accompanied by bowing, stair-step cracks wider than half an inch in masonry foundations, and visibly deflected floor systems all point to ongoing instability. None of these can be diagnosed by an inspector alone — they require a licensed structural engineer, and the resulting repair estimates routinely exceed $20,000.
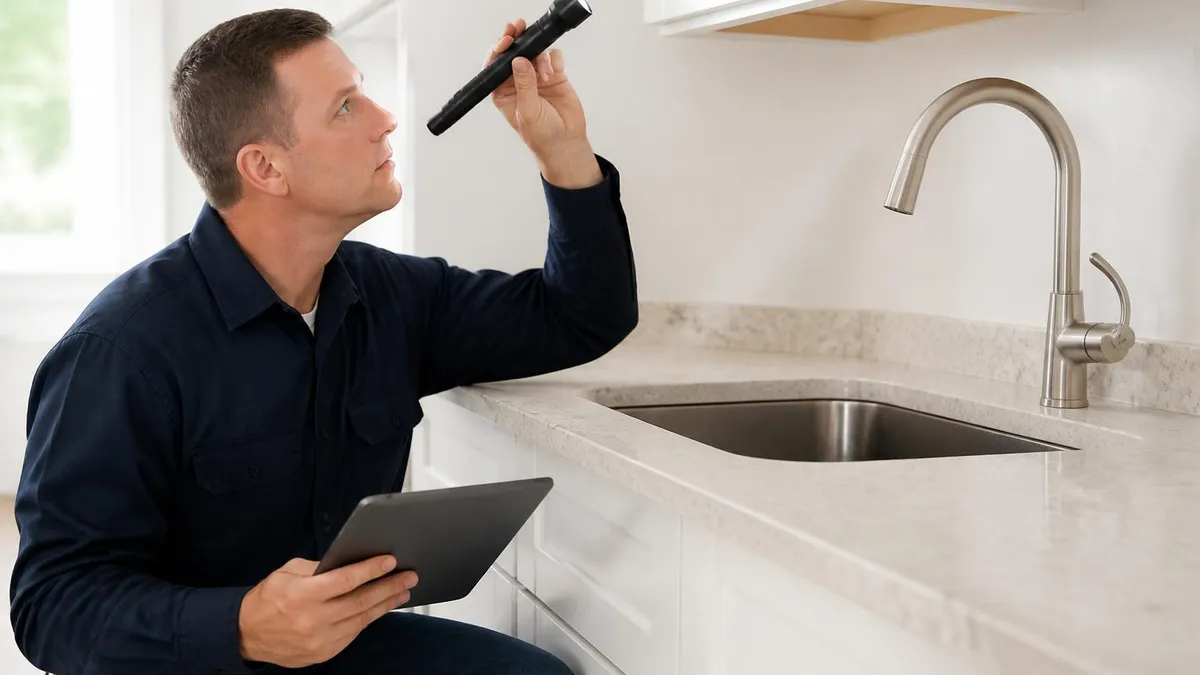
The second category of major red flag is hidden moisture damage. Inspectors use moisture meters at suspect areas and increasingly carry thermal imaging cameras that reveal temperature differentials behind walls. Persistent staining, peeling paint at low corners, musty odors, efflorescence on basement walls, and warped baseboards all suggest a moisture problem that has been ongoing. Mold testing is a separate scope, but the inspector will document visible suspicious growth and recommend further evaluation when warranted.
Electrical safety issues form a third red-flag tier. Federal Pacific Stab-Lok panels, Zinsco panels, ungrounded two-prong outlets with three-prong replacement, missing GFCI in wet locations, knob-and-tube wiring covered by insulation, and double-taps at the main panel all create immediate safety concerns. Some of these can be remediated for under $2,000, but a full panel replacement on a 200-amp service typically runs $3,500 to $6,500, and rewiring a 1,800 square foot home can exceed $20,000.
Roof condition is the most negotiated single item in any inspection. Roofs nearing end of life — typically 18 to 25 years for three-tab asphalt and 25 to 30 years for architectural shingles — are flagged even when not actively leaking. Multiple layers of shingles, granule loss exposing mat, lifted or curling shingles, damaged flashing, and improper repairs all show up in reports. Average replacement costs range from $9,000 to $18,000 depending on square footage and complexity, which is meaningful negotiation leverage.
HVAC systems beyond expected lifespan are another common flag. Furnaces typically last 18 to 22 years, central air condensers 12 to 16 years, and water heaters 8 to 12 years for standard tank units. When the inspector documents equipment well past these benchmarks, buyers can reasonably request seller credits to offset near-term replacement. Inspectors who include nameplate photographs of every major component make this conversation much easier.
Hazardous materials still appear in older homes and deserve attention. Asbestos in pipe wrap, popcorn ceilings installed before 1980, vermiculite attic insulation, lead paint in pre-1978 construction, and underground oil storage tanks all surface during thorough inspections. The inspector cannot definitively identify these without laboratory testing but will note suspect materials for further evaluation. These items rarely break deals but always affect renovation planning.
Finally, prior unpermitted work creates a quiet but serious risk. Finished basements without proper egress, added bedrooms without smoke alarms, decks built without ledger flashing, and electrical subpanels installed by homeowners are red flags both for safety and for future resale. Inspectors will document what they see, but verifying permits is the buyer's responsibility through the local building department.
A standard home inspection does NOT include sewer scope, radon testing, mold sampling, asbestos testing, lead paint testing, termite/pest inspection, swimming pool equipment evaluation, well water quality testing, or septic system inspection. Each of these is typically a separate $150 to $400 add-on. Confirm what is and is not included before signing your inspection agreement to avoid surprises at closing.
Receiving a 70-page inspection report can feel overwhelming, but successful buyers approach it with a clear framework. Sort every finding into four buckets: safety hazards that must be addressed before move-in, material defects affecting structural or mechanical integrity, deferred maintenance items, and cosmetic notes. The first two buckets are appropriate negotiation territory. The last two are part of normal homeownership and should rarely be on a repair request.
For homes priced under $400,000, most experienced agents recommend requesting either a credit or specific repairs totaling 1.5 to 3 percent of the purchase price when material defects are documented. Above that price point, the percentage typically drops to 1 to 2 percent because absolute dollar amounts grow proportionally. Sellers in seller-favored markets push back hard, while buyer-favored markets often see sellers concede 80 percent or more of reasonable requests.
The strongest negotiation strategy is to ask for credits rather than repairs. Credits give you control over contractor selection, scope, and quality, while seller-completed repairs are almost always done by the lowest bidder under time pressure. The exception is roof, HVAC, and major mechanical work that lenders sometimes require to be completed before closing — in those cases, request licensed contractor receipts and warranty transfers.
For homes with significant findings, consider building home inspector salary realities into your read of the report — inspectors who earn fair fees produce more thorough documentation, while $250 bargain inspections often skip key access areas and produce thin reports that hurt your negotiating position. The inspection is the cheapest insurance policy in the entire transaction; cutting corners here is consistently the most regretted decision new buyers report.
Photograph everything during your walkthrough and cross-reference the report to make sure findings are documented with images. A finding without a photograph is far weaker in negotiation than one with clear visual evidence. Request that the inspector annotate severe items with circles or arrows directly on the photographs, which most modern inspection software does automatically.
If the report uncovers items requiring specialist evaluation — a structural engineer for foundation movement, a sewer contractor for clay lateral issues, an HVAC tech for refrigerant leak suspicion — order those evaluations immediately within your contingency window. Specialist reports carry far more negotiating weight than the generalist inspector's recommendation alone, and they often reveal that the actual cost is lower than the buyer feared.
Finally, document every conversation. Inspection negotiations frequently extend the closing timeline, generate new addenda, and shift dollar amounts in the final settlement. Keep a simple log of every request, response, and counter, and have your agent confirm all changes in writing. Verbal agreements at this stage of the transaction almost always come back to bite one party or the other.
Choosing the right inspector matters more than choosing the cheapest one. Start with three to five referrals — your buyer's agent will provide a list, but always supplement with online reviews from Google, Yelp, and the inspector's professional association directory. Verify state licensing where required (currently about 35 states regulate home inspectors), and confirm membership in InterNACHI or ASHI, both of which require continuing education and adherence to published standards of practice.
Ask each candidate three diagnostic questions before booking. How many inspections do you complete per day? (Two is excellent, three is acceptable, four or more is a red flag.) How long do you spend on a 2,000 square foot home? (Three hours minimum.) Do you carry both errors and omissions insurance and general liability insurance? (Both are essential — many inspectors only carry E&O.) A serious professional answers these immediately; an evasive answer is itself a finding.
Pricing varies significantly by region. Inspections in Chicago, Minneapolis, and Boston typically run $475 to $650 for a standard single-family home, while Sun Belt markets like Phoenix, Atlanta, and Dallas land between $375 and $500. Rural markets can be lower, but travel surcharges often offset the savings. Multi-unit buildings, homes over 3,500 square feet, and properties with detached structures, pools, or wells all add to the base fee. Curious about how much do home inspectors make? Understanding the economics helps you spot pricing that is too good to be true.
Always read the pre-inspection agreement before signing. Most contracts include damage caps limiting the inspector's liability to the inspection fee itself, mandatory arbitration clauses, and exclusions for cosmetic items, latent defects, and any condition that emerges within a certain period after closing. These are industry-standard but worth reviewing so you understand what recourse exists if a major issue is missed.
For new construction, schedule both a pre-drywall inspection and a final inspection. Pre-drywall catches framing, plumbing rough-in, electrical, and HVAC issues while they are still accessible, while the final catches finish-work problems, missing punch-list items, and code violations. Builders sometimes resist third-party inspections, but every state allows them and every buyer benefits from them. Budget $700 to $1,200 combined for both phases.
After closing, keep the report accessible for the entire time you own the home. Mark your calendar for the life-expectancy dates the inspector documented — water heater at year 10, furnace at year 18, roof at year 22 — and start budgeting before failure occurs. Buyers who treat the inspection report as a 20-year maintenance plan rather than a one-time document consistently report higher satisfaction and lower emergency repair costs over the life of ownership.
The bottom line: a thorough inspection from a qualified professional is the highest-leverage spending decision in the entire homebuying process. The $400 to $650 you invest typically returns five to fifty times that amount in negotiation leverage, avoided emergencies, and informed decision-making. Skipping it, waiving it, or hiring the cheapest available option is consistently identified in buyer surveys as the single biggest regret of first-time homeowners.
Home Inspector Questions and Answers
Certified Home Inspector: Complete Guide to Training, Certification, Salary & Career Path in 2026

Local Home Inspectors: Complete Guide to Finding, Hiring, and Working With Trusted Inspection Pros Near You
National Home Inspector Exam: Complete 2026 Study Guide, Pass Rates, Cost & Certification Prep

Pillar to Post Home Inspectors: Complete Guide to America's Largest Home Inspection Franchise
Home Inspector Pro Review 2026: Pricing, Features & Top Alternatives
About the Author
Licensed Real Estate Broker & Licensing Exam Specialist
University of Wisconsin School of BusinessSandra Taylor is a Graduate Realtor Institute (GRI) and Accredited Buyer's Representative (ABR) designee with an MBA in Real Estate from the University of Wisconsin School of Business. She has 18 years of residential and commercial real estate brokerage experience and coaches real estate license candidates through state salesperson and broker pre-license examinations across multiple states.