Hazard Perception Mock: The Complete UK Guide to Mastering the DVSA Video Clip Test in 2026 June
Master the hazard perception mock test with expert tips, scoring explained & free practice clips. 🎯 Everything UK learners need to pass in 2026 June.
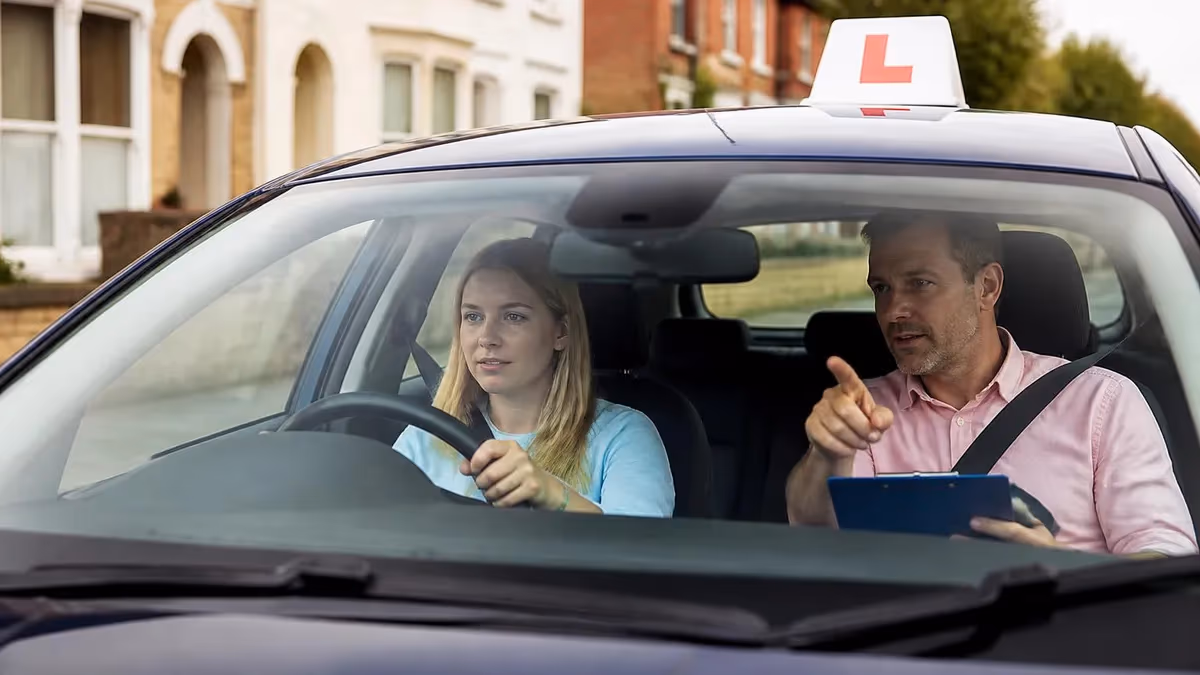
The hazard perception mock test is one of the most misunderstood parts of the entire UK driving theory examination, yet it is also one of the most learnable once you understand exactly how the DVSA scoring system works. Unlike the multiple-choice section where you either know an answer or you do not, hazard perception rewards your ability to spot developing dangers early and click at precisely the right moment — a skill that improves dramatically with deliberate, structured practice using realistic mock clips before your official test date.
Sitting a hazard perception mock closely replicates the real experience: you watch a series of video clips filmed from the driver's perspective, each depicting everyday UK roads, junctions, roundabouts, and pedestrian crossings. Your job is to click the mouse whenever you perceive a developing hazard — that is, something that might cause you, as the driver, to slow down, steer around, or stop. The earlier you spot the hazard within a defined scoring window, the higher your score, up to a maximum of five points per clip.
Many learners sit their theory test without understanding that hazard perception is a separate cognitive skill from hazard awareness theory. You might know every Highway Code rule by heart and still under-perform on the video section simply because you have never practised watching real road footage under timed, exam-like conditions. The mock format forces you to engage with moving hazards rather than static photographs, making it an entirely different mental challenge that requires its own preparation strategy.
The DVSA currently uses 14 video clips in the car theory test, of which one clip contains two scoreable hazards. This means there are 15 scoreable hazards in total, and the pass mark is 44 out of a possible 75. That pass mark may sound generous, but many learners fall short because they click too late, click too frantically, or — most commonly — get flagged for clicking in a regular pattern that the test software interprets as cheating. Understanding these rules before you practise is absolutely essential.
Effective mock practice also builds the mental habit of scanning the entire road scene rather than fixating on a single point. Professional driving instructors consistently report that learners who complete at least 30 to 40 mock hazard perception clips before their real test perform significantly better than those who rely solely on reading about the topic. Video-based practice trains your peripheral awareness, reaction timing, and judgement of how quickly a situation can develop from a potential hazard into a scoring hazard.
This comprehensive guide walks you through every aspect of preparing for the hazard perception section, from understanding the scoring algorithm to the most effective daily practice techniques, common mistakes that cost marks, and the specific strategies you should apply in the final 48 hours before your test. Whether you are a complete beginner who has never seen a hazard perception clip or a re-taker who narrowly missed the mark last time, this guide gives you the knowledge and structured approach you need to pass confidently.
You will also find free practice quiz tiles throughout this article so you can start building your skills right now. Combining consistent mock practice with a clear understanding of how the DVSA formats and scores the test is the single most reliable path to a first-time pass. Let us begin with the key statistics that define exactly what you are aiming for.
Hazard Perception Mock Test by the Numbers

4-Week Hazard Perception Mock Study Schedule
- ▸Watch 10 official DVSA sample clips without clicking — just observe
- ▸Read the DVSA guidance on what counts as a developing hazard
- ▸Learn the difference between a potential hazard and a scoreable hazard
- ▸Take one full mock sitting and record your raw score
- ▸Complete 20 mock clips daily, focusing on clicking at first movement
- ▸Review each clip's scoring window after completing it
- ▸Practise on different device types (mouse, trackpad, touchscreen)
- ▸Identify which hazard categories you are consistently missing
- ▸Simulate full 14-clip test conditions with a timer
- ▸Avoid clicking more than 3–4 times per hazard to prevent fraud flags
- ▸Focus on junction, pedestrian, and cyclist hazard clips
- ▸Review Highway Code sections on road positioning and right of way
- ▸Complete two full timed mock tests each day
- ▸Target a consistent practice score of 58+ out of 75
- ▸Rest on the day before your test — no new clips
- ▸Arrive early on test day and read all on-screen instructions carefully
Understanding how the DVSA scoring algorithm actually works is the single biggest step you can take towards improving your hazard perception performance. Each of the 14 clips contains at least one developing hazard — defined as a situation that will require the driver to take some form of action, such as braking, steering, or accelerating to avoid danger. The software places an invisible scoring window around each hazard, and you receive between one and five points depending on where within that window your first click lands. The earlier you click after the window opens, the higher your score.
The scoring window is typically around one second wide. Clicking at the very start of the window earns five points; clicking near the end earns just one point; clicking after the window has closed earns zero. This is why learners who understand the system focus on being proactive rather than reactive — you want to click the moment you notice the situation beginning to develop, not after it has already become an obvious emergency. Think of it as spotting the warning signs of a hazard rather than the hazard itself.
One of the most misunderstood aspects of the scoring system is the anti-cheating mechanism. If you click more than a certain number of times within a short period, the software flags your response as a pattern click and awards you zero for that hazard, regardless of whether one of your clicks fell inside the scoring window.
The DVSA has never published the exact threshold, but the general guidance from instructors and test-takers is to click no more than three or four times per hazard, spaced naturally rather than rhythmically. Clicking once clearly and deliberately when you spot genuine danger is always better than rapid-fire clicking out of anxiety.
It is also important to understand that the test distinguishes between potential hazards and developing hazards. A potential hazard is anything on screen that might become dangerous — a parked van, a child near a pavement, a slow-moving cyclist ahead. These are things you should be aware of but do not yet require action.
A developing hazard is when that situation starts to unfold — the van door opens, the child steps into the road, the cyclist swerves. Only developing hazards have scoring windows, and only one click per hazard contributes to your score. You can click as many times as you like on potential hazards without penalty, as long as you do not trigger the anti-cheat filter.
The one clip that contains two developing hazards is treated separately in the scoring system. Both hazards have their own independent scoring windows, and you can score up to five points on each, giving a maximum of ten points from that single clip. Many learners focus so heavily on the first hazard that they fail to stay alert for the second. Staying engaged throughout the entire clip, even after you have already clicked for one hazard, is a habit that experienced test-takers develop through regular mock practice.
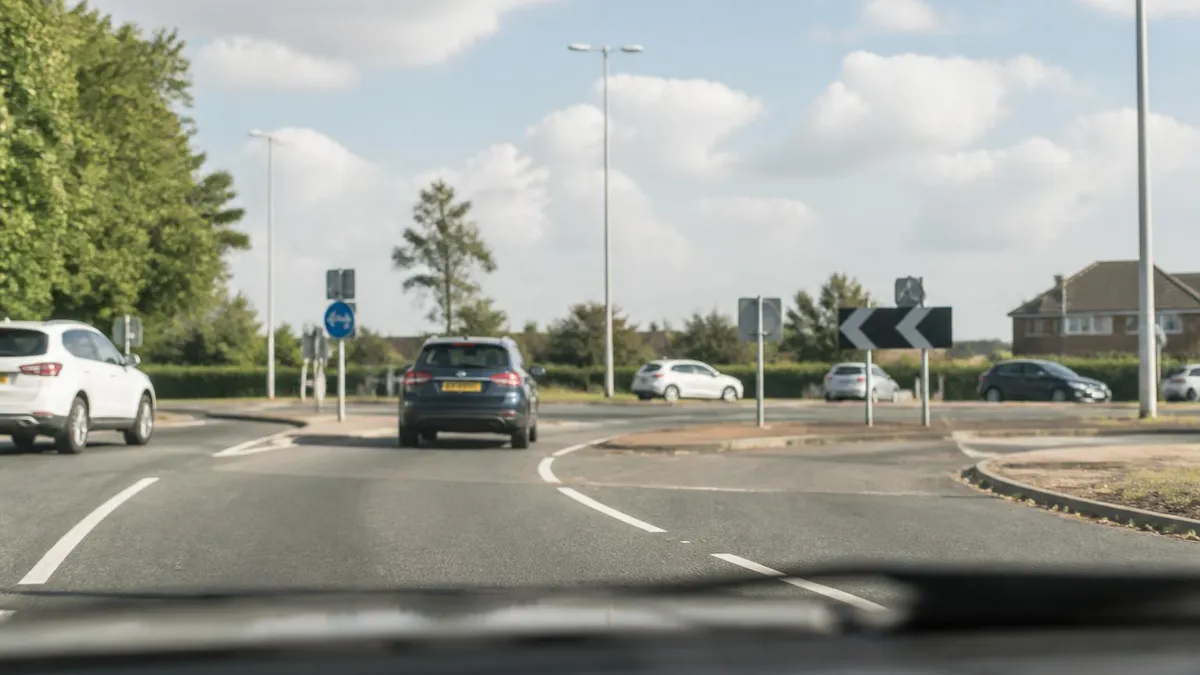
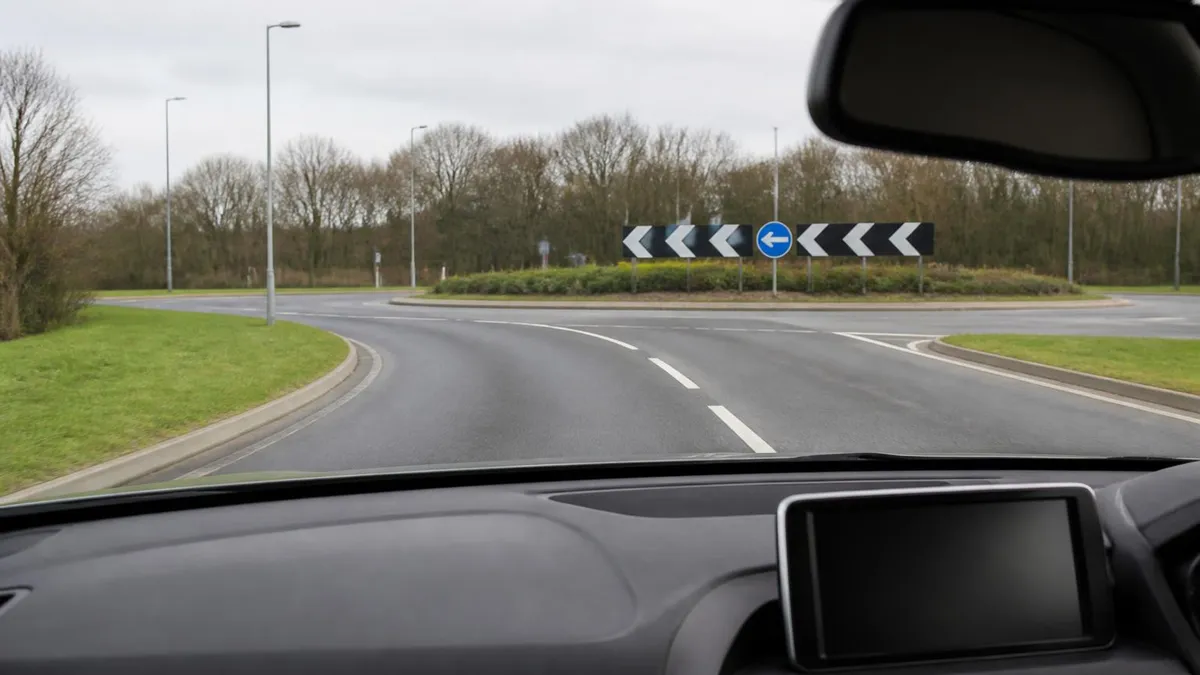
Clip environments vary deliberately to test a wide range of hazard types. You will encounter urban dual carriageways, rural lanes, residential streets, school zones, motorway slip roads, and busy town centres. Some clips take place in challenging lighting conditions such as dawn, dusk, or heavy rain, which makes scanning harder and requires you to look further ahead and watch for reflective road markings or the glow of brake lights. Practising with clips that cover all these environments ensures you are not caught out by an unfamiliar scenario on test day.
Finally, remember that the hazard perception section follows immediately after the multiple-choice section during your actual theory test. You will not get a long break between the two parts — typically just a few minutes to read instructions. This means your mental state coming out of the multiple-choice section can directly affect your hazard perception performance. Learners who rush through the multiple-choice questions and arrive at the video section feeling flustered or anxious tend to click erratically. Practising a short breathing exercise and taking a deliberate pause before starting each clip helps maintain the calm, focused attention the test rewards.
Hazard Perception Mock Practice Strategies
If you are new to hazard perception, start by watching clips without clicking at all. This sounds counterintuitive, but passive viewing helps you understand how road scenes develop before you try to time your responses. Watch three or four clips in observation mode, then switch to active clicking. Focus on the area in front of the vehicle and look for any change in the behaviour of pedestrians, other vehicles, or the road layout itself. Changes in behaviour — not the hazard itself — are your earliest signal to click.
After each clip, review where the scoring window was positioned and compare it to when you clicked. Most beginner practice tools show you a graph of your click timing overlaid on the scoring window. Use this feedback to calibrate your response. If you are consistently clicking after the window closes, you are waiting too long and need to trust your instincts earlier. If you are clicking before the window opens on every clip, you may be reacting to potential hazards rather than developing ones — this will not trigger the anti-cheat system, but it will inflate your click count unnecessarily.
Hazard Perception Mock Tests: Benefits vs Limitations
- +Replicates real DVSA clip format so you know exactly what to expect on test day
- +Scoring feedback after each clip shows precisely when you clicked versus the window
- +Unlimited repetition allows you to drill specific hazard categories until they feel automatic
- +Builds genuine road awareness skills that carry over into real-world driving after you pass
- +Available free on multiple platforms so you can practise without additional cost
- +Reduces test anxiety by making the format deeply familiar before you sit the real thing
- −Online mocks may use older or lower-quality footage that does not match current DVSA clip standards
- −Screen size differences between practice platforms and test-centre monitors can affect your performance
- −Anti-cheat threshold is not publicly confirmed, so some advice about click limits may be inaccurate
- −Repetitive practice on the same clips can create false familiarity rather than genuine hazard recognition
- −No mock platform perfectly replicates the test-centre mouse and screen setup you will use on the day
- −Over-reliance on mock scores can give false confidence if the mocks are significantly easier than real clips
Hazard Perception Mock Test Preparation Checklist
- ✓Complete at least 30 individual hazard perception mock clips before attempting a full timed test
- ✓Watch each clip's post-attempt feedback graph to understand where your click landed relative to the scoring window
- ✓Practise on a desktop or laptop computer with a standard mouse to match test-centre conditions
- ✓Learn the definition of a developing hazard versus a potential hazard before your first practice session
- ✓Keep your click count per hazard to three or four deliberate clicks to avoid the anti-cheat flag
- ✓Include at least two full 14-clip timed mock sittings in the final week of preparation
- ✓Practise clips featuring pedestrians, cyclists, and emerging vehicles as these are the most commonly missed hazards
- ✓Set a personal target of 58+ out of 75 on practice mocks before booking your real test date
- ✓Avoid rapid rhythmic clicking — click naturally in response to what you genuinely observe on screen
- ✓Get a full night's sleep before test day and arrive at the test centre at least 15 minutes early

Click on Change, Not on Danger
The most important mindset shift for hazard perception is to click when you see a situation beginning to develop, not when it becomes obviously dangerous. The scoring window opens at the moment the hazard starts to unfold — a cyclist beginning to wobble, a car bonnet appearing from a side road — so clicking at first movement, not peak danger, consistently earns the highest points.
One of the most valuable things you can do during your hazard perception mock preparation is to develop a systematic visual scanning technique rather than simply staring straight ahead at the road. Professional drivers and advanced motorists are trained to use a broad scan that sweeps from the road surface immediately ahead, up to the far distance, and then across both sides of the road in a continuous cycle.
This scanning pattern ensures that hazards developing at the edges of the frame — a child stepping off a pavement on the left, a car pulling out from a driveway on the right — are captured early rather than noticed only when they are already in your path.
The scan should be rhythmic but not mechanical. In real driving, your eyes naturally pause at points of interest, such as a pedestrian waiting at a crossing or a vehicle indicating to pull out. In the hazard perception test, these pauses are exactly where your clicking attention should be directed.
Train yourself to ask, during each clip, whether any element of the scene is changing. Movement is the key trigger — static objects almost never become scoreable hazards, whereas anything that is already in motion or beginning to move is worth your focused attention and a deliberate click if the situation develops.
Weather and road surface conditions play a significant role in the difficulty of hazard perception clips, and the DVSA deliberately includes footage filmed in rain, poor light, and busy traffic to reflect real-world driving conditions. In wet-weather clips, your scanning should extend further ahead because braking distances are longer and hazards require earlier identification.
Pay particular attention to brake lights several vehicles ahead, pedestrians running for shelter who may step into the road unexpectedly, and vehicles aquaplaning or drifting in their lane. These environmental hazards appear less frequently in mock databases than junction hazards but carry the same scoring weight in the real test.
Night and dusk clips require a different visual strategy. In low-light conditions, look for the glow of headlights on approaching bends, reflective road markings that indicate a junction or roundabout ahead, and pedestrians wearing dark clothing who are visible only as silhouettes at the edges of your headlight beam.
The DVSA includes these conditions specifically because learner drivers often have less experience of night driving than daylight driving, and the test checks whether you recognise the heightened risk these conditions represent. Practising mock clips in simulated low-light conditions — or simply darkening your practice environment slightly — can help you build this specific skill.
Rural and country-road clips introduce a different set of hazards compared to urban settings. Blind bends, narrow lanes, farm vehicles, and animals crossing the road are all common in rural clips. The key challenge in these environments is that hazards often appear with very little warning because sight lines are shorter.
Developing the habit of slowing your expected response slightly on rural clips — anticipating that something might appear around any blind bend — helps you stay within the scoring window even when the clip reveals the hazard quickly. Urban clips, by contrast, generally give you slightly more visual warning because the road ahead is more open.
One excellent technique for advanced mock practice is to verbalise your hazard predictions out loud as you watch each clip. Say what you see and what you expect might happen next: for example, noting a child near a parked car and predicting they might step into the road, or observing a vehicle at a give-way line and expecting it to pull out.
This verbalisation forces you to consciously process the scene rather than react passively, and it aligns closely with the kind of commentary driving used in advanced motorist training. After a week of verbalised practice, many learners find that their click timing improves significantly because they have practised making explicit predictions rather than relying on reflexes alone.
Finally, it is worth practising the physical act of clicking calmly and deliberately. Some learners develop tension in their clicking hand during mock sessions, particularly when they feel they are about to miss a hazard. Tension slows your fine motor control and increases the likelihood of a delayed or mis-timed click. Practise keeping your hand relaxed on the mouse, using only the index finger for clicking, and breathing steadily throughout each clip. These small physical habits make a genuine difference when you are sitting in the test centre under real exam pressure.
The DVSA hazard perception software automatically flags responses that appear to follow a regular clicking pattern, such as clicking repeatedly at fixed intervals throughout a clip. If the system detects this behaviour, it awards zero points for that hazard regardless of your timing. Always click in direct response to what you observe on screen — natural, irregular clicking based on genuine hazard identification will never trigger this flag.
The week before your real test is arguably the most important period of your entire hazard perception preparation. This is when many learners make the critical mistake of either over-practising to the point of mental fatigue or under-preparing because they feel their mock scores are already high enough.
The ideal approach is structured and moderate: two full timed mock tests per day in the first four days, dropping to one mock test per day in the final two days, with complete rest on the day before your test. This taper allows your skills to consolidate without burning out your concentration before the real event.
During your final week mocks, pay close attention to which hazard types still give you trouble. If your scores are consistently strong — say, 60 or above — but you notice you are still missing certain clip types, focus your remaining practice time exclusively on those scenarios rather than continuing to repeat your strongest areas.
Targeted practice in the final week has a much higher return than generalised review. Many learners who score 45 on their real test do so because they had one or two hazard categories where they consistently scored zero, dragging their overall mark down even though they performed well across the majority of clips.
On the morning of your test, eat a proper breakfast and give yourself plenty of time to reach the test centre without rushing. Arriving flustered or late creates exactly the kind of elevated stress response that impairs the calm, focused attention hazard perception requires. When you sit down at the test station, read every on-screen instruction carefully, even if you feel you already know the format from your mock practice. The instructions include the reminder about the anti-cheat policy, and reading them reinforces the right mindset before you begin.
During the multiple-choice section that precedes hazard perception, manage your time calmly and avoid second-guessing answers you were confident about on first read. Rushing through the multiple-choice section does not give you extra time on the hazard perception section — the two parts are entirely separate in the system. What it does do is leave you feeling anxious and unsettled, which is exactly the wrong state to carry into a section that rewards calm observation. Aim to complete the multiple-choice section steadily and use the remaining time to review any flagged questions methodically.
When the hazard perception section begins, the first clip is preceded by a practice clip that does not count towards your score. Use this practice clip fully — treat it as if it were real, clicking on every hazard you identify, and use the experience to calibrate your mouse sensitivity and settle your nerves before the scored clips begin. Many learners dismiss the practice clip as unimportant and spend it looking away from the screen or adjusting their seating. This is a missed opportunity to warm up your hazard-spotting attention before the marks start counting.
Between clips, you will see a black screen briefly before the next clip begins. Use this moment to take one slow breath, relax your clicking hand, and remind yourself of your strategy: scan broadly, click on change, keep clicks natural. These brief resets prevent the cumulative stress of the test from building up over the 14 clips. Learners who maintain a consistent mental routine between clips tend to score more evenly across the test, whereas those who let anxiety build often start well and deteriorate in later clips when fatigue and nerves combine.
After the test, whatever the outcome, take a moment to note which clips felt hardest and which hazard types you struggled to spot in time. This reflection is valuable even if you pass — it informs your real-world driving attention — and absolutely essential if you need to retake. The DVSA allows you to retake your theory test, including the hazard perception section, with a minimum waiting period of three working days. Use that window constructively, targeting your specific weaknesses with focused mock practice rather than simply repeating everything from scratch.
Building a long-term practice routine that fits naturally into your daily schedule is far more effective than cramming intensively in the days immediately before your test. Research on skill acquisition consistently shows that distributed practice — shorter sessions spread across several weeks — produces stronger, more durable performance than massed practice compressed into a short period. For hazard perception specifically, this means that 20 minutes of focused mock clips every day for four weeks will prepare you better than four hours of clips on the weekend before your test.
Making your practice routine sustainable also means using a variety of platforms rather than repeating the same mock database until you have memorised individual clips. When you begin to recognise specific footage rather than reading it fresh each time, you stop developing genuine hazard perception skill and start relying on memory. Rotate between at least two or three different mock providers throughout your preparation, and prioritise platforms that regularly update their clip libraries to include footage that matches current DVSA standards in terms of vehicle types, road layouts, and hazard scenarios.
Social learning can also significantly accelerate your hazard perception development. If you have a friend or family member who is also preparing for their theory test, practise together by watching clips simultaneously and discussing what you both noticed and when you clicked. Hearing someone else articulate their reasoning for a click — noting a bus pulling away from a stop that might obscure a pedestrian, for example — often surfaces hazard-spotting strategies you would not have discovered on your own. This collaborative review is one of the most underused practice techniques available to learner drivers.
Your driving instructor is another invaluable resource for hazard perception preparation, particularly if they use commentary driving during your practical lessons. Commentary driving — where you narrate everything you observe and predict while the instructor drives or while you drive — directly trains the same cognitive processes that hazard perception tests. Ask your instructor to incorporate a short commentary driving exercise into each lesson, focusing specifically on developing hazards rather than just describing the current road state. The crossover between practical lesson skills and the hazard perception test is far stronger than many learners realise.
Technology has made mock hazard perception practice more accessible than ever. The DVSA's own official revision materials include sample clips available through their official channels and approved revision products. Beyond official resources, several well-reviewed third-party apps and websites offer extensive mock clip libraries, click-timing graphs, and personalised scoring analysis. When choosing a platform, prioritise those that show you where the scoring window was positioned after each clip and that offer a range of clip difficulties rather than only easy scenarios.
It is also worth understanding how hazard perception relates to the broader theory test and your eventual practical driving test. The skills you develop through mock hazard perception practice — scanning ahead, identifying developing situations early, and responding calmly under time pressure — are exactly the skills your practical examiner will be assessing on the road. Many learners report that their driving improved noticeably after completing extensive hazard perception preparation because the practice changed how they visually processed the road environment during their practical lessons.
The connection between theory and practice is why preparation resources like this guide matter beyond simply helping you pass a test. A driver who has genuinely internalised hazard perception skills is safer on the road from the moment they receive their licence.
The DVSA designed the hazard perception section not merely as a gateway test but as a training tool intended to embed proactive, anticipatory driving habits in every new UK driver before they take the wheel unsupervised. Approaching your mock practice with this broader purpose in mind keeps your motivation high and ensures you are building real skills rather than just chasing a pass mark.
DVSA Questions and Answers
UK Theory Test Pass Mark: Car, Bike, LGV, PCV & ADI Scores

Free Theory Test App: The Complete UK Guide to Choosing, Using and Passing With Mobile Practice in 2026

Cancelling Driving Test: The Complete UK Guide to Refunds, Rebooking and Avoiding Lost Fees in 2026
Theory Test Certificate: Complete UK Guide to Passing and Using Your DVSA Pass Letter in 2026

UK Driving Test Pass Rate: Complete 2026 Guide to Statistics, Centre Comparisons and How to Beat the Odds
About the Author
Licensed Driving Instructor & DMV Test Specialist
Penn State UniversityRobert J. Williams graduated from Penn State University with a degree in Transportation Management and has spent 20 years as a certified driving instructor and DMV examiner consultant. He has personally coached thousands of applicants through written knowledge tests, skills assessments, and commercial driver licensing programs across more than 30 states.