
Infant CPR One Rescuer: Step-by-Step Techniques, BLS, PALS and the ACLS Algorithm
🎯 Learn infant CPR one rescuer steps: 30:2 compressions, breaths, AED use, and how BLS, PALS and the ACLS algorithm fit together for 2026.

Infant CPR one rescuer is the scenario every parent, babysitter, teacher, and healthcare student dreads, yet it is worth rehearsing. When you are alone with a baby under twelve months who is unresponsive and not breathing normally, nobody can take over, and every second without blood flow matters. Unlike the ACLS algorithm used for adult cardiac arrest, the infant sequence is built around breathing problems, so ventilation matters as much as compressions. The steps are short, repeatable, and learnable in one afternoon.
Most infant cardiac arrests are not sudden heart rhythm problems. They follow choking, drowning, suffocation, severe respiratory illness, or sudden infant death, which means the heart usually stops because the baby ran out of oxygen. That is why pediatric guidelines keep rescue breaths in the sequence and why a single rescuer performs 30 compressions followed by 2 breaths. Compression-only CPR, which is acceptable for adults, is less effective for babies because their blood is already depleted of oxygen.
An infant is defined as a child younger than one year, excluding newborns in the delivery room. After the first birthday, rescuers switch to child technique, which uses one or two hands on the lower half of the breastbone. Because the sizes overlap, do not delay care while debating age. If the patient looks like a baby you can cradle on one forearm, use infant technique. If you are unsure, a reasonable attempt always beats hesitation or doing nothing at all.
This article covers the full single-rescuer sequence in order: scene safety, checking responsiveness, calling for help, assessing breathing and pulse, delivering compressions, giving breaths, and using an AED. You will also see how basic life support differs from PALS certification, what the recovery position looks like for a breathing baby, and which mistakes cost the most time. Our infant cpr techniques overview explains how to turn this knowledge into a card that employers actually accept.
A quick note on search terms: people who type CPR cell phone repair into a search box are looking for a phone repair franchise, not resuscitation training. If you landed here by accident, stay anyway. Everything below concerns cardiopulmonary resuscitation, the emergency skill that restores circulation and breathing, and it takes far less time to learn than most people assume. Many community classes finish in under three hours, including hands-on practice on infant manikins.
Reading cannot replace practice, and this guide is not a substitute for a hands-on class with a certified instructor. Muscle memory for compression depth, hand position, and head tilt only develops when you press on a manikin and receive feedback. Use this article to understand the logic, then book a skills session. Guidelines from the American Heart Association and the American Red Cross are reviewed periodically, so confirm current recommendations with your instructor before relying on any numbers.
Throughout the article you will find practice quizzes, a checklist you can print, and a plain-language FAQ. Work through the sections in order the first time, then revisit the steps you find hardest. Parents often struggle most with the decision to start, so we address that directly. Healthcare students will find notes on two-rescuer technique and advanced pathways, with one goal in mind: making you confident, calm, and quick whenever an infant needs help.
Infant CPR by the Numbers
Infant CPR One Rescuer: The Step-by-Step Sequence
Check the Scene and Tap
Call for Help
Check Breathing and Pulse
Give 30 Compressions
Give 2 Rescue Breaths
Repeat and Use the AED
Hand position is the first technical detail to master. For one rescuer, place two fingers of one hand in the center of the infant's chest, just below the imaginary line between the nipples, on the lower half of the breastbone. Keep your other hand on the forehead to maintain the head tilt. Avoid pressing on the very tip of the breastbone or the soft upper abdomen, because pressure there can injure the liver and does not move blood.
Compression depth should be at least one-third of the front-to-back chest diameter, which is about 1.5 inches or 4 centimeters in most infants. Push hard and fast at 100 to 120 compressions per minute, roughly the beat of many pop songs. After each push, release fully so the chest returns to its resting height. Incomplete recoil keeps pressure inside the chest and reduces the blood that refills the heart between compressions.
After 30 compressions, open the airway with a gentle head-tilt chin-lift. Infants have large heads and flexible necks, so a neutral or slightly sniffing position works best; overextending the neck can actually close the airway. Cover the baby's mouth and nose with your mouth, or use a barrier mask, and deliver two breaths of about one second each. Each breath should produce a visible chest rise, and the puff needs only the volume in your cheeks.
If the chest does not rise on the first breath, reposition the head, reseal your mouth, and try once more. Do not spend more than ten seconds on the two breaths. If the second attempt still fails, resume compressions and look inside the mouth for a visible object each time you reopen the airway. Remove it only if you can see it. Blind finger sweeps risk pushing the obstruction deeper into the throat.
Continue cycles of 30 compressions and 2 breaths for about two minutes, which is roughly five cycles. If you have a phone, call 911 first and use speaker mode so you keep working. If you are alone without one and the collapse was unwitnessed, phone after the first two minutes, carrying the baby if needed. When a second trained responder arrives, health professionals can switch to 15 compressions and 2 breaths.
Now the AED. The question what does AED stand for has a simple answer: automated external defibrillator. It analyzes heart rhythm and delivers a shock only when it detects a shockable rhythm. For infants, a manual defibrillator is preferred by trained professionals, but if one is not available, use an AED with a pediatric dose attenuator. If only adult pads exist, use them rather than withholding a shock, placing pads front and back so they do not touch.
Follow the voice prompts, stand clear during analysis, and resume compressions immediately after any shock, since the heart often needs several minutes of chest compressions before it pumps effectively. Do not stop to check a pulse between cycles. Continue until the infant moves, cries, or breathes normally, until emergency responders take over, or until you are too exhausted to continue. Fatigue sets in within a couple of minutes of high-quality compressions, so swap with any bystander who has been shown the technique.
PALS Certification, BLS and Life Support: Which Course Covers Infants?
A BLS certification is the standard credential for healthcare providers and a common requirement for nursing, EMT, dental, and allied health programs. The course covers infant CPR one rescuer technique with 30 compressions to 2 breaths, two-rescuer technique at 15:2, bag-mask ventilation, AED use, and relief of choking. Skills are tested on manikins with feedback devices that measure depth, rate, and recoil, and a short written exam follows.
Most BLS courses take three to four hours and cost between 60 and 120 dollars. The card is valid for two years, and renewal classes are shorter. If you are a parent or teacher rather than a clinician, a layperson course such as Heartsaver or Family and Friends CPR teaches the same infant fundamentals without the team-based material, usually in a more relaxed two-hour session with the same hands-on practice.
Is One Rescuer Infant CPR Harder Than Two-Rescuer CPR?
- +You can start immediately without waiting for a partner to arrive
- +The 30:2 ratio is simple to remember and easy to count aloud
- +Two-finger technique needs no special equipment at all
- +Continuous responsibility keeps the sequence consistent from start to finish
- +Rescue breaths are built in, which suits oxygen-related infant arrests
- +Skills transfer directly to child CPR with only small changes
- −Fatigue builds quickly when you do all compressions and breaths yourself
- −Switching between compressions and breaths creates longer pauses in blood flow
- −Calling 911, fetching an AED, and performing CPR cannot happen simultaneously
- −Two-finger compressions can be less deep than the two-thumb encircling method
- −Stress makes it harder to recall the numbers without regular practice
- −You may have to carry the baby while looking for a phone or AED
Infant CPR Checklist: Recovery Position and Emergency Readiness
- ✓Enroll in a hands-on infant CPR class with a certified instructor.
- ✓Memorize 30 compressions to 2 breaths for a single rescuer.
- ✓Practice two-finger hand placement just below the nipple line.
- ✓Set a 110 beats per minute metronome and rehearse the tempo.
- ✓Keep a pocket mask with a one-way valve in your bag and car.
- ✓Post your home address and emergency numbers near the phone.
- ✓Locate the nearest public AED at home, work, and daycare.
- ✓Learn the recovery position for a breathing, unresponsive baby.
- ✓Practice five back blows and five chest thrusts for choking.
- ✓Schedule your card renewal reminder ninety days before expiry.
30 : 2 : 100–120 : 1.5 inches
If you remember only four things, remember these: 30 compressions to 2 breaths, 100 to 120 compressions per minute, and a depth of about 1.5 inches. Add one rule, which is to start CPR rather than hesitate, and you have the core of infant CPR for a single rescuer.
Not every sick baby needs compressions, and recognizing the difference saves effort and anxiety. A resting infant usually breathes 30 to 60 times per minute, and more slowly during deep sleep. A respiratory rate far above that range, accompanied by grunting, flaring nostrils, or ribs pulling in with each breath, signals respiratory distress. Bluish lips or dusky skin point toward respiratory failure and call for immediate emergency care.
When an infant has a pulse but breathing is absent or inadequate, healthcare providers perform rescue breathing rather than full CPR. The rate is one breath every two to three seconds, or about 20 to 30 breaths per minute, with a pulse check about every two minutes. If the heart rate falls below 60 beats per minute with signs of poor circulation despite oxygen and ventilation, compressions begin. Lay rescuers without pulse-check training simply start CPR when the baby is unresponsive and not breathing normally.
Position recovery, more accurately called the recovery position, applies to an infant who is breathing and has a pulse but is not fully alert. Adult side-lying methods are not generally taught for babies. Many instructors teach holding the infant in your arms, face down along your forearm or cradled on their side, with the head supported and the airway open so fluid can drain. Ask your instructor which method your course endorses, and never leave a sleeping baby face down.
Choking is a different emergency with a different response. For a conscious infant who cannot cry, cough, or breathe, give five back blows followed by five chest thrusts. Support the baby face down along your forearm, head lower than the chest, and strike between the shoulder blades with the heel of your hand. Then turn the infant face up and push on the breastbone with two fingers, using the same spot as in CPR. Repeat until the object comes out.
Never use abdominal thrusts, also called the Heimlich maneuver, on a baby under one year. The infant's liver is large and exposed, and the technique can cause serious internal injury. If the baby becomes unresponsive during choking, lower them to a firm surface, call 911 if no one has, and start CPR, checking the mouth for a visible object each time you open the airway. Do not perform blind finger sweeps.
Prevention deserves a place in any CPR lesson. Cut food into pieces smaller than a pea until children are well past age one, avoid hard candies, whole grapes, nuts, and popcorn, and keep coins, button batteries, and balloons out of reach. Always place babies on their backs on a firm, flat sleep surface without pillows or loose blankets. Most infant emergencies that rescuers face are preventable, so the best technique is the one you never need.
Finally, learn the warning signs that call for a 911 call before an arrest happens: breathing difficulty, blue or gray skin, limpness, a seizure, a fever in a baby under three months, or an unresponsive stare. Early action often prevents cardiac arrest altogether. Trust your instincts. Emergency dispatchers are trained to coach you through each step on the phone, and they would much rather receive a call that turns out to be minor than arrive too late.
For infants under one year, choking relief means five back blows and five chest thrusts, not the Heimlich maneuver. Abdominal thrusts can injure the liver. Reading about technique is not a substitute for a hands-on class, so practice on a manikin with a certified instructor.
Learning the sequence from an article is a start, but employers, schools, and licensing boards require documented training. Choose a course that includes in-person skills practice on infant manikins. Common providers include the American Heart Association, the American Red Cross, the National CPR Foundation, and local hospital programs. Each issues cards, typically valid for two years. Before paying, confirm the card satisfies your employer, since some require hands-on skills verification while others accept alternative providers.
The National CPR Foundation, a frequent search term, offers online courses and certification with downloadable cards, and some childcare and workplace requirements accept it. However, acceptance varies by state board and employer, particularly for nurses, EMTs, and other licensed clinicians. Ask your supervisor or program coordinator in writing which providers they recognize. That one email can save you from repeating a class or paying twice for a card that is rejected during onboarding.
What is a BLS certification? BLS stands for Basic Life Support, the healthcare-provider level of CPR training. It covers adult, child, and infant CPR, AED use, choking relief, bag-mask ventilation, and two-rescuer team skills. Nurses, nursing students, EMTs, dental staff, and many allied health workers need it. Layperson CPR classes teach similar compression technique, but BLS adds team dynamics, coordinated roles, and the 15:2 ratio for two rescuers on infants and children.
If you work with sick children, you will eventually meet PALS certification. Pediatric Advanced Life Support builds on BLS with rhythm recognition, vascular access, medication dosing by weight, and algorithms for respiratory failure, shock, and cardiac arrest. Candidates complete a pre-course assessment, interactive case simulations, and a written exam, usually needing a score of at least 84 percent. Current BLS is a prerequisite. Emergency nurses, pediatric nurses, paramedics, and respiratory therapists commonly hold both cards.
Adult-focused ACLS follows the ACLS algorithm for cardiac arrest, which alternates two-minute CPR cycles with rhythm checks, shocks for ventricular fibrillation or pulseless ventricular tachycardia, and drugs such as epinephrine and amiodarone. Infants rarely arrive in those rhythms; asystole and pulseless electrical activity are far more common. That is why PALS, not ACLS, is the correct advanced course for pediatric work, though many hospital clinicians eventually hold both. Both rest on the same foundation of high-quality compressions.
Costs vary by provider and format. Community classes typically run from about 50 to 100 dollars, healthcare-provider BLS courses are often 60 to 120, and PALS courses commonly cost 200 to 350 dollars. Blended learning lets you complete the cognitive portion online, then attend a short skills session. Free options exist through some fire departments and hospitals, though certificates may not be provided. Compare total cost, card validity, and employer acceptance rather than looking at price alone.
Plan renewals early. BLS and PALS cards generally expire after two years, and many employers require proof on the first day after expiry. Put the date in your calendar ninety days ahead, and book a refresher before it lapses so you can avoid repeating the full course. Between renewals, practice monthly on a manikin or with a phone app, since research shows compression quality drops within months of training when skills are not refreshed.
Start with a mental script you can recite under stress: check, shout, call, check breathing, compress. Say it aloud while driving or washing dishes until it feels automatic. Under stress, the brain defaults to rehearsed patterns, which is why airline pilots drill emergency checklists. Pair the script with the numbers 30, 2, 100 to 120, and 1.5 inches, and you carry the entire single-rescuer algorithm in your head without any notes at all.
Build a practice routine. Buy or borrow an infant manikin, or use a firm pillow and a stopwatch to rehearse hand placement and tempo. Set a metronome app to 110 beats per minute and push along with it for two minutes, feeling how quickly your forearms tire. Practice counting out loud, because saying one and two and three keeps the rhythm and also helps you stay calm. Even five minutes a month keeps the movements fresh.
Prepare your environment. Post the address of your home near the phone or in your notes app so you can give it to a dispatcher quickly. Keep a pocket mask with a one-way valve in your diaper bag and car. Learn where the nearest public AED is located at daycare centers, gyms, and schools. If you watch children, tell parents in advance that you are trained, and keep emergency numbers visible near the phone.
In the moment, avoid the three most common errors. First, hesitating: if the baby is limp and not breathing, begin. Second, compressing too slowly or too shallowly out of fear of hurting the baby; broken ribs heal, but a stopped heart does not. Third, interrupting compressions too often for pulse checks or repositioning. Aim for pauses of ten seconds or less, and keep your hands moving until help arrives.
Aftercare matters. Even if the infant revives, call 911 or make sure they are examined, since complications can appear later. Write down the time you started CPR, what you saw, and what you did, because responders will ask. Consider speaking with a counselor or trusted friend afterward. Rescuers often experience shaking, guilt, or replaying the event, and these reactions are normal. Most states have Good Samaritan laws protecting people who act in good faith.
For exam preparation, focus on numbers and distinctions that tests love: infant versus child compression technique, one-rescuer 30:2 versus two-rescuer 15:2, pulse check location at the brachial artery, depth of one-third chest diameter, and rate of 100 to 120. Use our practice questions to find gaps, and review wrong answers until you can explain them. Flashcards for abbreviations such as AED, BLS, PALS, and ACLS help you avoid confusion on test day.
Finally, share what you learn. Teach a grandparent, nanny, or neighbor the basics, or organize a class for your parents' group or workplace. Each additional trained person around a baby increases the odds of an effective response. Take a practice quiz below, schedule your hands-on class this month, and remember that imperfect CPR delivered promptly is far better than perfect CPR delivered late. You can do this, and now you know how.
CPR Questions and Answers
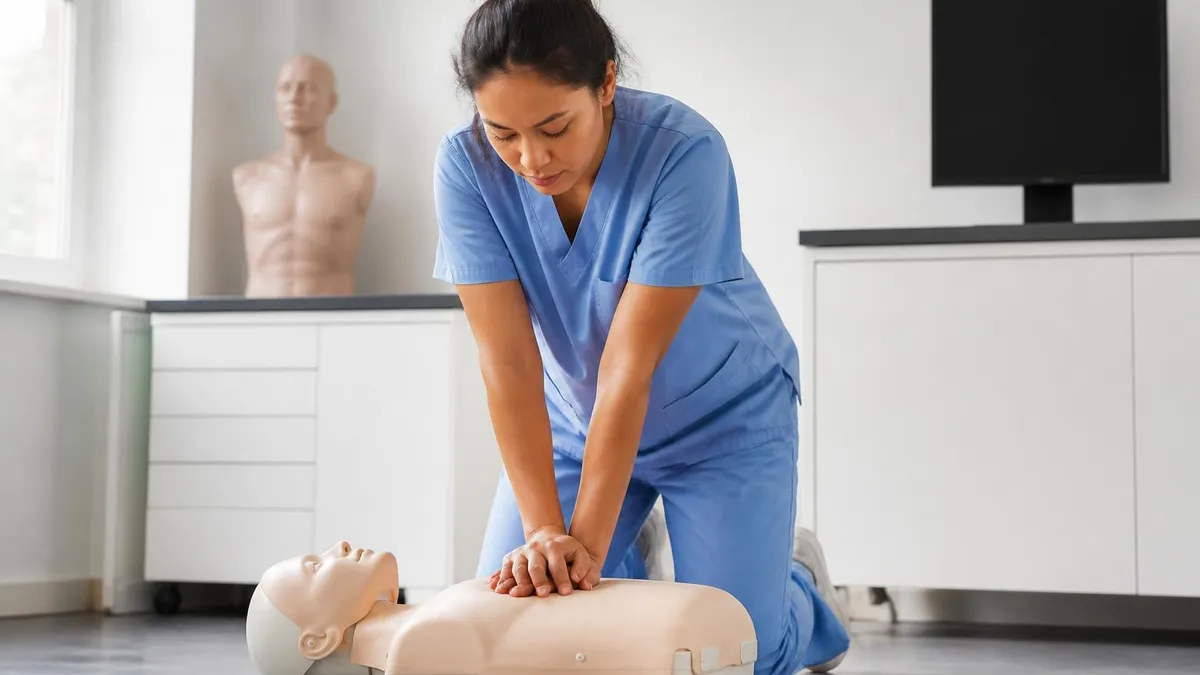
CPR Certification: How to Get Certified in CPR for 2026
CPR Practice Test 2026: Free Questions, Answers & Full Exam Prep Guide

Professional Level CPR: Techniques, ACLS Algorithm and Guidelines for 2026
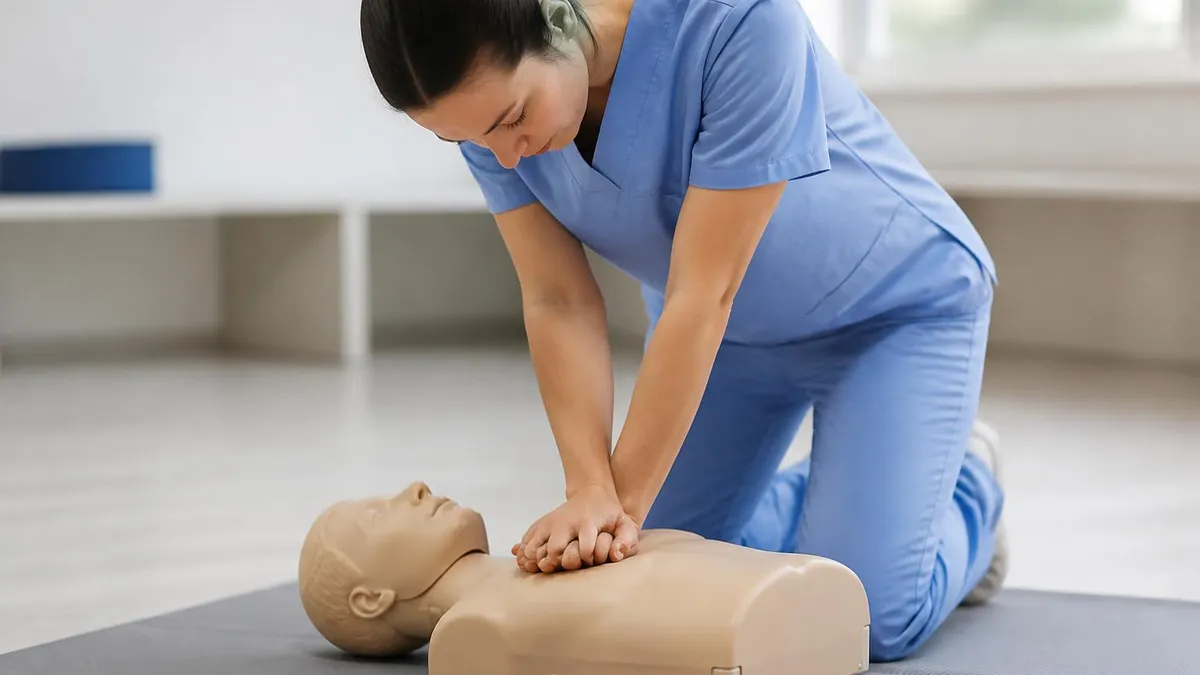
CPR Training Online: What's Possible and What's Not
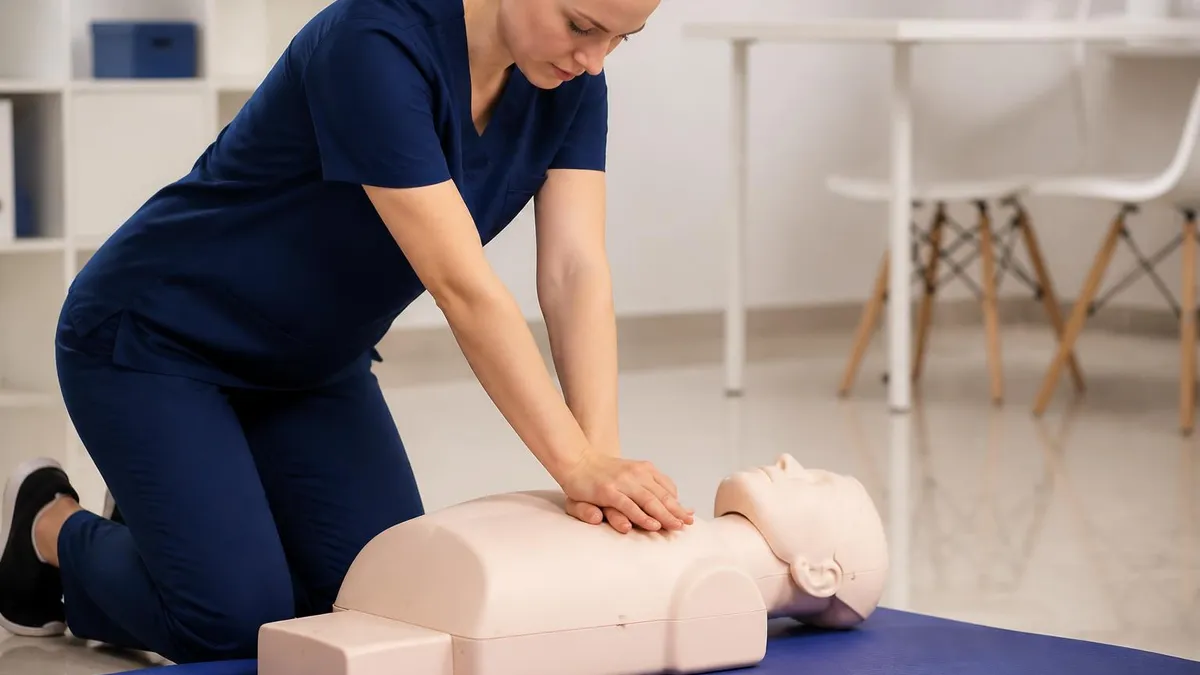
Free CPR Certification: Real Options vs Misleading Promises
How this page was made: written with AI tools and published by Nathan Beja, founder of Practice Test Geeks, who is responsible for its content. Exam facts are checked against the official sources listed below. Not reviewed by a subject-matter expert. Editorial policy
Sources & references
Exam facts on this page (fees, format, dates, passing scores) are checked against these official sources; the date is our last check. Editorial policy
- redcross.org — Score validity, renewal, test delivery, passing score · verified Oct 2026
- elearning.heart.org — Fees, score validity, passing score · verified Oct 2026
- shopcpr.heart.org — Test delivery · verified Oct 2026