
Uterus MRI: Complete Guide to Pelvic Magnetic Resonance Imaging of the Uterus
📗 Uterus MRI guide covering protocols, sequences, indications, contrast use, anatomy, fibroid mapping, adenomyosis, and what to expect during your scan.
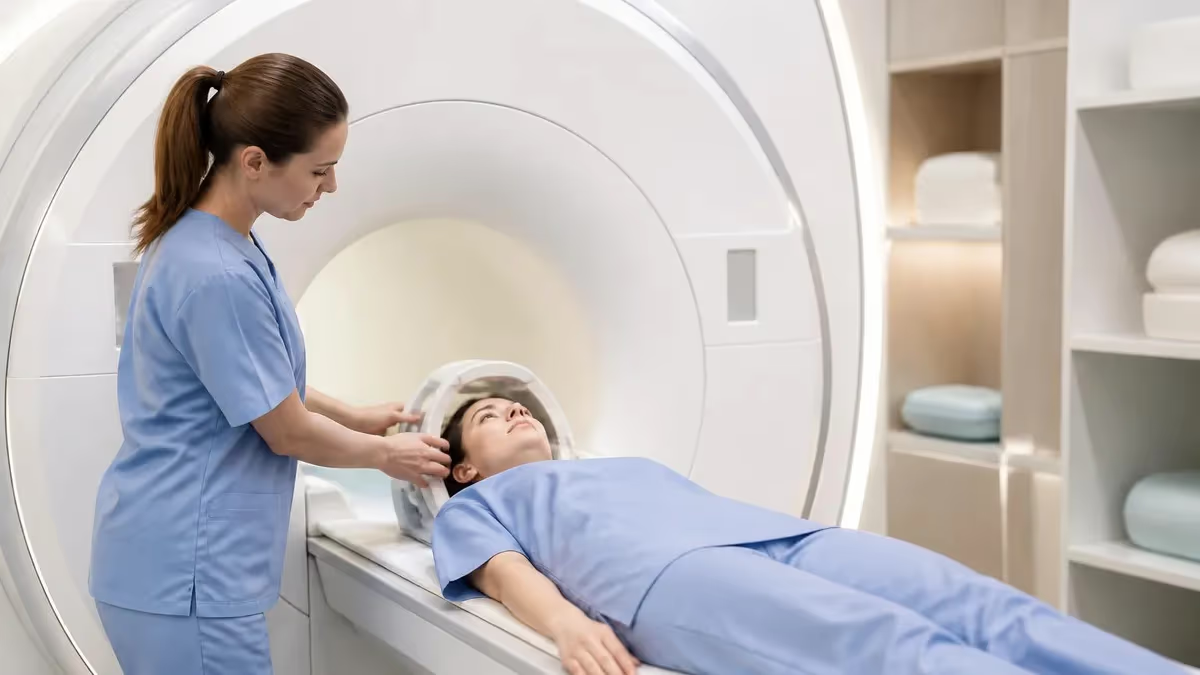
A uterus MRI is one of the most powerful non-invasive imaging tools available for evaluating the female pelvis, offering exceptional soft-tissue contrast that ultrasound and CT simply cannot match. Whether the goal is to map fibroids before a myomectomy, characterize a suspected adenomyosis case, stage endometrial or cervical cancer, or troubleshoot pelvic pain that defies diagnosis, pelvic magnetic resonance imaging delivers detailed anatomic and functional information in a single 30 to 45 minute session. Both patients and technologists benefit from understanding what makes this examination unique.
Unlike a generic abdominal scan, a dedicated uterus MRI uses focused small field-of-view acquisitions, multi-planar high-resolution T2-weighted sequences, fat-suppressed T1 imaging, and often dynamic gadolinium-enhanced phases. Each sequence is chosen to highlight specific tissues: the junctional zone, endometrial stripe, myometrium, cervical stroma, parametrium, and surrounding pelvic organs. Radiologists piece these together like a layered map to answer the referring clinician's exact question.
Demand for pelvic MRI has surged over the past decade as guidelines from the American College of Radiology, the European Society of Urogenital Radiology, and the Society of Abdominal Radiology have positioned it as the problem-solving modality of choice. Gynecologists increasingly order it before uterine artery embolization, focused ultrasound ablation, and complex hysteroscopic procedures because surgical planning improves dramatically when fibroid number, location, and degeneration status are precisely known.
For technologists, the uterus MRI exam is a study in detail. Coil placement, patient breathing instructions, antiperistaltic medication, vaginal gel, bowel preparation, and bladder filling all influence image quality. Even small protocol decisions, such as whether to include a sagittal oblique stack aligned to the endometrial canal or whether to add diffusion-weighted imaging, can change whether a subtle lesion is detected or missed. To understand how the underlying physics drives these choices, it helps to review How Does an MRI Work: Magnetic Resonance Imaging Explained.
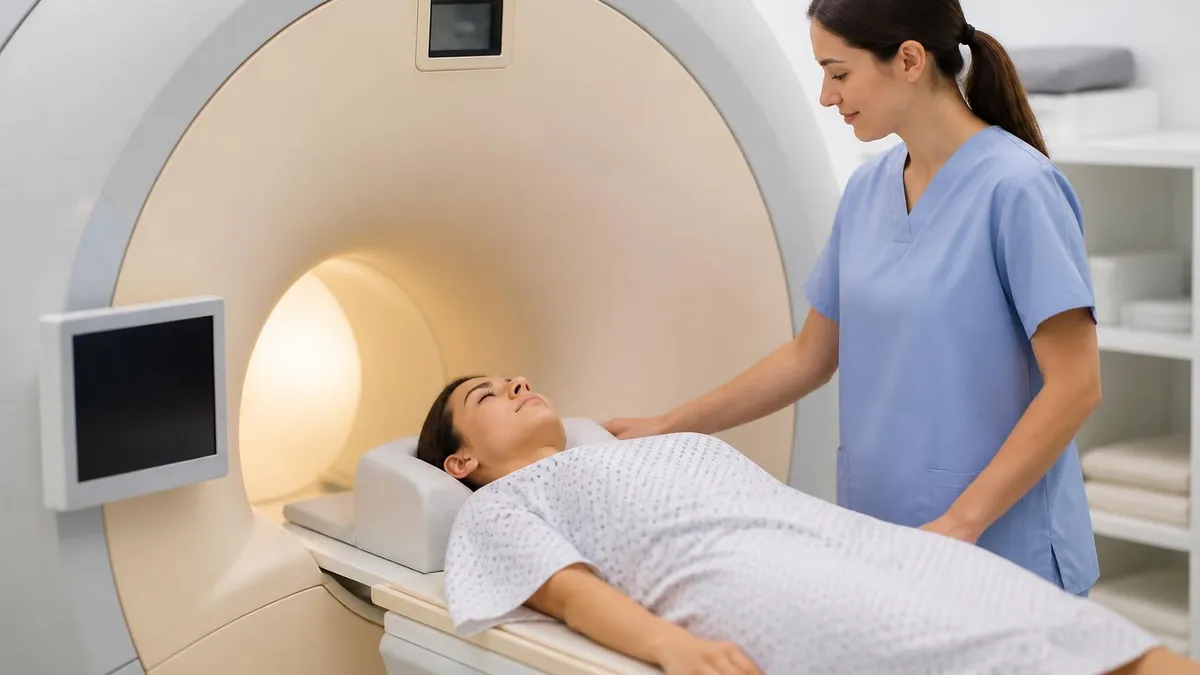
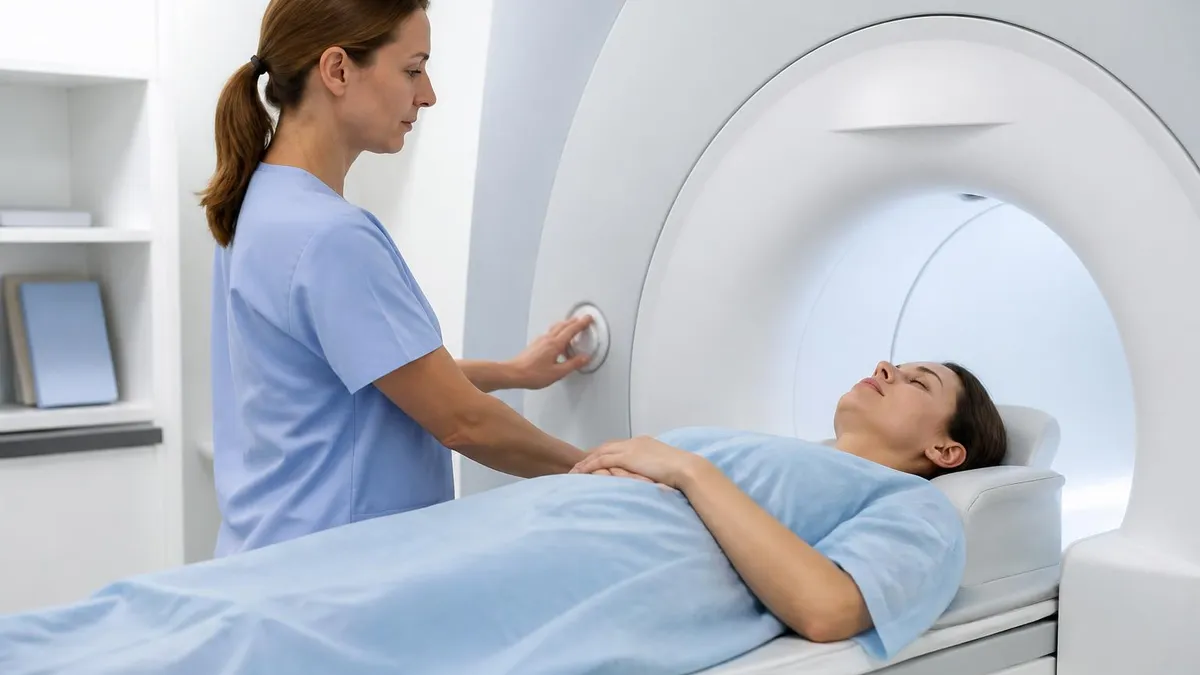
Patients, on the other hand, often arrive anxious. Pelvic MRI sounds invasive, but the procedure itself is painless. Most exams require lying still on a padded table, fitted with a flexible phased-array surface coil over the lower abdomen, and listening to loud knocking sounds for half an hour. Earplugs, headphones, and a panic button are standard. Understanding what each sequence does and why the technologist asks for held breaths makes the experience far less stressful.
This guide breaks down everything that matters about a uterus MRI: standard indications, protocol design, sequence-by-sequence anatomy, contrast considerations, common findings, patient preparation, and frequently asked questions. It is written for student technologists studying for the ARRT MRI exam, working sonographers expanding into MRI, and informed patients who want to understand what is happening inside the scanner.
By the end, you should be able to describe why T2-weighted sequences in three orthogonal planes form the backbone of pelvic MRI, when to add gadolinium, how to differentiate adenomyosis from a fibroid on imaging, and what red-flag findings should be communicated to the radiologist immediately. The goal is practical knowledge that translates directly to the console, the reading room, or the exam booklet.
Uterus MRI by the Numbers
Common Indications for Uterus MRI
Pre-treatment localization of leiomyomas before myomectomy, uterine artery embolization, or MR-guided focused ultrasound. MRI counts, sizes, and classifies fibroids by FIGO position with accuracy ultrasound cannot match.
Characterization of junctional zone thickening, myometrial cysts, and diffuse versus focal disease. MRI distinguishes adenomyosis from fibroids when treatment planning depends on the distinction.
Assessment of myometrial invasion depth, cervical stromal involvement, and lymph node status. Dynamic contrast-enhanced imaging guides surgical approach and adjuvant therapy decisions.
Evaluation of congenital uterine malformations including septate, bicornuate, and unicornuate uterus. Coronal oblique T2 imaging confirms diagnosis when ultrasound is inconclusive.
Problem-solving when ultrasound is equivocal in patients with chronic pelvic pain, deep infiltrating endometriosis, or suspected pelvic congestion syndrome.
The backbone of every uterus MRI protocol is the T2-weighted sequence acquired in three orthogonal planes: sagittal, axial oblique perpendicular to the endometrial canal, and coronal oblique parallel to the endometrial canal. These small field-of-view, high-resolution acquisitions reveal the zonal anatomy of the uterus, allowing the radiologist to clearly see the bright endometrium, the dark junctional zone, and the intermediate-signal outer myometrium. Slice thickness is typically 3 to 4 millimeters with no gap. For more on protocol design strategy, see MRI MARS Protocol: Complete Guide to Metal Artifact Reduction Sequences for Orthopedic Imaging.
Localizers come first, usually a three-plane gradient echo scout. The technologist then prescribes a large field-of-view axial T2 of the entire pelvis from the aortic bifurcation to the pubic symphysis. This survey identifies lymph nodes, evaluates ovaries, and screens for incidental findings. From this, the dedicated small field-of-view stacks are planned, carefully oriented to the uterine axis rather than the patient's body axis.
T1-weighted sequences without fat suppression are added next to evaluate hemorrhagic content, fat-containing lesions such as dermoids, and to provide an anatomic baseline before contrast. A T1 fat-saturated sequence helps confirm hemorrhage by demonstrating signal that persists after fat suppression, ruling in endometrioma or hemorrhagic cyst when ovarian pathology is in the differential.
Diffusion-weighted imaging with b-values of 0, 500, and 800 to 1000 s/mm² is now standard. Restricted diffusion in endometrial cancer, lymph nodes, peritoneal implants, and abscesses provides crucial functional information. The apparent diffusion coefficient map is reviewed alongside high-b-value images to avoid being fooled by T2 shine-through. Many protocols add diffusion in two planes when staging malignancy.
Dynamic contrast-enhanced imaging uses a fat-suppressed 3D gradient echo sequence acquired before contrast and then at multiple time points after a power-injected bolus of gadolinium-based contrast. Typical phases include arterial, early venous, equilibrium, and a delayed phase at four to five minutes. Enhancement patterns help distinguish viable tumor from necrosis, characterize fibroid degeneration, and assess myometrial invasion.
Antiperistaltic medication such as intramuscular or intravenous glucagon, or hyoscine butylbromide outside the United States, is often given to reduce bowel motion artifact. Many centers also instruct patients to fast for four hours and to come with a moderately full bladder. Vaginal gel is sometimes used to distend the vaginal fornices when evaluating cervical cancer or deep infiltrating endometriosis.
Patient positioning is supine, feet first, with a multi-channel phased-array surface coil wrapped low across the pelvis. Centering is at the level of the iliac crests. Padding under the knees relieves lower back strain, and the technologist provides earplugs, headphones with music, and a squeeze ball alarm. Coaching for shallow breathing rather than breath-holds keeps the diaphragm from pulling the pelvis during long acquisitions.
MRI Practice Test Questions
Prepare for the MRI - Magnetic Resonance Imaging exam with our free practice test modules. Each quiz covers key topics to help you pass on your first try.
MRI Knowledge
MRI Exam Questions covering Knowledge. Master MRI Test concepts for certification prep.
MRI Physics
Free MRI Practice Test featuring Physics. Improve your MRI Exam score with mock test prep.
MRI Anatomy and Pathology
MRI Test Prep for MRI Anatomy and Pathology. Practice MRI Quiz questions and boost your score.
MRI Anatomy and Positioning
MRI Questions and Answers on MRI Anatomy and Positioning. Free MRI practice for exam readiness.
MRI Contrast Agents
Free MRI Quiz on MRI Contrast Agents. MRI Exam prep questions with detailed explanations.
MRI Patient Care and Positioning
MRI Practice Questions for MRI Patient Care and Positioning. Build confidence for your MRI certification exam.
Uterus MRI Anatomy Sequence by Sequence
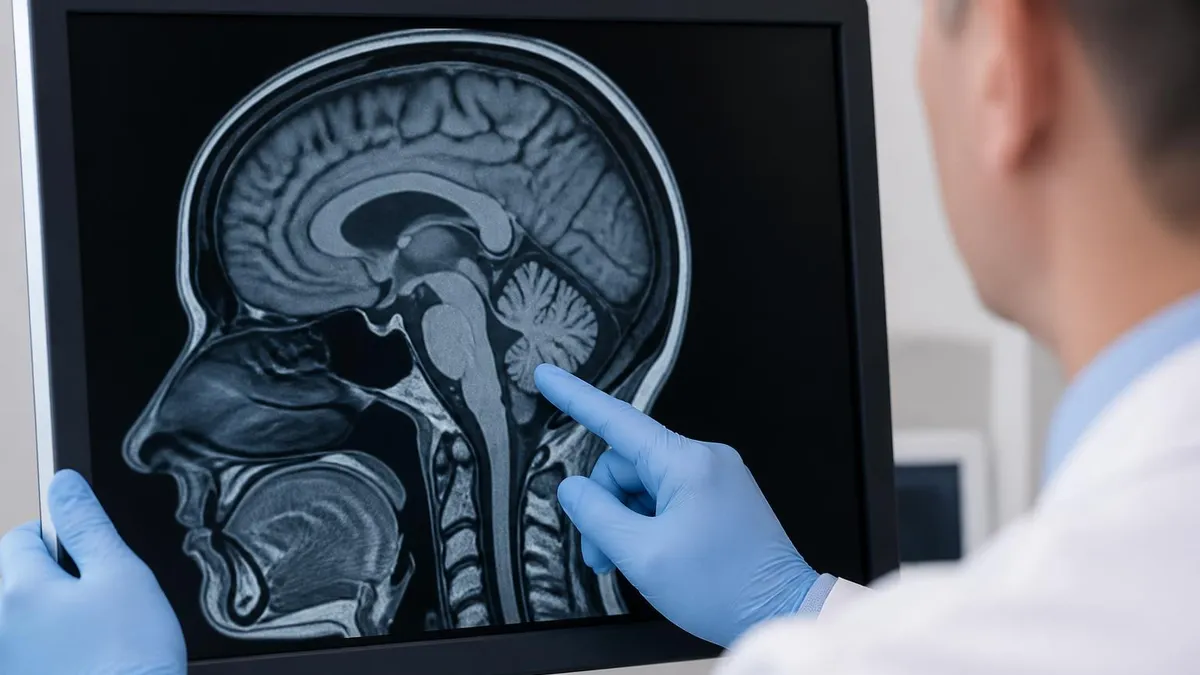
T2-weighted imaging is the cornerstone of pelvic MRI because it reveals the three distinct zones of the uterus. The endometrium appears bright, the junctional zone shows up as a thin dark band, and the outer myometrium has intermediate signal. This zonal differentiation is what allows accurate measurement of junctional zone thickness, a critical metric for diagnosing adenomyosis when thickness exceeds 12 millimeters.
On sagittal T2, the uterine flexion and version are clearly seen. Fibroids appear as well-circumscribed low-signal masses with characteristic FIGO classification based on submucosal, intramural, or subserosal position. Cervical anatomy with bright endocervical mucosa and dark fibrous stroma is also best evaluated on high-resolution T2. Slice thickness of 3 millimeters and small field of view are essential for these measurements.
Uterus MRI Compared to Pelvic Ultrasound
- +Superior soft-tissue contrast revealing zonal uterine anatomy in detail
- +Large field of view captures bladder, bowel, ovaries, and lymph nodes simultaneously
- +Operator-independent images that any radiologist can re-review later
- +Multi-planar reconstruction without re-scanning the patient
- +Accurate fibroid mapping for surgical and embolization planning
- +Excellent for staging endometrial, cervical, and ovarian malignancy
- −Higher cost than transvaginal ultrasound or CT
- −Longer scan times of 30 to 45 minutes
- −Claustrophobia limits some patients without sedation
- −Contraindicated in certain implanted devices and severe renal disease
- −Limited availability in rural or low-resource settings
- −Requires fasting, bladder prep, and antiperistaltic medication for best quality
Patient Preparation Checklist for Uterus MRI
- ✓Confirm no contraindicated implants, pacemakers, or aneurysm clips on MRI safety screening form
- ✓Verify pregnancy status in reproductive-age patients before scheduling and again on the day of exam
- ✓Ask patient to fast for four hours to reduce bowel peristalsis and motion artifact
- ✓Instruct patient to empty bowels and arrive with a moderately filled bladder
- ✓Review serum creatinine and eGFR if gadolinium contrast is planned
- ✓Place IV in antecubital vein for power-injected dynamic contrast bolus
- ✓Administer antiperistaltic agent such as glucagon immediately before scanning
- ✓Position patient supine, feet first, with pelvic phased-array surface coil centered low
- ✓Provide earplugs, headphones with music, and squeeze-ball alarm before sliding into bore
- ✓Coach shallow free-breathing rather than breath-holds to minimize diaphragm-driven pelvic motion
The 12 mm rule for adenomyosis
A junctional zone thickness greater than 12 millimeters on T2-weighted sagittal imaging is highly suggestive of adenomyosis, with reported specificity above 95 percent. Always measure perpendicular to the endometrial canal at the thickest point and document on multiple slices. This single measurement often changes management from myomectomy to hysterectomy or hormonal therapy.
Gadolinium-based contrast agents are used in roughly two-thirds of uterus MRI examinations. Indications include suspected malignancy staging, characterization of complex adnexal masses, assessment of fibroid viability before embolization, evaluation of suspected uterine necrosis or abscess, and post-treatment follow-up. Non-contrast protocols are sufficient for routine adenomyosis assessment, fibroid mapping in younger patients, and Müllerian anomaly workup, sparing the patient unnecessary intravenous access and contrast exposure. For more on when contrast is warranted, see mri with or without contrast.
The standard dose is 0.1 millimoles per kilogram of a macrocyclic gadolinium agent, injected at 2 to 3 milliliters per second followed by a 20 milliliter saline flush. Macrocyclic agents such as gadobutrol, gadoteridol, and gadoterate meglumine are preferred over linear agents because of their lower risk of nephrogenic systemic fibrosis and reduced tissue retention. Most centers have phased out linear agents entirely for pelvic indications.
Renal function screening is essential. Patients with an eGFR below 30 milliliters per minute per 1.73 square meters carry the highest risk of nephrogenic systemic fibrosis with older linear agents, though the risk with modern macrocyclic agents at standard doses is extremely low. Many institutions still require recent creatinine for patients over 60, those with diabetes, hypertension, or known kidney disease. Always follow your facility's specific policy.
Pregnancy raises additional considerations. Gadolinium crosses the placenta and is excreted into amniotic fluid where it may persist. The American College of Radiology recommends avoiding gadolinium in pregnancy unless the diagnostic benefit clearly outweighs the unknown fetal risk. Non-contrast uterus MRI is generally considered safe at any gestational age beyond the first trimester, with no documented harm to the fetus at 1.5T or 3T field strengths.
Lactation is not a contraindication. Less than 0.04 percent of an intravenous gadolinium dose is excreted into breast milk over 24 hours, and less than 1 percent of that is absorbed by the infant gut. The ACR explicitly states that breastfeeding can continue uninterrupted after gadolinium administration, although some mothers prefer to pump and discard for 12 to 24 hours for personal reassurance.
Allergic reactions to gadolinium are rare, occurring in roughly 0.01 to 0.07 percent of administrations. Most are mild urticarial reactions managed with antihistamines. Severe anaphylactoid reactions are exceptionally uncommon but require immediate epinephrine and airway management. Premedication with corticosteroids and antihistamines is recommended for patients with prior moderate or severe reactions, though documented true gadolinium anaphylaxis is much rarer than iodinated contrast reactions.
Safety screening must also address implanted devices. Modern MRI-conditional pacemakers, defibrillators, neurostimulators, and cochlear implants can often be scanned with manufacturer-specific protocols, but each device requires verification before the patient enters the magnet room. Retained metallic foreign bodies near the orbits, ferromagnetic aneurysm clips, and certain older heart valves remain absolute contraindications. The screening process is the single most important safety step in any pelvic MRI workflow.
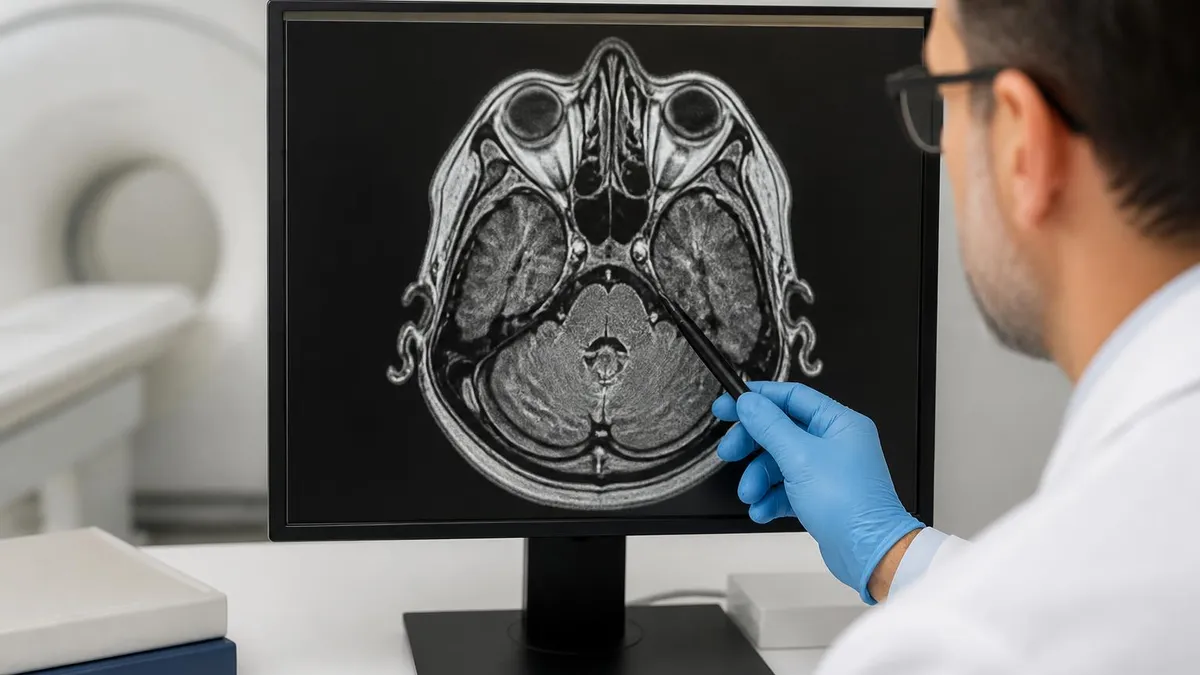
Always confirm pregnancy status before administering gadolinium-based contrast in reproductive-age patients. Gadolinium crosses the placenta and the long-term effects on the developing fetus are not fully characterized. When pelvic MRI is clinically necessary during pregnancy, perform a non-contrast protocol whenever possible and document the clinical justification carefully.
Radiologists approach uterus MRI reporting in a structured way. The report typically describes uterine size and orientation, endometrial thickness, junctional zone thickness, myometrial appearance, cervix, adnexa, lymph nodes, bladder, bowel, peritoneum, and bony pelvis. Each fibroid, when present, is classified by FIGO position from type 0 submucosal pedunculated through type 8 cervical or parasitic. Size in three dimensions and degeneration status are documented for each clinically significant lesion.
Adenomyosis findings include diffuse or focal junctional zone thickening above 12 millimeters, small myometrial cysts representing dilated endometrial glands, linear striations radiating into the myometrium, and a globular asymmetric uterine contour. Distinguishing diffuse adenomyosis from an adenomyoma is important because the latter is a discrete mass that can mimic a fibroid but lacks a clear pseudocapsule and demonstrates ill-defined borders.
Endometrial cancer staging follows the FIGO 2023 system. MRI assesses depth of myometrial invasion as less than or greater than 50 percent, presence of cervical stromal involvement, parametrial invasion, vaginal extension, and bladder or rectal invasion. The combination of T2 morphology, dynamic contrast enhancement, and diffusion-weighted imaging yields accuracy above 90 percent for predicting deep myometrial invasion, which directly influences the need for lymphadenectomy.
Müllerian anomalies require coronal oblique T2 imaging aligned to the long axis of the uterus. The American Society for Reproductive Medicine classification distinguishes septate, bicornuate, didelphys, unicornuate, and arcuate variants based on external fundal contour and internal cavity shape. Concomitant renal anomalies are present in up to 30 percent of cases and should always be reported when seen on the upper field-of-view images.
Deep infiltrating endometriosis is increasingly evaluated with dedicated pelvic MRI protocols that include vaginal and rectal gel distension. Findings include T1 hyperintense hemorrhagic foci, T2 dark fibrotic plaques in the uterosacral ligaments, rectovaginal septum, bladder dome, and bowel serosa. Pelvic compartment-by-compartment reporting helps the surgeon plan a multidisciplinary excision.
Comparison with prior imaging is essential. Fibroid growth rate, treatment response after embolization or focused ultrasound, and post-surgical changes are all best assessed with side-by-side comparison. Many centers use structured reporting templates so that key measurements are captured consistently across radiologists, improving communication with referring gynecologists and oncologists.
To appreciate how MRI compares to other cross-sectional modalities for pelvic indications, it helps to review What's the Difference Between MRI and CT Scan? A Complete Comparison Guide. The short answer is that MRI dominates for soft-tissue characterization while CT excels at rapid trauma triage and bony detail, with each modality answering different clinical questions about the pelvis.
Practical tips for technologists start with patient communication. Spend two extra minutes explaining what the patient will hear, how long each sequence lasts, and how to use the squeeze ball. A calm, informed patient holds still better than a rushed, anxious one. This single intervention reduces repeat sequences and motion artifact more reliably than any technical adjustment, and it costs nothing but attention and empathy.
Optimize coil placement carefully. The phased-array surface coil should sit low across the pelvis with its center over the symphysis pubis, not the umbilicus. Misplacement causes signal drop-off over the cervix and posterior cul-de-sac, exactly where pathology often hides. Use a strap to secure the coil snugly without compressing breathing, and double-check positioning on the localizer before committing to longer acquisitions.
Orient your oblique stacks to the patient's anatomy, not the scanner's. The endometrial canal rarely lies exactly in the body's true sagittal or axial plane. Take 30 seconds on the localizer to identify the long axis of the uterus and prescribe sagittal oblique stacks parallel to it, then axial oblique stacks perpendicular. This yields the true zonal anatomy that radiologists need to measure junctional zone and assess myometrial invasion accurately.
Antiperistaltic medication is underused at many centers. A single intramuscular dose of glucagon immediately before T2-weighted acquisition dramatically reduces bowel motion blurring, especially on diffusion-weighted images where motion artifact can mimic restricted diffusion. Confirm there are no contraindications such as pheochromocytoma or insulinoma, document administration, and observe the patient briefly afterward for nausea or vasovagal response.
Diffusion-weighted imaging quality depends on shim. Take time to verify the shim volume covers the uterus and excludes air-filled bowel as much as possible. Susceptibility from rectal gas can completely obliterate diffusion signal over the cervix. Repeating the shim and adjusting the volume often rescues a non-diagnostic study, saving the patient a callback and the department a repeat appointment slot.
For dynamic contrast-enhanced imaging, timing is everything. Use a test bolus or bolus tracking when available. The arterial phase should capture peak myometrial enhancement at roughly 25 to 35 seconds after injection. Late acquisition misses the early enhancement difference between tumor and normal myometrium that defines invasion depth. Power injection at 2 to 3 milliliters per second is standard, never hand injection for dynamic studies.
Finally, review your images before releasing the patient. Quick scrolling through T2 sagittal and axial oblique stacks confirms coverage, motion quality, and zonal differentiation. If anything looks suboptimal, repeat it while the patient and IV access are still available. A repeated sequence costs five minutes; a callback costs the patient an entire morning and the department a wasted slot. This habit separates competent technologists from exceptional ones.
MRI Questions and Answers
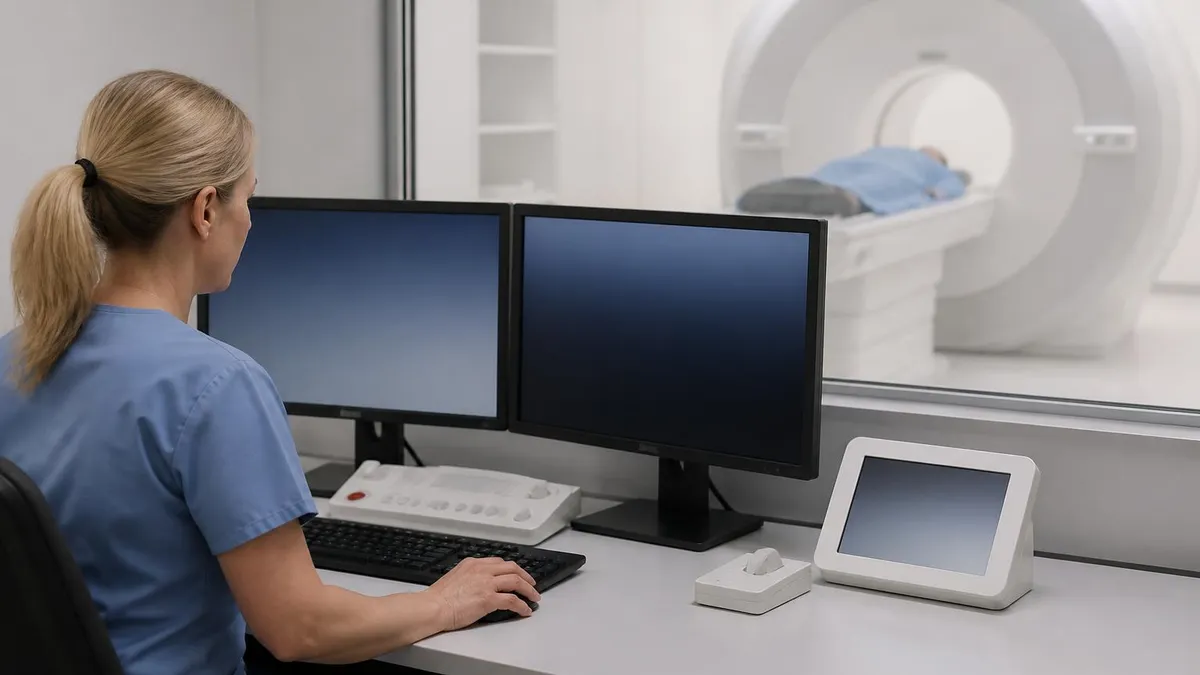
MRI MARS Protocol: Complete Guide to Metal Artifact Reduction Sequences for Orthopedic Imaging
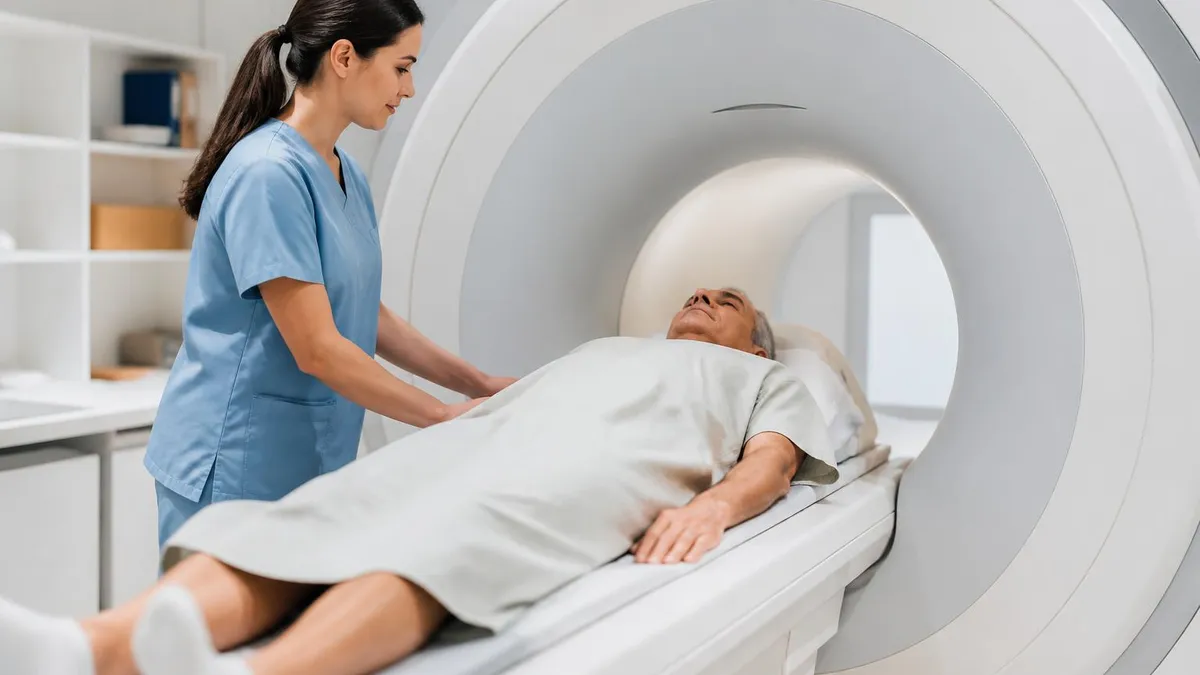
How Does an MRI Work: Magnetic Resonance Imaging Explained
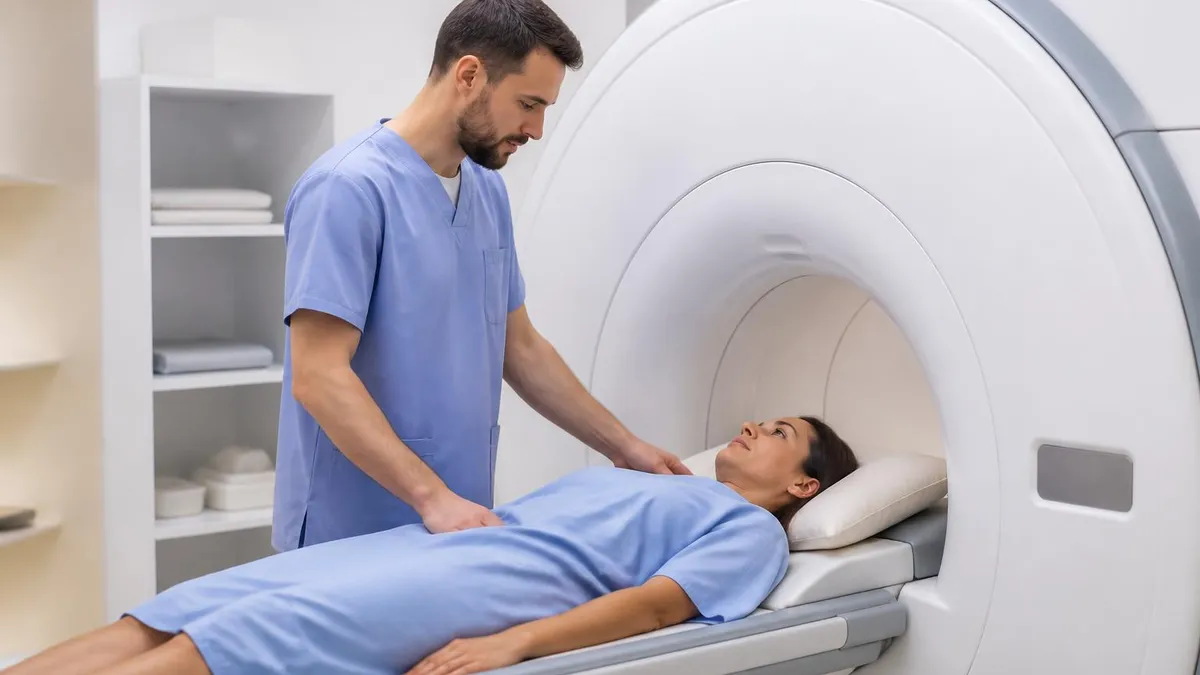
MRI With or Without Contrast: What to Expect
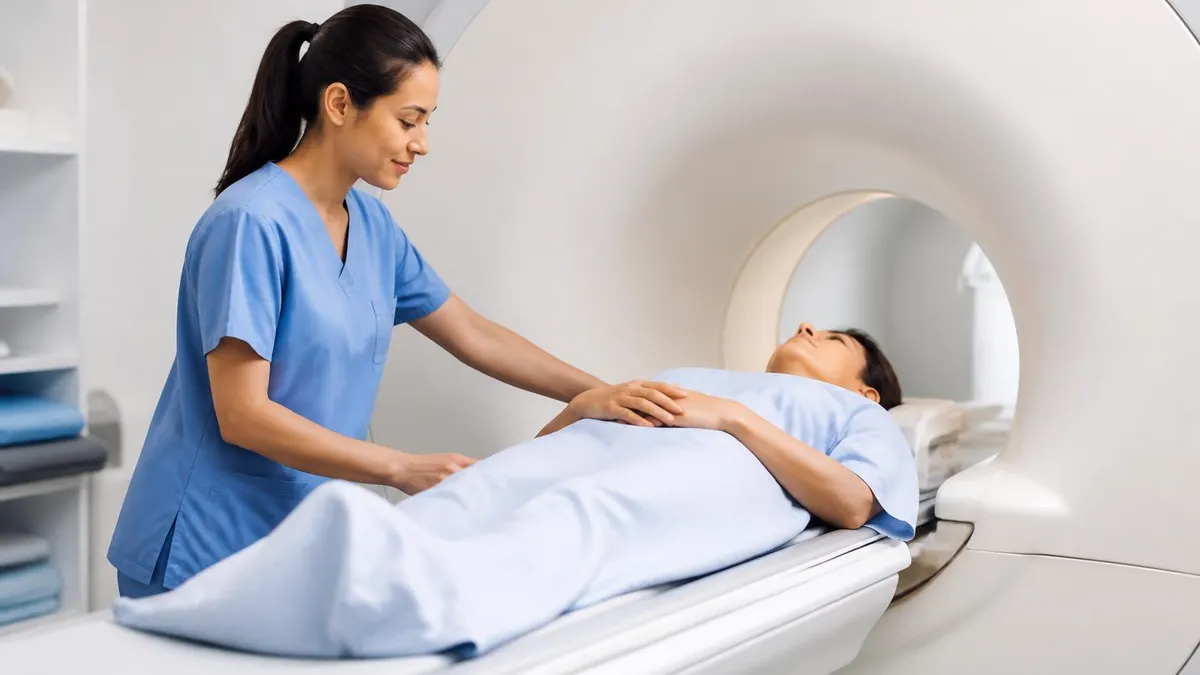
The History of MRI: From Discovery to Modern Medicine
What's the Difference Between MRI and CT Scan? A Complete Comparison Guide
About the Author

Medical Laboratory Scientist & Clinical Certification Expert
Johns Hopkins UniversityDr. Sandra Kim holds a PhD in Clinical Laboratory Science from Johns Hopkins University and is certified as a Medical Technologist (MT) and Medical Laboratory Scientist (MLS) through ASCP. With 16 years of clinical laboratory experience spanning hematology, microbiology, and molecular diagnostics, she prepares candidates for ASCP board exams, MLT, MLS, and specialist certification tests.
Join the Discussion
Connect with other students preparing for this exam. Share tips, ask questions, and get advice from people who have been there.
View discussion (8 replies)