
HVAC Condensate: Everything You Need to Know About Drainage, Maintenance, and Troubleshooting
Master hvac condensate systems — how they work, common drain problems, maintenance tips, and when to call a pro. 💡 US homeowner & tech guide.
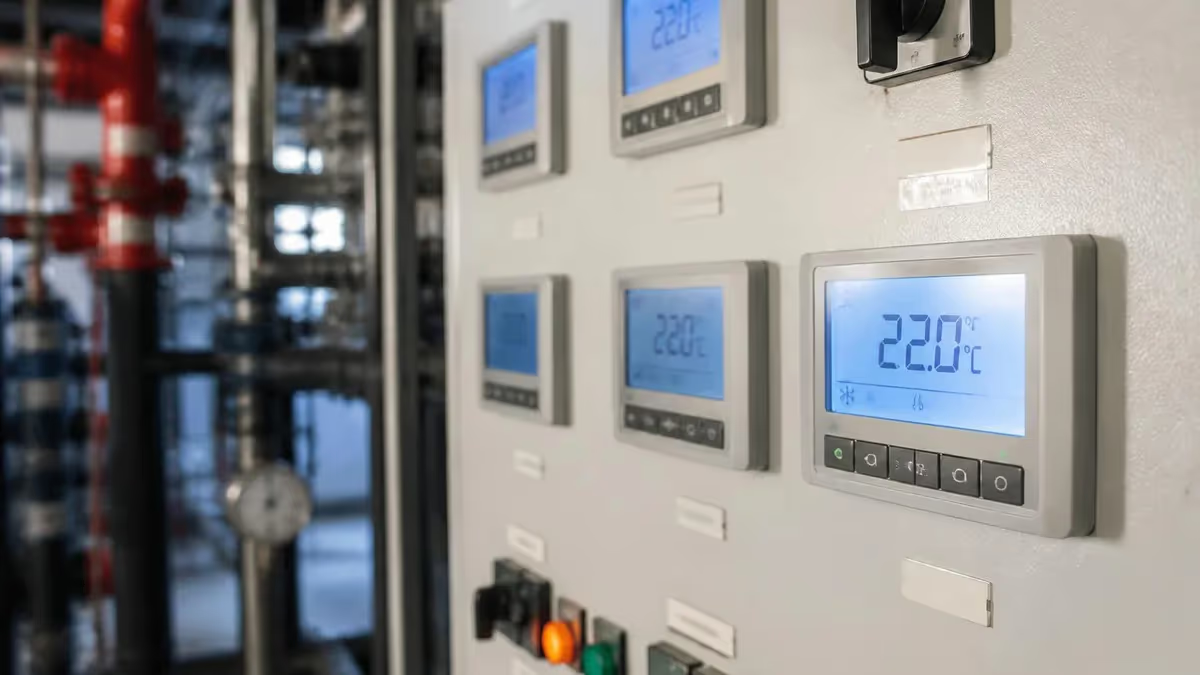
HVAC condensate is the water that forms when warm, humid air passes over the cold evaporator coil inside your air conditioner or heat pump. As the refrigerant absorbs heat from the air, the coil surface drops below the dew point, causing moisture to condense out of the air and drip into a collection pan. On a hot, humid summer day, a standard residential system can produce anywhere from 5 to 20 gallons of condensate water per hour, depending on the unit's capacity and the indoor humidity level. Practice with the free HVAC practice test on PracticeTestGeeks (750+ questions with answer explanations).
Understanding how your hvac condensate system works is essential for every homeowner and HVAC technician alike. The condensate management system — comprising the drain pan, primary drain line, secondary drain line, and condensate pump (if needed) — is one of the most failure-prone parts of any cooling system. A clogged or leaking condensate drain is among the top five service calls HVAC technicians respond to every summer, and the resulting water damage can cost thousands of dollars if left unaddressed.
The drain pan sits directly beneath the evaporator coil and collects the condensate water as it drips off the coil fins and tubing. From there, gravity (or a pump) moves the water through the primary drain line, typically a 3/4-inch PVC pipe, to a floor drain, utility sink, or exterior discharge point. Most building codes also require a secondary drain line or an overflow safety switch to prevent water damage if the primary line becomes blocked.
Condensate problems manifest in several ways: water pooling around the indoor air handler, ceiling stains directly below the unit, musty or mildew odors coming from the vents, or even an automatic system shutdown triggered by the overflow safety switch. In humid climates like Florida, Texas, or the Gulf Coast states, algae and mold growth inside the drain line is almost inevitable without regular preventive maintenance, often clogging the line within a single cooling season.
For HVAC technicians preparing for licensing exams, condensate management is a high-frequency topic that appears in questions covering refrigeration fundamentals, installation standards, and code compliance. Examiners test your knowledge of drain line sizing, trap depth, slope requirements, and safety switch placement. Getting these details right on the job prevents callbacks and protects your customers from costly water damage claims that can erode trust and reputation.
This guide covers everything from the basic physics of condensate formation to advanced troubleshooting techniques for persistent drain problems. Whether you are a homeowner dealing with a dripping air handler, a new HVAC technician preparing for your EPA or state licensing exam, or an experienced pro looking for a solid reference on code requirements, you will find actionable, specific information in the sections that follow.
We will walk through how condensate forms, how drain systems are designed and installed, what goes wrong and why, how to maintain and clean your drain lines, and when a condensate pump is necessary. By the end of this article, you will have a thorough understanding of one of the most important — and most overlooked — components of any residential or light commercial HVAC system.
Free HVAC Study Tools
Interactive HVAC resources on PracticeTestGeeks, free to start:
- HVAC practice test — 750+ questions with instant scoring and answer explanations
- HVAC flashcards — review key terms and concepts card by card
- HVAC study guide — topic-by-topic overview of what the exam covers
- HVAC cheat sheet — one-page printable summary for last-minute review
HVAC Condensate by the Numbers

How HVAC Condensate Forms and Flows
Warm Humid Air Enters the Coil
Moisture Condenses on the Coil
Water Collects in the Drain Pan
Condensate Flows Through the Drain Line
Safety Systems Activate if Drain Fails
Proper condensate drain system design begins at the installation stage and follows requirements established by the International Mechanical Code (IMC), the International Residential Code (IRC), and ASHRAE standards. The primary drain line must maintain a minimum slope of 1/8 inch per foot throughout its entire length to ensure gravity drainage. In attic installations — which are extremely common in southern states — this slope requirement is especially critical because there is often limited vertical drop available before the line must penetrate the ceiling structure.
Drain line material choices matter more than many installers realize. Schedule 40 PVC is the industry standard for most residential applications because it is lightweight, inexpensive, resistant to biological growth, and easy to glue and cut. CPVC and copper are also acceptable but rarely used.
Flexible plastic tubing is sometimes used for short connections at the air handler but should never be used for the entire drain run because it can sag, creating low spots that collect water and promote blockages. All drain lines should be insulated where they pass through unconditioned spaces to prevent the cold pipe from sweating and creating secondary moisture problems.
The condensate trap is another frequently misunderstood element of drain system design. When the air handler operates, negative pressure inside the blower cabinet can prevent water from draining freely if the drain line exits from the suction side of the unit.
Installing a proper P-trap in the drain line creates a water seal that allows condensate to drain freely while preventing negative air pressure from drawing air back through the line and disrupting drainage. The trap depth should be at least equal to the static pressure (in inches of water column) of the unit — a unit with 1 inch of negative static pressure needs at least a 1-inch deep water seal in the trap.
Secondary drain protection is not optional in many jurisdictions — it is code-mandated. The IMC requires a secondary drain pan beneath any air handler installed in a location where a drain overflow could cause structural damage or damage to electrical equipment.
For attic-mounted units, this typically means a full secondary drain pan that encompasses the entire footprint of the unit, with its own drain line terminating in a visible location such as over a window, soffit, or exterior wall. If a homeowner sees water dripping from this secondary termination point, it is a clear signal that the primary drain is clogged and needs immediate attention.
Condensate drain line sizing is determined by the cooling capacity of the equipment. For residential systems up to about 5 tons (60,000 BTU/hr), a 3/4-inch inside diameter drain line is typically sufficient. Larger commercial units may require 1-inch or 1.5-inch drain lines. When multiple air handlers share a common drain line — a setup sometimes used in multi-zone or multi-unit commercial buildings — the shared line must be sized to handle the combined condensate flow from all connected units without backing up.
Access for maintenance is a design requirement that is frequently overlooked in residential installations. Every drain line should include a cleanout port — typically a capped tee fitting installed near the air handler — that allows a technician to flush the line with water, compressed nitrogen, or a wet-dry vacuum without disconnecting any components. Many older installations lack a proper cleanout, forcing technicians to disconnect the drain line from the pan outlet to clear blockages, a messy and time-consuming process that could have been avoided with a simple $3 fitting at installation.
When installing drain systems in slab-on-grade homes where there is no basement or crawl space, the drain line must often run horizontally for long distances before reaching a suitable discharge point. In these situations, maintaining adequate slope throughout the run requires careful planning. Sometimes the ceiling height at the air handler must be raised, or the discharge point must be carefully chosen, to ensure there is enough vertical drop available across the horizontal run to meet the 1/8-inch-per-foot slope requirement.
Types of HVAC Condensate Removal Methods
Gravity drainage is the simplest and most reliable condensate removal method. The drain pan outlet connects directly to a sloped PVC pipe that runs downhill to a floor drain, utility sink, or exterior discharge point. Because there are no moving parts, gravity systems require minimal maintenance beyond periodic flushing to clear algae and debris. Proper slope — a minimum of 1/8 inch per foot — is essential; without it, water pools in low spots and promotes biological growth that eventually causes complete blockage.
Gravity systems work best when the air handler is installed at a height that allows sufficient vertical drop over the horizontal drain run. Basement and utility closet installations almost always permit gravity drainage. Attic installations can also use gravity drainage if the soffit or exterior wall is close enough to allow a sloped run without requiring the drain line to climb above the level of the pan outlet. Always verify slope with a level during installation — eyeballing is not accurate enough for drain lines.
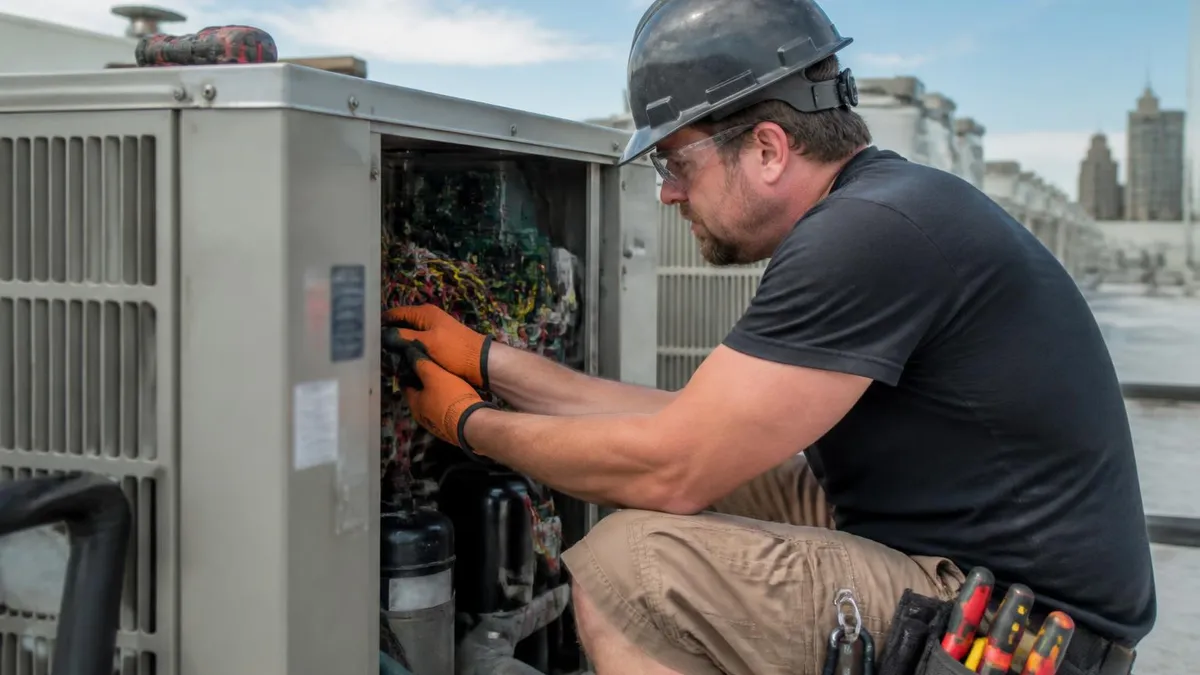
Gravity Drain vs. Condensate Pump: Pros and Cons
- +Gravity systems have no moving parts and rarely fail mechanically
- +No electricity required for gravity drainage — works even during power outages
- +Lower purchase cost — PVC fittings are inexpensive compared to pump units
- +Less maintenance required — no motor or float switch to service
- +Quieter operation with no pump cycling noise
- +Longer service life — properly installed PVC drain lines can last decades
- −Requires sufficient vertical drop that may not exist in all installation locations
- −Drain line slope must be carefully maintained throughout the entire run
- −Algae clogs affect gravity systems just as much as pump systems
- −Long horizontal runs in slab homes can be difficult to slope correctly
- −No built-in overflow protection unless safety switch is separately installed
- −Condensate may need to discharge outside, creating a visible water stain on siding
Pros and Cons at a Glance
| Pros | Cons |
|---|---|
| Gravity systems have no moving parts and rarely fail mechanically | Requires sufficient vertical drop that may not exist in all installation locations |
| No electricity required for gravity drainage — works even during power outages | Drain line slope must be carefully maintained throughout the entire run |
| Lower purchase cost — PVC fittings are inexpensive compared to pump units | Algae clogs affect gravity systems just as much as pump systems |
| Less maintenance required — no motor or float switch to service | Long horizontal runs in slab homes can be difficult to slope correctly |
| Quieter operation with no pump cycling noise | No built-in overflow protection unless safety switch is separately installed |
| Longer service life — properly installed PVC drain lines can last decades | Condensate may need to discharge outside, creating a visible water stain on siding |
HVAC Condensate Maintenance Checklist
- ✓Inspect the drain pan for standing water, rust stains, or visible biological growth at least once per month during cooling season.
- ✓Flush the primary drain line with one cup of diluted bleach or white vinegar every 30 days to prevent algae buildup.
- ✓Test the overflow safety switch by pouring water into the drain pan and confirming the system shuts off before water overflows.
- ✓Check the condensate pump reservoir for slime and debris quarterly; clean thoroughly and test pump activation.
- ✓Verify the drain line slope with a level when servicing any unit — confirm minimum 1/8-inch drop per foot of run.
- ✓Inspect all PVC glue joints and connections for cracks, gaps, or signs of leakage at every annual tune-up.
- ✓Clear the secondary drain line termination point to ensure it is not blocked by paint, pest nests, or debris.
- ✓Replace drain pan treatment tablets every 30 to 90 days as specified by the manufacturer during the cooling season.
- ✓Inspect the evaporator coil for ice buildup, which can cause condensate flooding when the ice melts suddenly.
- ✓Document all condensate system inspections and treatments in the unit service log for reference at future service visits.
A Clogged Drain Can Freeze Your System Too
When a drain pan overflows and water contacts the evaporator coil, it can cause the coil to freeze solid — especially if airflow is already restricted. The resulting ice block dramatically reduces cooling efficiency and can damage the compressor. Always address condensate problems immediately; a $15 drain cleaning can prevent a $1,500 compressor replacement.
Troubleshooting HVAC condensate problems requires a systematic approach that begins with observation and works backward through the system to find the root cause. The most common symptom is water visible around the base of the air handler or on the ceiling below an attic unit. Before assuming the drain line is clogged, verify that the water is actually condensate and not a refrigerant leak, a supply or return water line leak, or a roof leak that happens to be near the HVAC unit.
If the source is confirmed to be condensate, the next step is to check the drain pan. Use a flashlight to look inside and determine whether the pan contains standing water. A dry pan with water around the unit suggests the pan itself is cracked or that the water is coming from condensate dripping off a connection point before it reaches the pan. A full or overflowing pan indicates that the primary drain line is clogged or improperly sloped.
To clear a clogged gravity drain line, start with a wet-dry vacuum attached to the downstream end of the drain line (at the discharge point or the cleanout port if one is installed). Most clogs consist of algae mats and debris that are easily sucked out from the downstream end.
Apply the vacuum for 30 to 60 seconds with a tight seal around the pipe opening. Then flush the line from the upstream end (at the cleanout port or pan outlet) with water to confirm it is clear. A bucket of water poured into the pan outlet should drain completely within 30 to 60 seconds if the line is unobstructed.
For stubborn clogs that cannot be cleared with a vacuum alone, compressed nitrogen is an effective alternative. Attach a nitrogen regulator and blow gun to the drain line cleanout port and use short bursts of nitrogen at 50 to 100 PSI to break up the clog and push it through the line.
Be sure no one is standing near the downstream discharge point when using this technique, as the clog material will be expelled forcefully. Never use compressed air from a shop compressor without a filter and regulator, as oil contamination from an unfiltered compressor can introduce additional contamination into the drain system.
Condensate pump failures are a separate category of problem with their own diagnostic approach. If the pump reservoir is full but the pump is not activating, the float switch is likely jammed with biological slime or the switch itself has failed. Remove and clean the reservoir, manually lift the float to confirm the pump motor runs, and verify that the discharge line and check valve are not obstructed. If the motor runs when the float is manually lifted but not during normal operation, the float switch needs replacement — a simple and inexpensive repair on most pump models.
Overflow safety switch failures are another common service call. If a customer reports that their system keeps shutting off unexpectedly, especially during humid weather, check the safety switch first. A switch mounted in the drain pan may be tripping due to standing water caused by a partial clog that is not yet causing an overflow. A switch mounted in the secondary drain line may be tripping due to a problem with the primary drain. In either case, the solution is to address the underlying drainage problem, not to bypass or disable the safety switch.
Musty or mildew odors emanating from the supply registers are often traced to biological growth in the condensate drain pan or on the evaporator coil surface itself. Even if the drain line is flowing freely, a drain pan with standing water encourages mold growth that gets picked up by airflow passing over the coil and distributed through the ductwork. Cleaning the drain pan with a biocide solution and treating the coil with an approved coil cleaner will address both the source and the odor. In severe cases, the ductwork may also need to be cleaned and sanitized.
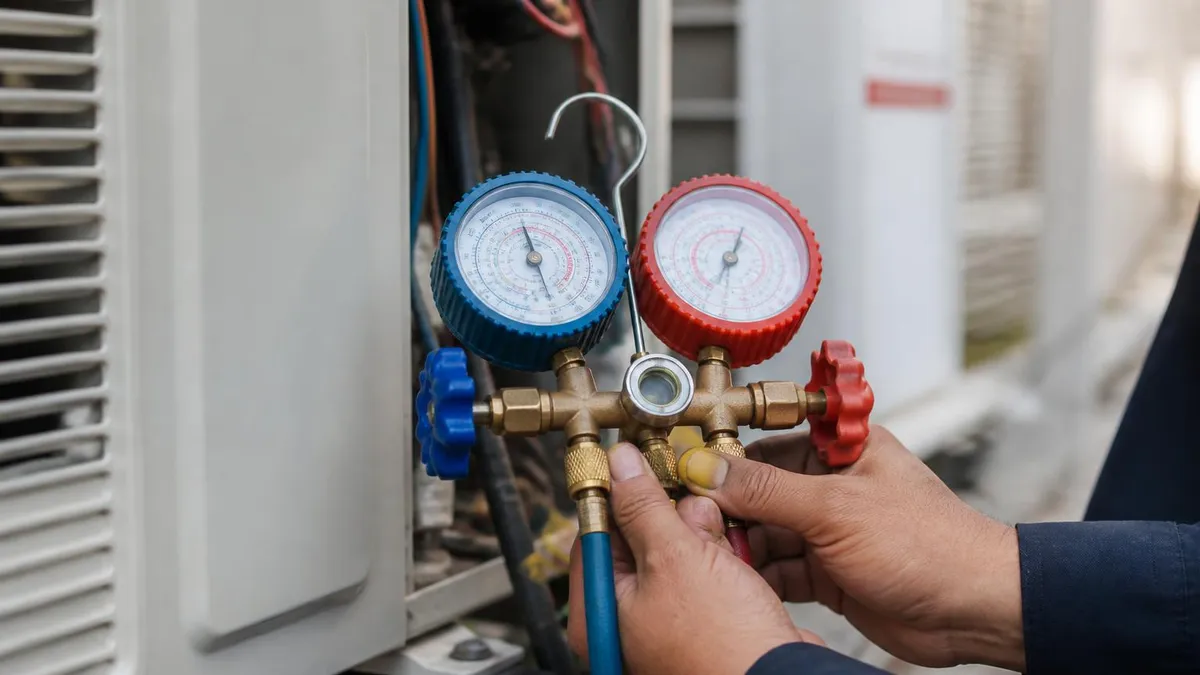
Some technicians and homeowners disable or tape over condensate overflow safety switches to stop a system from shutting down during a service call or as a temporary fix. This is extremely dangerous and violates code in most jurisdictions. A bypassed safety switch allows condensate to overflow freely, which can cause ceiling collapse, mold infestation, and electrical fires if water contacts wiring or electrical panels. Always fix the underlying drainage problem — never disable the safety device.
HVAC condensate regulations are covered in multiple sections of the International Mechanical Code (IMC) and the International Residential Code (IRC), and understanding these requirements is essential for anyone pursuing HVAC licensure in the United States. Section 307 of the IMC covers condensate disposal requirements in detail, specifying drain line material, minimum slope, trap requirements, secondary overflow provisions, and discharge location standards. State licensing exams frequently draw questions directly from this section, so technicians preparing for their exams should review it thoroughly.
One of the most commonly tested code points is the prohibition against discharging condensate into a plumbing vent pipe. While it might seem logical to connect the condensate drain to the nearest available drain opening, discharging into a vent pipe introduces moisture into the venting system and can cause sewer gases to enter the building. Condensate must be discharged into an approved drainage system through a proper trap, or to an approved exterior location. Many jurisdictions also prohibit discharging condensate directly onto the ground surface immediately adjacent to the building foundation due to concerns about foundation erosion and moisture intrusion.
Trap requirements are another exam-heavy topic within condensate code compliance. The IMC requires a trap in the condensate drain line when the air handler operates under negative pressure (which is the case for most residential draw-through systems). The trap prevents negative pressure inside the air handler cabinet from drawing air backward through the drain line and disrupting condensate flow. The trap must have a minimum seal depth equal to or greater than the static pressure rating of the unit in inches of water column, with a minimum seal depth of one inch in most applications.
Secondary condensate protection requirements vary somewhat by installation location and local code adoption. In general, any air handler installed in a location where overflow could damage the building structure or electrical systems requires either a secondary drain line, an overflow protection device (float switch or water sensor), or a secondary drain pan with its own drain.
For attic installations, most jurisdictions require both a secondary drain pan and a secondary drain line that terminates in a visible location. The drain pan must extend at least 3 inches beyond the footprint of the equipment on all sides and must have a minimum depth of 1.5 inches.
Local amendments to the model codes are common in high-humidity states. Florida, for example, has adopted specific amendments to condensate drain requirements that go beyond the base IMC requirements, including mandatory secondary overflow protection for all attic-mounted units and specific requirements for condensate pump installation and safety switch wiring. Technicians working in states that have adopted such amendments must be familiar with both the base code and any local modifications, as licensing exams in those states typically test the local version of the code rather than the base IMC.
Energy codes also intersect with condensate management in ways that are increasingly relevant to modern HVAC practice. High-efficiency units with two-stage or variable-speed operation run for longer periods at lower capacity, which actually produces more total condensate than single-stage equipment because the extended runtime pulls more moisture from the air. This is a feature, not a bug — removing more moisture improves indoor comfort — but it also means the condensate system must be able to handle higher total water volume than the technician might expect based on equipment capacity alone.
For HVAC technicians studying for state licensing exams, condensate-related questions frequently appear in both the mechanical code section and the refrigeration systems section of the exam. Common question formats include identifying code violations in described installation scenarios, calculating required drain slope for a given run length, selecting appropriate drain line sizes for specified equipment capacities, and identifying correct secondary protection methods for various installation types. Practicing with realistic exam questions is one of the most effective ways to reinforce your understanding of these requirements.
Practical condensate management in the field requires developing efficient habits and knowing which shortcuts create callbacks versus which save time without compromising quality. Experienced technicians develop a mental checklist they run through on every service call — not just for condensate problems, but as part of every routine tune-up — because catching a developing condensate problem early is far less costly and disruptive than returning to address water damage after the fact.
One of the most valuable habits is testing drain line flow on every visit. Take a bottle of water or a small bucket to the job and pour a measured amount of water into the drain pan outlet or cleanout port while watching the downstream discharge point. Time how long it takes for the water to drain through.
A clear 3/4-inch line will drain a quart of water in well under 30 seconds. If drainage takes longer, or if you hear gurgling sounds suggesting a partial blockage, treat the drain prophylactically even if the customer has not complained about any water issues yet.
The use of biocide tablets is one of the most cost-effective preventive measures available to residential HVAC technicians. On every cooling season startup, drop one or two condensate pan tablets into the drain pan after cleaning it. This simple step, which adds only a minute to the service call and costs less than a dollar in materials, can prevent the most common type of drain clog from developing during the season. Many HVAC companies include this as part of their standard maintenance agreement, and it dramatically reduces drain-related callbacks in humid climates.
When dealing with attic-mounted units, always assess the secondary drain pan condition during every service visit. Secondary pans are often installed and then forgotten, accumulating dirt and debris over years of service. A secondary pan with a clogged secondary drain line provides no protection when the primary drain fails.
During the annual tune-up, pour a small amount of water into the secondary pan and confirm that it drains freely through the secondary line. If the secondary termination point is not visible from the ground, ask the homeowner whether they have ever seen water dripping from it — a positive answer means the primary drain has clogged in the past and should be treated as a recurring problem.
For technicians working on commercial systems, condensate management becomes more complex due to the scale of the equipment and the diversity of installation configurations. Commercial air handling units (AHUs) may have multiple drain pans — one per coil section — with separate drain connections that must all be independently sloped and maintained. Rooftop units present unique challenges because the condensate must be routed across the roof surface to a suitable drain point without creating slip hazards or ponding that accelerates roof membrane deterioration. Many commercial rooftop installations use insulated condensate lines to prevent sweating on the roof surface.
Building automation systems (BAS) in commercial buildings often monitor condensate levels through water sensors or flow meters integrated with the building management system. Alarms can be configured to alert facility managers when condensate overflow is detected, enabling rapid response before water damage occurs. For HVAC technicians working in commercial settings, understanding how to configure, test, and troubleshoot these monitoring systems is an increasingly valuable skill as building automation becomes standard in new commercial construction.
Finally, always document your condensate system work thoroughly. Note the drain line condition, whether any biocide treatment was applied, the condition of the drain pan, and whether the safety switch was tested and confirmed functional. This documentation protects you professionally if a condensate-related water damage claim is made later, and it provides valuable history for the next technician who services the system. Good documentation is the difference between a professional HVAC business and a technician who is constantly defending against warranty and liability claims.
Sample HVAC Practice Questions
Try these questions from our free HVAC practice tests. The correct answer and an explanation follow each question.
What role does collaboration play in troubleshooting for HVAC professionals?
- A. It slows down work unnecessarily
- B. It enhances outcomes through diverse perspectives and shared expertise
- C. It is only needed in emergencies
- D. It reduces individual accountability
Answer: B. It enhances outcomes through diverse perspectives and shared expertise
Collaboration leverages diverse perspectives and combined expertise to achieve better outcomes than any individual could alone.
Which professional attribute is most valued in energy efficiency within the HVAC field?
- A. Working in isolation
- B. Accountability and commitment to standards
- C. Avoiding challenging situations
- D. Prioritizing personal convenience
Answer: B. Accountability and commitment to standards
Accountability and commitment to professional standards build trust and ensure consistent, high-quality practice.
In HVAC design, 'face velocity' refers to:
- A. The speed of the blower wheel
- B. Airflow velocity across the face area of a coil or filter
- C. Duct velocity at the system outlet
- D. Return air speed at the grille face
Answer: B. Airflow velocity across the face area of a coil or filter
Face velocity is the air speed across the frontal area of a cooling coil, heating coil, or filter, measured in feet per minute (FPM).
A technician is troubleshooting a system where the compressor runs but the condenser fan does not. The fan capacitor tests good. What is the next component to check?
- A. Thermostat heat anticipator
- B. Condenser fan motor windings
- C. Suction line filter drier
- D. High-pressure switch
Answer: B. Condenser fan motor windings
If the capacitor is good and voltage is present at the fan motor, failed motor windings (open winding) would prevent the fan from running.
HVAC Questions and Answers
FCU HVAC: The Complete Guide to Fan Coil Units, How They Work, Where They Excel, and How to Choose the Right System
Finance a New HVAC System: 2026 Loans, 0% APR, and Rebates
HVAC Duct Repair: Common Issues, Costs, and DIY vs Professional
HVAC School -- Programs, Costs, and Career Paths in 2026
HVAC Advertising: The Complete Playbook for Generating Leads, Booking Calls, and Growing Your Heating and Cooling Business
About the Author

NATE Certified HVAC Technician & Licensing Exam Trainer
Universal Technical InstituteMike Johnson is a NATE-certified HVAC technician and EPA 608 universal-certified refrigerant handler with a Bachelor of Science in HVAC/R Technology. He has 19 years of commercial and residential HVAC installation and service experience and specializes in preparing technicians for NATE certification, EPA 608, A2L refrigerant safety, and state HVAC contractor licensing examinations.