
How to Clean Your HVAC Unit: A Complete Step-by-Step Guide 2026 September
Learn how to clean your HVAC unit safely and effectively. Step-by-step guide covering filters, coils, drains, and more. ✅ Save money and extend system life.
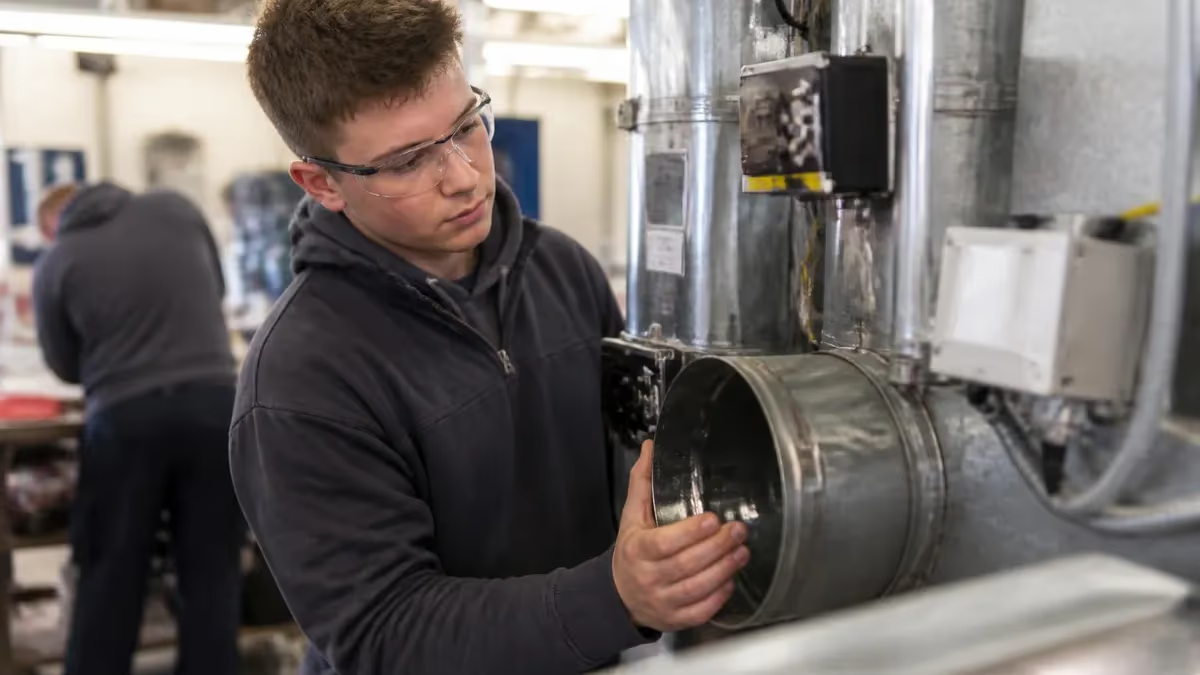
Knowing how to clean your HVAC unit is one of the most valuable skills a homeowner can develop. A dirty system doesn't just run inefficiently — it strains the motor, degrades indoor air quality, spikes your utility bills, and can shorten a system's lifespan by years. Most HVAC manufacturers recommend a full cleaning at least once a year, though homes with pets, allergies, or heavy use benefit from cleaning every six months.
The good news is that the majority of HVAC cleaning tasks are well within the reach of a motivated DIYer. Replacing the air filter, rinsing the outdoor condenser coils, clearing the condensate drain line, and wiping down supply vents can all be accomplished with basic household tools in a single afternoon. Tackling these tasks regularly keeps your system humming and helps you spot problems — like a cracked drain pan or a bent fin — before they become costly repairs.
Professional HVAC technicians do recommend scheduling a full tune-up every one to two years, but that service is most effective when you perform routine maintenance in between visits. Think of it the same way you think about oil changes: the mechanic handles the deep work, but you check the fluid levels yourself every few weeks. The same logic applies to your heating and cooling system, and it pays dividends in comfort and cost savings.
This guide walks you through every major component you need to address — from the air handler inside your home to the condenser unit sitting outside. We cover the tools you'll need, safety precautions that are non-negotiable, and the specific steps for each part of the system. We also explain how to clean hvac unit components like fan coil units that many homeowners overlook entirely.
Before you begin any cleaning, always shut off power to the system at both the thermostat and the circuit breaker. This step is not optional. HVAC systems carry high-voltage electricity and contain moving parts that can cause serious injury if the unit powers on unexpectedly. Confirm the breaker is off, and if your outdoor unit has a dedicated disconnect box near the compressor, pull that as well. Safety first — every time, without exception.
Throughout this guide you'll find approximate timeframes, cost estimates for any supplies, and tips for identifying when a task has moved beyond DIY territory. Not every cleaning job is a solo project, and we'll be honest about where the line is. By the end, you'll have a clear, practical plan for maintaining your HVAC system through every season of the year, protecting your investment and keeping your household comfortable no matter what the weather brings outside.
HVAC Cleaning by the Numbers
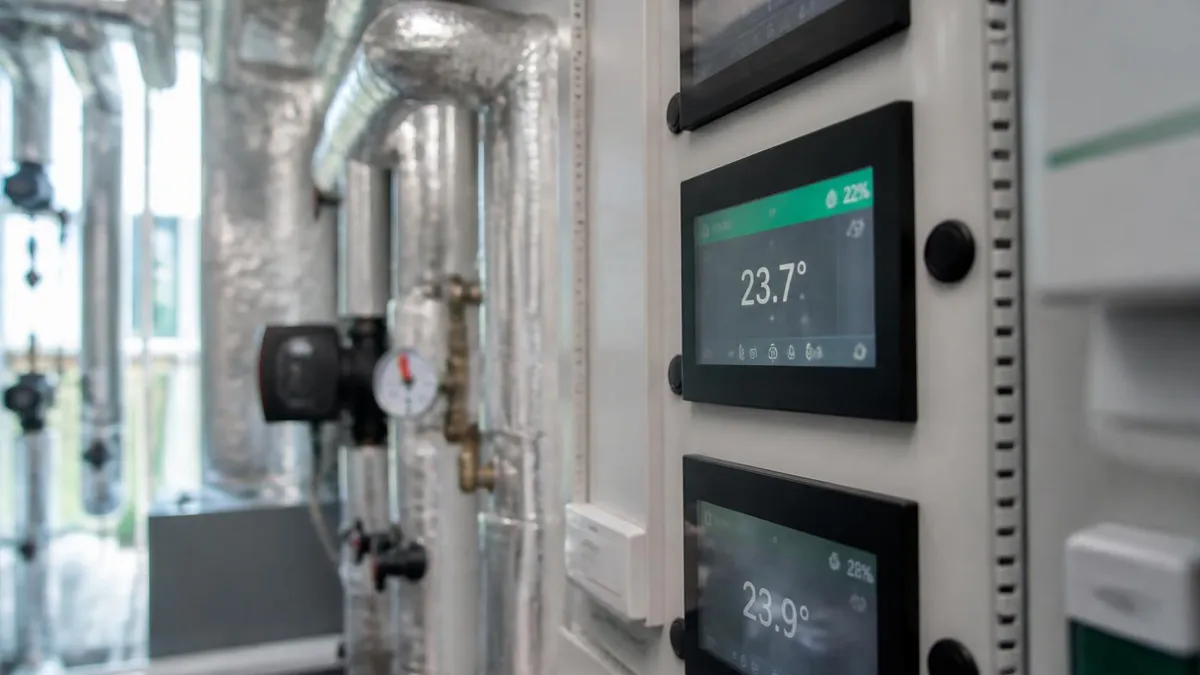
How to Clean Your HVAC Unit: Step-by-Step
Shut Off Power and Gather Tools
Replace or Clean the Air Filter
Clean the Evaporator Coil
Clear the Condensate Drain Line
Clean the Outdoor Condenser Unit
Restore Power and Test the System
The evaporator coil sits inside your air handler and is responsible for absorbing heat from the air that circulates through your home. As warm air passes over the coil's cold surface, heat transfers to the refrigerant inside, and moisture condenses on the fins — exactly the way a cold glass sweats on a humid day. Over time, that condensed moisture acts like glue, trapping airborne dust, pet dander, and mold spores directly on the coil surface, reducing its ability to transfer heat effectively.
Cleaning the evaporator coil requires opening the air handler access panel, which on most systems is secured by two or four sheet-metal screws. Once open, you'll see rows of thin aluminum fins wrapped around copper refrigerant tubing. Use a soft brush or a can of compressed air to remove loose surface dust before applying coil cleaner. Work gently — the fins are sharp and bend easily, which is why HVAC technicians carry a fin comb to straighten damaged rows during service visits.
No-rinse evaporator coil cleaners are the preferred choice for indoor units because the foam self-rinses as condensate forms during normal operation. Apply the spray evenly, working from top to bottom, and allow it to penetrate for the time specified on the label — typically five to ten minutes. You'll see the foam turn gray or brown as it lifts accumulated grime. The liquid then drains into the condensate pan below the coil, carrying contaminants out of the system through the drain line.
The condensate drain pan deserves attention every time you clean the coil. Standing water in the pan is a breeding ground for algae, mold, and bacteria, all of which produce musty odors and can cause respiratory irritation. After wiping out any standing water, mix one cup of household bleach with one gallon of water and pour it into the pan. Let it sit for a few minutes before wiping clean. Some technicians place a commercial algae-prevention tablet in the pan to slow regrowth between cleanings.
The blower wheel — the fan inside the air handler that actually moves conditioned air through your ductwork — is another component that accumulates significant buildup over time. A dirty blower wheel forces the motor to work harder to move the same volume of air, increasing energy consumption and heat buildup in the motor windings. Cleaning it requires removing the blower assembly, which on many systems means disconnecting a few wire connectors and sliding out a drawer-style component. Use a stiff brush and a vacuum to remove built-up grime from each blade.
While you have the air handler open, inspect the insulation lining the inside of the cabinet. This foam or fiberglass lining prevents condensation from forming on the metal walls and adds a degree of acoustic dampening to reduce blower noise. Tears, gaps, or sections that have become wet and compressed reduce the insulation's effectiveness. Small tears can be repaired with foil-backed HVAC tape, but extensive damage may warrant replacing the lining material, which is available at most HVAC supply houses.
Vents and registers throughout your home are easy to overlook but make a noticeable difference in air quality and system efficiency. Remove each supply vent grille and wash it in warm soapy water, then dry thoroughly before reinstalling. For return air grilles, vacuum the front face while the filter is removed to clear accumulated dust. Blocked or dirty vents reduce airflow, cause uneven temperatures from room to room, and can contribute to pressure imbalances that stress the blower motor over time.
Outdoor Unit, Air Filters, and Condensate Drains
The outdoor condenser unit is exposed to rain, wind, falling leaves, grass clippings, and cottonwood seeds year-round. Begin by removing any debris — sticks, leaves, mulch — from around the unit and trimming back vegetation to maintain at least 24 inches of clearance on all sides. Remove the top grille (usually four to six screws) and lift it carefully to avoid straining the fan wiring. Vacuum out any debris that has collected inside the cabinet, paying close attention to the area around the compressor and the base pan where water can pool.
Spray a commercial condenser coil cleaner on the outside fins, working in sections and following the product's recommended dwell time. Then rinse from the inside outward using a garden hose — this pushes loosened debris out through the fins rather than packing it deeper. Never use a pressure washer, as the high-pressure stream bends the aluminum fins and reduces airflow through the coil. For stubborn grime, a second application of cleaner followed by a gentle rinse is more effective than increasing water pressure.
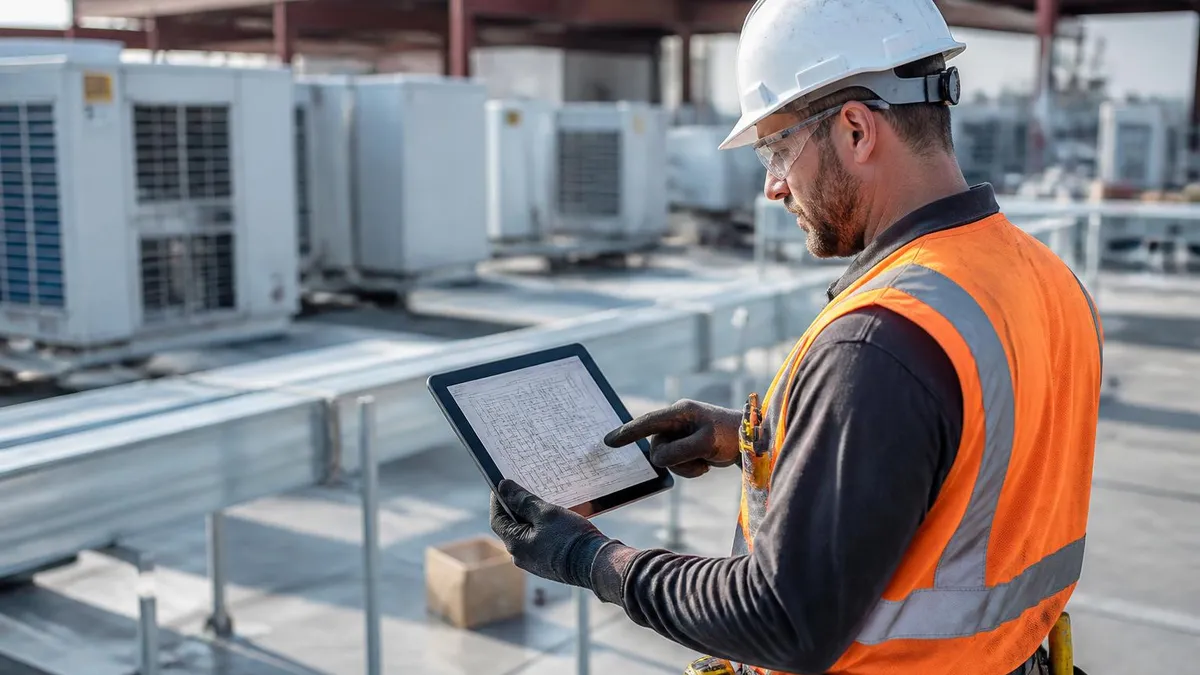
DIY HVAC Cleaning vs. Hiring a Professional
- +Saves $75–$200 per cleaning visit compared to professional service costs
- +Can be done on your own schedule without waiting for an appointment
- +Builds familiarity with your system, making it easier to spot problems early
- +Routine tasks like filter changes and drain flushes take under 30 minutes
- +No risk of scheduling delays during peak summer or winter demand seasons
- +Immediate satisfaction and visible results from clearing dirt and debris
- −Risk of electrical injury if power is not properly shut off before work
- −Incorrect coil cleaning technique can bend fins and reduce airflow
- −DIYers may miss refrigerant leaks, failing capacitors, or motor wear issues
- −No access to professional-grade equipment like nitrogen purge tools or coil flush kits
- −Some warranties require documented professional service to remain valid
- −Difficult to access all components in tightly installed or attic-mounted systems
Complete HVAC Cleaning Checklist
- ✓Shut off power at the thermostat, circuit breaker, and outdoor disconnect box before starting
- ✓Replace or clean the air filter and confirm the correct MERV rating for your system
- ✓Vacuum and brush the evaporator coil fins, then apply no-rinse coil cleaner
- ✓Wipe out the condensate drain pan and treat with diluted bleach to prevent mold
- ✓Flush the condensate drain line with one cup of white vinegar, then rinse with water
- ✓Remove and wash all supply vent grilles in warm soapy water, dry before reinstalling
- ✓Vacuum return air grilles while the filter is removed to clear accumulated dust
- ✓Clear debris from around the outdoor condenser unit and trim vegetation to 24 inches
- ✓Apply condenser coil cleaner and rinse from inside outward with a gentle garden hose stream
- ✓Inspect and straighten bent condenser fins with a fin comb where needed
Dirty Coils Cost You More Than You Think
According to the U.S. Department of Energy, dirty evaporator and condenser coils can reduce your HVAC system's efficiency by up to 15%. On a typical household that spends $1,800 per year on heating and cooling, that's $270 in wasted energy annually — more than enough to justify spending two hours and $20 in supplies on a thorough cleaning every six months.
Developing a consistent seasonal maintenance schedule transforms HVAC cleaning from a reactive chore into a proactive habit that pays for itself in lower energy bills and fewer repair calls. The two most important cleaning windows are spring — just before cooling season begins — and fall, before heating season kicks in. These timing windows let you correct any problems before the system faces its peak demand, and they align with manufacturer recommendations for most residential equipment.
In spring, focus on the outdoor condenser unit. Winter debris, dead insects, and cottonwood fluff accumulate on and inside the cabinet over the cold months. A thorough cleaning before the first hot day ensures the condenser can reject heat efficiently from day one of the cooling season. Spring is also the right time to inspect refrigerant line insulation on the large copper pipe running between the outdoor unit and the air handler — cracked or missing insulation causes condensation and reduces efficiency significantly.
Fall maintenance shifts focus to the indoor components. Clean the evaporator coil, flush the drain line, and inspect the heat exchanger if your system includes a gas furnace. The heat exchanger is the component that separates combustion gases from your breathing air — a crack in the exchanger can allow carbon monoxide to enter your home, which is why this inspection should always include a visual check or a combustion analyzer test performed by a certified technician. Never skip this step on a gas system.
Between those two major seasonal cleanings, establish a monthly habit of checking the air filter. Write the installation date on the filter frame with a permanent marker so you always know exactly how long it has been in service. Set a recurring phone reminder for the first day of each month as a quick filter check — this two-minute task has more impact on system performance and air quality than almost any other single maintenance action you can take.
Quarterly, pour a cup of white vinegar down the condensate drain access port. This takes less than two minutes and dramatically reduces the likelihood of an algae clog forming. If your system drains to a floor drain or utility sink, periodically verify that the discharge point is clear. A kinked drain hose or a clogged floor drain can back up water into the air handler just as effectively as a clogged drain line inside the wall.
Once per year — ideally in the fall when HVAC technicians are less busy than during summer emergencies — schedule a professional tune-up. A qualified technician will check refrigerant levels, measure electrical draw on the compressor and blower motor, test the capacitors and contactors, inspect the heat exchanger, verify thermostat calibration, and document system performance. This annual professional visit complements your DIY maintenance and provides a paper trail that many HVAC warranties require to remain valid.
Document your own cleaning activities as well. A simple maintenance log — even a note in your phone or a spreadsheet — that records the date, filter brand and MERV rating, any observations about system performance, and any parts replaced gives you valuable data over time. Patterns like increasing filter contamination between changes, unusual drain pan moisture, or higher-than-normal energy bills before a scheduled cleaning can signal developing problems worth addressing proactively before they become emergency repairs.
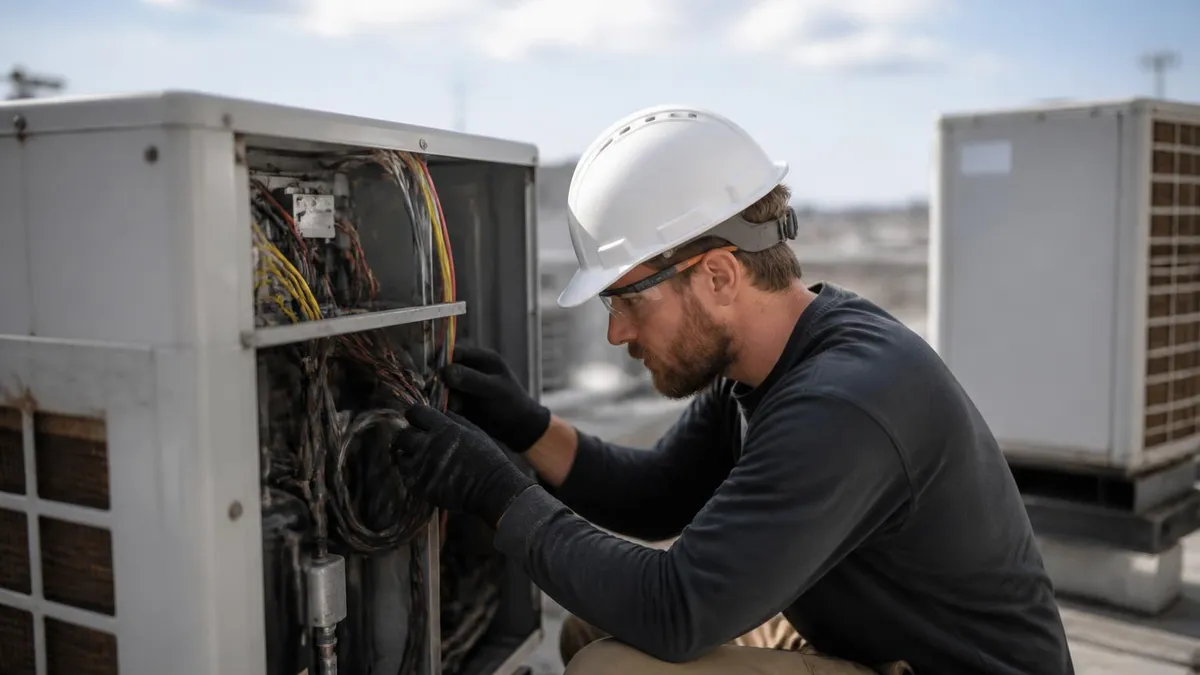
If your HVAC system includes a gas furnace, never skip the annual heat exchanger inspection. A cracked heat exchanger allows carbon monoxide — an odorless, colorless gas — to mix with your home's air supply. This is a life-safety issue, not a comfort issue. Install at least one carbon monoxide detector on each floor of your home, and if the detector alarms, evacuate immediately and call 911 before re-entering.
Even the most conscientious DIY maintenance program has limits, and recognizing those limits protects both your safety and your equipment. Refrigerant handling is the clearest example. By federal law, only EPA Section 608-certified technicians may purchase and handle refrigerants like R-410A and R-22. If you suspect a refrigerant leak — typically indicated by reduced cooling capacity, ice forming on the refrigerant lines, or a hissing sound near the outdoor unit — do not attempt to diagnose or repair it yourself. Call a licensed HVAC contractor and describe exactly what you're observing.
Electrical components are another area where professional expertise matters. Capacitors, contactors, and control boards carry lethal voltage even when the system is powered off, because capacitors store electrical charge after the power is disconnected. If you're troubleshooting a system that won't start and suspect an electrical component, resist the urge to probe wiring or test components unless you have formal electrical training and the proper discharge tools. The repair cost for a failed capacitor is typically $150 to $300 — far less than an ER visit.
Duct cleaning is a topic that generates a lot of debate in the HVAC industry. The EPA's position is that duct cleaning is warranted in specific circumstances: visible mold growth inside the ducts, vermin infestation, or significant debris blockage that can be verified. Routine duct cleaning as a preventive measure has not been shown to provide consistent health or efficiency benefits in research studies. If a company is pressuring you into duct cleaning based on vague claims about air quality, request documentation and consider a second opinion before committing to the service.
Unusual noises are reliable early warning signals that something inside the system requires professional attention. A high-pitched squealing often indicates a failing blower motor bearing or a slipping belt on older belt-drive systems. A banging or rattling sound at startup can signal a loose component inside the cabinet, a failing compressor, or an unbalanced blower wheel. Grinding sounds typically point to bearing failure. Any new or worsening noise warrants a service call — catching mechanical failures early prevents cascading damage to other components.
Water leaks from the air handler are another situation where professional diagnosis often saves money in the long run. While a clogged condensate drain is frequently the culprit and can be DIY-cleared, water around the air handler can also indicate a refrigerant leak (which causes the coil to freeze and then flood the drain pan when it thaws), a cracked drain pan, or a disconnected drain line fitting inside the cabinet. Misdiagnosing the source of a leak and attempting an incorrect repair can allow water damage to continue and potentially void component warranties.
For homeowners interested in building deeper HVAC knowledge — whether to better maintain their own system, evaluate contractor recommendations, or pursue a career in the trades — structured education makes a significant difference. Understanding the refrigeration cycle, electrical theory, and code requirements transforms you from a passive consumer of HVAC services into an informed decision-maker. Knowing what a technician is describing when they mention a TXV, a heat exchanger crack, or a low superheat reading lets you ask better questions and evaluate whether proposed repairs are actually necessary.
The financial case for staying current on HVAC maintenance is straightforward. A system that receives regular cleaning and inspection routinely lasts 15 to 20 years. A neglected system in the same climate might fail at 8 to 10 years. At a replacement cost of $5,000 to $12,000 for a new system, the math on spending $20 in supplies and two hours of your time every six months is compelling. Consistent maintenance is the single highest-return investment most homeowners can make in their mechanical systems.
Getting the most out of each HVAC cleaning session comes down to preparation, patience, and knowing which details matter most. Before you open a single access panel, take five minutes to review your system's owner manual — even if you've cleaned the unit before. Manufacturers update maintenance procedures across model years, and some units have quirks like non-obvious drain access ports or panels that require releasing a hidden latch before they'll open without forcing them.
Invest in a quality fin comb before your first condenser cleaning. Bent condenser fins are extremely common on outdoor units — lawnmower debris, hail, and accidental contact all cause damage — and straightening them with the proper comb restores airflow through the coil more effectively than any cleaning product. Fin combs are inexpensive, typically $10 to $20 at any HVAC supply house, and they come with multiple teeth-per-inch settings to match different coil densities. Using one correctly takes about ten minutes and can measurably improve system efficiency.
When cleaning the evaporator coil, resist the temptation to use a wire brush or abrasive pad. The aluminum fins are soft and damage easily, and gouging them creates rough surfaces that collect dirt more aggressively than the smooth surface you're trying to restore. Soft-bristle brushes, compressed air, and purpose-formulated coil cleaners are the right tools for this job.
If you encounter a section of coil that is heavily packed with debris — sometimes described as a mat of dirt that has consolidated into a solid layer — that level of buildup typically requires a professional coil flush with a pressurized cleaning system.
Ductwork connections at the air handler are worth inspecting while you have the cabinet open. Flex duct connections that have come loose, foil tape that has dried out and peeled away, or rigid duct sections that have shifted out of alignment all allow conditioned air to escape into unconditioned spaces like attics and crawl spaces. The Department of Energy estimates that leaky ductwork causes 20 to 30 percent energy loss in a typical home — a staggering figure. HVAC mastic sealant or metal-backed foil tape (not standard duct tape, which degrades quickly) are the correct materials for sealing these gaps.
After completing your cleaning, run the system for 15 to 20 minutes and walk through your home checking every supply register. Adequate, even airflow from all vents confirms that the blower is moving air correctly and that no registers were inadvertently blocked or left partially closed during cleaning. Hold your hand a few inches in front of each register — you should feel a clear, steady stream of conditioned air. Weak or absent airflow from a specific register can point to a duct obstruction, a closed damper, or a duct section that has collapsed or disconnected.
Thermostat calibration is easy to overlook but directly affects both comfort and efficiency. A thermostat that reads two degrees higher than the actual room temperature causes the system to run shorter cycles than necessary, leaving the space feeling humid and inconsistently cooled. Most modern smart thermostats include a calibration offset setting in their configuration menus. Use an accurate digital thermometer placed near the thermostat for 15 minutes to verify the reading — if the thermostat is off by more than one degree, adjust the offset accordingly or replace an aging unit that no longer holds calibration.
Finally, keep a dedicated cleaning supply kit for your HVAC system so that supplies are always on hand when you need them. Stock it with replacement filters in your system's correct size, a can of no-rinse evaporator coil cleaner, a bottle of white vinegar, a fin comb, a tube of HVAC mastic sealant, and a flashlight.
Store the kit near the air handler so that everything is in one place when you begin. Having the right tools at hand eliminates the frustration of stopping mid-task to make a hardware store run and makes it far more likely that you'll complete the full cleaning every time.
HVAC Questions and Answers
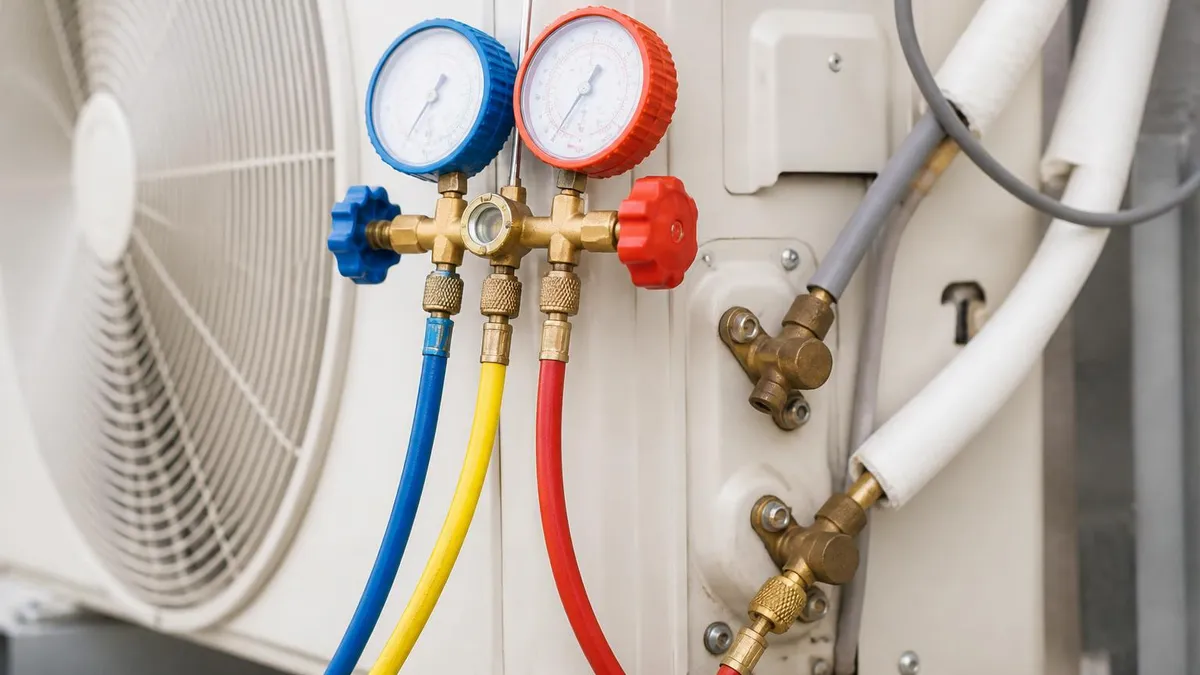
FCU HVAC: The Complete Guide to Fan Coil Units, How They Work, Where They Excel, and How to Choose the Right System
Finance a New HVAC System: 2026 Loans, 0% APR, and Rebates
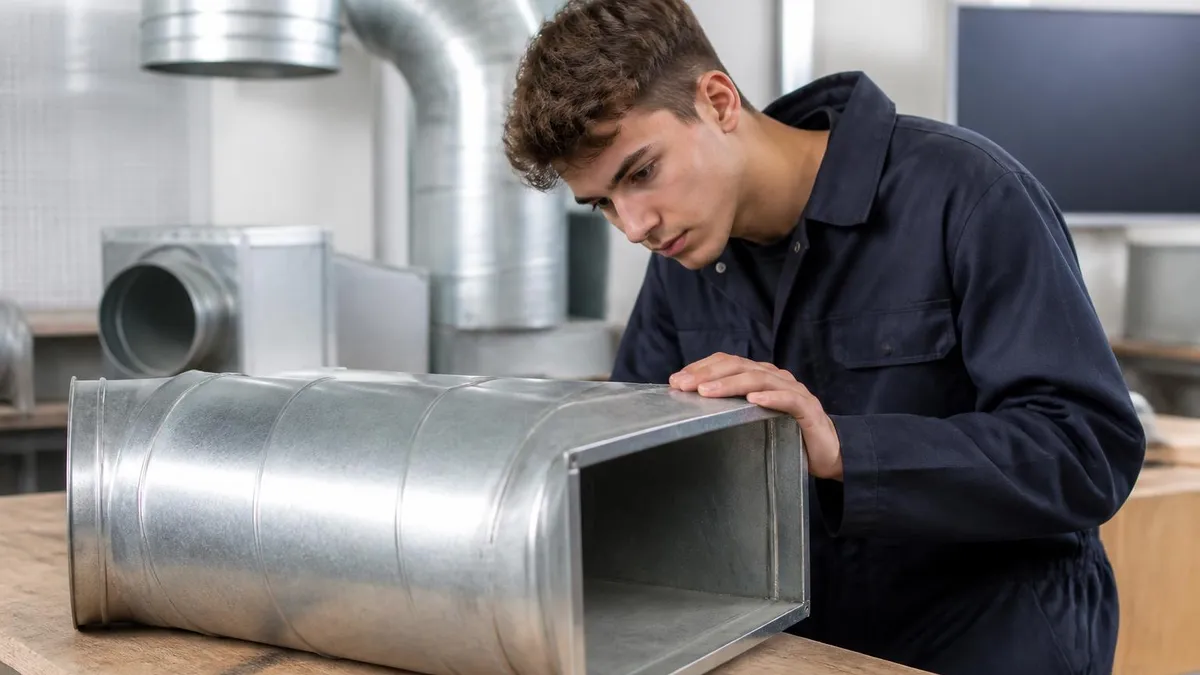
HVAC Duct Repair: Common Issues, Costs, and DIY vs Professional
HVAC School -- Programs, Costs, and Career Paths in 2026
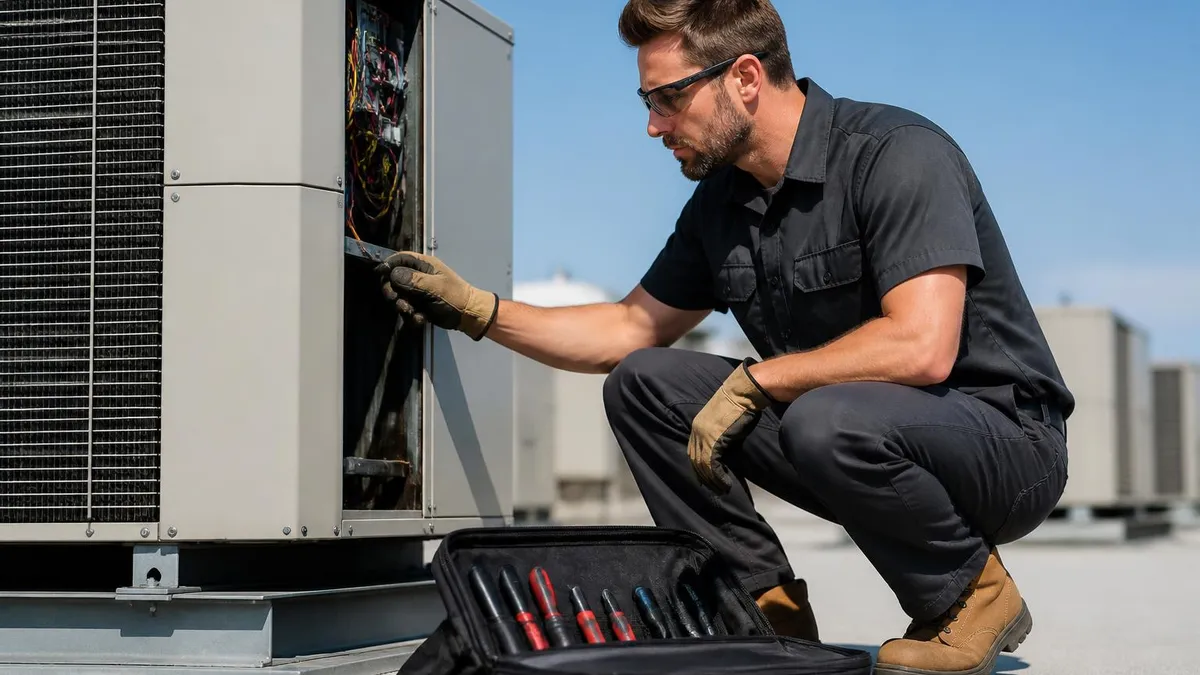
HVAC Advertising: The Complete Playbook for Generating Leads, Booking Calls, and Growing Your Heating and Cooling Business
About the Author

NATE Certified HVAC Technician & Licensing Exam Trainer
Universal Technical InstituteMike Johnson is a NATE-certified HVAC technician and EPA 608 universal-certified refrigerant handler with a Bachelor of Science in HVAC/R Technology. He has 19 years of commercial and residential HVAC installation and service experience and specializes in preparing technicians for NATE certification, EPA 608, A2L refrigerant safety, and state HVAC contractor licensing examinations.