
How to Add a Dehumidifier to Your HVAC System: Complete Guide 2026 October
Learn how to add dehumidifier to HVAC systems — types, costs, install steps, and benefits. 💡 Cut humidity and energy bills today.
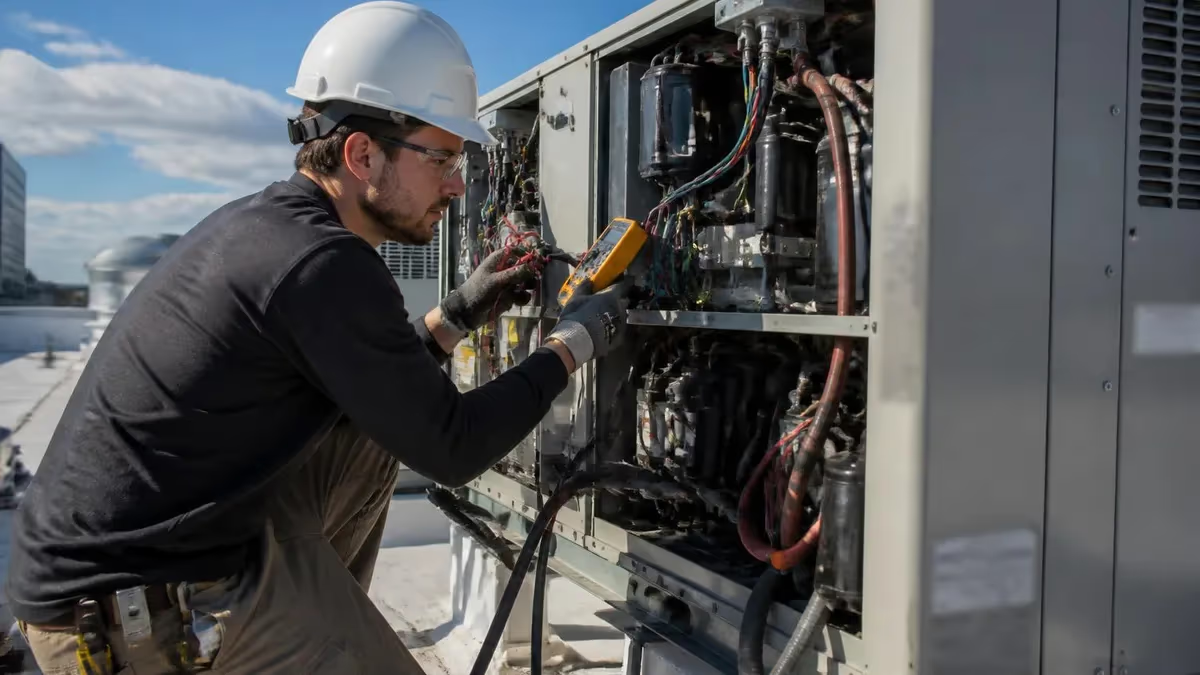
Learning how to add a dehumidifier to your HVAC system is one of the highest-impact upgrades a homeowner can make, especially in humid climates across the Southeast, Gulf Coast, and Mid-Atlantic regions. Excess indoor humidity — typically anything above 60 percent relative humidity — creates a cascade of problems: mold growth, musty odors, warped wood floors, peeling wallpaper, and uncomfortable sticky air that no amount of air conditioning seems to fix. A whole-home dehumidifier integrated directly into your HVAC ductwork addresses all of these issues at once.
Unlike portable plug-in dehumidifiers that handle only a single room and require you to empty a reservoir every day, a whole-home unit connects to your existing forced-air system and drains continuously into a floor drain or condensate line. The unit works in coordination with your air handler or furnace, pulling moist return air across refrigerant coils, condensing the moisture out, and sending dry, conditioned air back through your supply ducts to every room in the house. The result is consistent whole-home humidity control without the hassle of portable units.
The cost to add a dehumidifier to an HVAC system typically ranges from $1,200 to $2,800 installed, depending on the capacity you choose and the complexity of your existing ductwork. Whole-home units are sized in pints per day — residential models commonly range from 70 to 130 pints per day — and must be matched to your home's square footage, ceiling height, and climate zone. Undersizing the unit means it will run constantly without achieving target humidity, while oversizing wastes money upfront and can short-cycle, reducing efficiency.
There are two primary installation approaches: bypass dehumidifiers that tap into the existing ductwork by pulling air from the return side and reintroducing it on the supply side, and fan-powered dehumidifiers that include their own blower motor so they can operate independently of the main air handler. The bypass style is less expensive but requires the central air handler fan to run continuously. The fan-powered style costs more but gives you true standalone dehumidification control, which matters in shoulder seasons when you need moisture removal but not cooling.
Before installation, a qualified HVAC technician should perform a Manual J load calculation or at minimum a room-by-room humidity assessment to determine the appropriate unit capacity. Variables that affect sizing include the number of occupants (each person adds roughly 0.3 pints of moisture per hour through respiration and perspiration), cooking and bathing habits, crawl space conditions, and whether the home has a basement. Homes with unencapsulated crawl spaces or dirt-floor basements often need significantly more dehumidification capacity than above-grade square footage alone would suggest.
Proper placement of the dehumidifier within the duct system is critical to performance. Most installers prefer to mount the unit on the return air plenum — the large duct that draws air back to the air handler from throughout the house. This positioning ensures the dehumidifier sees the full return airstream and processes it before the air handler conditions it further. Alternatively, some installations tap into a convenient section of the return trunk line, particularly in homes where the plenum is difficult to access due to equipment configuration or structural obstructions.
If you are researching humidity control as part of a broader system overhaul, understanding how your add dehumidifier to hvac setup integrates with fan coil units can help you plan the most efficient overall system design. Fan coil units handle both cooling and air circulation, and pairing them with a dedicated dehumidifier gives you precise independent control over temperature and humidity — two variables that are related but ideally managed separately for maximum comfort and efficiency.
Adding a Dehumidifier to HVAC: By the Numbers
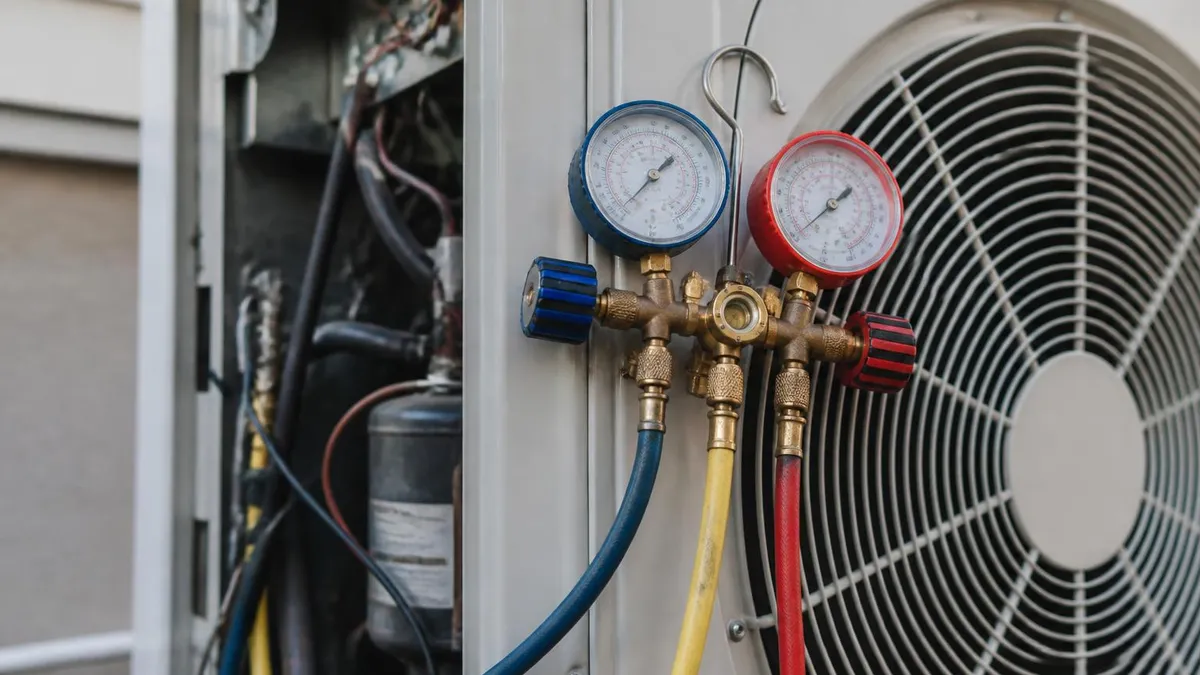
How to Add a Dehumidifier to Your HVAC System
Assess Your Home's Humidity Load
Choose Unit Type and Capacity
Locate the Optimal Installation Point
Cut Duct Connections and Mount the Unit
Connect Electrical and Drain Lines
Commission, Test, and Set Controls
Understanding the full cost picture before you add a dehumidifier to your HVAC system prevents budget surprises and helps you compare bids from multiple contractors. Equipment costs for whole-home dehumidifiers range from $600 to $1,800 depending on brand, capacity, and features. Top-tier brands like Aprilaire, Santa Fe, and Honeywell (now Resideo) offer models with digital humidistats, variable-speed blower motors, and MERV-8 filtration built in. Mid-range options from Goodman-affiliated brands or smaller manufacturers provide solid performance at lower price points but may lack advanced controls.
Labor costs typically add $400 to $1,000 to the equipment price, depending on installation complexity. A straightforward installation where the return plenum is easily accessible, a floor drain is nearby, and electrical service is already in place might take a skilled technician three to four hours. More complex jobs — running new electrical circuits, fabricating custom duct transitions, installing a condensate pump because no gravity drain exists, or working around a cramped mechanical room — can double the labor time and cost. Always get at least three written quotes that break out equipment and labor separately.
Permit requirements vary by jurisdiction but are increasingly common for HVAC-connected equipment. Some municipalities treat whole-home dehumidifier installations as mechanical permits requiring inspection, while others treat them as minor appliance installations. Your HVAC contractor should know local requirements and pull the necessary permits. Skipping a required permit can cause problems during home sales when buyers' inspectors flag unpermitted work, and in rare cases can affect homeowner's insurance claims if moisture-related damage occurs.
Energy operating costs are an important part of the total cost calculation. A 90-pint-per-day whole-home dehumidifier draws roughly 700 to 800 watts of electricity. Running eight hours per day in peak summer humidity season at a national average electricity rate of $0.16 per kilowatt-hour costs approximately $0.90 to $1.00 per day, or about $27 to $30 per month.
However, because effective dehumidification allows you to raise the thermostat set point by two to four degrees while maintaining the same comfort level, most homeowners see their total cooling costs decrease even with the dehumidifier running, because the air conditioner cycles less frequently.
Federal tax credits and utility rebates can meaningfully reduce your net cost. The Inflation Reduction Act's Section 25C tax credit covers qualifying HVAC improvements, and while whole-home dehumidifiers are not always explicitly listed, systems that are part of a broader energy-efficient HVAC upgrade may qualify. More reliably, many electric utilities — particularly in the humid Southeast — offer rebates of $50 to $200 for whole-home dehumidifier installation. Check your utility's website or the DSIRE database (Database of State Incentives for Renewables and Efficiency) for programs in your area before purchasing equipment.
Financing is another option worth exploring if the upfront cost is a barrier. Most HVAC contractors offer third-party financing through companies like GreenSky, Synchrony, or Wells Fargo Home Projects, often with promotional 12- to 18-month interest-free periods. Some manufacturers offer their own financing programs.
Given that whole-home dehumidifiers can meaningfully extend the life of your air conditioner by reducing runtime hours — an AC system running 20 percent less accumulates that many fewer wear hours over a decade — the investment often pays for itself within three to five years in energy savings alone, not counting the avoided costs of mold remediation or moisture-related structural repairs.
Homeowners in particularly humid climates should also budget for potential ductwork improvements that support dehumidifier performance. If your home has significant duct leakage — the national average is 20 to 30 percent of conditioned air lost through duct leaks — a whole-home dehumidifier will struggle to maintain target humidity because outside air constantly infiltrates the system.
Duct sealing with mastic compound or aerosol-based Aeroseal treatment can cost $500 to $2,500 but dramatically improves overall system efficiency and dehumidifier effectiveness. For comprehensive information about duct condition assessment and repair options, reviewing the available guidance on HVAC duct repair is a valuable next step before committing to a dehumidifier installation.
Types of Whole-Home Dehumidifiers for HVAC Systems
Bypass dehumidifiers are the most common and cost-effective type for residential HVAC integration. They connect between the return and supply sides of your existing ductwork and rely on the air handler's blower fan to push air through the dehumidifier's coils. Because they use the existing fan rather than an internal motor, bypass units cost less to purchase — typically $600 to $1,100 — and have fewer moving parts to maintain. The primary drawback is that the central air handler fan must run whenever you want dehumidification, which adds to operating costs and fan motor wear.
Bypass models are best suited for homes where the HVAC fan already runs frequently for air circulation, or where the thermostat is programmed to run the fan continuously during summer months. Aprilaire models 1700M and 1850 are popular bypass options rated for homes up to 4,200 and 5,200 square feet respectively. These units include digital humidistats that communicate with most modern thermostats and feature automatic drain valves that flush the drain pan periodically to prevent biological growth inside the unit.
Whole-Home HVAC Dehumidifier: Pros and Cons
- +Consistent whole-home humidity control in every room simultaneously
- +Continuous automatic drainage — no reservoir to empty daily
- +Integrates with smart thermostats and home automation systems
- +Reduces air conditioner runtime and extends AC compressor life
- +Eliminates mold-friendly conditions and reduces allergy triggers
- +Allows higher thermostat set points while maintaining comfort
- −Higher upfront cost ($1,200–$2,800) versus portable units ($200–$500)
- −Requires professional installation with duct modifications
- −Bypass models demand continuous AHU fan operation for effectiveness
- −Adds ongoing electricity consumption (700–800 watts during operation)
- −Requires annual maintenance: coil cleaning, filter replacement, drain inspection
- −Permit requirements and inspections add time and cost in some jurisdictions
Pros and Cons at a Glance
| Pros | Cons |
|---|---|
| Consistent whole-home humidity control in every room simultaneously | Requires professional installation with duct modifications |
| Continuous automatic drainage — no reservoir to empty daily | Bypass models demand continuous AHU fan operation for effectiveness |
| Integrates with smart thermostats and home automation systems | Requires annual maintenance: coil cleaning, filter replacement, drain inspection |
| Reduces air conditioner runtime and extends AC compressor life | Permit requirements and inspections add time and cost in some jurisdictions |
Pre-Installation Checklist: Before You Add a Dehumidifier to HVAC
- ✓Measure indoor relative humidity in at least four rooms using a calibrated hygrometer for three consecutive days.
- ✓Identify and address major moisture sources — plumbing leaks, crawl space moisture, bathroom exhaust fans venting into attic.
- ✓Inspect existing ductwork for leaks and seal with mastic before installing dehumidifier to maximize system efficiency.
- ✓Confirm your electrical panel has capacity for a dedicated circuit (15A or 20A depending on unit model).
- ✓Locate the nearest floor drain or verify condensate pump placement for continuous automatic drainage.
- ✓Measure the return air plenum and trunk lines to confirm physical clearance for the unit body and duct collars.
- ✓Request Manual J humidity load calculation or whole-home moisture assessment from your HVAC contractor.
- ✓Research local permit requirements and confirm your contractor will pull necessary mechanical permits.
- ✓Compare at least three written bids that itemize equipment, labor, electrical, and any ductwork modifications separately.
- ✓Check your utility company's website for available rebates on whole-home dehumidifier installations before purchase.
You Can Raise the Thermostat 2–4°F and Still Feel Cooler
At 50 percent relative humidity, 78°F feels the same as 74°F at 70 percent relative humidity. Adding a whole-home dehumidifier lets most households raise their thermostat set point by two to four degrees without sacrificing comfort — a change that can reduce cooling energy consumption by eight to twelve percent per degree, translating directly to lower monthly utility bills.
The actual installation process for adding a dehumidifier to your HVAC system follows a logical sequence, and understanding each step helps homeowners supervise the work and verify that it has been done correctly. The first task after selecting and receiving the unit is to shut down the HVAC system entirely — turn off power at the disconnect and at the breaker — and verify with a non-contact voltage tester before anyone starts cutting ductwork or making electrical connections. Safety is non-negotiable in mechanical rooms where live circuits, refrigerant lines, and moving fan blades coexist in tight quarters.
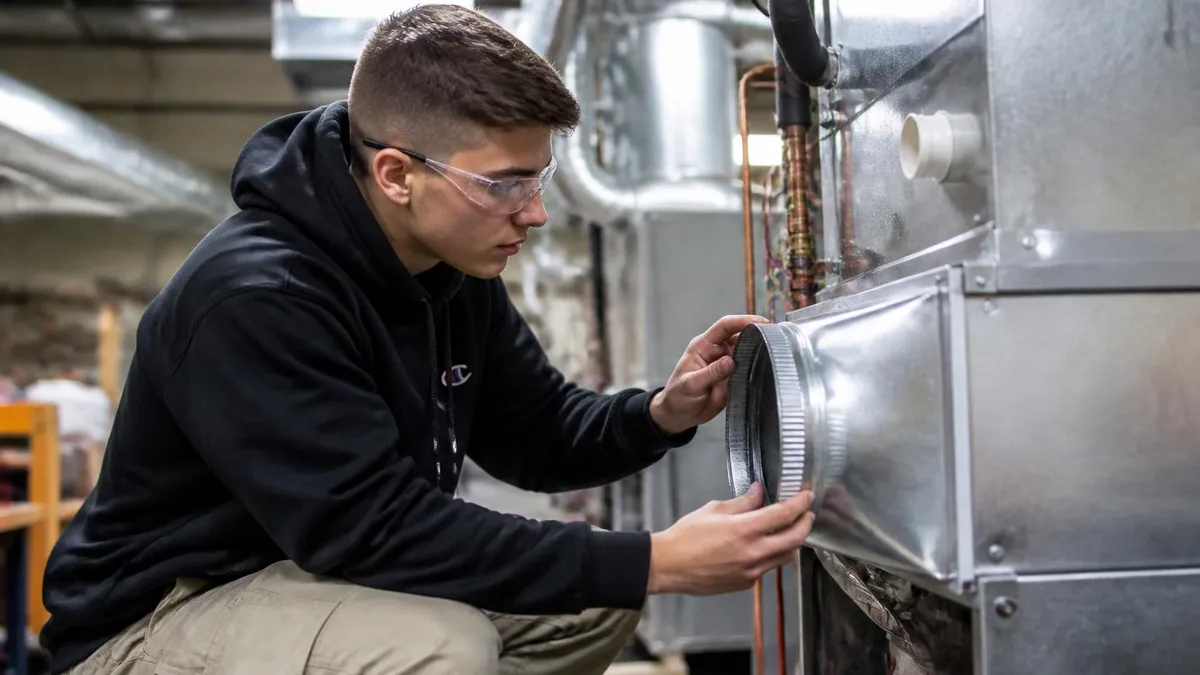
Duct layout is the most critical installation decision after unit sizing. The technician will measure and mark cut locations on the return plenum or return trunk, typically cutting two openings: one for the air intake collar (pulling humid return air into the dehumidifier) and one for the discharge collar (returning dry processed air to the supply side). The exact positions depend on the unit model's port layout and the available space in your mechanical room.
Most residential whole-home dehumidifiers have a rectangular footprint measuring roughly 14 by 17 by 26 inches, requiring meaningful clearance on all sides for airflow and future service access.
After cutting the openings, the technician attaches sheet metal flanges and duct collars using self-tapping sheet metal screws at every six to eight inches around the perimeter. All seams and connections are then sealed with UL-listed foil tape or mastic compound — never standard cloth duct tape, which fails within months in the heat and humidity of a mechanical room. Proper duct sealing at these transition points is essential because any air leakage here allows humid unconditioned air to bypass the dehumidifier's coils, reducing effective capacity and making the unit appear to underperform even when it is technically functioning correctly.
Drain line installation is the next critical phase. The dehumidifier removes moisture from the air in liquid form, and that water must exit the unit continuously. Most units have a 3/4-inch drain connection on the bottom or side panel. The technician runs flexible vinyl tubing or rigid PVC from this connection to the nearest floor drain, utility sink, or condensate pump.
If no gravity drain exists within a reasonable distance, a condensate pump — a small electric device that pumps water uphill to a drain or exterior — must be installed. The drain line must maintain a minimum slope of 1/4 inch per foot throughout its entire run to prevent water from pooling inside the line, which can cause backflow into the unit and internal corrosion over time.
Electrical connections must comply with the unit's nameplate requirements and local electrical codes. Most residential whole-home dehumidifiers require a dedicated 115-volt, 15-amp circuit or a 230-volt, 15-amp circuit depending on the model.
The technician runs appropriate gauge wire from the electrical panel through conduit to the unit location, connects it per the wiring diagram in the installation manual, and installs a disconnect switch within sight of the unit as required by the National Electrical Code. Some units also have a low-voltage control connection that allows the humidistat to communicate with the main HVAC thermostat for coordinated operation — this wiring should be completed and tested during commissioning.
Commissioning begins once all mechanical and electrical connections are complete and the HVAC system has been powered back on. The technician sets the humidistat to 50 percent relative humidity and starts the unit.
During the first operating cycle, the technician verifies airflow through both duct connections by holding a tissue at each collar to confirm air movement, checks for any air leaks at duct seams, verifies that condensed water is flowing through the drain line (typically visible within 10 to 20 minutes of operation in a humid environment), and listens for unusual vibration or mechanical noise that might indicate improper mounting or a shipping damage issue that was not apparent before installation.
Post-installation, the homeowner should monitor indoor relative humidity for the first two weeks using the same hygrometer used for the initial baseline assessment. In a properly sized and installed system, indoor humidity should drop from elevated levels (often 65 to 75 percent in problem homes) to the 45 to 55 percent target range within 24 to 72 hours of first operation, depending on how saturated the building materials are and how aggressive an outdoor humidity infiltration rate the home experiences.
If humidity is not reaching target levels within a week, the contractor should be called back to verify unit operation, check for duct leaks, and assess whether additional capacity or crawl space encapsulation is needed to address the root moisture sources.
Homes with vented crawl spaces or unencapsulated dirt floors can introduce staggering amounts of ground moisture into the living space — sometimes equivalent to several gallons of water per day. Installing a whole-home dehumidifier without first addressing the crawl space means the unit will run constantly at full capacity and still may not reach target humidity levels. Crawl space encapsulation with a 20-mil vapor barrier typically costs $3,000 to $8,000 but is often a prerequisite for effective whole-home dehumidification in homes with significant below-grade moisture issues.
Maintaining your whole-home HVAC dehumidifier properly is essential to protecting your investment and ensuring long-term performance. Unlike portable units that you might discard after a few seasons, a properly maintained whole-home dehumidifier should last 10 to 15 years — roughly the same service life as your air conditioner. The maintenance schedule is not complicated, but it must be followed consistently, because neglect in one area quickly cascades into performance problems that are more expensive to correct than the maintenance itself would have cost.
Filter maintenance is the most frequent task. Most whole-home dehumidifiers include a washable or replaceable filter that captures dust and particulates from the return airstream before they can coat the evaporator coils. Coil-coating with dust acts as an insulating layer that reduces heat transfer efficiency, forcing the unit to work harder and longer to remove the same amount of moisture.
Check the filter every 30 days during peak operating season (typically May through September in most of the US) and either rinse it clean or replace it according to manufacturer specifications. A clean filter takes five minutes and costs nothing; a dirty coil requiring professional cleaning costs $150 to $300.
The evaporator coils themselves should be inspected annually, ideally at the beginning of the humid season before you need the unit running at full capacity. If the coils show visible dust accumulation, biological growth (green or black deposits), or scaling from mineral-laden condensate, a professional coil cleaning with approved coil cleaner solution is warranted. While some technically inclined homeowners perform this task themselves following manufacturer guidance, it requires careful handling of cleaning chemicals, proper rinsing to prevent chemical residue from dripping into the drain pan and drain line, and accurate reassembly of access panels and panels seals.
The drain system requires inspection at least twice per operating season. Check that water is actively flowing through the drain line whenever the unit is running — a simple visual check at the discharge point of the drain line into the floor drain or utility sink. If water flow is absent or reduced, the drain line may be partially obstructed.
Flush the line by pouring a cup of water into the unit's drain pan and confirming it exits promptly. Drain pans should also be wiped down annually with a dilute bleach solution to prevent algae and biofilm growth that can plug the drain line over time. Condensate pump units require annual function testing by manually triggering the pump float.
Refrigerant levels and electrical connections are the components of dehumidifier maintenance that require professional involvement. If your unit is running but not effectively removing moisture — the coils are not cold to the touch, the unit is not producing condensate even in obviously humid conditions, or the discharge air is not noticeably drier than the inlet air — low refrigerant is a possible cause.
Only EPA Section 608-certified technicians may legally handle refrigerants, so this diagnosis and repair requires a professional service call. Electrical connections should also be inspected annually for corrosion, loosening, or signs of heat stress, particularly at the terminal block where line voltage connects to the unit.
Annual professional tune-up visits for whole-home dehumidifiers are a worthwhile investment, especially in the first few years while you are establishing a maintenance baseline for your specific unit and installation. Many HVAC service companies offer annual dehumidifier maintenance as an add-on to their standard AC tune-up package, typically for $75 to $150.
The technician will check refrigerant charge, measure airflow through the unit, test the humidistat calibration, inspect and clean the drain system, and verify that all electrical connections are secure. This comprehensive annual check catches developing problems before they become equipment failures and keeps the unit operating at peak efficiency throughout the demanding humid season.
Long-term performance monitoring is also valuable. Keep a simple log of monthly indoor relative humidity readings, noting when the unit runs and for how long. Most modern smart thermostats with humidity sensors, such as Ecobee and Honeywell T6 Pro, will log humidity history automatically.
If you notice that indoor humidity is trending upward season over season despite consistent maintenance, this may indicate that the unit's capacity is no longer matching the building's moisture load due to changes in occupancy, lifestyle, or building envelope deterioration — or that the unit itself is reaching the end of its effective service life and should be evaluated for replacement.
Homeowners who want to get the most from their whole-home dehumidifier investment should adopt a few practical habits that complement the technical installation. First, set realistic humidity targets. The American Society of Heating, Refrigerating and Air-Conditioning Engineers (ASHRAE) recommends maintaining indoor relative humidity between 30 and 60 percent, with the 45 to 55 percent range generally accepted as the sweet spot for human comfort, mold prevention, and wood stability. Setting the humidistat below 40 percent in summer is rarely necessary and causes the dehumidifier to run excessively, wasting energy without meaningfully improving comfort.
Coordinating the dehumidifier with your HVAC thermostat significantly improves system efficiency. Many modern thermostats allow you to set an independent humidity threshold — when indoor RH exceeds the set point, the thermostat activates the dehumidifier even if cooling is not needed. This feature is particularly valuable during spring and fall when outdoor temperatures are mild but humidity is high. Without this coordination, you might find yourself running the air conditioner simply to bring down humidity, overcooling the space and wasting significantly more energy than running the dedicated dehumidifier alone would require.
Ventilation management is another area where practical habits matter. Kitchen exhaust fans, bathroom exhaust fans, and whole-house energy recovery ventilators (ERVs) all affect indoor humidity. Ensure bathroom fans are ducted to the exterior (not into the attic), run them for at least 20 minutes after showering, and run the kitchen exhaust fan during all cooking that generates steam.
These simple habits reduce the moisture burden your dehumidifier must handle, which extends its runtime between cycles, reduces wear, and lowers operating costs. In homes with ERVs, work with your HVAC technician to optimize the fresh air exchange rate for your climate — oversized fresh air intake in a humid climate can overwhelm a dehumidifier's capacity.
Window and door management during peak outdoor humidity hours makes a measurable difference in dehumidifier load. Outdoor air in many humid regions reaches maximum relative humidity between 4 and 8 AM, when overnight temperature drops increase RH even if absolute moisture content has not changed dramatically. Keeping windows and doors closed during these hours prevents a surge of moisture-laden air from infiltrating the house. If you enjoy natural ventilation during moderate-humidity periods, use an indoor hygrometer to monitor conditions and close up the house when outdoor humidity approaches or exceeds your indoor target level.
Building envelope improvements work synergistically with whole-home dehumidification. Air sealing attic bypasses, weatherstripping doors and windows, and adding foam gaskets behind electrical outlet covers on exterior walls all reduce the infiltration of humid outdoor air. Each cubic foot of humid air that cannot infiltrate the building is a pint of water the dehumidifier does not need to remove.
Energy audits, often available at subsidized or free rates through utility programs, can identify the highest-impact air sealing opportunities in your specific home. Combine air sealing with attic insulation improvements and you create a building envelope that dramatically reduces the HVAC and dehumidification load simultaneously.
Understanding seasonal adjustments helps you operate the dehumidifier intelligently rather than setting it and forgetting it entirely. In winter, most homes in heating-dominated climates experience low indoor humidity rather than high humidity, because cold outdoor air holds little moisture and heating systems add sensible heat without adding moisture.
Running a dehumidifier in winter in these climates is counterproductive and can dry the air to levels that damage wood floors, cause static electricity problems, and irritate respiratory passages. Most whole-home dehumidifiers have a freeze protection mode that prevents operation when ambient temperatures fall below a certain point, but in climates with cold winters you may want to shut the unit down entirely from November through March and potentially add a whole-home humidifier to maintain adequate winter moisture levels.
For HVAC technicians and students preparing for certification exams, understanding the psychrometric principles behind dehumidification — how refrigerant coils cool air below its dew point to condense moisture, how latent heat removal differs from sensible heat removal, and how to size equipment using climate data from ASHRAE tables — is essential knowledge.
These concepts appear consistently on HVAC certification exams, and working through practice questions on humidity control and equipment sizing reinforces the theoretical knowledge that enables confident field decisions. Combining hands-on experience with structured exam preparation is the most effective path to earning and keeping certification credentials in this technically demanding field.
Sample HVAC Practice Questions
Try these questions from our free HVAC practice tests. The correct answer and an explanation follow each question.
Which component in a refrigeration system separates refrigerant vapor from liquid to ensure only vapor enters the compressor in a flooded evaporator system?
- A. Filter-drier
- B. Suction accumulator
- C. Liquid receiver
- D. Sight glass
Answer: B. Suction accumulator
A suction accumulator is installed in the suction line to separate and hold any liquid refrigerant, allowing only vapor to pass to the compressor.
In a hot-water boiler system, what device prevents system pressure from exceeding safe limits?
- A. Backflow preventer
- B. Pressure-reducing valve
- C. Relief valve
- D. Expansion tank
Answer: C. Relief valve
The pressure relief valve (PRV) opens automatically to discharge water if system pressure exceeds the rated set point, preventing vessel failure.
What type of valve is used at each terminal unit in a hydronic system to allow the system to be balanced by limiting flow through high-flow circuits?
- A. Gate valve
- B. Ball valve
- C. Globe valve or circuit setter
- D. Check valve
Answer: C. Globe valve or circuit setter
Globe valves and circuit setters (calibrated balancing valves) provide precise throttling and are used to balance hydronic systems by restricting flow through over-supplied circuits.
What is the primary reason technicians should never mix different types of refrigerant oils in an HVAC system?
- A. Different oils have different colors which causes confusion
- B. Mixing oils can cause chemical reactions, sludge formation, and compressor failure
- C. Mixed oils void the warranty but are otherwise safe
- D. Different oil viscosities are the only concern
Answer: B. Mixing oils can cause chemical reactions, sludge formation, and compressor failure
Incompatible oil mixtures can cause chemical reactions, form sludge that clogs the system, and lead to premature compressor failure.
HVAC Questions and Answers
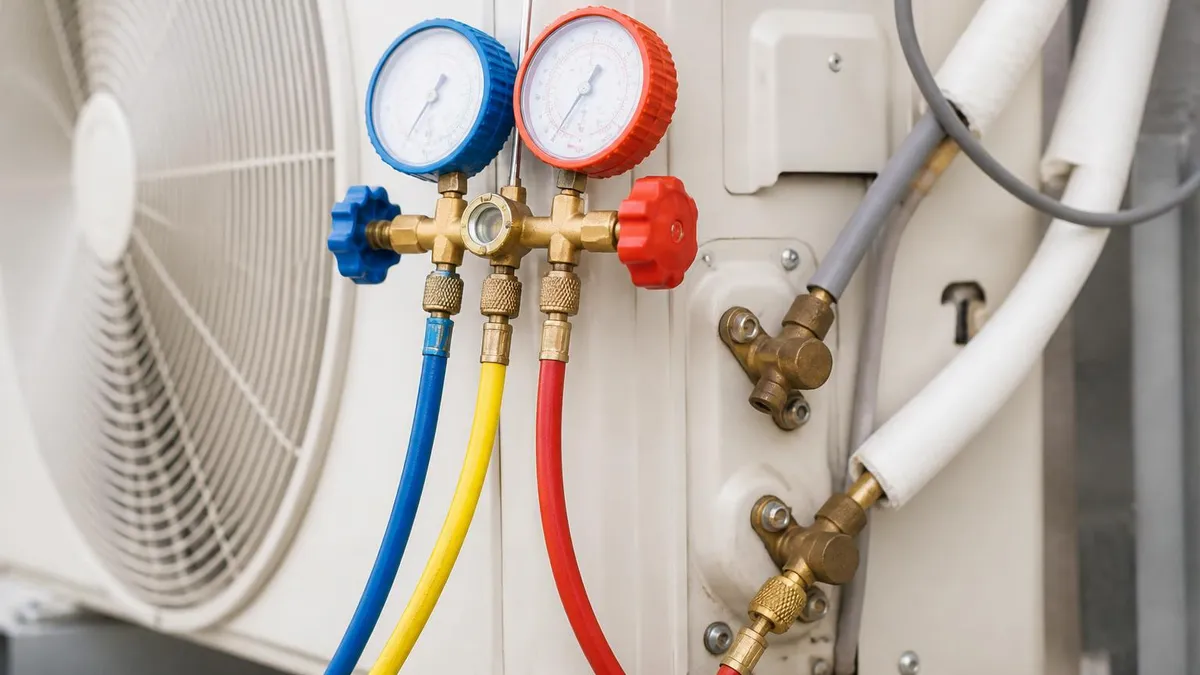
FCU HVAC: The Complete Guide to Fan Coil Units, How They Work, Where They Excel, and How to Choose the Right System
Finance a New HVAC System: 2026 Loans, 0% APR, and Rebates
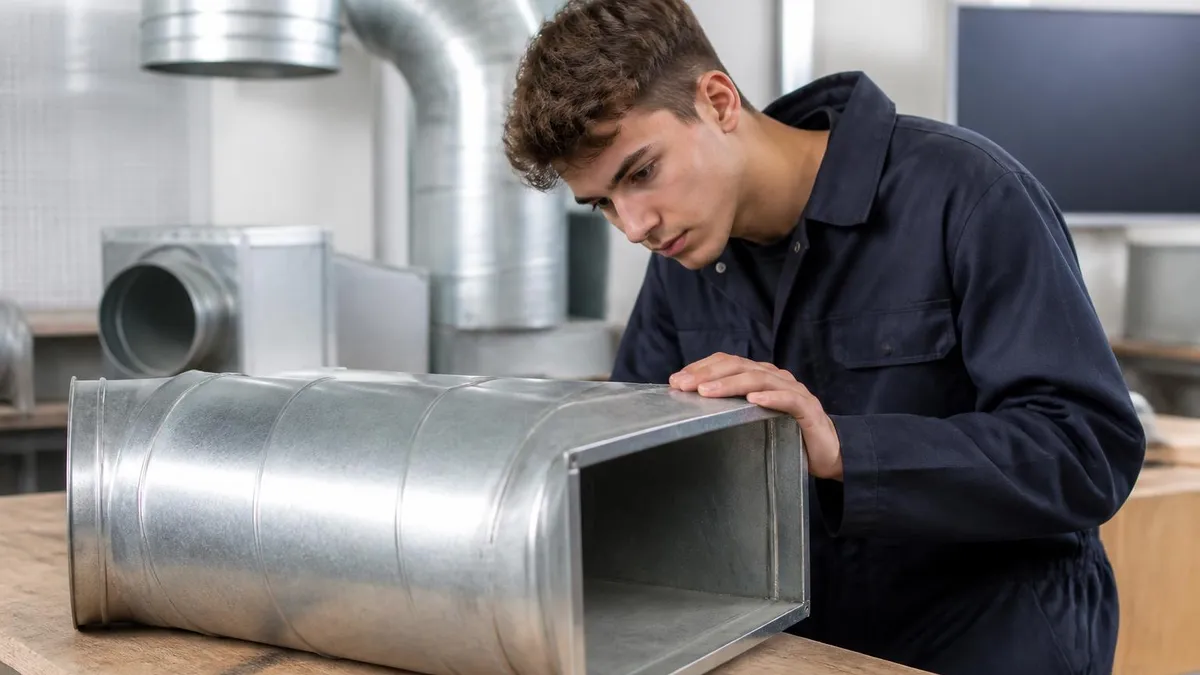
HVAC Duct Repair: Common Issues, Costs, and DIY vs Professional

HVAC School -- Programs, Costs, and Career Paths in 2026
HVAC Advertising: The Complete Playbook for Generating Leads, Booking Calls, and Growing Your Heating and Cooling Business
About the Author

NATE Certified HVAC Technician & Licensing Exam Trainer
Universal Technical InstituteMike Johnson is a NATE-certified HVAC technician and EPA 608 universal-certified refrigerant handler with a Bachelor of Science in HVAC/R Technology. He has 19 years of commercial and residential HVAC installation and service experience and specializes in preparing technicians for NATE certification, EPA 608, A2L refrigerant safety, and state HVAC contractor licensing examinations.