
How to Use Excel Spreadsheet — Complete Guide (2026 September)
📝 How to use Excel spreadsheet step-by-step: Ribbon, cells, formulas, formatting, charts, shortcuts. Beginner to intermediate walkthrough for 2026 September.

Excel by the Numbers

How to Use Excel Spreadsheet — A 2026 Walkthrough
Open a blank workbook. Type your name in cell A1. Press Enter. You're already using Excel — that's the whole secret nobody tells beginners. The rest is just layers of polish on top of that one move.
This guide walks you from a blank screen to a formatted, sorted, charted spreadsheet you can actually share. No fluff. No marketing speak. You'll learn the same workflow that a finance analyst, a small-business owner, and a high school teacher all share — typed in, formatted up, then saved or printed.
Microsoft Excel is a grid. Numbers and text go into boxes called cells. Formulas pull those boxes together — adding, averaging, looking up, flagging — and the result updates the moment you change an input. That's it. That's the whole engine.
If you've never opened Excel before, fair warning: the first 30 seconds feel intimidating. The Ribbon at the top has dozens of buttons. The grid stretches off-screen forever. Don't worry about any of that yet. You only need five or six commands to do real work — and we'll start with those. Want to test what you learn? Try a quick excel warm-up before moving on.
Why bother learning Excel in 2026? Because it still runs the world. Your bank statement gets reconciled in Excel. Your school's grade book runs on Excel. The marketing report your manager forwarded yesterday? Excel. Google Sheets, Apple Numbers, LibreOffice Calc — they all copied the basic interface and most of the formulas. Learn Excel first, and the rest become five-minute conversions.
The plan for this guide is simple. Ten steps. Each one builds on the last. Step 1 gets you oriented. Steps 2 and 3 cover entering data. Step 4 is the formula chapter — the moment Excel stops being a fancy notepad and starts being a calculator that thinks. Steps 5 through 7 polish what you've built. The final steps cover keyboard shortcuts and platform differences, because the way you work on a laptop is different from the way you work on an iPad or in a browser tab.
One last note before we dive in: don't skip the typing. Reading about formulas teaches you nothing. Open Excel in another window right now and follow along. Type every example. Break things on purpose. Then undo with Ctrl+Z and try again. The undo stack in Excel goes back about 100 steps — you literally cannot ruin your spreadsheet faster than you can fix it. Treat the grid like a sandbox, not a glass cabinet.
You don't need to buy Excel to follow along. Excel for the web is free at office.com — sign in with any Microsoft account. Same Ribbon, most features work in your browser. The desktop app adds power tools like Power Query and macros, but the basics in this guide work identically on free Excel Online, the paid desktop app, and the iPad/Android mobile apps.
Step 1 — Open Excel & Navigate the Ribbon
The tab you'll live in. Font, color, alignment, number formats, cut/copy/paste, Find & Replace. If you're not sure where a button lives, it's probably here. The clipboard sits on the far left — every keyboard paste flows through it.
Step 2 — Understand Cells, Rows & Columns
Every box on the grid is a cell. Cells live at the intersection of a column (A, B, C…) and a row (1, 2, 3…). The address of the cell at column A, row 1 is simply A1. You'll see this address in the Name Box just above the column letters.
Click a cell to select it. Click and drag to select a range — say, A1 to C10. The selection shows up as A1:C10 in formulas. Selecting a whole column? Click the column letter. Whole row? Click the row number. Entire sheet? Press Ctrl+A twice.
Now the trick that confuses every newcomer: relative vs absolute references. Type =A1 in B1, then drag the fill handle down. B2 becomes =A2, B3 becomes =A3. That's a relative reference — Excel shifts it as you copy.
Lock it with dollar signs. =$A$1 never changes when copied. =$A1 locks the column only. =A$1 locks the row only. Press F4 while editing a reference to toggle through the four states without typing the dollar signs by hand. This single trick separates beginners from people who get their work done fast. Tools like excel pivot tables rely on the same reference logic.
A few more grid facts worth knowing on day one. Each worksheet holds 1,048,576 rows and 16,384 columns (A through XFD). That's about 17 billion cells per sheet. You'll never run out. Columns past Z follow alphabetical pairs — AA, AB, AC… eventually ZZ, then AAA. Don't memorize this. Just know it's there if you scroll right forever.
Resize a column by hovering on the right border of the column letter — your cursor turns into a double-arrow. Drag to resize. Double-click to auto-fit the widest content in that column. Same trick works for row heights. To resize multiple columns at once, select them first (click the first letter, Shift+click the last), then drag any border — they all change together.
Hidden rows and columns happen by accident. If you jump from column C to column F, columns D and E are hidden somewhere. Select C through F, right-click, choose Unhide. Same for rows. This trips up beginners constantly — the data isn't gone, just folded behind. how to change column width in excel walks through the same dialog with screenshots if you need a visual.
Step 3 — Entering Data the Right Way
Letters, words, sentences. Excel left-aligns text by default. If you type a number you want treated as text (like a ZIP code starting with 0), put a single apostrophe first: <code>'07030</code>.
- Default align: Left
- Force text: Lead with '
Right-aligned by default. Excel auto-detects currency symbols and commas. Type 1,250 or $1,250 and it stays numeric — you can still add or multiply.
- Default align: Right
- Currency: Auto-detected
Type 3/15 and Excel guesses the current year. Type 3/15/26 to be explicit. Behind the scenes, dates are stored as numbers (Jan 1 1900 = 1), which is why you can subtract two dates to get days.
- Stored as: Serial number
- Today shortcut: Ctrl+;
Anything starting with = is a formula. Type <code>=2+2</code> and the cell shows 4 — not the formula. Click the cell and look at the formula bar to see the formula itself. That's the heart of Excel.
- Starts with: =
- Edit shortcut: F2
Step 4 — Five Formulas That Cover 80% of Real Work
You don't need 500 functions. You need five. Master these and you'll handle most spreadsheets that land on your desk.
SUM adds a range. =SUM(A1:A10) totals ten cells. Faster trick: select the range and press Alt+= — Excel writes the SUM for you and drops it in the cell below. This shortcut alone saves hours over a career. You can also chain SUM with multiple ranges separated by commas: =SUM(A1:A10, C1:C10) totals both columns in one shot.
AVERAGE works the same way. =AVERAGE(B2:B50) returns the arithmetic mean. MIN and MAX grab the smallest and largest. COUNT counts numeric entries; COUNTA counts non-empty cells (text or numbers). Most beginners reach for COUNT when they actually want COUNTA — remember the difference.
The fifth formula is IF. Syntax: =IF(condition, value_if_true, value_if_false). Example: =IF(B2>=70,"Pass","Fail"). Nest IF statements inside each other for grade brackets, commission tiers, anything with branching logic. When the nesting gets ugly, swap to IFS or a lookup table. Watch the parentheses — every ( needs a matching ), and Excel highlights pairs in different colors to help.
Beyond the five, the next most useful are VLOOKUP (or its modern replacement XLOOKUP), countifs excel, SUMIFS, and TEXT. Don't try to learn them all today — bookmark them and reach when a real problem requires one.
One mindset shift that changes everything: think of formulas as describing relationships, not commands. =B2*1.08 doesn't say "multiply once and store the answer" — it says "this cell is always 8% more than B2". Change B2 from 100 to 250 and the formula cell jumps from 108 to 270 instantly. That live-link behavior is why people build entire businesses on Excel. The grid isn't paper. It recalculates the universe every keystroke.
Errors will happen. #DIV/0! means you divided by zero — wrap the formula in =IFERROR(your_formula, 0) to show a blank or zero instead. #NAME? means you mistyped a function name. #N/A usually comes from a failed lookup. Click the small green triangle that appears in the cell corner — Excel offers a Trace Error tool that highlights every cell feeding into the broken formula. Use it. It turns 30-minute debugging sessions into 30-second fixes.
Step 5 — Format Like a Pro
- ✓Set font and size from the Home tab — Calibri 11 is the default; Arial 10 prints tighter.
- ✓Apply bold (Ctrl+B), italic (Ctrl+I), or underline (Ctrl+U) for emphasis — sparingly.
- ✓Use the Number Format dropdown on the Home tab to switch between General, Number, Currency, Accounting, Date, Percentage, and Text.
- ✓Click the % button to convert a decimal to a percent — 0.25 becomes 25%.
- ✓Use the comma button to add thousands separators to large numbers.
- ✓Increase/Decrease Decimal buttons control how many decimal places show without changing the underlying value.
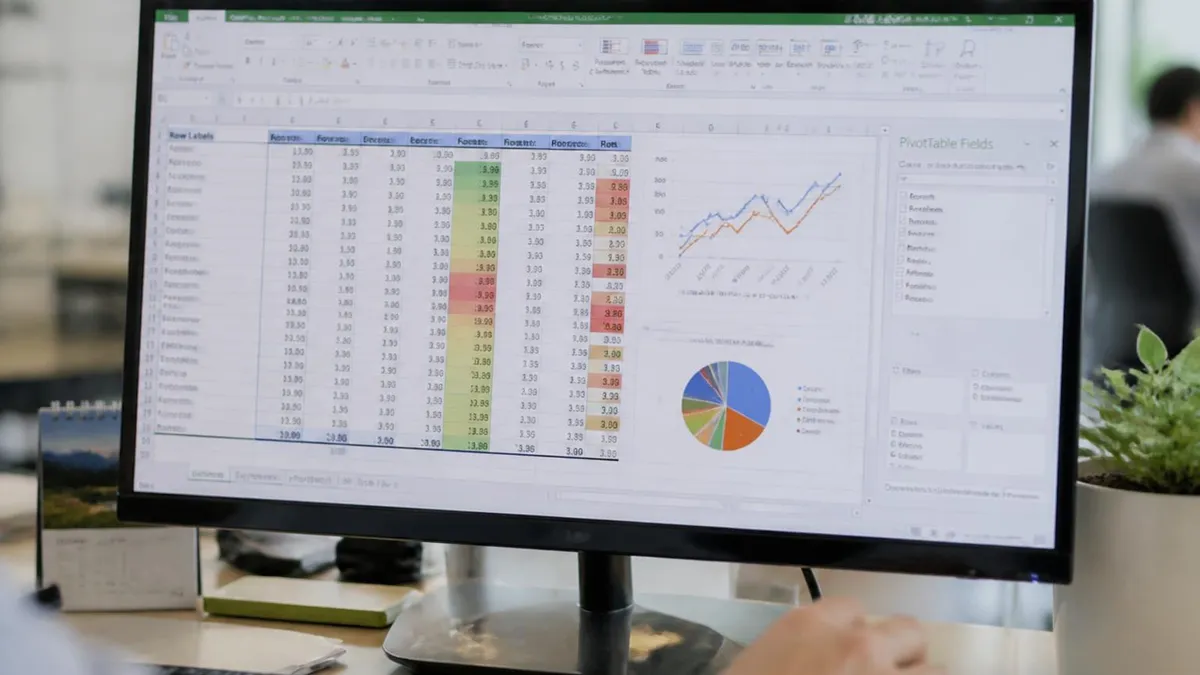
- ✓Apply Conditional Formatting (Home → Conditional Formatting) to highlight cells above/below a threshold or build heat maps.
- ✓Use Format Painter (paintbrush icon) to copy formatting from one cell to another — double-click to apply repeatedly.
- ✓Resize columns by dragging the right border, or double-click the border to auto-fit the widest content.
- ✓Apply cell borders from the Borders dropdown — All Borders is the most common choice for tables.
Step 6 — Sort, Filter, Chart, Save & Print
Click any cell inside your data. Go to Data → Sort. Pick a column. Pick A→Z or Z→A. Done. Excel keeps rows intact — addresses stay with names, prices stay with products. If you only highlight one column and sort, Excel warns you about breaking rows apart. Read that dialog.
Sort by multiple columns when you need it. Data → Sort opens a dialog where you click "Add Level" to layer sorts. Example: sort by Department A→Z, then by Salary Z→A within each department. Excel handles the second sort inside groups created by the first. This is how HR reports get built every day.
Filtering is faster. Press Ctrl+Shift+L with your cursor in the data. Drop-down arrows appear in the header row. Click any arrow to filter by checkbox values, color, or custom criteria like "greater than 100". Press the same shortcut again to remove filters. The status bar at the bottom shows how many rows match.
For charts: select your data including headers, hit Insert → Recommended Charts. Excel suggests three to five chart types ranked by how well they fit your data. Pick one. Excel embeds the chart on the current sheet — drag it where you want. Right-click for chart options, change colors, or move it to its own sheet. If you want to dig deeper, browse the excel cheat sheet for shortcut combos.
Pick the right chart for the data. Time series — line chart. Comparing categories — column or bar. Parts of a whole — pie (but only if you have ≤5 slices; otherwise switch to a stacked bar). Trends with two variables — scatter plot. Never use 3D pie charts. They distort proportions, and nobody outside 1997 takes them seriously.
Save with Ctrl+S. The default format is .xlsx — modern, compressed, supports all features. If you save to OneDrive or SharePoint, AutoSave switches on automatically and every change syncs in real time. To print: File → Print (or Ctrl+P). The preview shows page breaks. Set Page Layout → Print Area first if you only want part of the sheet to print. Templates? File → New, search for "budget", "invoice", or "calendar" and pick from hundreds of pre-built designs.
Saving Locally vs. OneDrive
- +Auto-saves every few seconds — no "oh no I forgot" moments
- +Version history — restore any prior version with one click
- +Co-author live with teammates in the same workbook
- +Open from any device with a browser
- +Recover unsaved changes after a crash automatically
- −Faster to open from local disk on slow connections
- −No internet required — works on a plane
- −Full control over file location and backup
- −No accidental shares — file stays on your machine
- −Macros and add-ins behave more predictably
Keyboard Shortcuts That Actually Save Time
You don't have to memorize all of them at once. Pick five. Use them daily for a week. Add five more. Within a month you'll move twice as fast as someone clicking through menus — and your wrist will thank you.
The universal copy-paste-undo trio works everywhere: Ctrl+C copy, Ctrl+V paste, Ctrl+X cut, Ctrl+Z undo, Ctrl+Y redo. Ctrl+S saves. Ctrl+F opens Find. Ctrl+H opens Find & Replace. These map across nearly every app — they're not Excel-specific.
Excel-specific shortcuts pay off fastest: Alt+= auto-sums the column above. F2 edits the active cell (no need to double-click). F4 toggles absolute references. Ctrl+; inserts today's date. Ctrl+Shift+; inserts the current time. Ctrl+1 opens Format Cells.
Navigation gets a turbo button too. Ctrl+Arrow jumps to the edge of the data block in any direction — the difference between scrolling 5,000 rows and arriving instantly. Ctrl+Home goes to A1. Ctrl+End jumps to the last used cell. Ctrl+Page Up/Down flips between sheets. If you only learn one shortcut, learn Ctrl+Arrow. Pair it with internal docs like how to change column width in excel for fast layout fixes, and how to indent in excel when text spacing matters.
Selection shortcuts matter too. Ctrl+Shift+Arrow selects from your current cell to the edge of the data block. Shift+Spacebar selects the entire current row. Ctrl+Spacebar selects the entire current column. Ctrl+A selects the current data region; press it again for the whole sheet. Once you can select without the mouse, formatting and deleting feels instant.
Insert and delete deserve their own muscle memory. Ctrl+Shift+"+" inserts cells, rows, or columns. Ctrl+"-" deletes them. Ctrl+Shift+L toggles AutoFilter as covered above. Alt+Enter creates a line break inside a cell — finally, multi-line text without weird wrap tricks. Bonus: hold Ctrl while clicking cells to build non-contiguous selections, then apply formatting or formulas to all of them at once.
Shortcut Payoff
Platforms — Where Should You Run Excel?
Pick the version that matches how you work. The interface is mostly the same across all of them, but the feature ceiling varies. If you're a student writing a budget, Excel for the web is plenty. If you're building a financial model with macros and Power Query, you need the desktop app installed locally.
The Microsoft 365 subscription bundles desktop Excel for Windows or Mac with 1 TB of OneDrive storage and the mobile apps. Family plans cover six accounts. There's also a one-time purchase called Office Home & Business — older versioning, no future updates included, but no recurring fee. For most people the subscription wins because every new feature lands automatically.
Don't sleep on Excel for iPad. With a Magic Keyboard and Apple Pencil, it's surprisingly close to the desktop experience for analysis and review. Pivot tables work. Formulas work. Conditional formatting works. The Pencil even doubles as a precision pointer for selecting tight ranges. For a portable second screen, it's hard to beat.
If you're collaborating with a team, push everyone toward OneDrive or SharePoint storage. Co-authoring in real time eliminates the "final_v4_USE_THIS_ONE.xlsx" email chain. Track Changes lives in Review → Show Changes — every edit shows up in a side panel with who changed what and when. Combine that with version history (File → Info → Version History) and you can roll back any cell to any prior state.
One quick note on backups. Even with auto-save and version history, keep an occasional copy on a separate drive or in a different cloud bucket. Account lockouts happen. Permissions get changed by an admin without warning. A monthly export of mission-critical workbooks costs you nothing and saves you a week of recovery panic if anything goes sideways. Belt and suspenders. Always. Your future self will thank your current self for the discipline.
Last thing: stay curious. Excel ships new functions every quarter — LAMBDA, LET, FILTER, SORT, UNIQUE, dynamic arrays. Follow the Microsoft Excel blog or browse the What's New tab on launch each month. Five minutes of skimming keeps you ahead of teammates still doing things the 2010 way.
Step 7 — Mac, Mobile & Online Differences
The full-fat version. Every feature available: Power Query, Power Pivot, macros via VBA, add-ins, Solver, Analysis ToolPak. Ribbon density is highest. Best for power users, finance, data analysis, and anyone building complex models.
Excel Questions and Answers





About the Author

Business Consultant & Professional Certification Advisor
Wharton School, University of PennsylvaniaKatherine Lee earned her MBA from the Wharton School at the University of Pennsylvania and holds CPA, PHR, and PMP certifications. With a background spanning corporate finance, human resources, and project management, she has coached professionals preparing for CPA, CMA, PHR/SPHR, PMP, and financial services licensing exams.